Travel tips
Solo Photo: the ultimate guide to solo travel photography + gear list
Apr
Taking photos of yourself when you are traveling is not easy, but it doesn’t have to be hard, either. While it would never be as good as having a photographer friend or fam, it can sure beat having someone who doesn’t know what they are doing taking it for you. Don’t believe me? Here’s a photo a kind stranger took for me in Taipei, versus the one I took using a small tripod and self-timer.
Now, never rule out asking someone for help, because you can’t use self-timer or use a tripod in every situation. Before I get too ahead of myself, here’s a complete guide:
see my photography gear list here
Note: if you are solo traveling for the first time and looking for more than just photography tips, my friend Annika from Midnight Blue Elephant has a book on Solo Travel that you’d love!
Contents
Asking a stranger to take a photo of you
You are out on a trip with your phone, and you want some good photo of yourself. The easiest and the best thing to do in this situation would be asking someone to help you. Now that’s easier said than done, but if I, as an introvert who hates approaching people, can do it, so can you. I’ve also got some handy tips for you to make sure that you can get the best shot you can!
1. Look for people with a camera
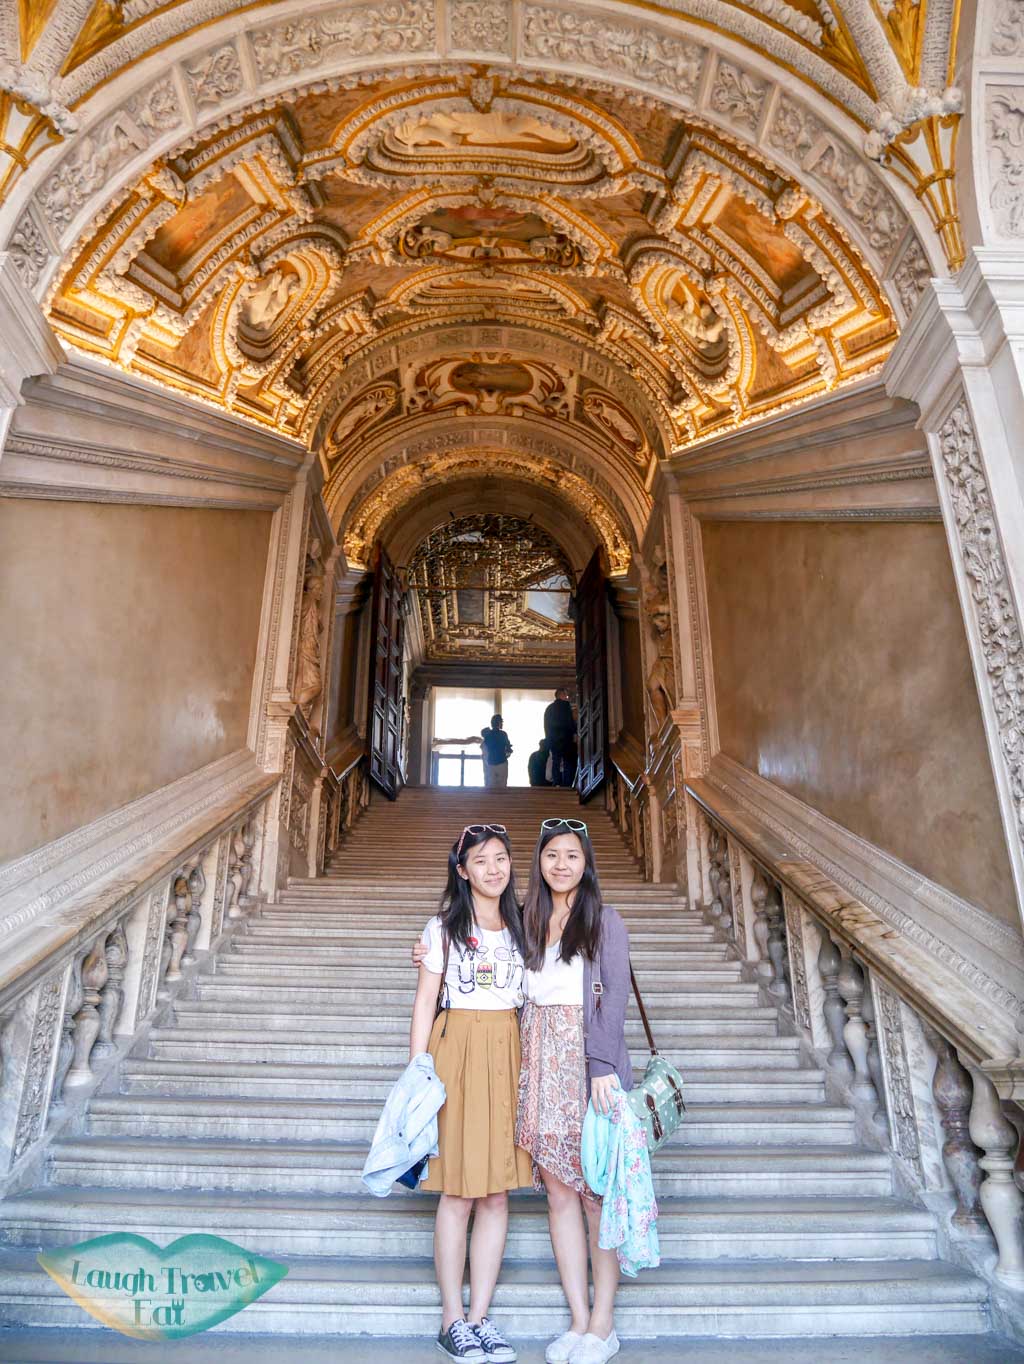
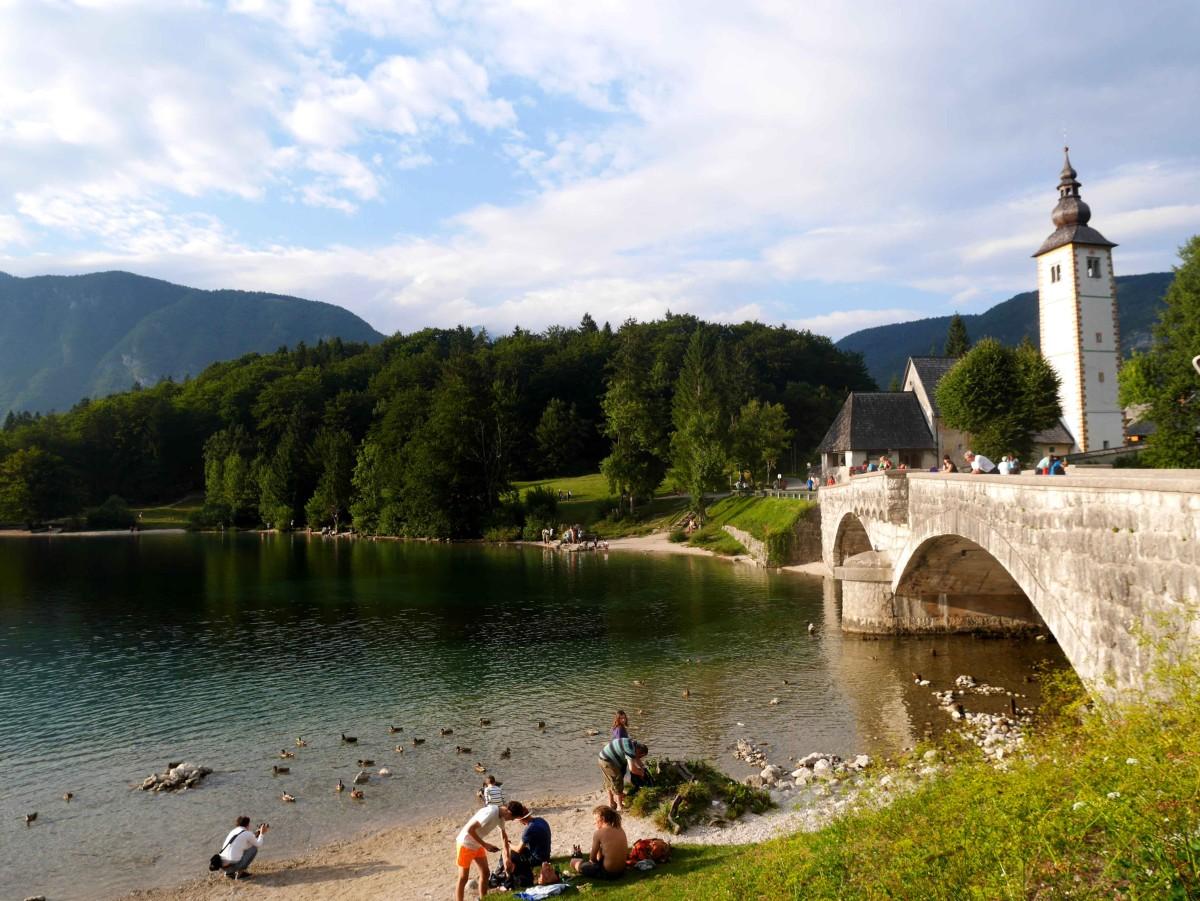
When asking someone to take a photo of you, don’t just settle for anyone (unless you are in the middle of nowhere). Look for people with a massive camera dangling on their neck, they are the people who know what’s up. My sister and I asked such a wonderful human being to take a photo for us in Venice, and he insisted on waiting until the crowd had passed to snap this photo of the two of us together in Doge’s Palace.
2. Take a sample photo first
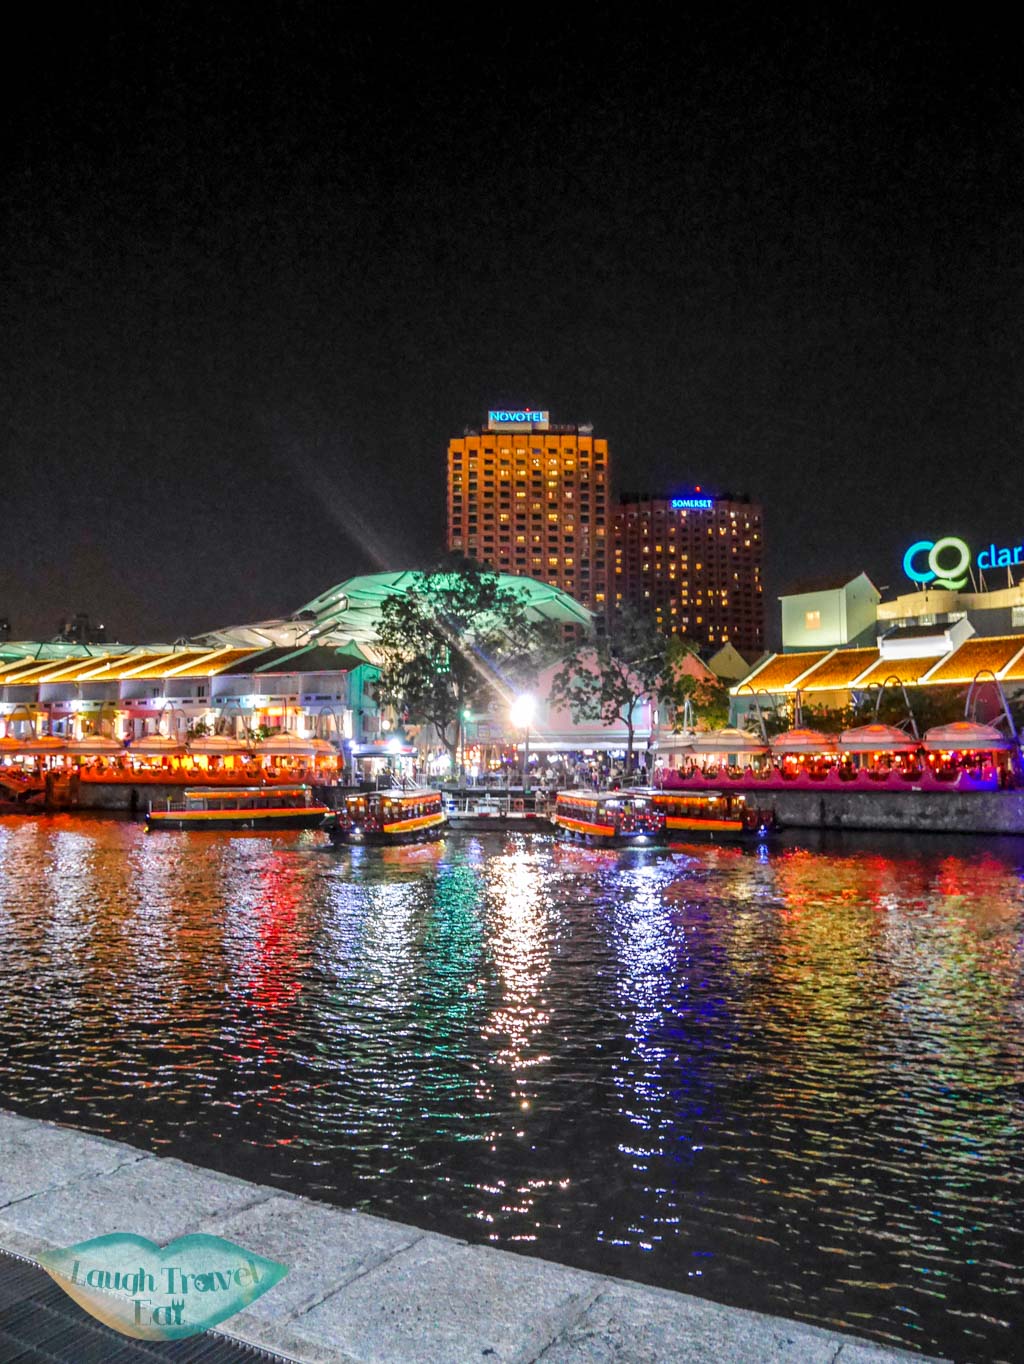
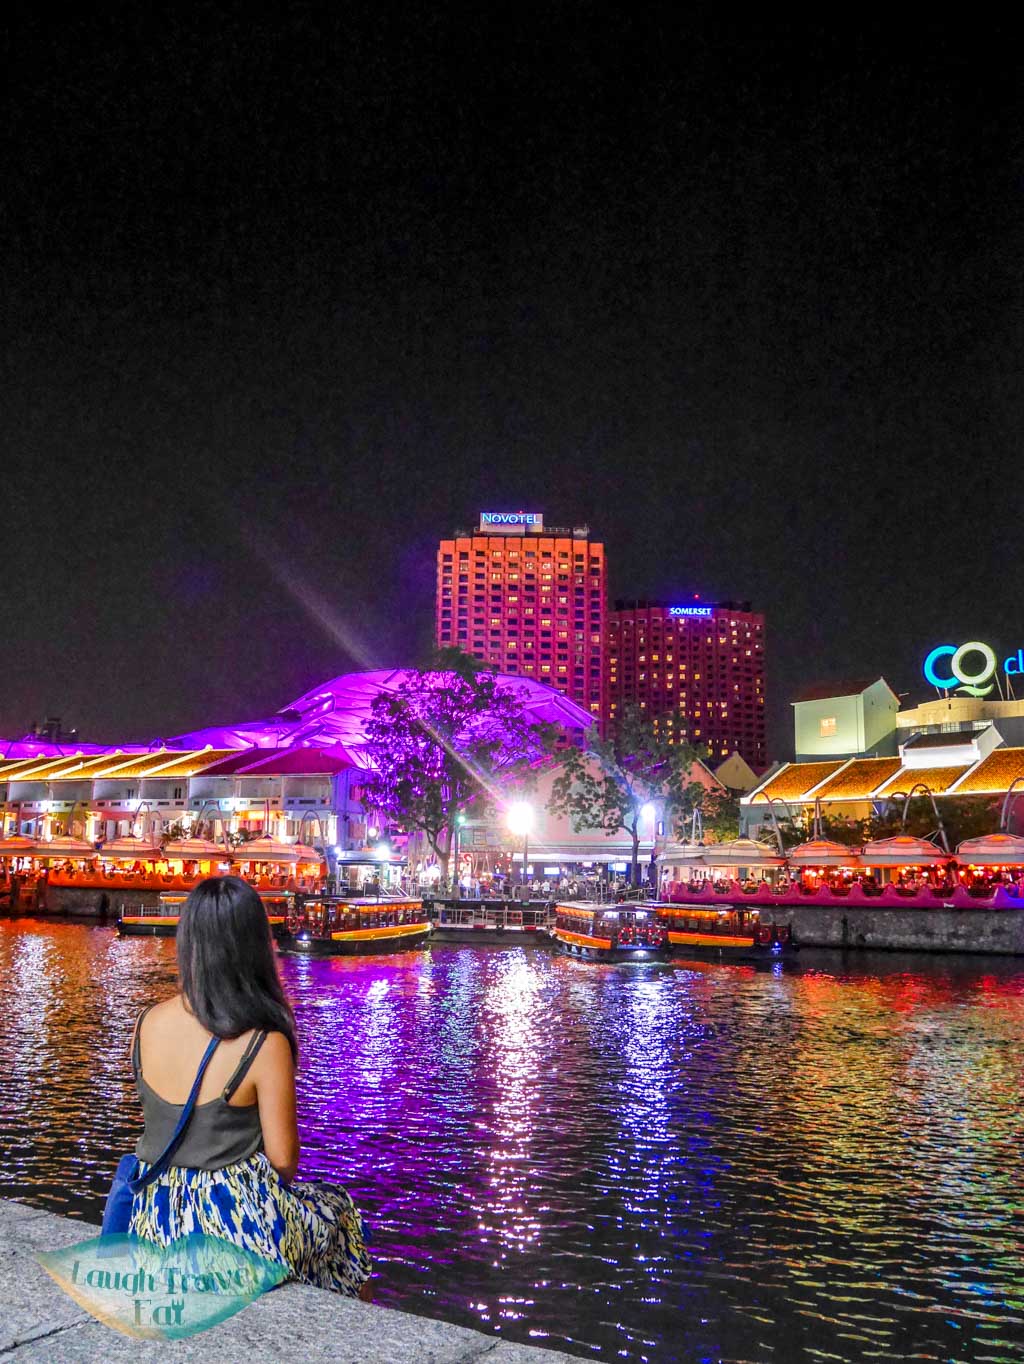
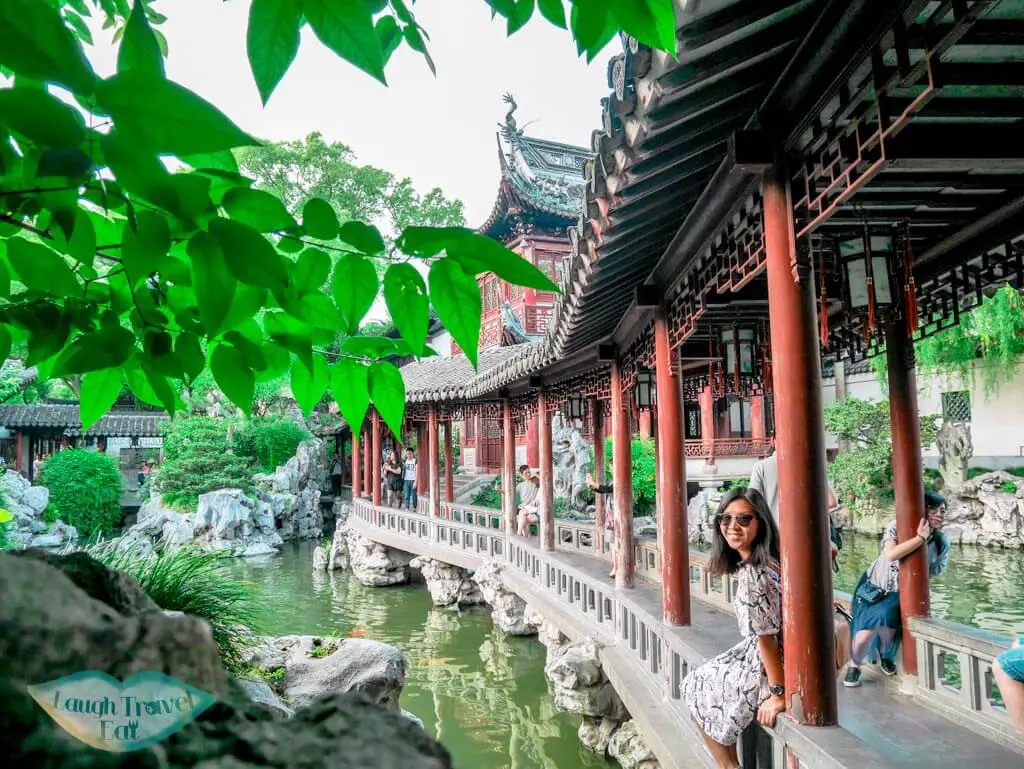
If you have a style already in mind, take a photo of that and show it to the stranger. I was by Clarke Quay in Singapore on my own, and I knew the shot that I wanted. So I snapped the shot, showed it to a stranger that I managed to corner (I must admit I must have looked a bit creepy), and he was able to build on that:
3. Burst mode
Now you’ve made sure that the framing of the shot is good, but you might just f*ck it up yourself by posing unnaturally. Here’s where bust mode comes in. Whether you are on your phone or camera, the function should be available. My friend Salwa is amazing at utilizing iPhone burst mode to get a good shot out of a dozen! Here’s some of my own:
How to take self-timer selfies
This can work for both phone and camera, though personally, a camera is easier to use on its own, as you would definitely need a tripod to support your phone. This isn’t about selfie stick or a head-shot kinda selfie, but the kind that would actually look like someone has taken it for you.
*note: you do have to be careful with your surroundings as this would involve leaving your camera alone as you pose in the distance
Selfies using the camera on its own
The fastest and most convenient way to take a self-timer selfie is to use your camera on its own, but it does come with a ton of limitation. You would have to find a surface where you can frame and line up the shot on your camera, which isn’t always easy and available. Here are some tips:
1. Use a phone or something flat under the camera to make sure it’s horizontal. If it’s too tilted, then you might have no choice but to edit out a large chuck. More on editing tips later.
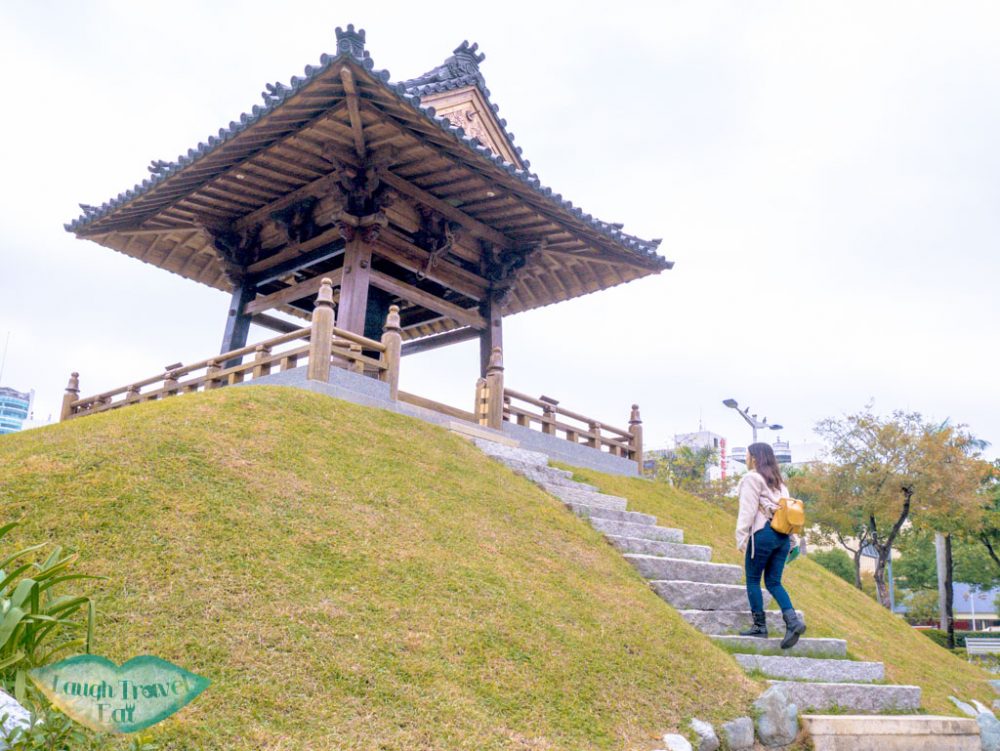
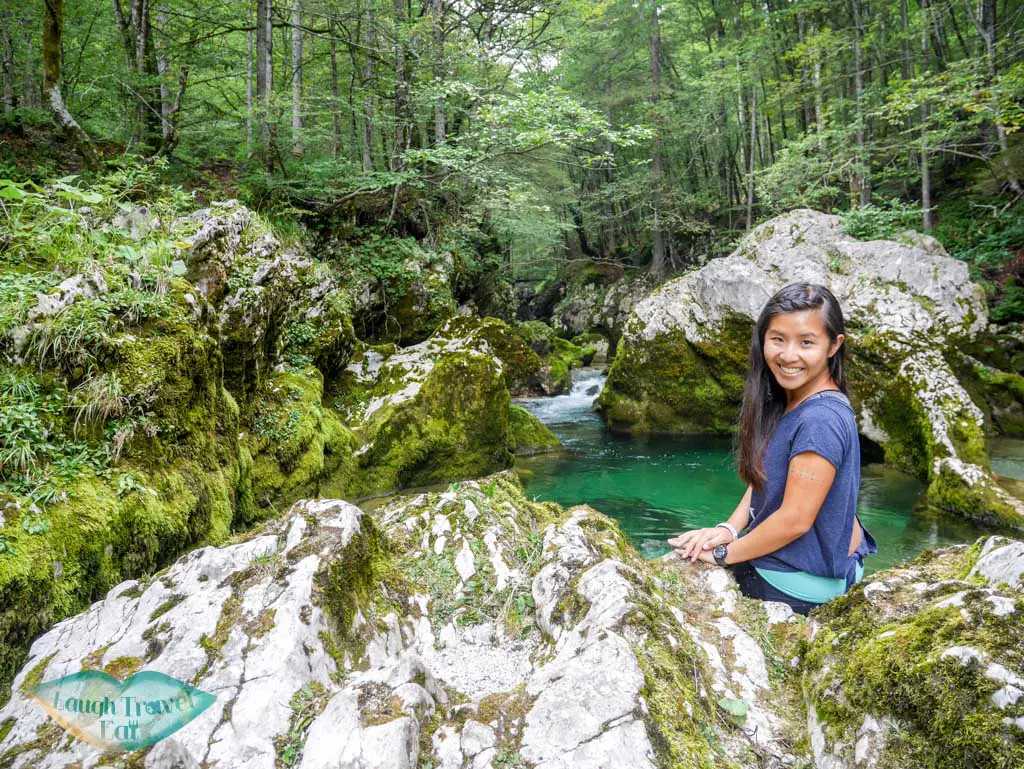
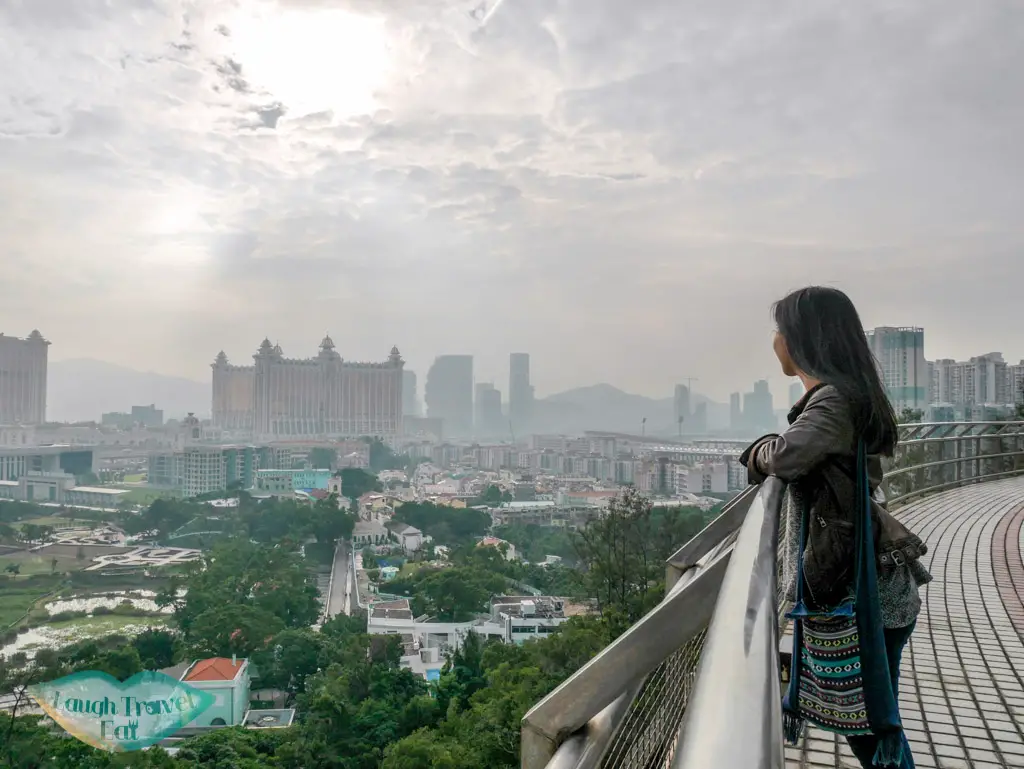
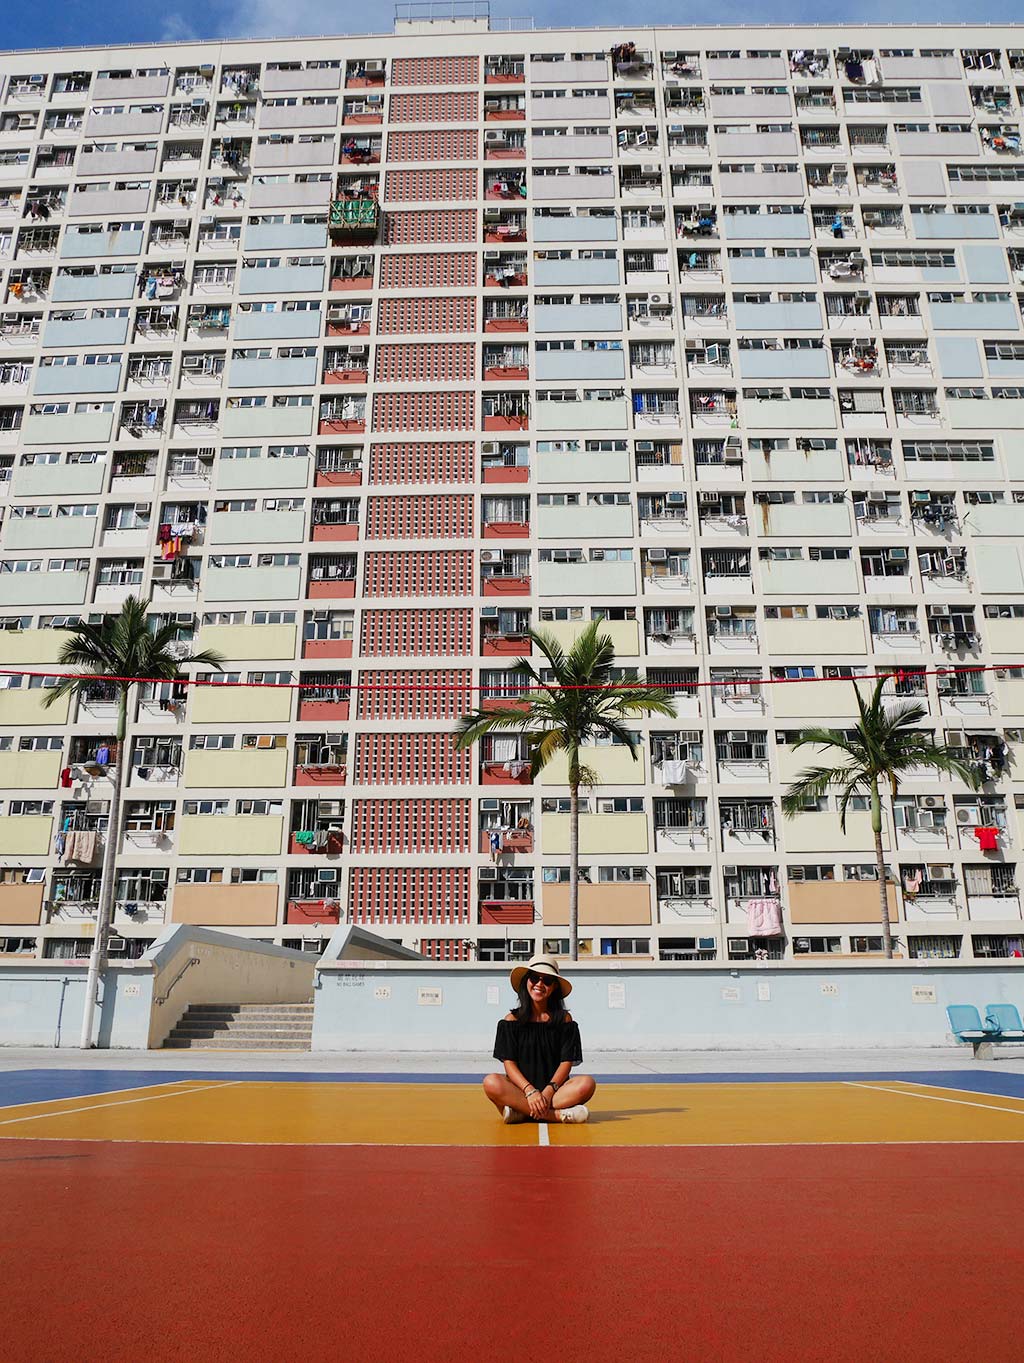
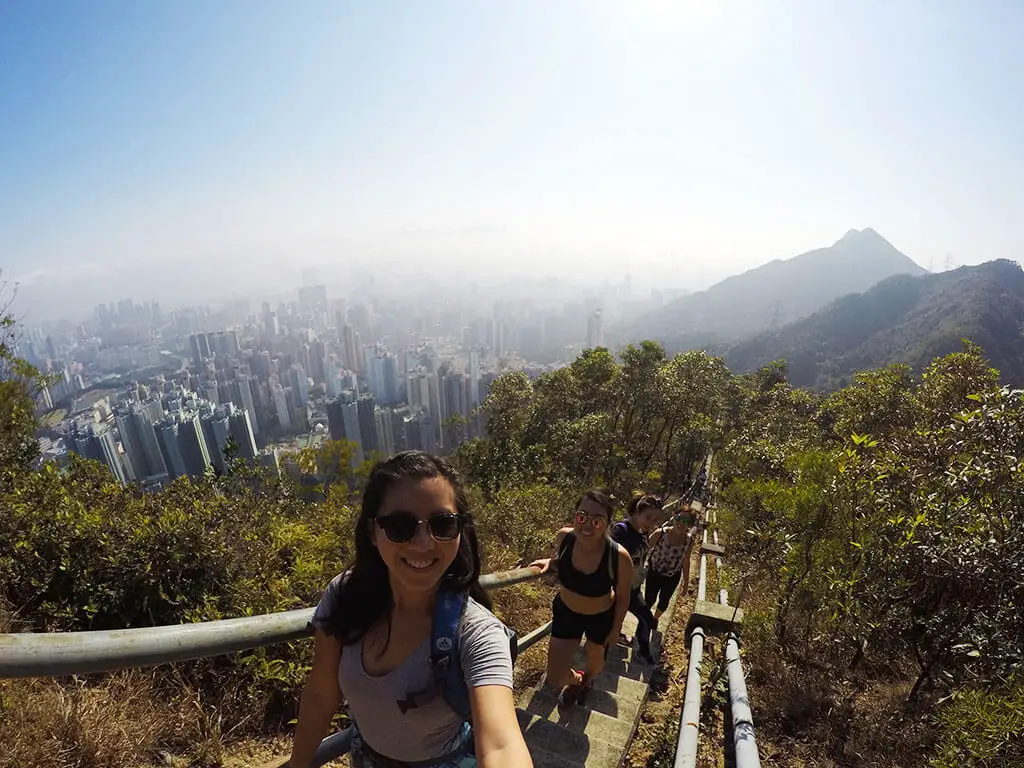
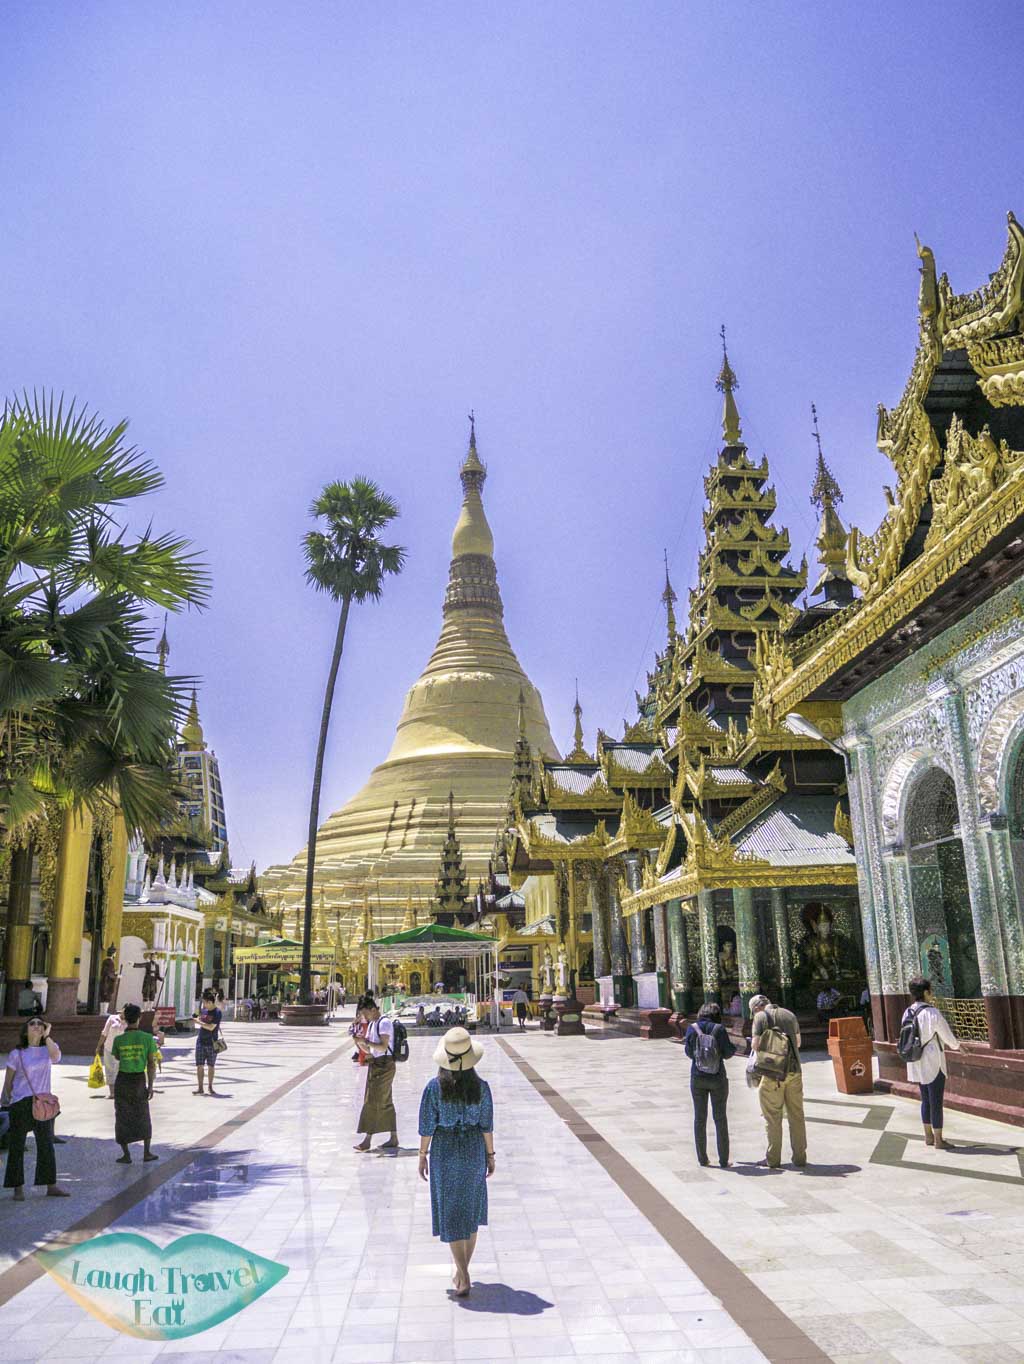
2. Put it on elevated grounds such as a fence or rocks. This is by far the number one way I had taken self-timer photos, and it yielded some good results:
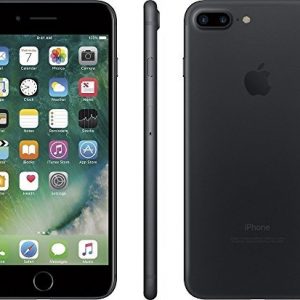
3. The tilt matter! Oftentimes you won’t be able to get a high enough place to put your camera, as you would when taken by a person, and that’s where the tilt comes in. I usually use my phone case or my camera strap to make sure that the camera is tilted upwards so that everything is visible - now I have the VILTROX Z it's a lot easier.
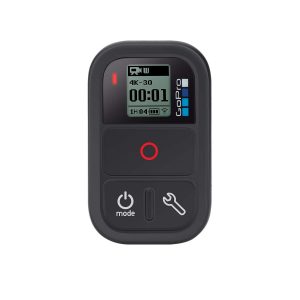
4. Getting a remote might be a good idea - for both smartphone and camera(note that different camera brands have different remotes). I use the 3 shots in 10 seconds setting, but that does involve a bit of luck and a lot of running back and forth. Here are some of my failed shots to amuse you:
[huge_it_gallery id="20"]5. Be patience – because setting up a shot would take a while!

Gear
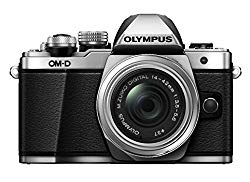
Gear
Gear
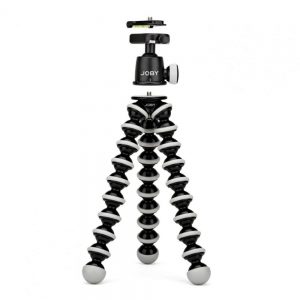
Selfies with Gorillapod
If you can, I would definitely recommend getting a Gorillapod. It’s basically a type of tripod with those round ball things that you can twist into any position.
They are small, portable, and useful. I’ve started carrying it around and it opens up some more doors with self-timer.
I can now wrap it around a fence, tilt the camera angle freely, and put it on the ground even. But again, it doesn’t quite reach the same height as a person taking it for you.
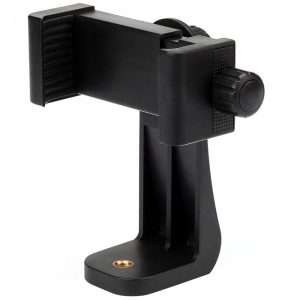
If you get a Smartphone Tripod Adaptor, you can use it with your phone, too.
Gear
Gear
Taking selfies with a Tripod
Having a tripod is great, but it’s also a burden because they are heavy. While they are almost perfect for all occasion, setting them up will definitely take longer and it’s unlikely that it would be feasible in crowded conditions. But it gives you free range over where to put it, the height of the shot, as well as the angle.
If you want to spice it up, then getting a VILTROX Z to go with your tripod would give you even more range. I wasn’t able to take a vertical shot with my tripod well because the tilt wasn’t flexible enough, but this would help me do that!
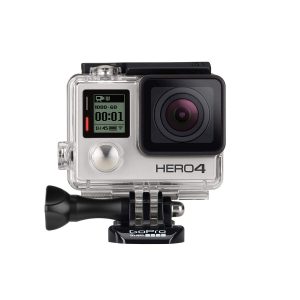
Taking selfies with GoPro
If you find the above all too much, and that you don’t want to spend so much time and effort to coordinate a shot, I have good news. Use a GoPro. Seriously! Not only does GoPro has a wide angle of view, it’s small and portable, meaning that it’s less inconspicuous as a big camera. One of my favourite travel blogger from My life is a Travel Movie travel solo a lot and uses a GoPro to take photos of herself. You don’t even have to put it far to take a good shot. Here are some of mine:
1. It’d be easier if you mount it on a stick, and there are plenty on the market that double ups as a tripod, too.
2. Getting a remote had been great for me, but you can also use your phone and connect it via WiFi to take the shot and check the focus.
3. Use Lightroom to get rid of the distortion! More in the editing section.
Personally – I use it more for hiking because I like shooting in RAW for editing, but more on that later as well.
Gear
Gear
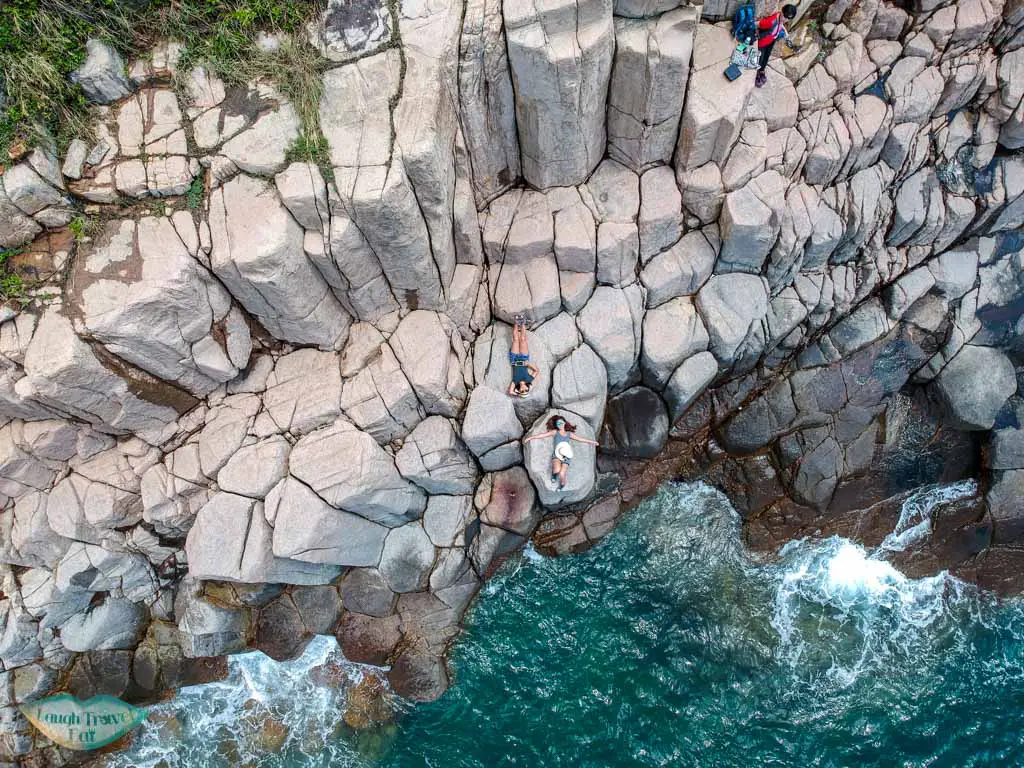
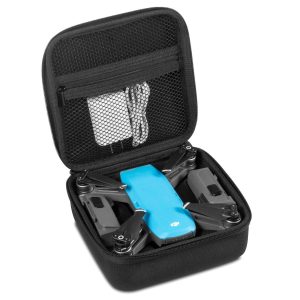
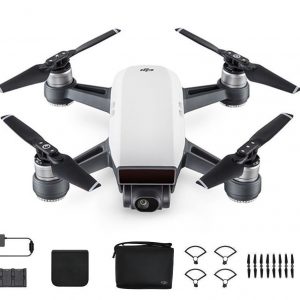
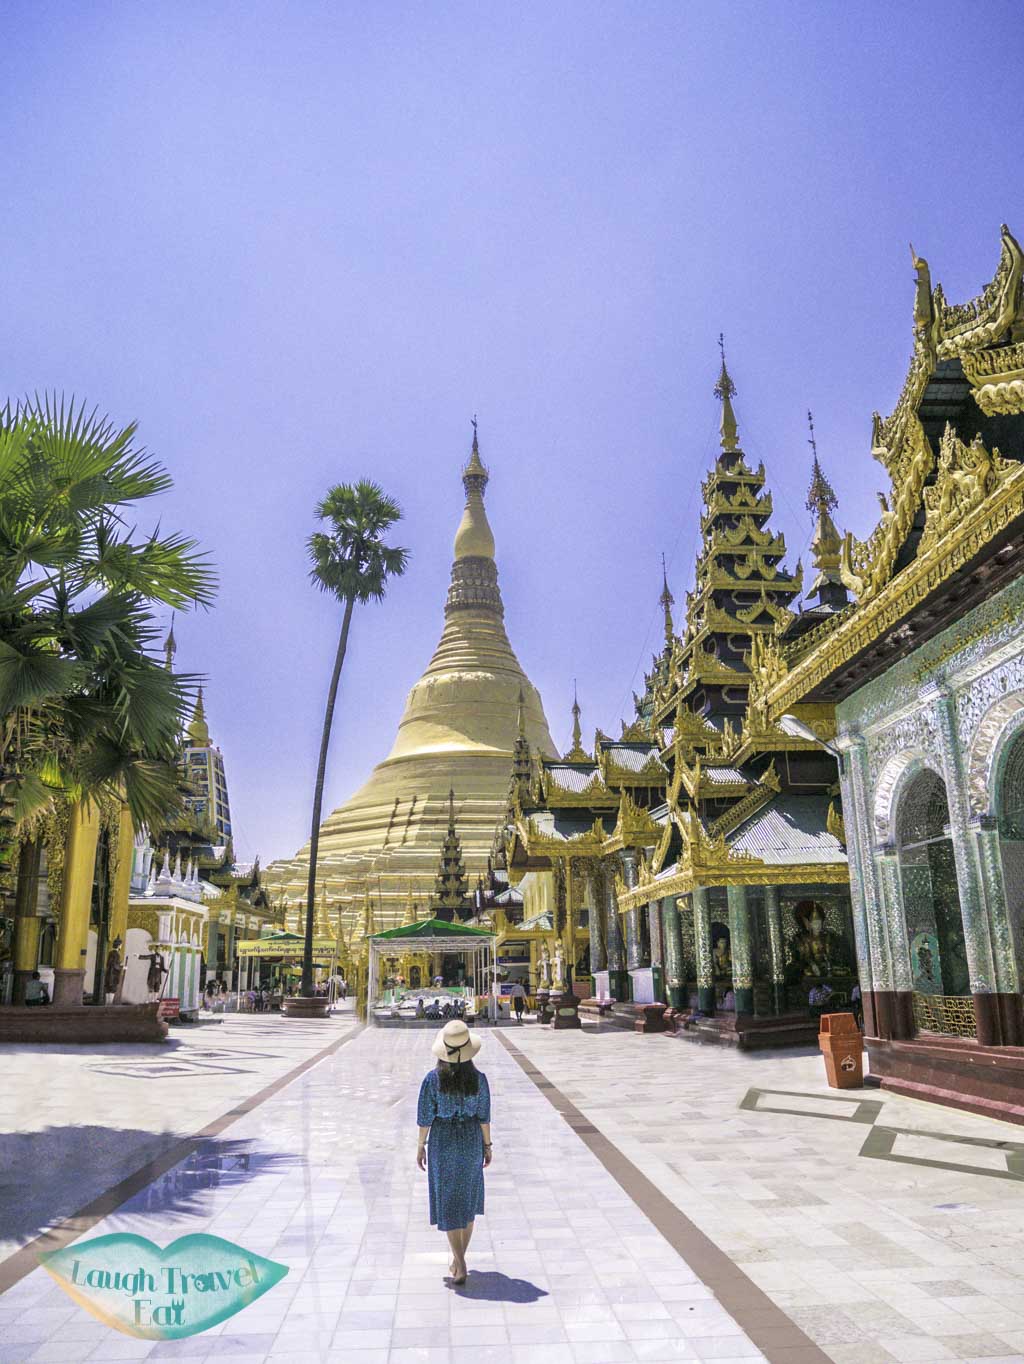
Taking selfies with a Drone
![]()
Yes, a drone is the ultimate Instagram husband, aside from the fact that it has a short battery life. I’ve taken some epic ‘selfies’ with my drone, but it does have its own sets of limitations.
Pros: you can take your own shot whenever you want from whichever angle
Cons: short battery life, not easy to carry, needs time to set up and you can’t fly it anywhere.
But, you do get some epic bird's eye view:
More tips on drone photography and its ups and downs here.
drone
drone
Gear
Candid photography poses
![]()
Posing is also super important when you are taking photos of yourself. With a remote, the restraint will be lower, but here are some tips for those who don’t:
1. Use consecutive timers – 3 photos in 10 seconds is the one I use. While it gives me some funny results, I also have some nice and dynamic shots
2. Don’t face the camera or wear sunglasses – this eliminates your facial expression running the shot!
3. Movements – to make your shots more fun, move around! But this won’t always turn out perfect!
4. If at first you don’t succeed, try again!
How to edit your travel photos
Editing is magic. It has saved countless photos of mine and turn them from wtf-is-this to omg-this-is-amazing. Adobe Lightroom and Photoshop are my go-to for photo editing, with the former a wonder if adjusting lighting and the later a godsend for removing unwanted people.
It would take an absolute age if I were to dive into editing details, so here are a few key tips that you can do with whatever program you have:
1. Make the photo horizontal – which is often compromise if you are to use self-timer
2. Crop if necessary - often times you need to zoom in or take something out
3. Remove people or object if necessary - I use Photoshop, but there is also the TouchRetourch app!
Here's my before and after (already edited using Lightroom preset to brighten the photo):
4. Use Lightroom - I use Lightroom to edit my photos with presets that I've made. It is the best way to bring a photo alive and add some wanderlust to it! Not everyone has Lightroom, of course, but Instagram or photo editing applications are also great to play around with.
However, Lightroom also offers a whole host of features that other applications don't have, such as split-toning, correcting distortion and presets to speed up editing!
Additional step: shoot in RAW – it would allow your photos a wider range of editing possibility. I’m not a technical person, so that’s the best I can do to explain.
Using Lightroom
I have a list of Lightroom presets can be used on both RAW and Jepgy photos. Here’s a look at them (Click for the sales page if you are interested :D )


I need a guide like this as I’m never in my photos! I also have my first solo trip booked for November, so this will certainly come in handy!
yes! I’m such a ig obsessed person now that I’m always trying to get in a photo 😛
Great post, I have a Nikon DSLR, and I love using the snapbridge app to take the photo from my phone, whilst the camera is set up on a tripod. The only problem I have is trying to hide my phone in the shot.
oh it’s great that you have an app! I always try to shoot it side-on so that one hand is behind the body – so that phone isn’t visible!
Hi – This is a thorough and insightful post. Thank you for sharing this. I’m looking for a travel camera gear. I’m convinced now that I need to get the GorillaPod.
It is one of the best ones to get! I have a full size tripod but I never carry it around because it’s so bulky!
I’ve been putting it off for ages but reading this finally made me decide that I’m going to get a tripod today! I have amazing photos of my that my ‘instagram husband’ takes but all the photos we have together are boring selfies in the same pose so I think a tripod is completely going to change our photo library. Also, I’m not sure if it’s just my current wifi but most of the images in this post aren’t loading for me… Thanks for writing this <3
I think it’s one of my plugin acting up! Thanks for letting me know. A tripod is a great way to get photos together! haha I have to use my twin as stunt double because she doesn’t get what I want in the photo