The Kjeragbolten hike is probably one of the most famous in Norway and that’s saying something about a country that is already packed with natural beauty. After swimming through posts and pictures on Pinterest, Instagram, and blogs, it is finally time to get out of London and fuel myself with some spectacular scenery and fresh air!
Contents
Before hiking Kjeragbolten
You should check the weather for the day, we used this website.
On the day, the weather is cloudy in the morning and clear out in the afternoon with a bit of rain in the late afternoon. We decided it is suitable for hiking.
Getting to Kjeragbolten
The drive from Stavanger airport to Kjerag parking lot where the hike starts takes around 2 hours and 40 minutes. On the way, you might find yourself in a queue as people get out of their car and relax.
It’s normal as the road ahead is too narrow for two-way traffic. The closer you are to the Kjerag parking lot, the narrower the road. There are sections where only one car is allowed to pass through. Please make sure you look ahead and be aware of oncoming traffic. Occasionally, you will find sheep standing/ walking slowly – please be patient. They will move out of your way eventually.
Once you arrived the Kjerag parking lot, staff will come to you and collect parking fee (NOK 200). Don’t forget to display your parking ticket! Once you parked your car, YOU ARE READY TO GO!
Tolling in Norway
All tolling are free flow (at least for the area we have been to). The rental car is equipped with an antenna and the rental company will charge you back afterward.
The Kjeragbolten hike
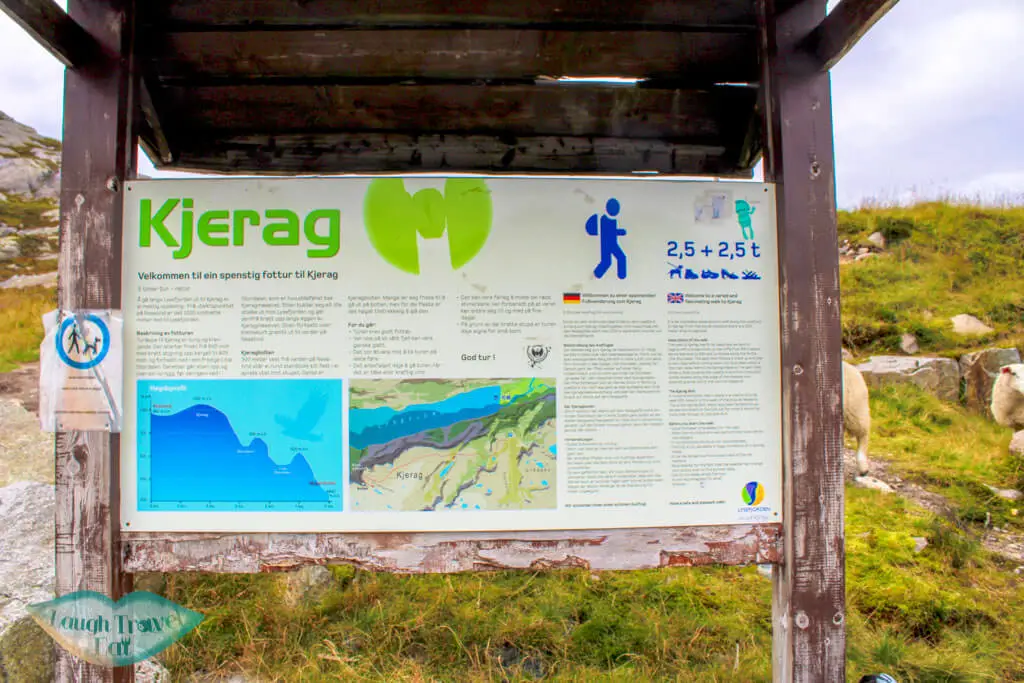
I suggest you visit the toilet before you start. At the starting point, you will find the notice board which gives you some general information about the hike. The most useful piece of information is the elevation graph which tells you what to expect during the hike. As shown, there will be three steep climbs and a relatively flat ground before you reach Kjeragbolten!
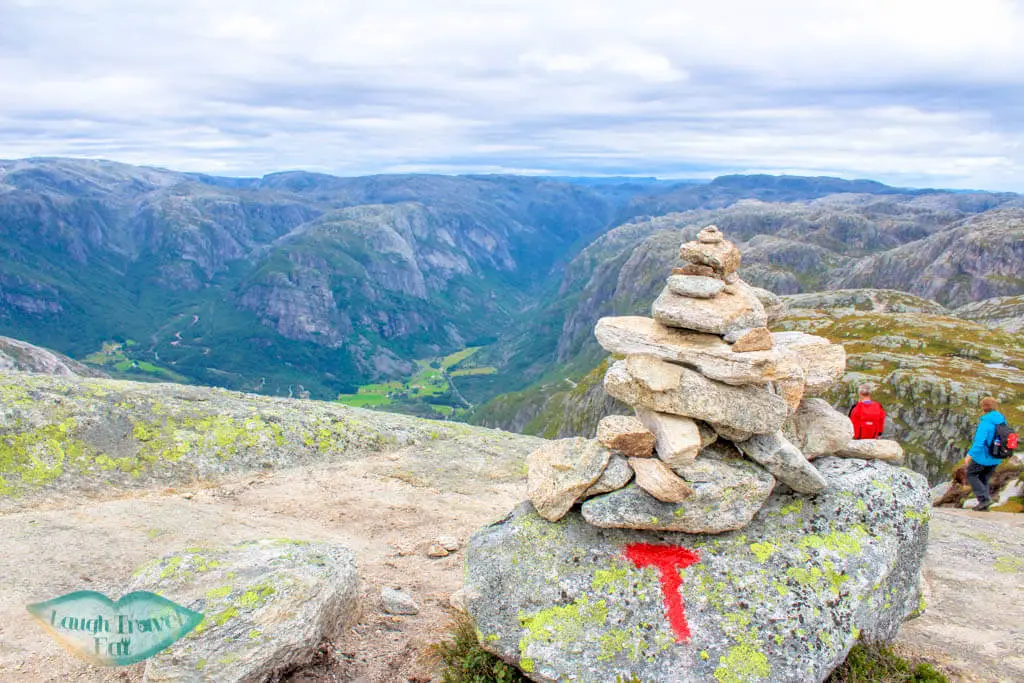
The trail is quite obvious and marked with red ‘T’ sign all along.
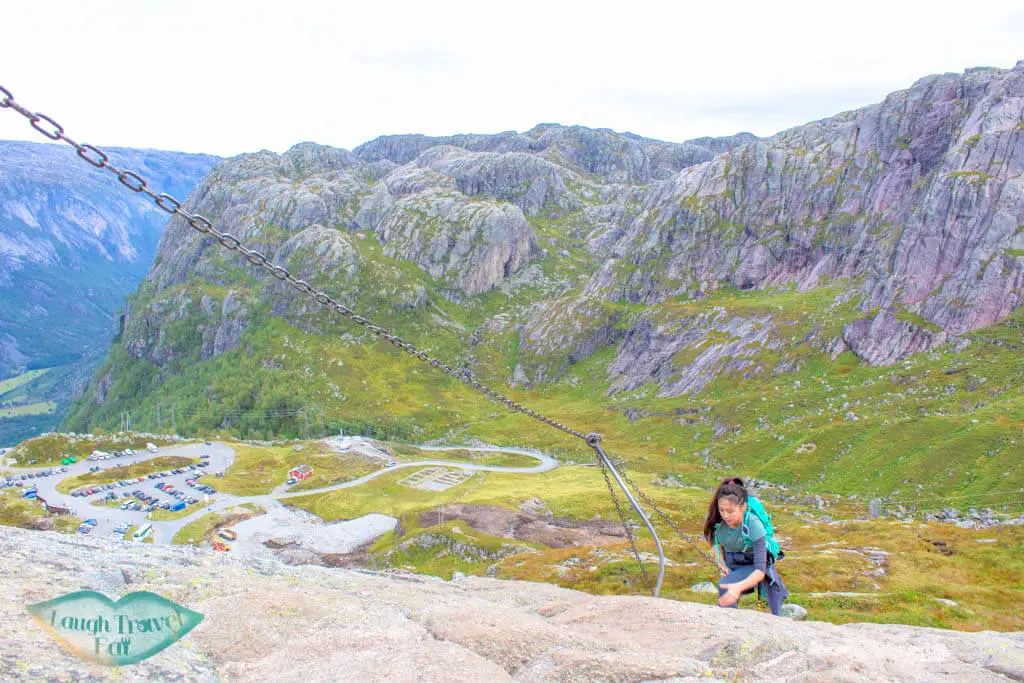
For some steeper part, you will find chains to help yourself to climb up. I would say the first climb is the hardest out of the three.
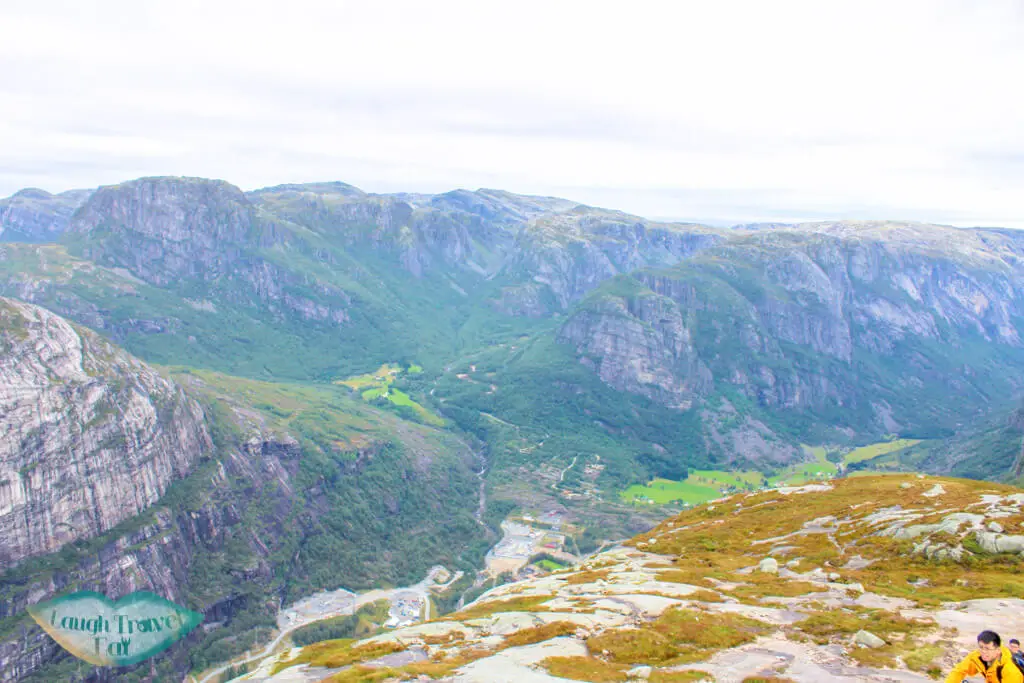
After your first steep climb, you will have the treasure to have a quick glimpse of Lysebotn (a small village in the valley).

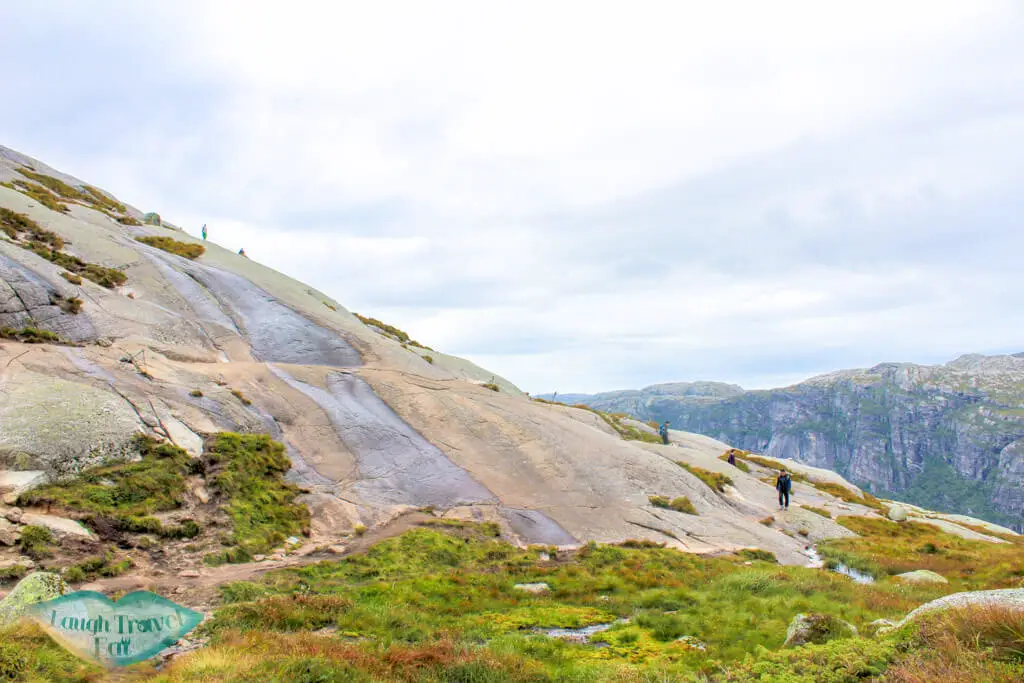
I find the second and third steep climbs relatively easy and it is not necessary to hold onto the chain as they are not as steep (only if you are confident and ready for some adventure).
On your way up, you will see a stream like the one in the picture. Feel free to fill up your water bottle!
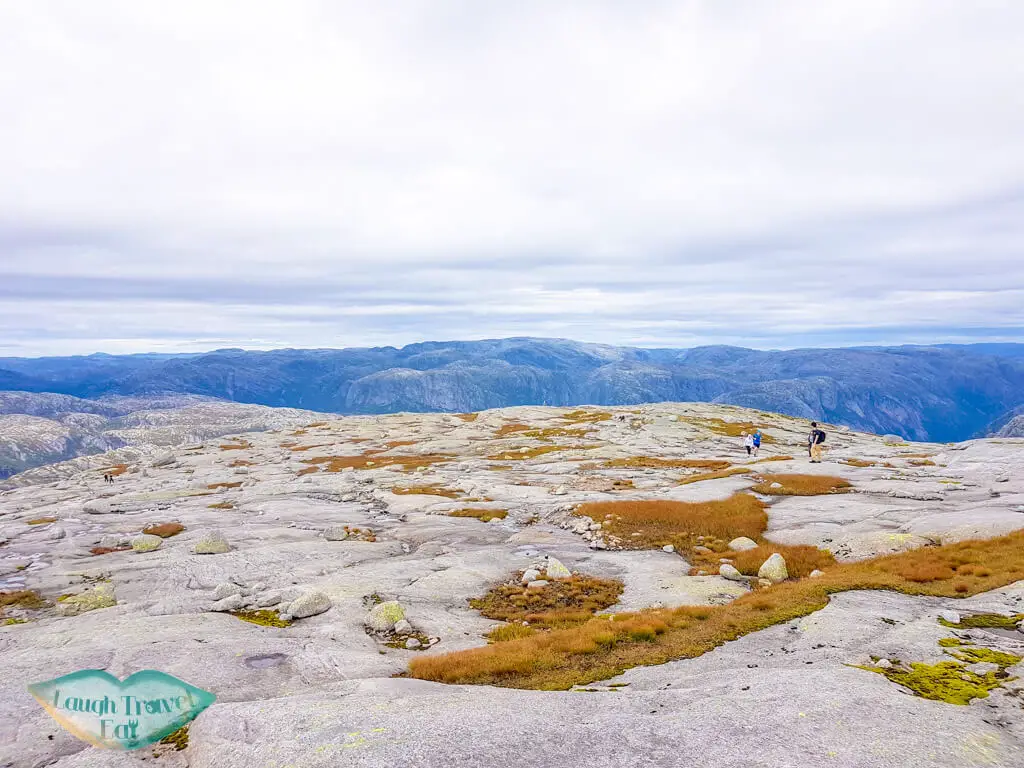
After the third steep climb, you will find a flat ground in front of you. Please make sure you keep to your right. We deviated from the trail for a while (instead of looking for the red ‘T’ sign, we were too enthusiast that we just went for the highest point we can see – not a mistake that you would like to make). Luckily, we have loaded the gpx data on our phone and see tiny people on our right. We were able to head back to the right path. And WE MADE IT!
The Kjeragbolten
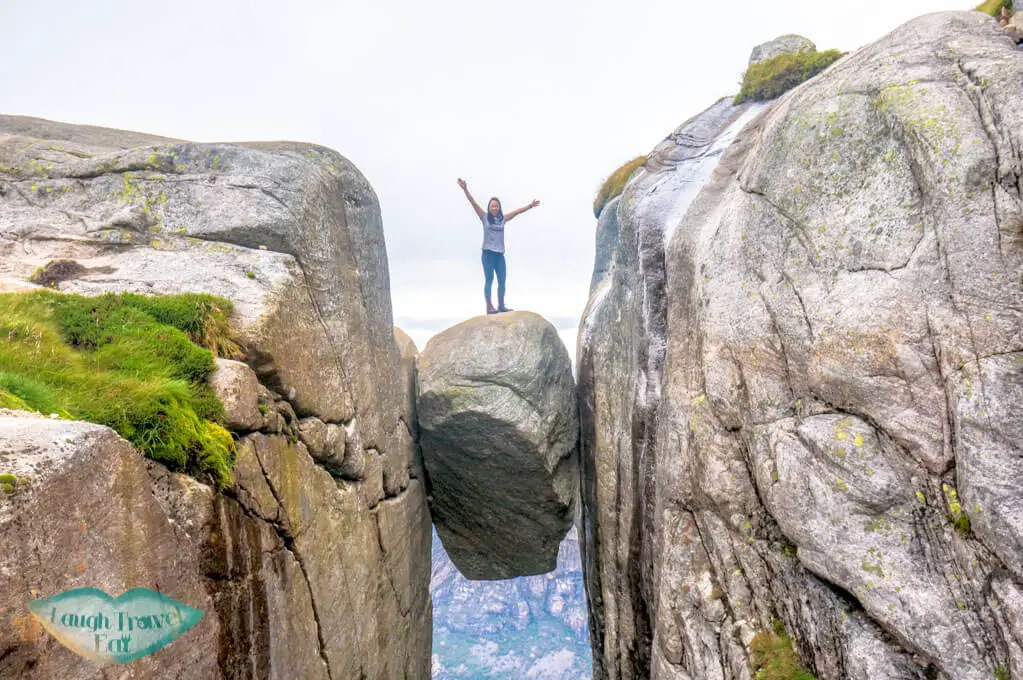
Knowing that it is a deadly 1000-meter drop if we put a foot wrong. I decided to crawl across. As my friend suggested, the longer you stay on the rock, the more time you allow the chemical to be released and send to your brain (that’s how you feel scared). Before my friend has time to swap his phone to take some pictures for me, I am back down. There were only two people in front of me when we queue for the rock.

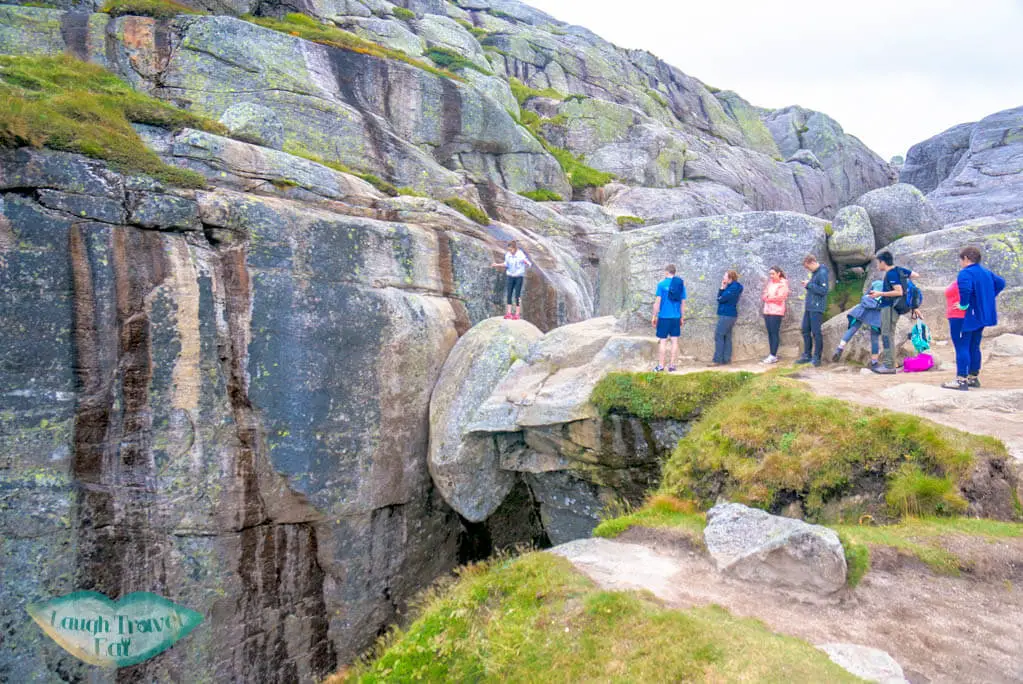
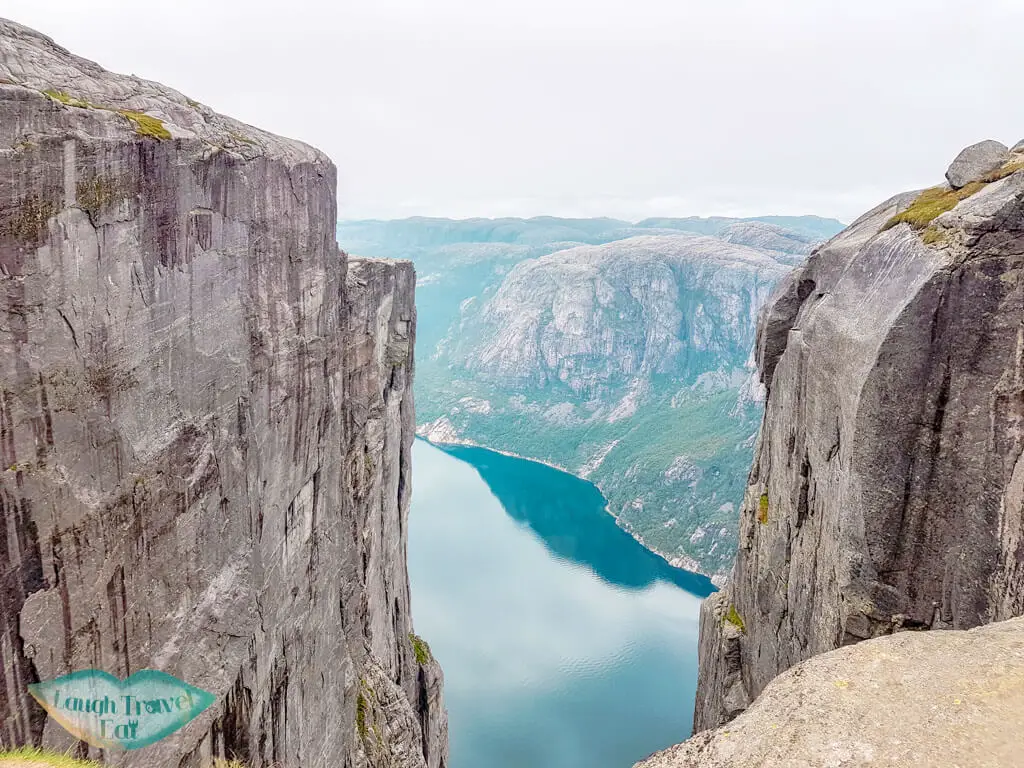
You might not have time to appreciate the natural beauty while you are on the rock (nerve occupied you). There are spaces adjacent to the rock where you can sit and enjoy the view – the blue water and rocky mountain!
Good time doesn’t always last long. The rain started to hit us. Luckily, the rain wasn’t heavy and long. It only lasted 30 minutes and it gives us a completely different view of the landscape. The nature never fails to amaze me!
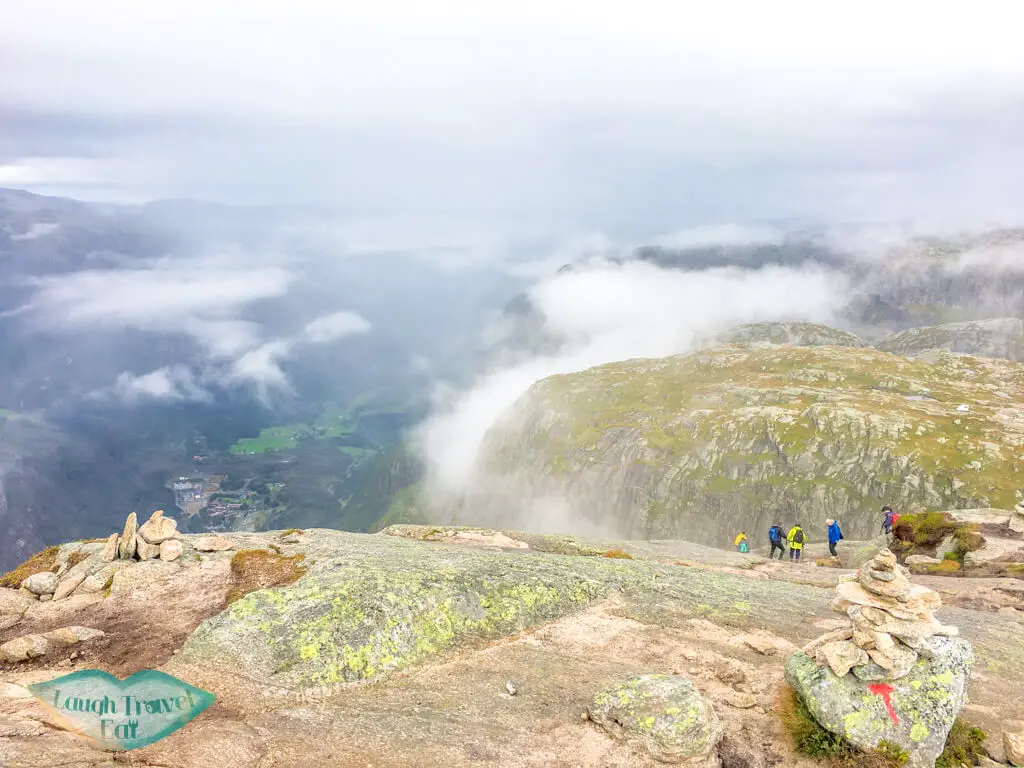
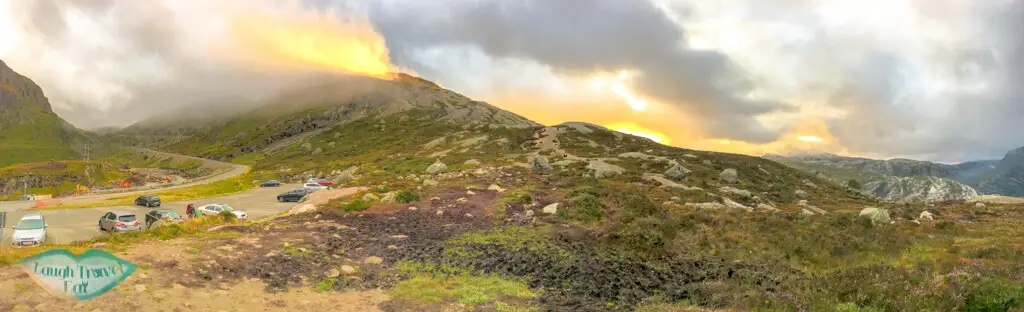
The view back down to the parking lot is scenic as you can tell from my photos.
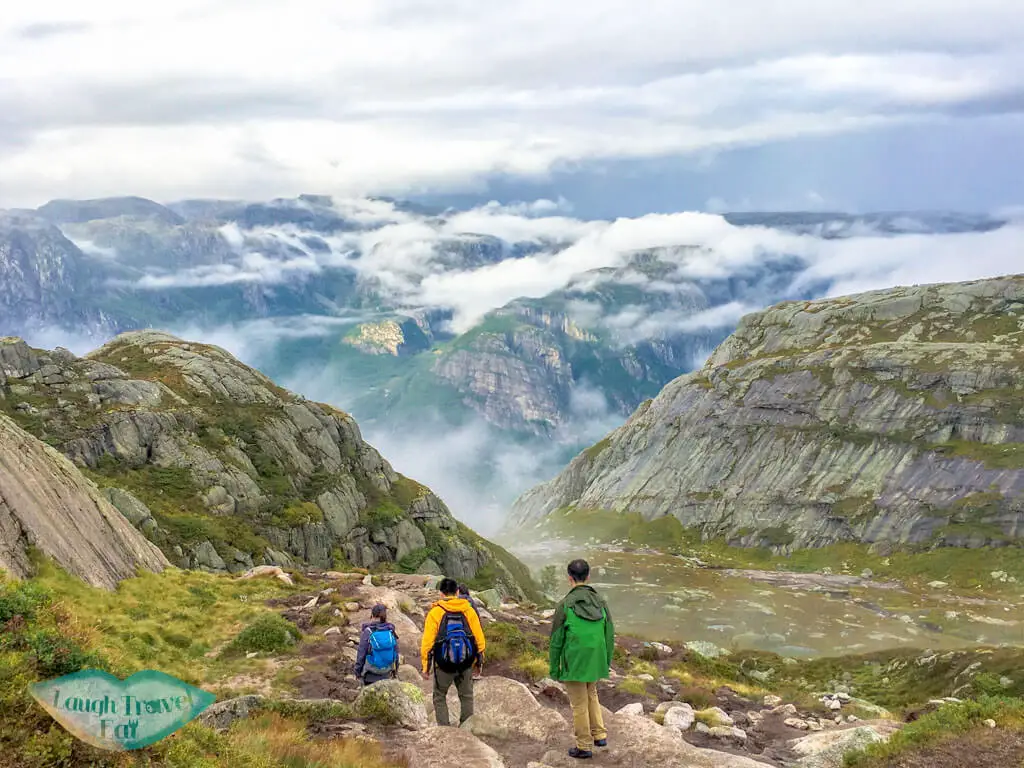
On my way down, I found it easier to descend on the ground rather than using those chain on the rock as it provides you with better grip and flat stepping ground.

However, this is not the case for the last steep descend as there are all rock and no soft landing on the side. The chain is very useful at this point.
Personally, I think the first steep climb/ the last descent is the toughest as the whole path is purely made of rock and doesn’t provide you with a lot of grip, especially when it is a bit wet on our way down. At some point, I felt like I am doing some climbing where I need to use the chain to lower myself down on a large inclined rock surface. I would say this climb is short and sharp. It has the drama, the excitement, and the scenery. What else can you ask for?
Where to stay before/after the Kjeragbolten Hike
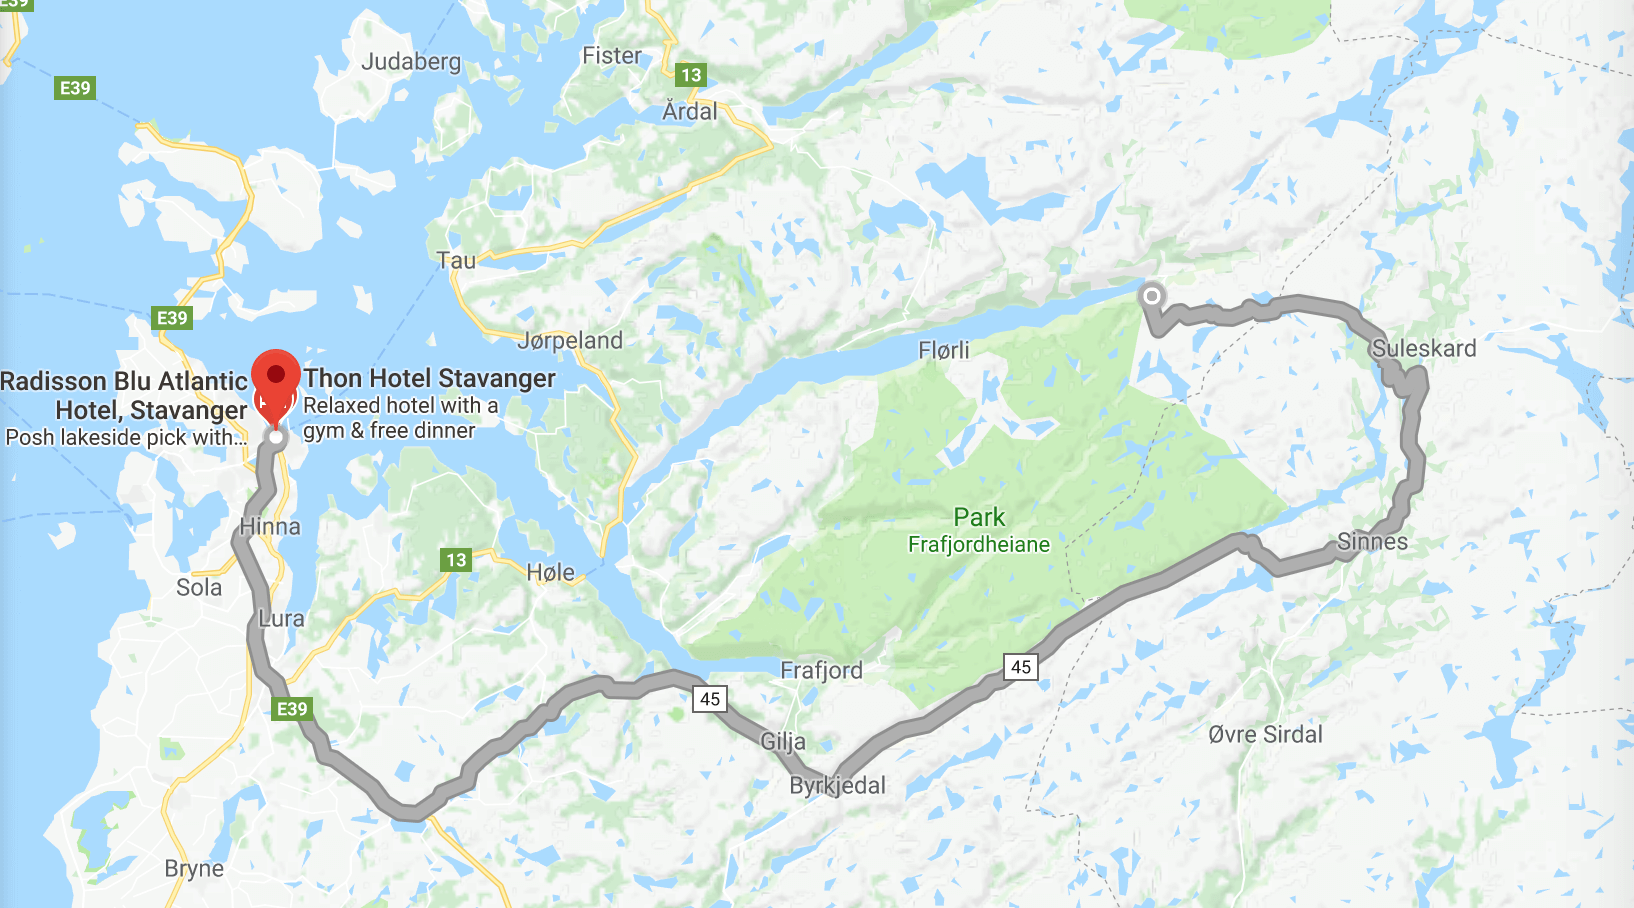
From the Stavanger (the biggest city in the area) to the Kjeragbolten hike is a 2 hour 40 minutes drive and there are many places you can stay along the way, below are some top picks (starting from close to far)
Lysebotn
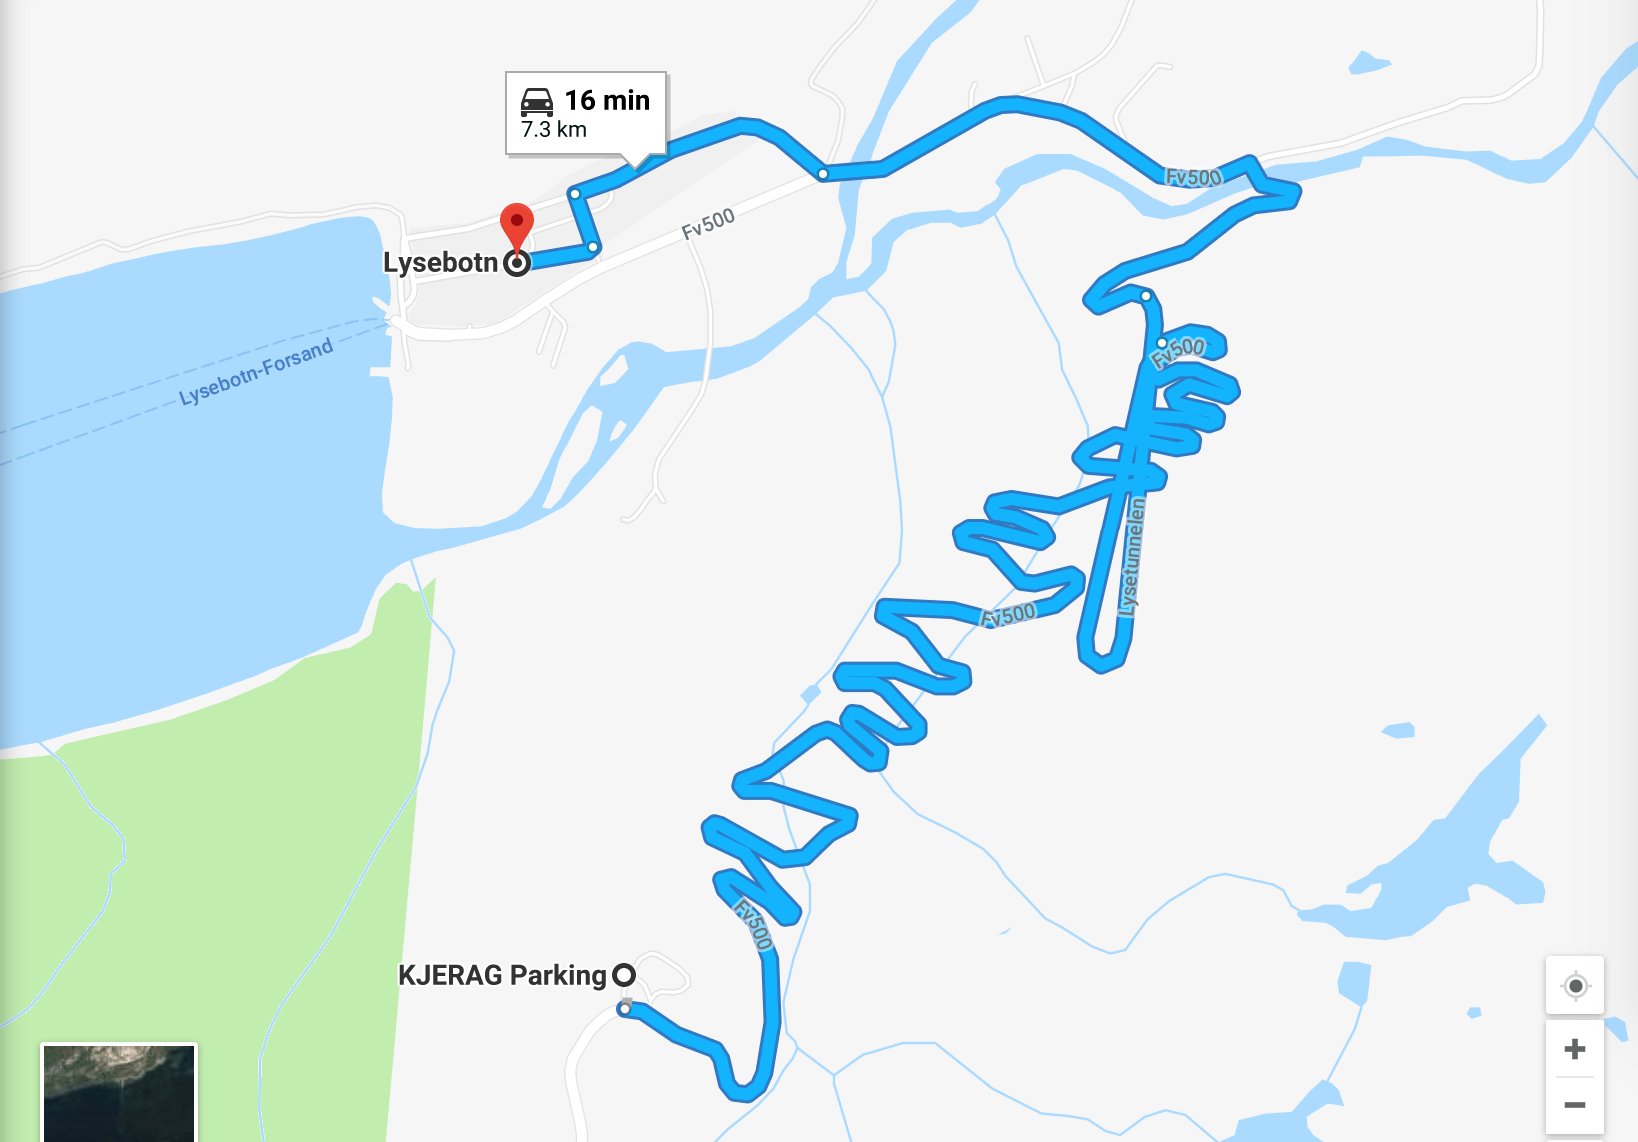
We stayed in a village called Lysebotn that night. If you fancy for some hairpin drive, you’ll love it (see the snapshot of google map below).
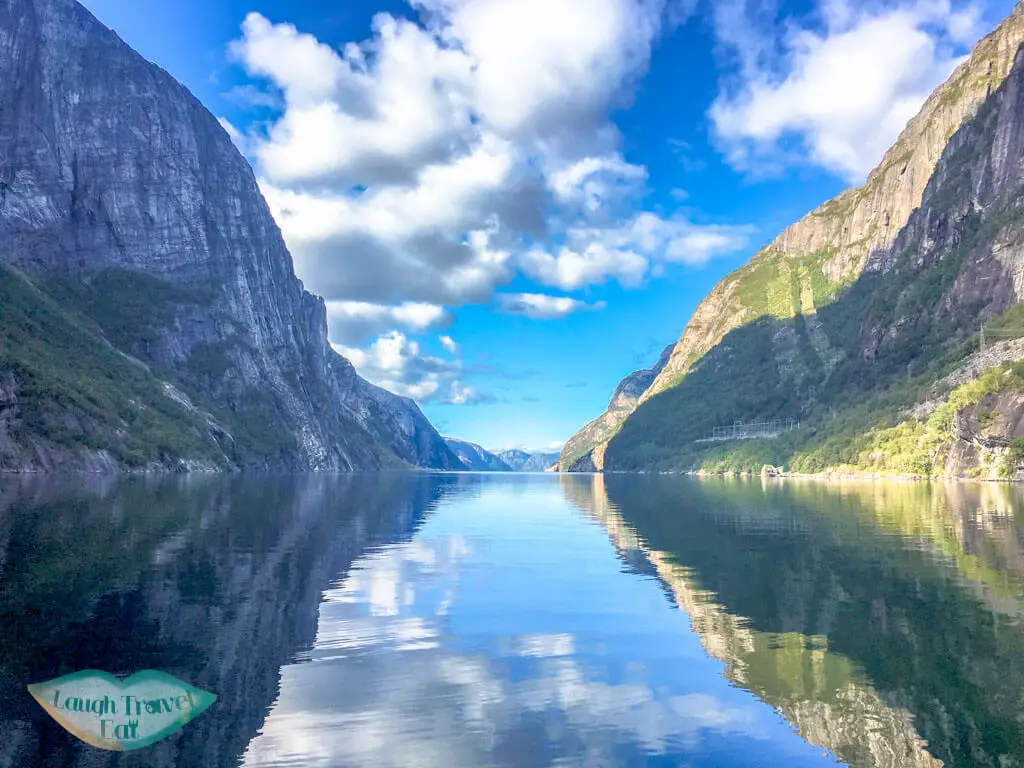
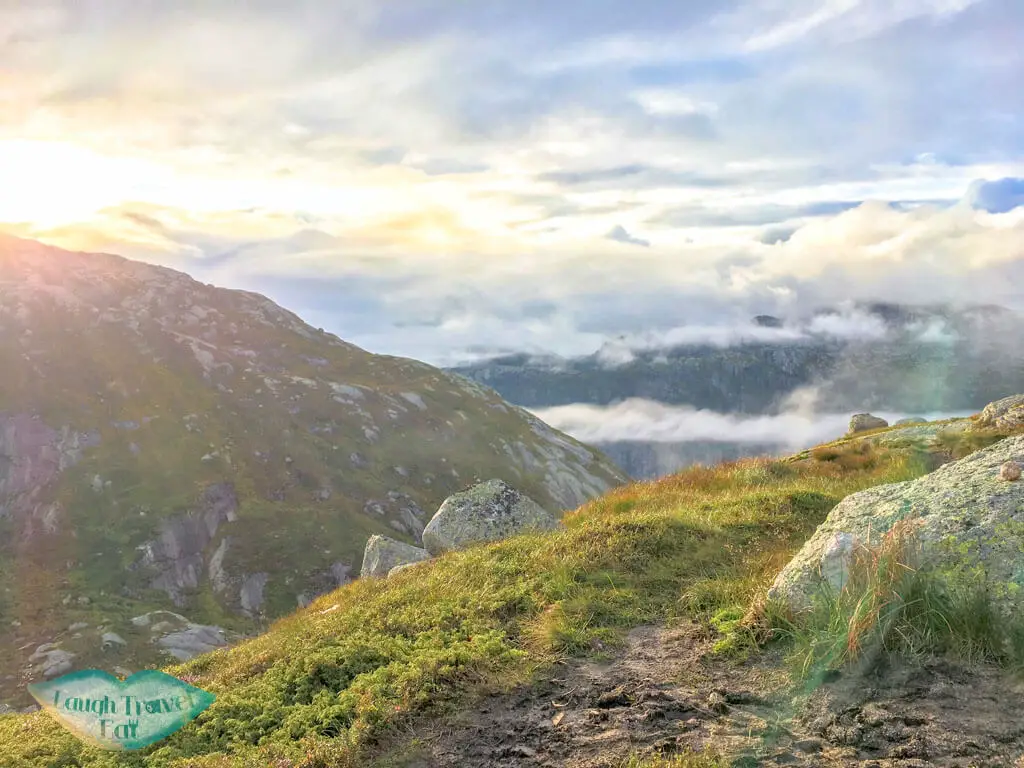
The next morning, we woke up to this:
Byrkjedal
Byrkjedalstunet is perfect for those who are looking to do more hiking and nature-orientated activities and stay in a Nordic style accommodation. It’s about 1.5 hours from the Kjeragbolten and close to many other attractions such as the Pulpit Rock.
Stavanger Town
With the main city less than 3 hours away, it is totally doable to stay in the center of Stavanger and venture out to Kjeragbolten for a day trip. Here are top accommodations with parking:
Budget: Stavanger Bed & Breakfast is a perfect choice for budget traveller with a great breakfast to add!
Midrange: Myhregaarden Hotel is a beautiful hotel right by the river with a traditional charm.
Splurge: Thon Hotel Stavanger is one of the most top rated in Stavanger and ideally located in the center of town.
Note: this post contains links, which means I get a % of the sale if you click through and purchase something but at NO COST to you