Adventure, Asia, National Parks
Mt Fuji itinerary: hiking Yoshida trail in 24 hours
Aug
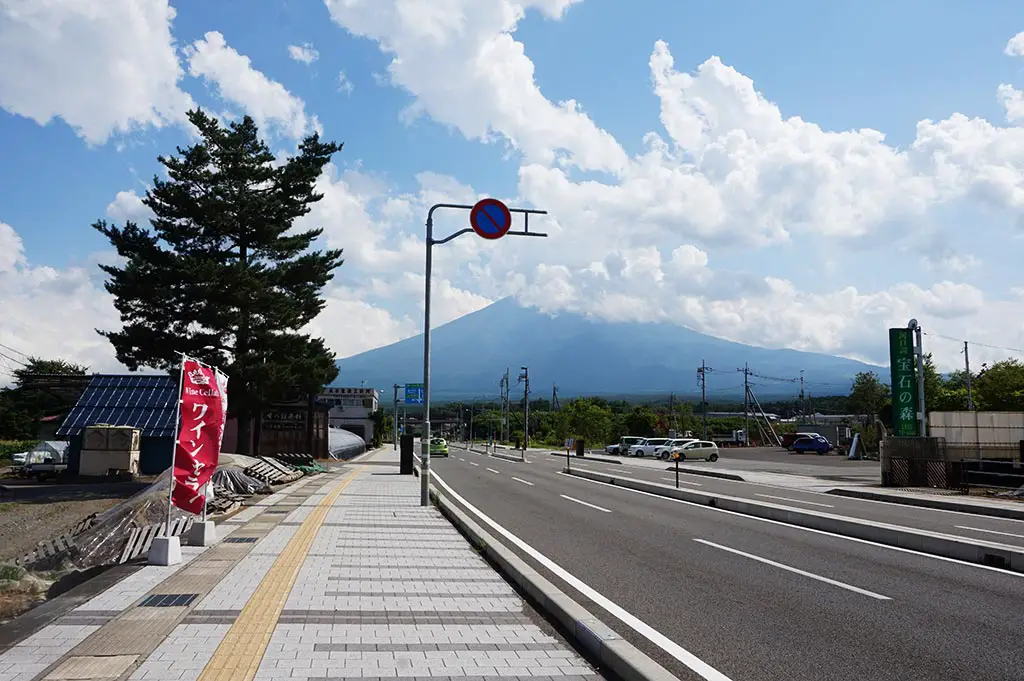
Mount Fuji is the most famous mountain in Japan and a dormant stratovolcano. Hiking it is on the bucketlist of many Japanese and tourists, out of its numerous trails Yoshida is the easiest. Its snow-topped peak is an iconic sight in Japan and found throughout google images. With an elevation of 3,776m, it is the highest mountain in Japan as well!
Note: we’ll mostly be addressing the Yoshida Trail from 5th station up to 10th station in this post – if you have absolutely no idea what I’m talking about, it is the easiest route up to Mount Fuji summit and I would recommend reading on.
Contents
How to get to Mount Fuji for hikers
The easiest and fastest way to get to Mount Fuji is to join a tour, as they’d include transport to and from (usually Tokyo). While there are public transports to Mount Fuji, it’d be beyond exhausting after you come down from a hike just to have to wait for transport.
For those who want to spend more time around Mount Fuji area, staying at Kawaguchi is a good idea beforehand as it allows you to adjust to the altitude.
Another thing to put in mind is that there is more than one starting point – but more about that later.
How to get from Tokyo to Mt Fuji
You can get a bus from Shinjuku station in Tokyo to Mount Fuji Subaru Line (Kawaguchiko) 5th station with Keio Bus, although the schedule is only regular during July and August. You can find the time table for 2019 here.
There is also the train, however, it’d involve more changes but is the cheaper option. You can take it to Odakyu.
Mount Fuji hike season
Mount Fuji, with its elevation, is covered in snow at its peak for 5 months of the year. The top of Mount Fuji is only open to hikers from early July to early September, with the other months being too cold. The dates vary every year, for 2017, it’s from 10th July to 10th September, check on the Mount Fuji official website here if in doubt.
If you aren’t a keen morning person, make sure to go later in the season so it’s further from summer solstice and the sun rise later. Do note that it also means the sun set earlier!
Mount Fuji hiking trails and stations
Yes, there are numerous different hiking trails up Mount Fuji, as there are different stations.
Let’s start with the stations.
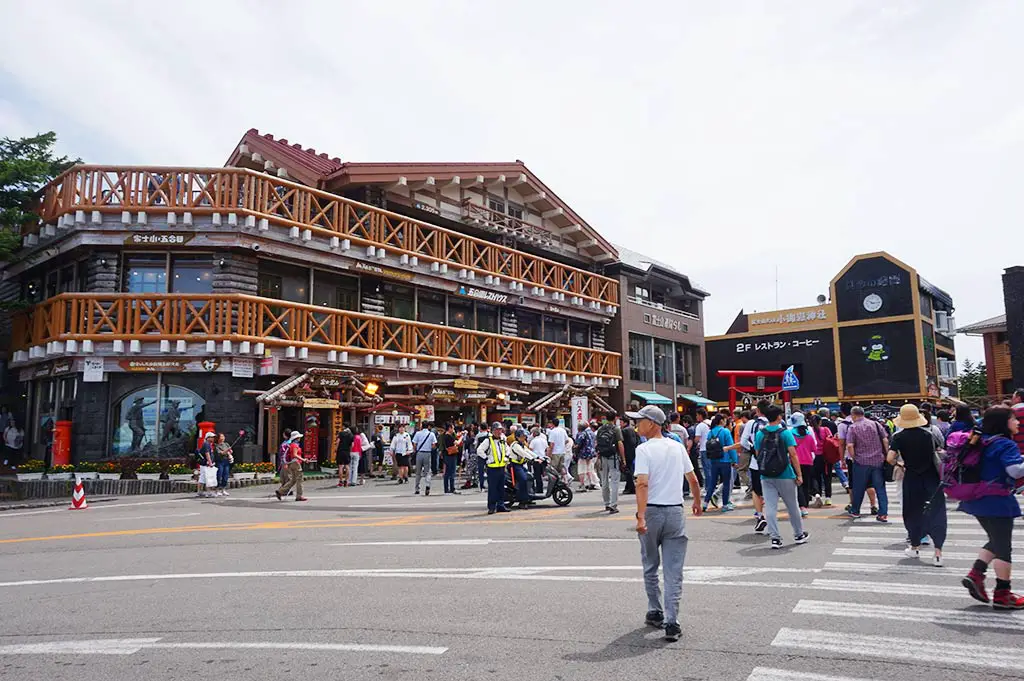
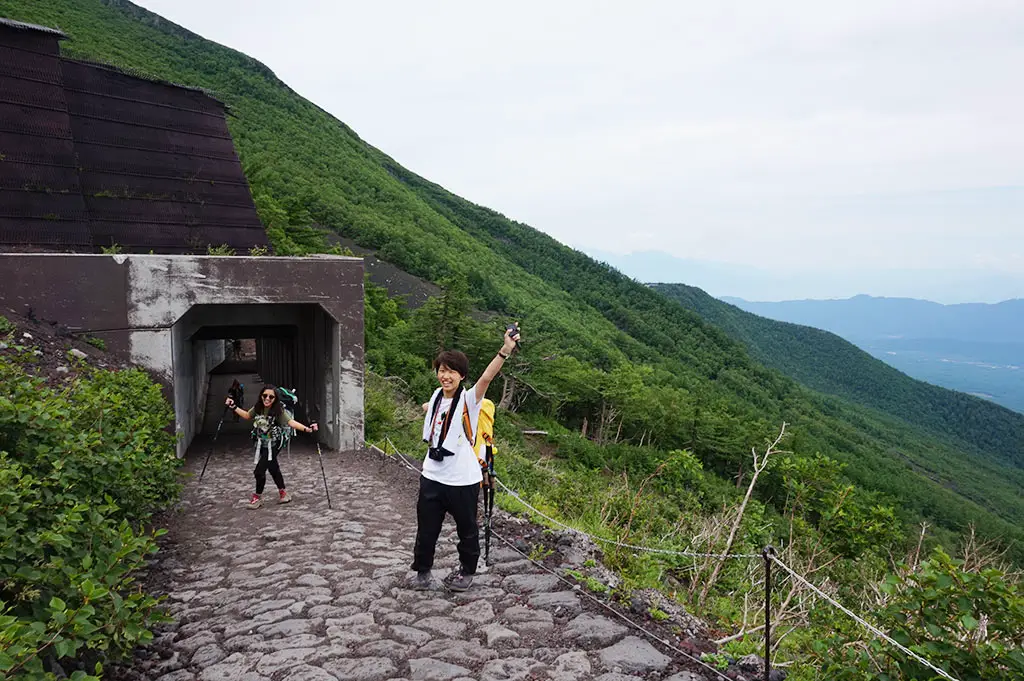
Mount Fuji has 10 stations, with the summit being the 10th. You can, of course, start at the very bottom at station 1, however, most people opt to start at station 5, the highest possible point to be reached in vehicles.
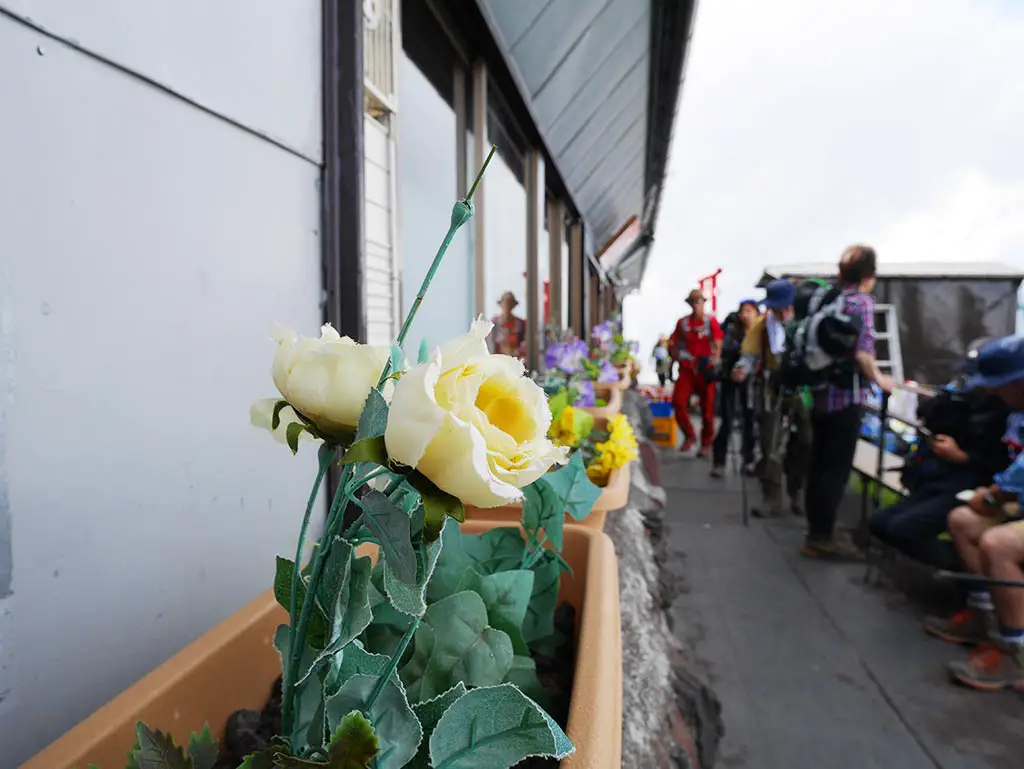
Each station has several different huts in clusters, so don’t get excited when you pass 5 huts and think you are at the summit! Since I only went past the huts on Yoshida trail, let’s move on to the trails first.
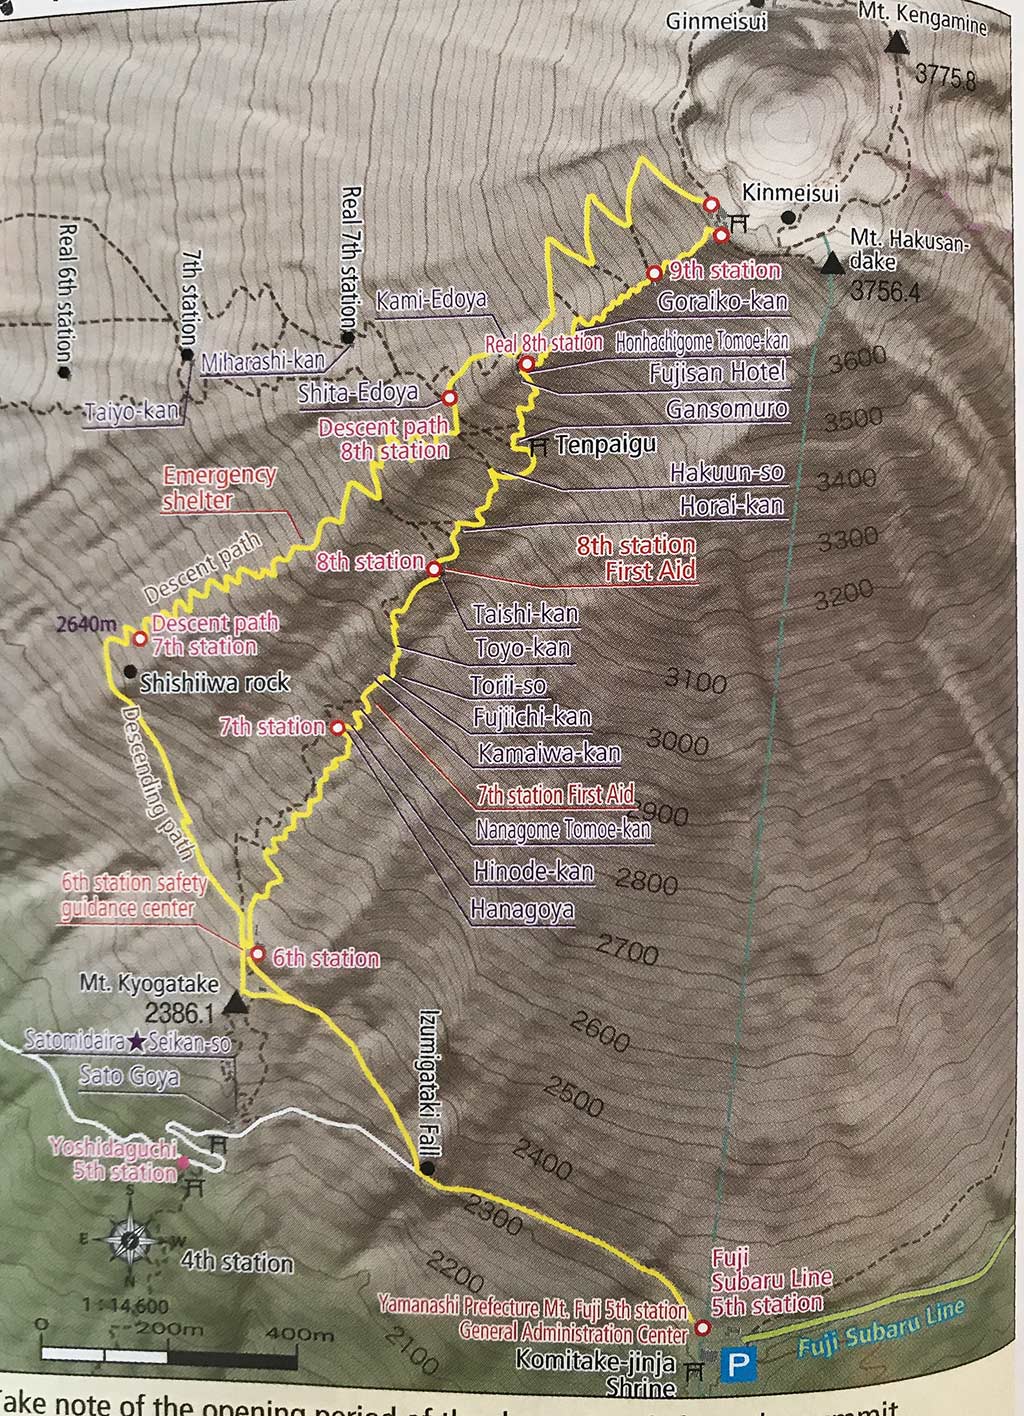
There is a total of 4 trails plus the crater rim trail. Each of the 4 trails has a different 5th station, which isn’t a problem to follow until you get to the crater, where naturally all trail converges.

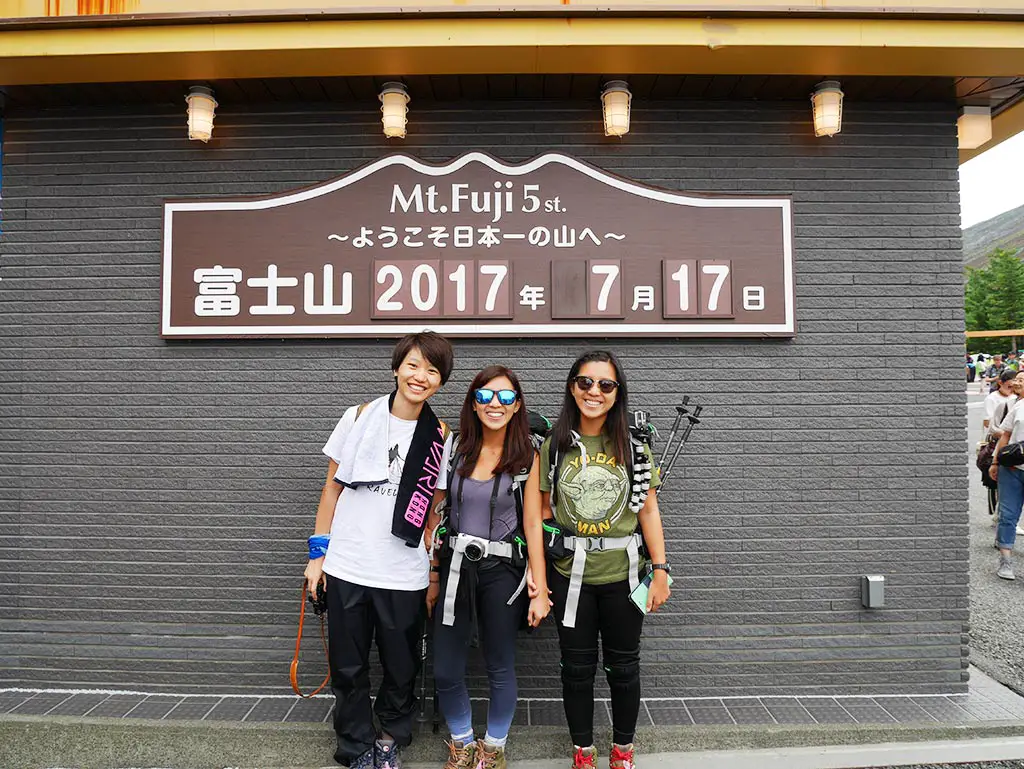
All the more reason why you should book with a tour because it’s confusing, to say the least. We started at the Subaru Line (Kawaguchiko) 5th station and took the Yoshida trail, which can also be split into the ascending and descending trails (which skips from real 8th station straight down to 6th station, passing descent path 8th and 7th station).
You can see a map of Yoshida trail here:
*From what I’ve seen, most individual groups go up from Subaru Line (Kawaguchiko) station on the Yoshida trail. I’ve only seen big groups on the other trails.*
Gears for Mount Fuji
Hiking up to 3,776 m elevation isn’t a task to be taken lightly as it gets cold up there. The trails are made of volcanic sand and rocks, making it slippery and not easy to navigate. You would need proper gear, especially boots, hiking sticks, and warm layers. You don’t have to bring everything yourself because let’s face it, it’s dead weight that you might only use once in your trip. There is various hiking gear rental place that you can rent gears from. However, below are a list of what you definitely need vs what you can rent (and also need).
To bring yourself (definitely)

- Gloves – I made the mistake of not bringing them
- Thick socks x 2– in case the weather is wet
- Fleece and or thermal layers– it gets cold up there, so I recommend wearing a few more layers too to take on and off
- Hat or ear muffs – it gets very windy and cold the higher you get, so you’d need it
- Leggings – or thermal leggings, something to wear underneath your waterproof trousers or on its own
- 1 L of water or so – we brought 2 L and didn’t really end up drinking them all, and you can always buy some more on your way. Make sure you throw some sports drink in as well.
- Snacks – you’ll get hungry, trust me!
- Wipes – you will need it to keep yourself clean because there is virtually no water to wash your hands with. Tissues are provided in toilet, but it doesn’t hurt to bring some of your own.
- Rubbish bag – you are not allowed to litter on the hike (or in Japan in general), but there is no rubbish bin so you must collect and carry your own trash.
- Change in 100 yens – every single toilet you’ll find on the way up and down will charge you, anywhere from 100 yen to 300 yen. Hence, prepare your change!
- Sunscreen – especially for the face. High altitude means higher UV light, therefore you must reapply frequently to avoid sunburnt.
- Fast Dry Towel – you might need to wash your face or wipe away sweats
- External Charger – there won’t be any outlets on the mountain. Bring an external charger and appropriate cords for charging your electronics.
- Sunglasses – it’ll provide some comfort to your eyes, too!
Things you can rent:

- Hiking Boots – yes, you would need some proper shoes if you want to go up safely. Ankle support is a great idea!
- Waterproof Jacket– the weather can be temperamental. While it didn’t rain on my hike, it is hard to say because of the altitude change.
- Waterproof Trousers – ditto above.
- Head torch – if you plan on hiking up to see the sunset, you are going to need to use a head torch or else you won’t be able to see anything!
- Hiking backpack – something to carry your stuff around and be ergonomic. It’s important that it allows your back breathing room, have a waist strap to distribute weight etc. You’ll need one with rain cover as well.
- Hiking sticks – yes, plural, because you’d need both. I know I did.
- Leg Gaiters – mostly for going down, it stops the volcanic sand from getting into your shoes. Trust me, it’s more useful than you think!
Optional:

- Tripod – if you are looking to do some long exposure shot at night or before dawn, you’d need a tripod. I used a gorilla pod for my GoPro
- Camera/GoPro – to capture those precious moments!
- Selfie Stick – I actually regret not having one to take better group photos!
- Knee Brace– if you have knee problems, you’d need some knee support, especially for going down.
- Respiratory mask– the amount of sand kicked up by people on their way down is ridiculous. Make sure you have to option to shield yourself.
Mount Fuji Environmental/ Entry Fee
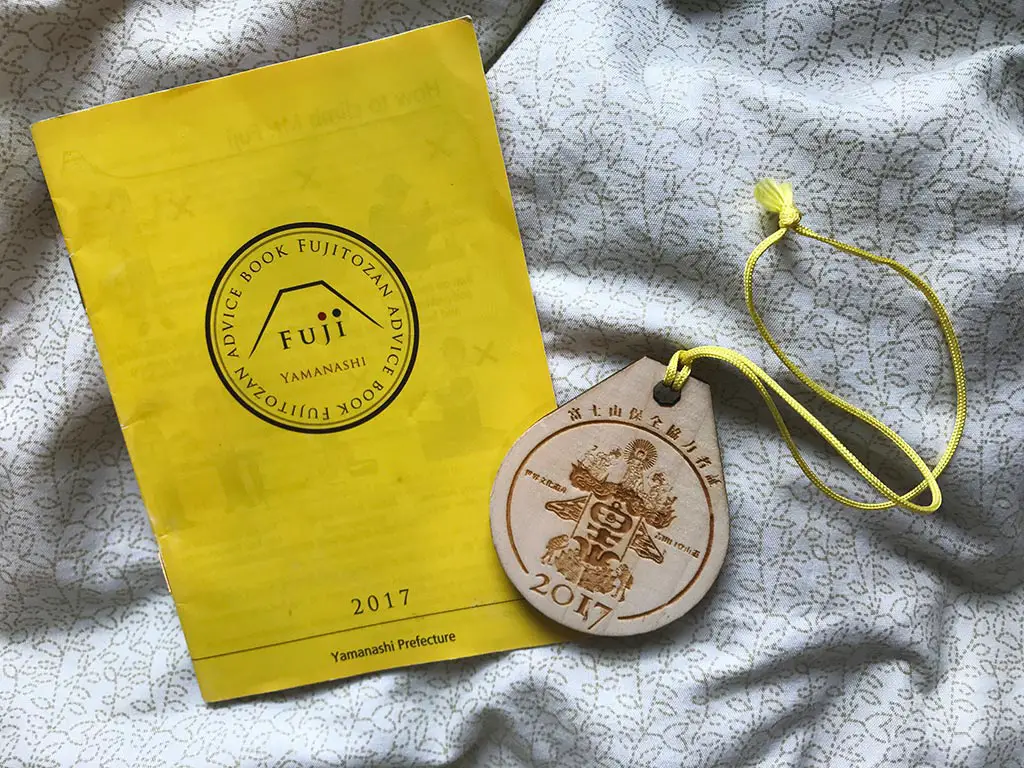
Whilst it is not compulsory to pay for hiking up Mount Fuji, hikers and tourists are encouraged to pay 1000 yen to contribute to the maintenance of Mount Fuji. In return, you are given a wooden badge and booklet to mark your contribution.
Yoshida Trail Specifics:
Where to rent gear for Mount Fuji
There are a few places where you can rent gears, but again, after my sister’s research, we decided to do it on the 5th station of the Yoshida trail. Not only is it somehow cheaper than the one en route to Mount Fuji, it’s somewhere that you definitely have to pass through.
I’d recommend booking it online a few weeks before your travel, in fact, do it as soon as you have booked a tour!
You can find the website we booked here.
Although it is all in Japanese, almost all of the choices and options are displayed with photos and it isn’t hard to guess. Do note that you can’t pay by bank transfer from out of Japan and would have to pay in PayPal.
(現地受取 means self pick up, 配送 means deliver)
We rented what I listed above and it costs about 100 USD to rent them. Not cheap at all, but they are well maintained and clean.
We then picked it up in the shop at Subaru Line (Kawaguchiko) 5th station. They have a changing room downstairs and locker upstairs to store your belongings, and it’s straight on the route.
How long does it take to hike Mount Fuji on Yoshida Trail?
Aha, isn’t that the million dollar question? There really isn’t a standard answer, since it really depends on where you start, how much break you’d take, and whether you are up there to see the sunrise.
The official estimated time for ascent is 6 hours 10 minutes, descent for 4 hours 5 minutes.
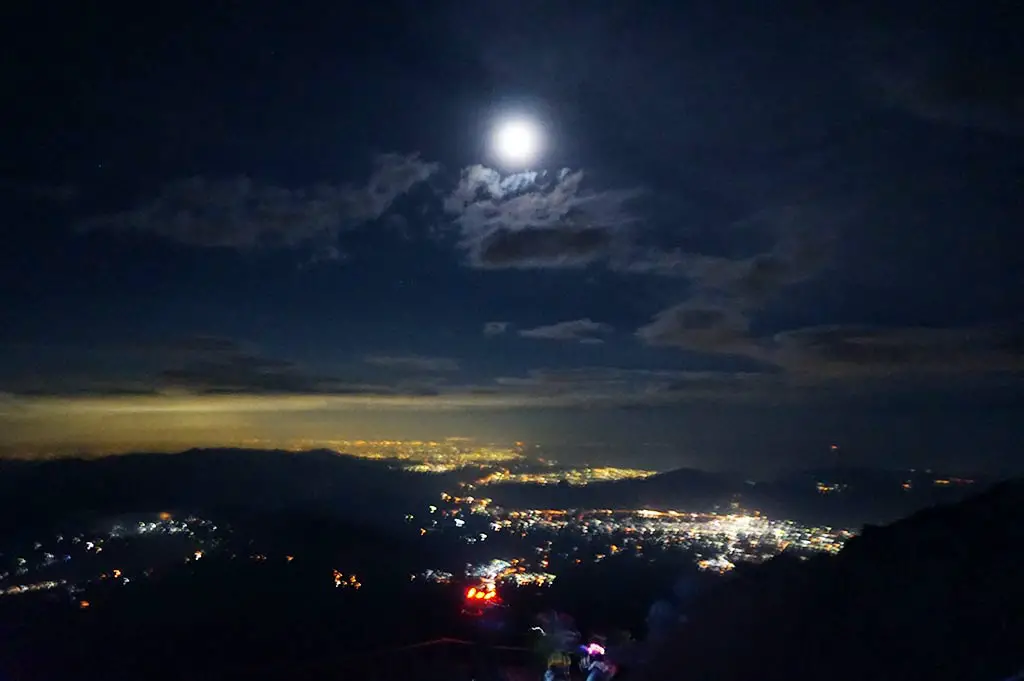
For reference, we started hiking at 12 pm on day 1, on elevation 2,305m at the 5th station. We reached the second highest 8th station hut around 18:15. We then had dinner, slept for a while and started going up the top at 1:20 am (yes, you didn’t read it wrong).
We reached the summit just after 3:00 and stayed there to see the sunrise. After defrosting, we hiked around half the crater to the post office and back, heading down around 6:45. We reached the 5th station at 10:30 am.
That accounts for some rest stops along the way, which you would sorely need for both your feet’s sake and to acclimatize to the altitude. I’d actually budget more time, too, if you aren’t a regular hiker.
Short version: we were there for 24 hours and hiked for about 12 hours of the time. But I’d budget more time if I can.
What to expect when hiking Mount Fuji?
- Lots of switchbacks – if you are not accustomed to it or have bad knees, make sure to take a rest every now and then.
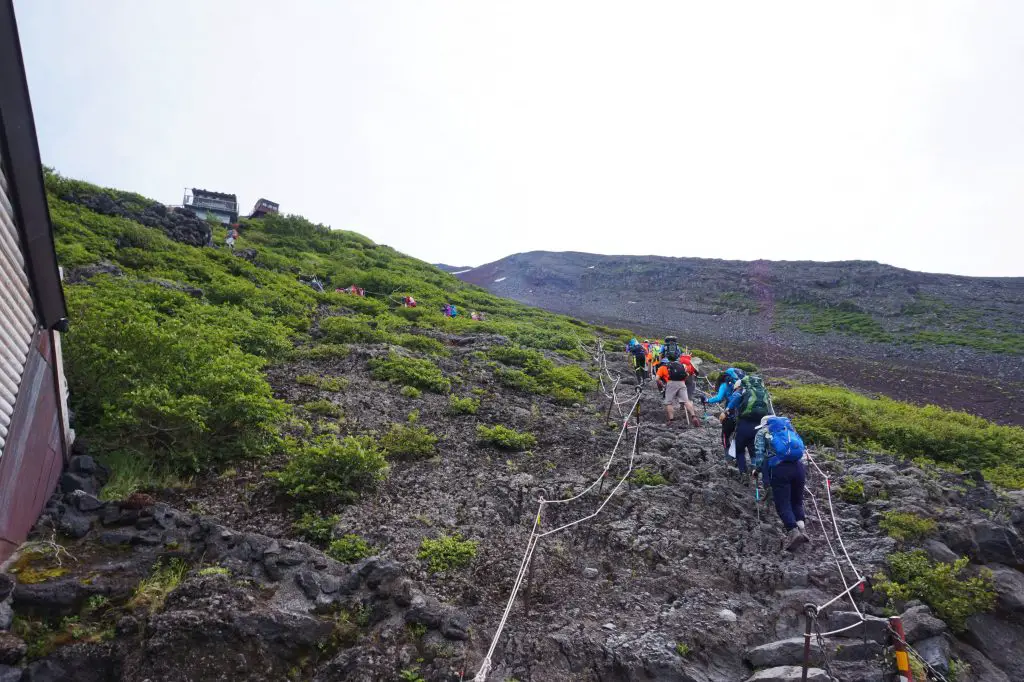
Alternate sandy and rocky terrain – it is mostly sand, however, be prepared to be on your hands at certain stages.
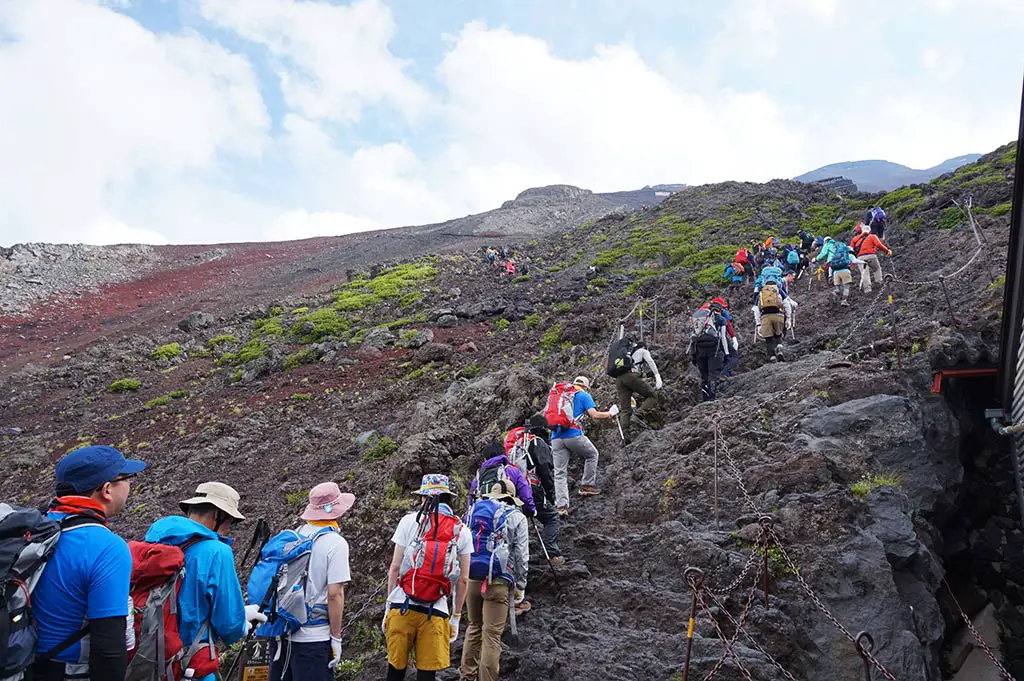
- The occasional queuing – there is numerous group and sometimes you’d get stuck behind them!
- More civilization than expected – with the huts, you are never too far from help, shelter, or refreshment point! But between 7th and 8th, 8th and 9th, and 9th and 10th are longer stretches.
- Use the heels of your feet when you go down – while it’s scary business going down sandy volcano terrain, using your heels means you go faster and more stable.
- Sand in your face – it’s less of a problem going up, but our face were constantly attacked by sand and dust drifted up from people’s walking. You’d be wise to wash it when you get down.
- Altitude sickness – while not everyone has it, going from sea level to over 2,000 m in elevation can cause discomforts such as headaches, fatigue, dizziness, and loss of appetite. The key is to go slowly and take lots of rest.
- WiFi signal – surprisingly, each of the huts does have free WiFi, however, I didn’t have much luck connecting to them. But I have my own WiFi egg and those worked like a charm!
For my experience, you can watch my Day 1 and Day 2 vlogs here:
Mount Fuji huts
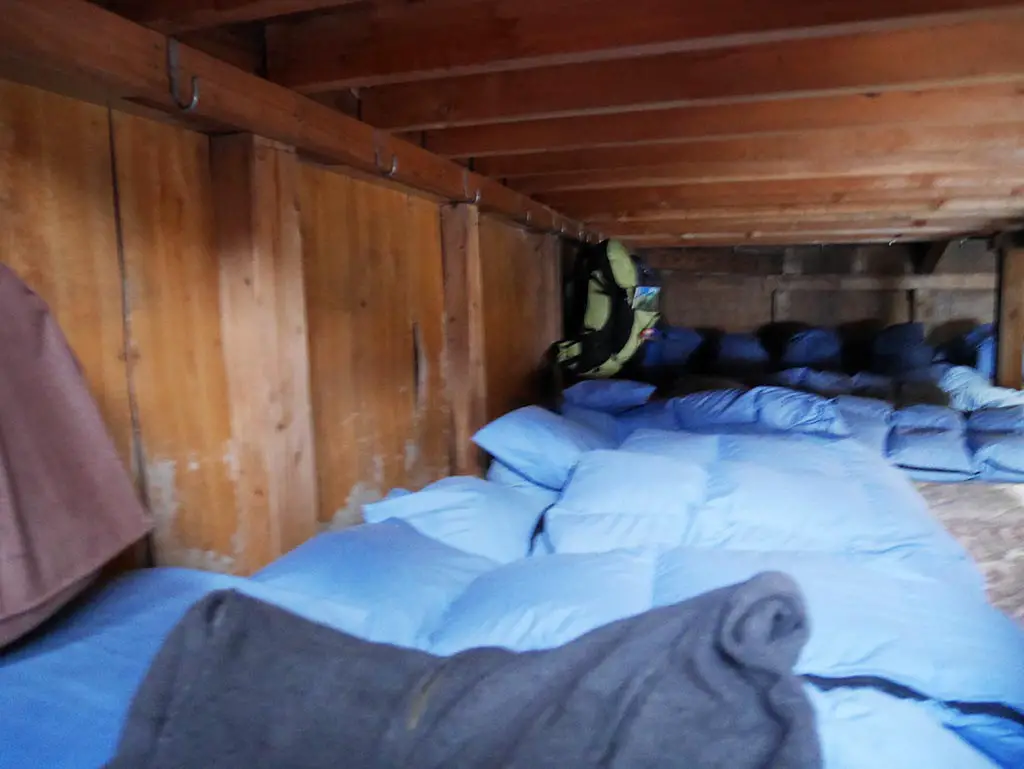
Yes, there are huts along Mount Fuji, but before you get your hopes up with images of alpine style huts with a warm fire and what not, these huts are very basic and only aim to provide shelter. They are called Ryokan.
We got our accommodation through our tour company on the top of 8th station. They are all similar and the location is definitely more important than anything. You can, on paper, just walk up and ask if they have space, however, making reservations is the best guarantee. You can do so (officially) here, but the website is entirely in Japanese, so if you can, booking a tour is the best option.
Here’s what to expect in terms of accommodation:
- There is NO shower.
I’ve heard that a few do have it, but I don’t think it’s worth carrying all your toiletries up to have a shower if you are going for 2 days 1 night only.
- There isn’t a sink either – you’d have to rely on your wipes to clean yourself.
- The accommodation is very basic and involves rows of sleeping bags (with pillows though, both provided) on three platforms, each with dozens of people squashed next to each other. So bring some ear plugs.
I would recommend getting to 8th station or at least the very top of 7th to minimise the amount of walking you have to do in the early morning to reach Mount Fuji for sunrise. But if you don’t plan to see the sunrise, then anywhere is fine.
Mount Fuji climbing tour
A friend had just hiked the year before, and after extracting information from her, we decided to go with Sunshine tour – a local agency.
While you don’t need to know Japanese to hike Mount Fuji, you might need to get your google translate ready when you book and for the confirmation. We booked the self-guided tour, which means we would hike up and down by ourselves, but the tour would bring us to and back from Mount Fuji as well as organize accommodation on Mount Fuji for us.
Here is their website – the tour cost ~131 USD in 2017 summer
We were able to add an Onsen option (i.e. hot spring) after the hike, which was sorely needed since we could take a shower and soak our tired muscle. Adding lunch was only as simple as throwing in an extra 500 yen.
In case you aren’t away already, but in Japan, Onsen can only be visited butt naked in single sex. If you are uncomfortable, then don’t book!
KEY NOTE: if you do opt for going with a local tour, the number one thing you need to confirm with them is the meetup time for the next day after hiking down Mount Fuji. As it can be different from the itinerary. This is the only part of the tour that can be challenging, as we had spent more time on the summit than we planned and ended up having to speed walk down despite the tiring hike.
Things to do in Mt Fuji
What is there to do in Mount Fuji? Aside from hiking, that is.
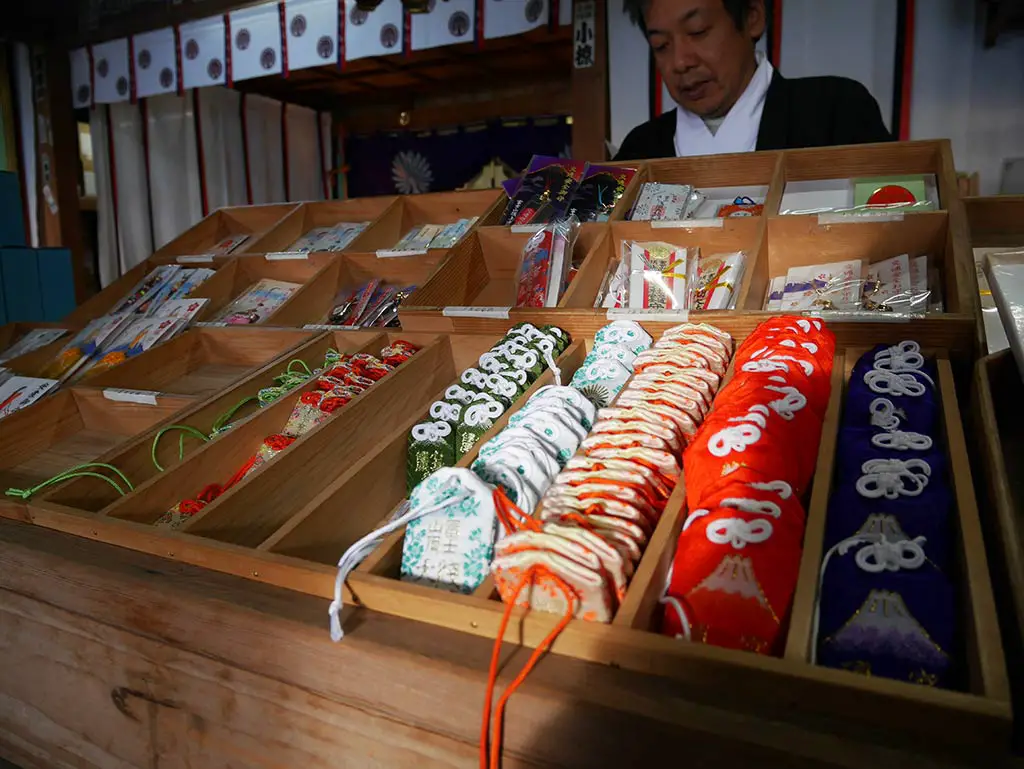
Stamps from each Mount Fuji hut

For starters, each hut has a stamp that you can “purchase”, but you need to have a wooden stick to have it be stamped on. These aren’t postal stamps, but cast iron marks that are burnt on wooden sticks. You can buy this at the hut, of course, but it’s cheaper at the 5th station.
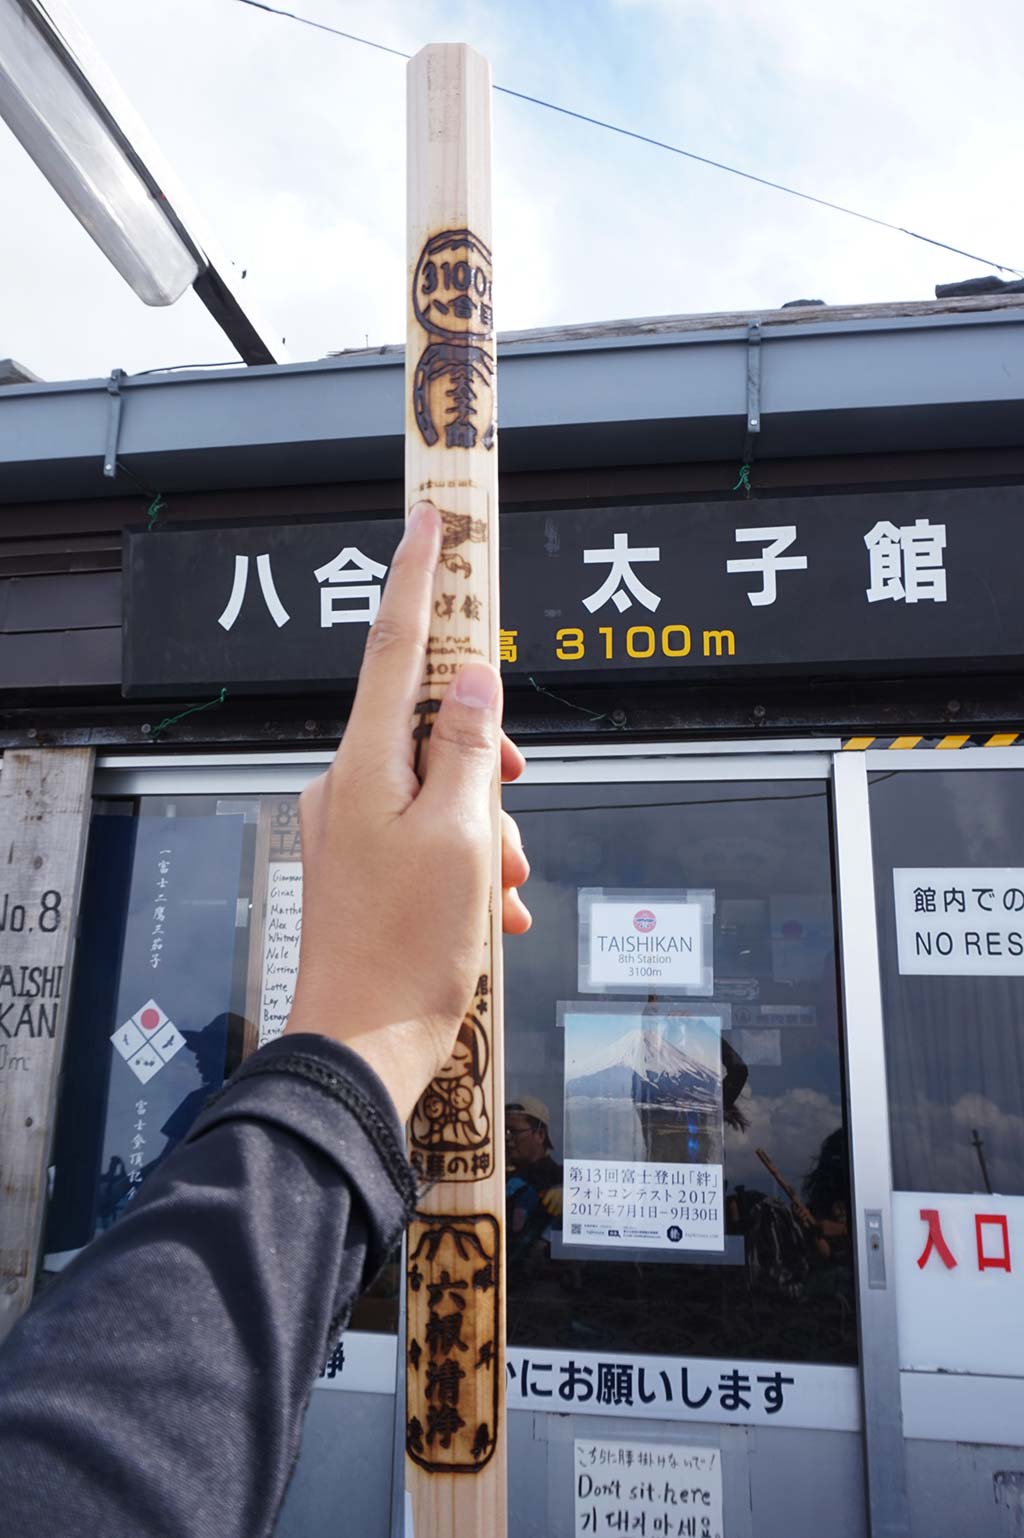
We each purchased a medium sized one, but it soon became apparent that if we wanted every single stamp on at each hut, it would require more than one medium stick. Some people buy the large one to use as a hiking stick, but it isn’t very comfortable on the hand. There is a small size as well, so consider carefully when you buy it at the 5th station.
Each stamp usually costs 300 yen, but range from 200 to 400 yen or even 500 yen (for 2). It’s up to you to decide if you want a stamp at every station, there are certainly some that aren’t very pretty.
If you are a perfectionist, then be warned that some of the stamps can be burnt on too strong or too weak.
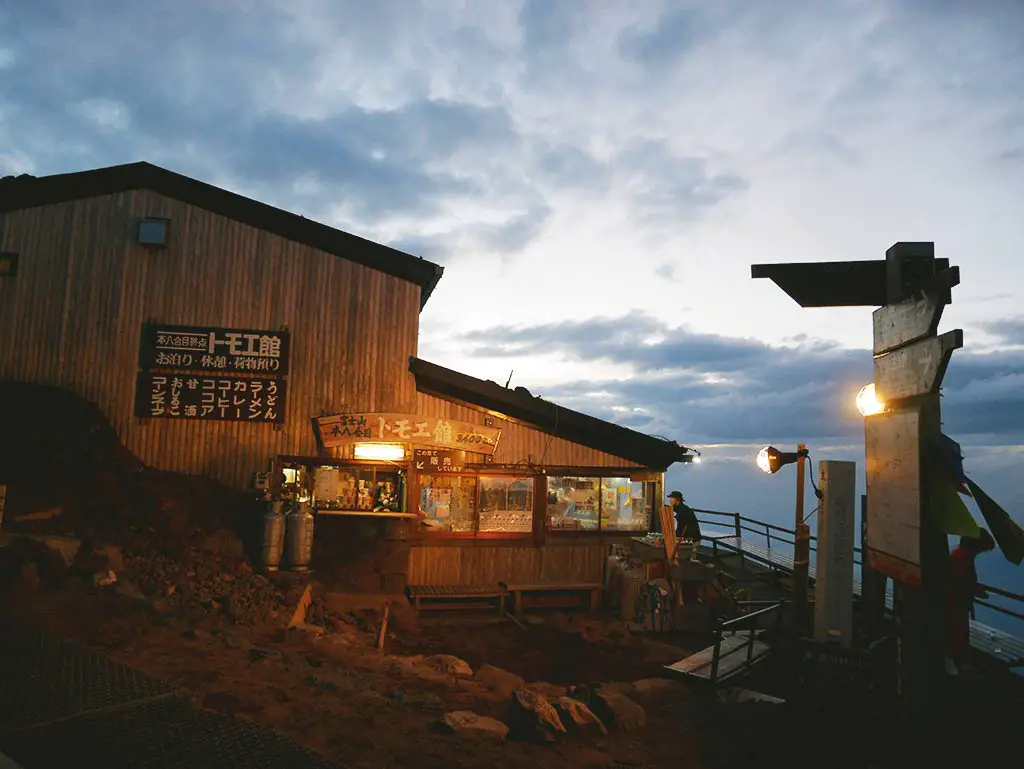
For the Yoshida trail, there is a total of 16 huts plus the summit. That’s at least 16 stamps. Below is a list from low to high altitude :
- 6th Izumigataki Fall (Sato Goya hut and Satomidaira hut)
- 7th – Hanagoya, Hinode-kan, Nanagome Tomoe-kan, Kamaiwa-kan, Fujiichi-kan, Torri-so, Toyo-kan
- 8th – Taishi-kan, Horai-kan, Hakuun-so, Gansomuro
- Real 8th station – Fujisan Hotel, Honhachigome Tomoe-kan, Goraiko-kan.
On the descent path, there are 2 huts on the 8th station:
- Kami-Edoya – only a few steps away from the Honhachigome Tomoe-kan, it’s where we stayed and the closest hut on the descent route to the ascent route.
- Shita-Edoya – further down the descend path, between Hakuun-so and Gansomuro in terms of elevation.
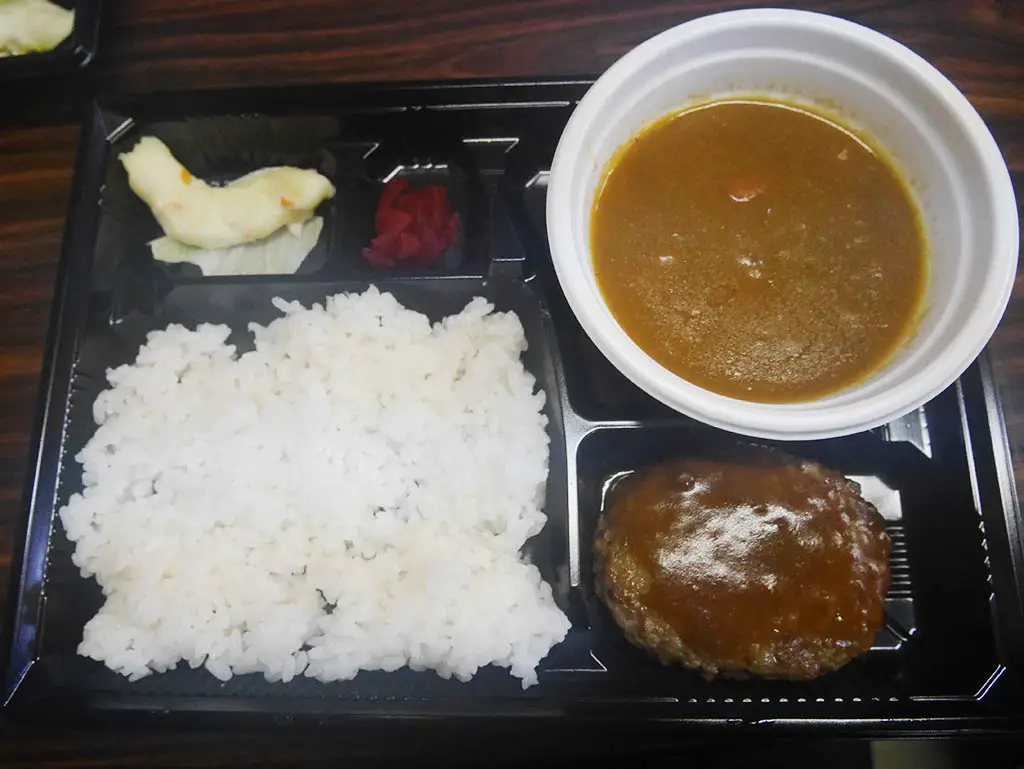
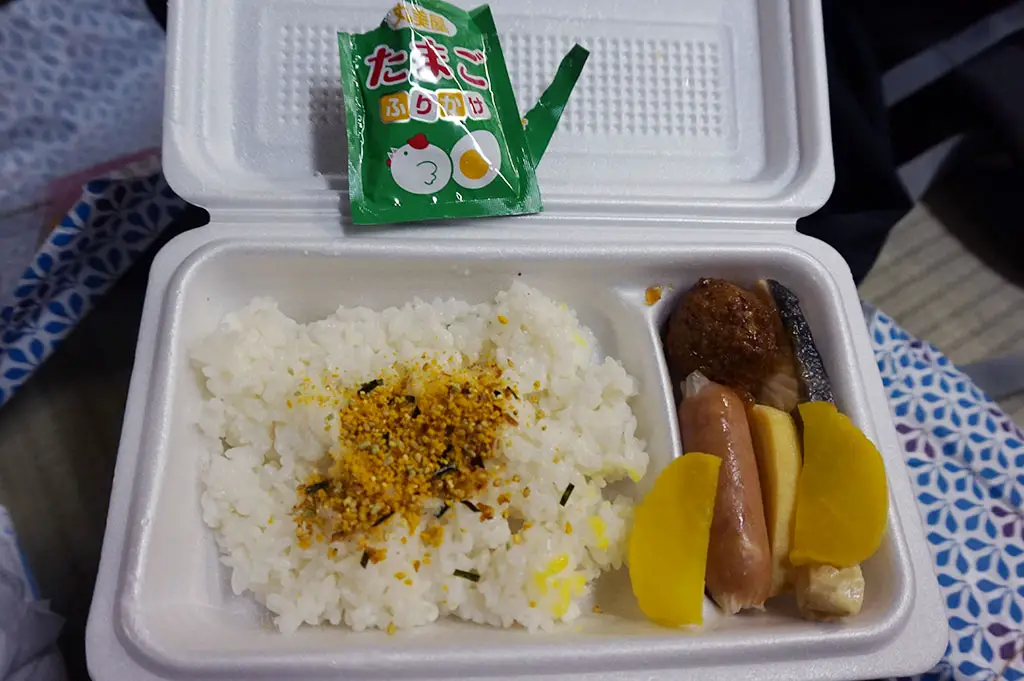
Snack at the huts
The first proper hut we passed was at the 7th station, and their rice burger was amazing. Each hut sells similar things, but the rice burger is a special at Hanagoya花小屋.
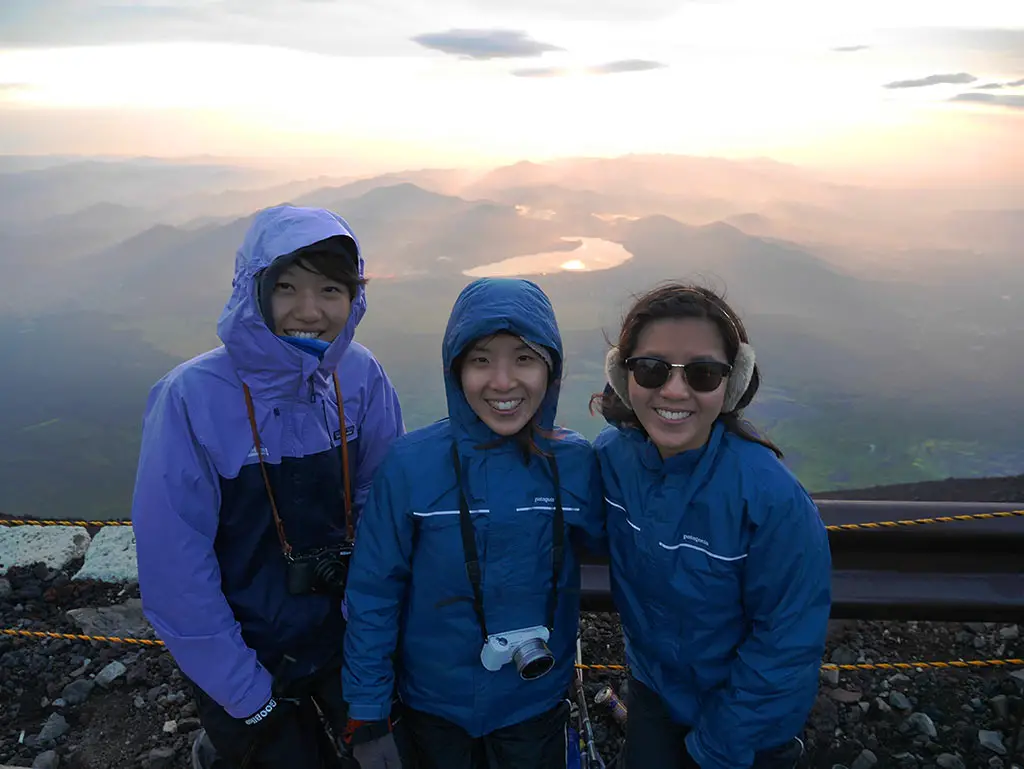
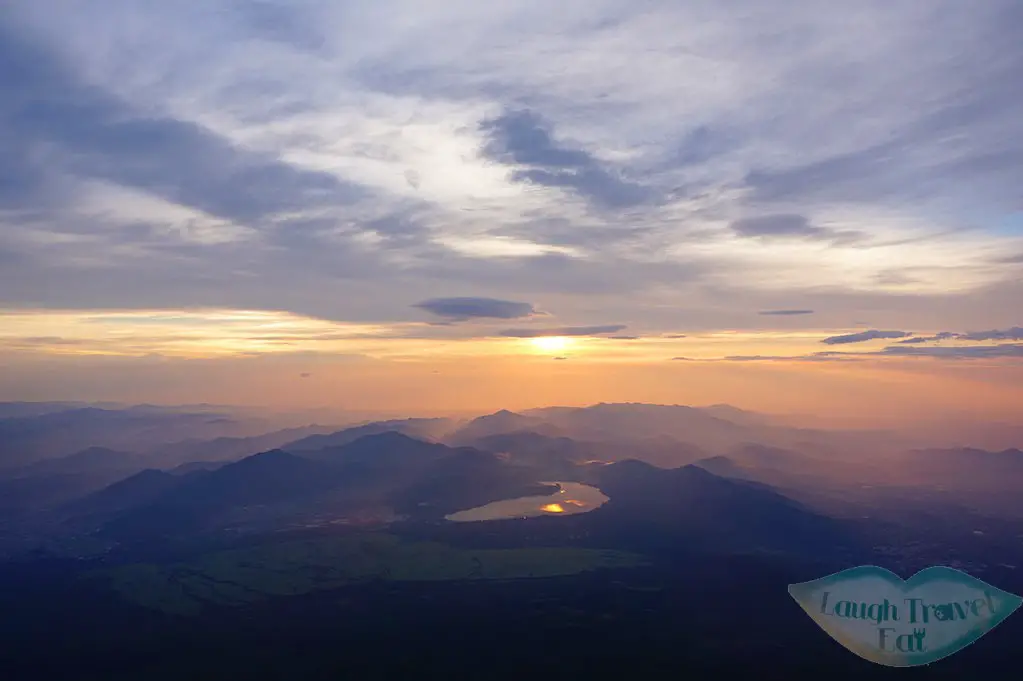
Mount Fuji sunrise
The Mount Fuji sunrise is many people’s key attraction on their hike. While the task seems simple enough, there are a few things that (I) people can forget:
- You’ll need to sleep early and wake up just after midnight – if you want to get a good seat and beat the crowd for the sunrise, we got going at 1:20, arrived at 3:00 and sunrise at 4:45.
- There will be a million others wanting to do the same
- It’s going to be cold – it was way colder than I imagine and I didn’t bring any gloves. Needless to say, I was frozen stiff, and I wasn’t really wearing enough layers either. My sis, my friend and I all felt like we were close to getting hypothermia and spent a good twenty minutes shivering in the mass hut trying to defrost.
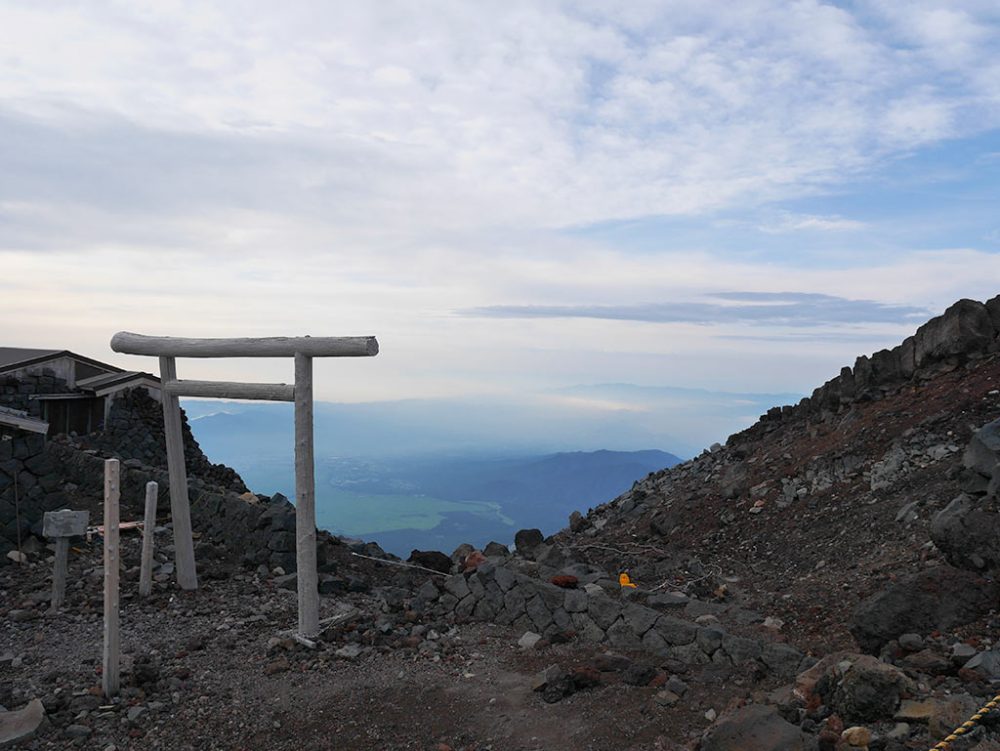
Fuji summit
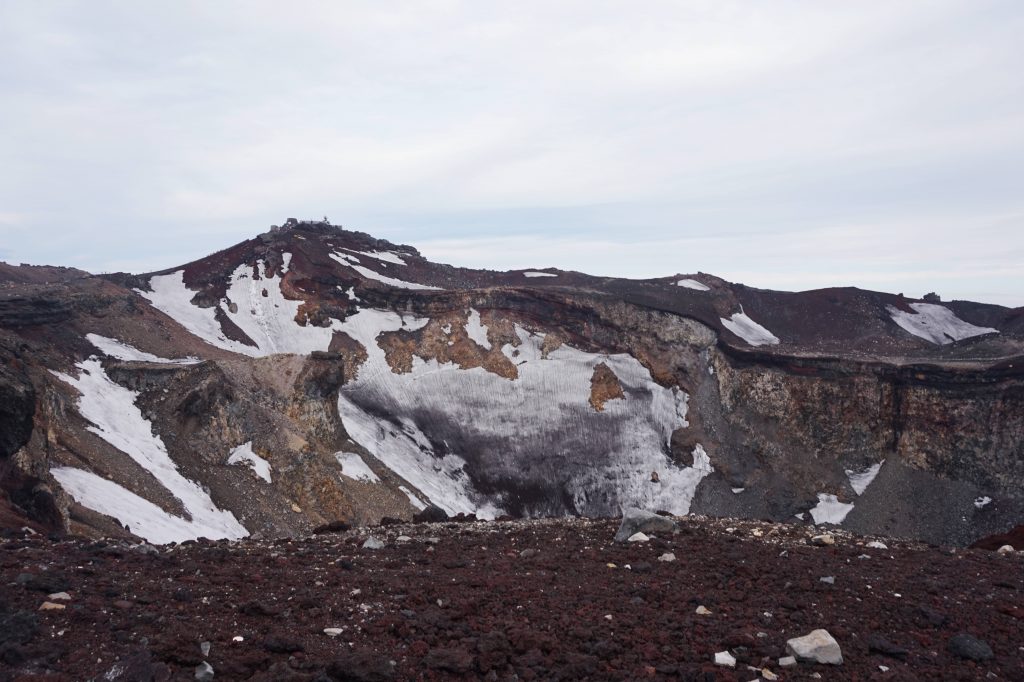
I didn’t expect the Mount Fuji summit to have anything, but I was pleasantly surprised to find several establishments as well as outdoor seating and vending machine on arrival at a bleary 3 am.
The shops around the summit doesn’t open until 6 am, or at least after sunrise, so don’t expect to be able to run some errands. However, for those freezing to death, you can purchase hot beverages for 400 yen from vending machines or keen business man.
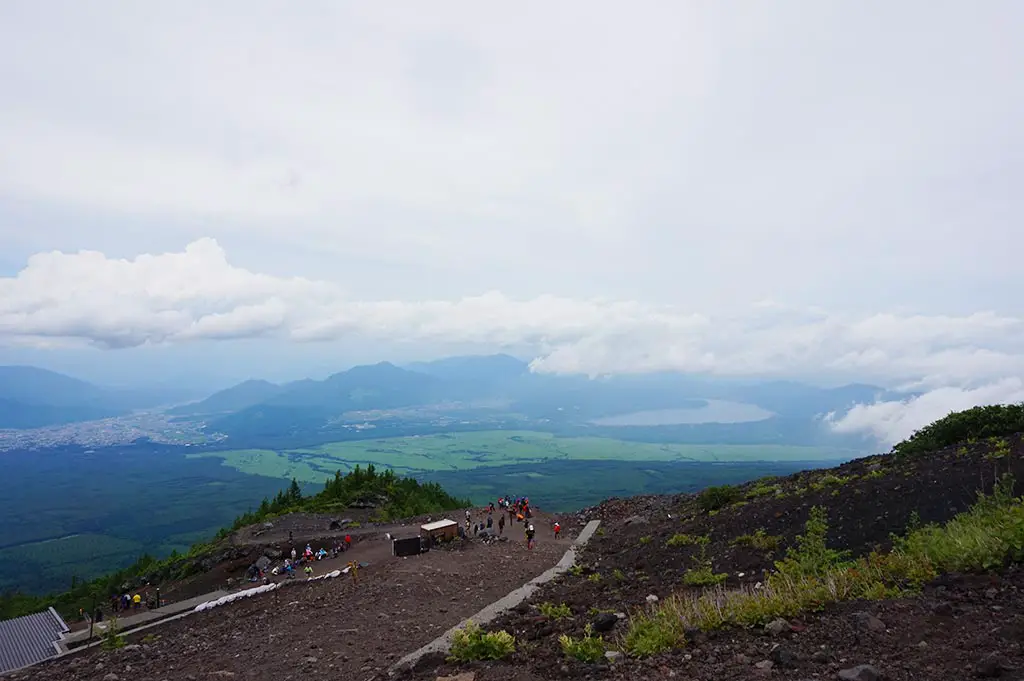
You can buy a plethora of souvenir at the summit, and they have two shrines as well for those who wants to buy a charm. If you are going up the Yoshida trail, like us, you won’t be close to the post office, which is all the way on the opposite side of the crater.
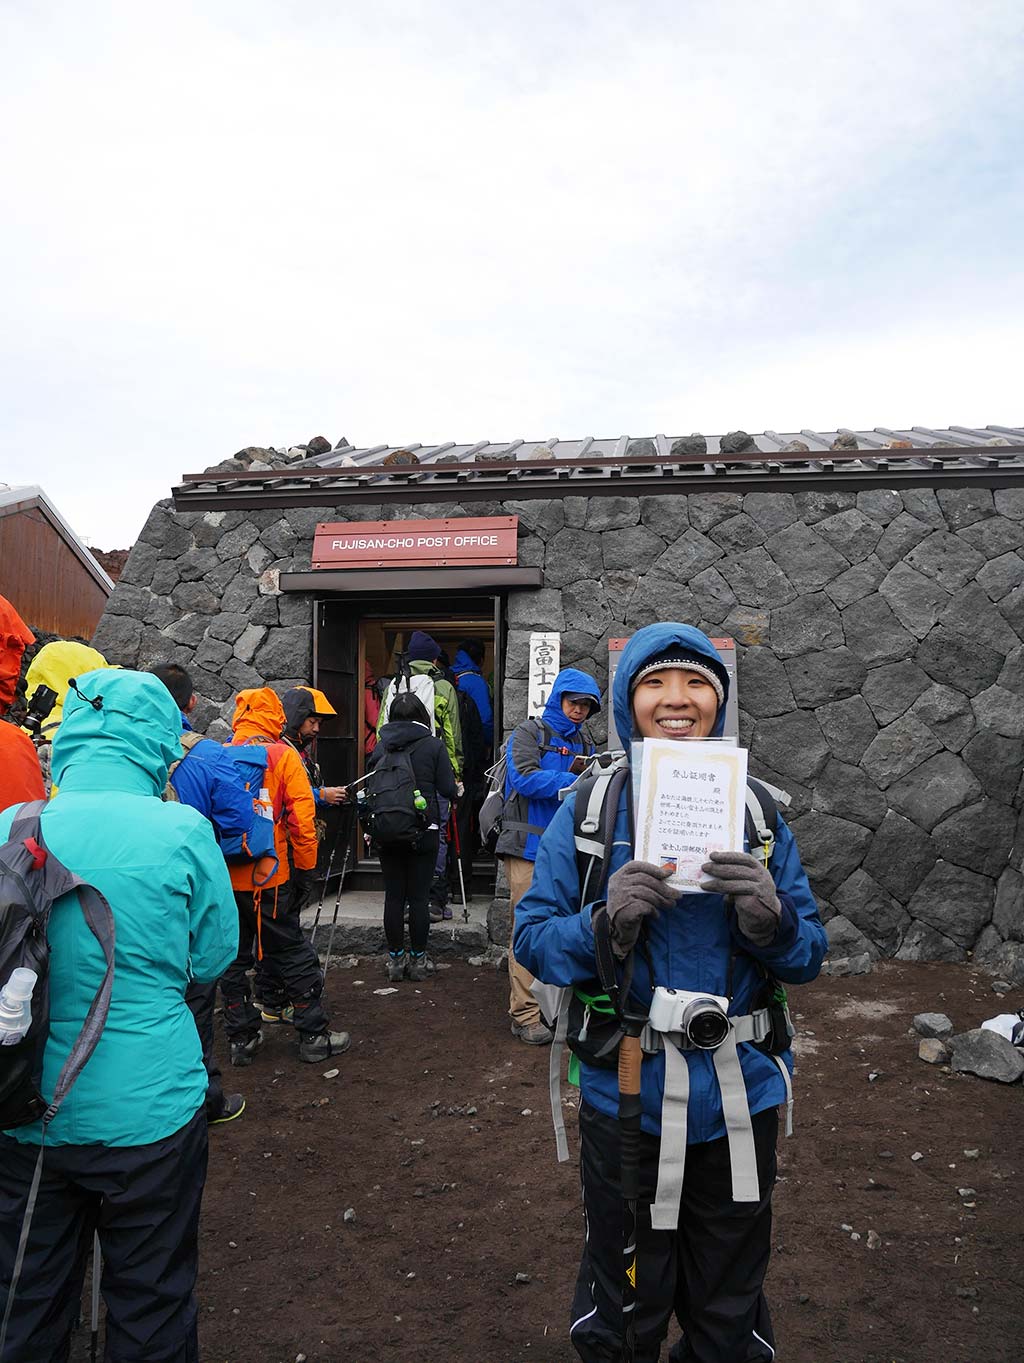
It’ll take about 1-2 hours to go around the crater rim, however, part of the trail was closed so we hiked to the post office and back, which did take about an hour. The reason to go to the post office is to purchase this 500 yen hiking certificate – but be warned that the queue can get long!
Horse Riding
There are horses on Mount Fuji, too, but none after the 7th station. You can ride them for a price if you are tired.
The service is organised by Fujiiyoshida City Horse Riding Association, so rest assure that the horses are treated well.
The prices range from 4000 yen to 20,000 – but it’s good to have if you are tired!

Pin me for later! Pin me!


Thanks for helpful info. Love detailed lists of gear and equipment.
Wow! Love your photos! Looks like you guys had a blast! The photos really help to get a sense of the terrain and hiking difficulty. There’s clearly a ton to explore. I’ll definitely be adding this to my hiking list.
Wow that must have been incredible! Thanks for such an informative guide, I would love to do this sometime! That sunrise looks pretty epic
Pingback: Snapshots from Japan | Kinubiki Noodles in Moto-Hakone - Kavey Eats
Pingback: 10 Close-Up Spots to Seek the Best View of Mt. Fuji (and how to get to them) | Spiritual Travels
which onsen did you go to please? Im hoping to go soon and the idea of an onsen at the end of the trip sounds perfect!
we went with our tour and I didn’t have the details saved.