Arguably one of the most challenging two day one night hikes in Southeast Asia, Mount Kinabalu is the highest mountain in Borneo and Malaysia with an iconic rugged summit. It stands at 4095 m above sea level that takes trekkers from lush jungles to barren rock sea. Only a limited number of hikers are allowed to ascend per day and even then not all make it to the summit! Here is what you need to know about hiking Mount Kinabalu and preparing for it:
I was hosted by Sabah Tourism Board and Mountain Torq but all opinions are my own
Contents
Climb Mount Kinabalu
As someone who have conquered Mount Fuji and also done a multi-day hike in Nepal, my initial thought was that I didn’t really need to prep for Mount Kinabalu. But I should have because the last few hours was basically powered by will only.

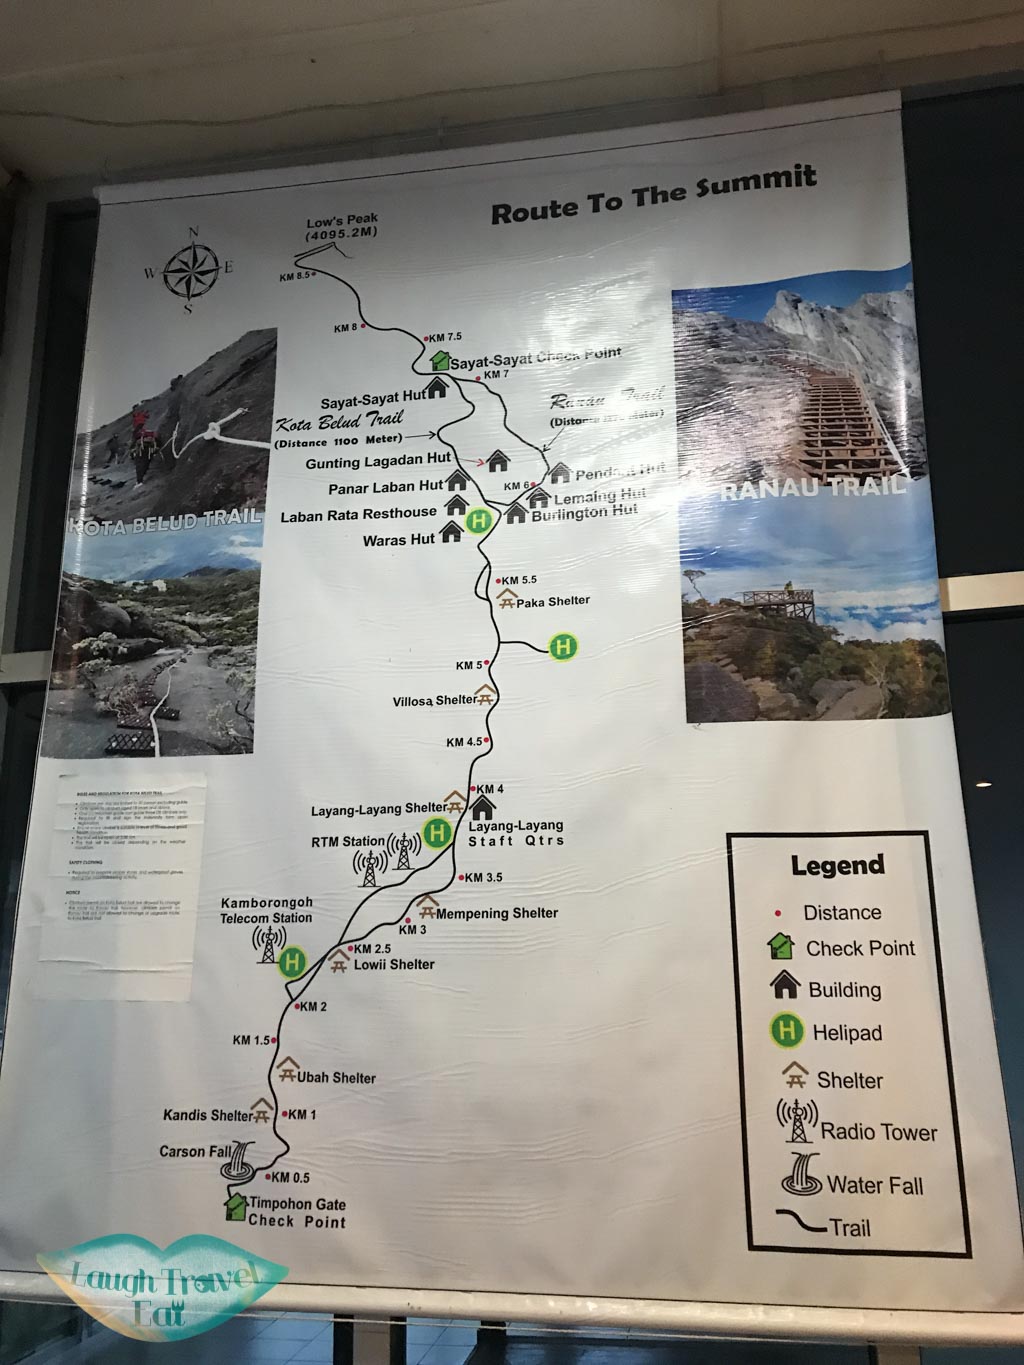
While the trail is well maintained and marked by Kinabalu Park, the intensity of the hike lies not only in the steepness of the trail itself but also that it must be completed within 36 hours. The total length of the trek from Timpohon Gate to Peak is under 9 km, but the elevation gain is 2229.2 m, from 1866 m at Timpohon Gate to 4095.2 m at Low’s Peak.
A guide is mandatory for all hikers therefore if something were to happen there will be help, for example if your load is too heavy they can help carry some of it up, though it will incur a cost. We also saw a girl getting carried down as she has altitude sickness, which is another potential problem. If you haven’t been hiked in high altitude before, be extra careful and plan an extra night in the base camp to help acclimatized. There is medication you can take, too, to combat the symptoms although they in turn can cause numbness in limbs and frequent peeing.
That said, as long as you exercise regularly and don’t pack too much, generally most people make it up toe the base camp at least.
Geology of Mount Kinabalu
The unique landscape of Mount Kinabalu lies in the contrast between green and grey, the forest and the rocks. The geology of Mount Kinabalu is igneous in origin, more specifically an intrusion of magma into sedimentary rock, which is known as a pluton. If you look at the rocks carefully, you can see evidence of slow cooling that is characteristic of a deep intrusion. The rock type – Granitediorite – show huge phenocrysts of biotite feldspar and also the occasional xenoliths (foreign rocks) that was instruded and not completely melted during the intrusion.
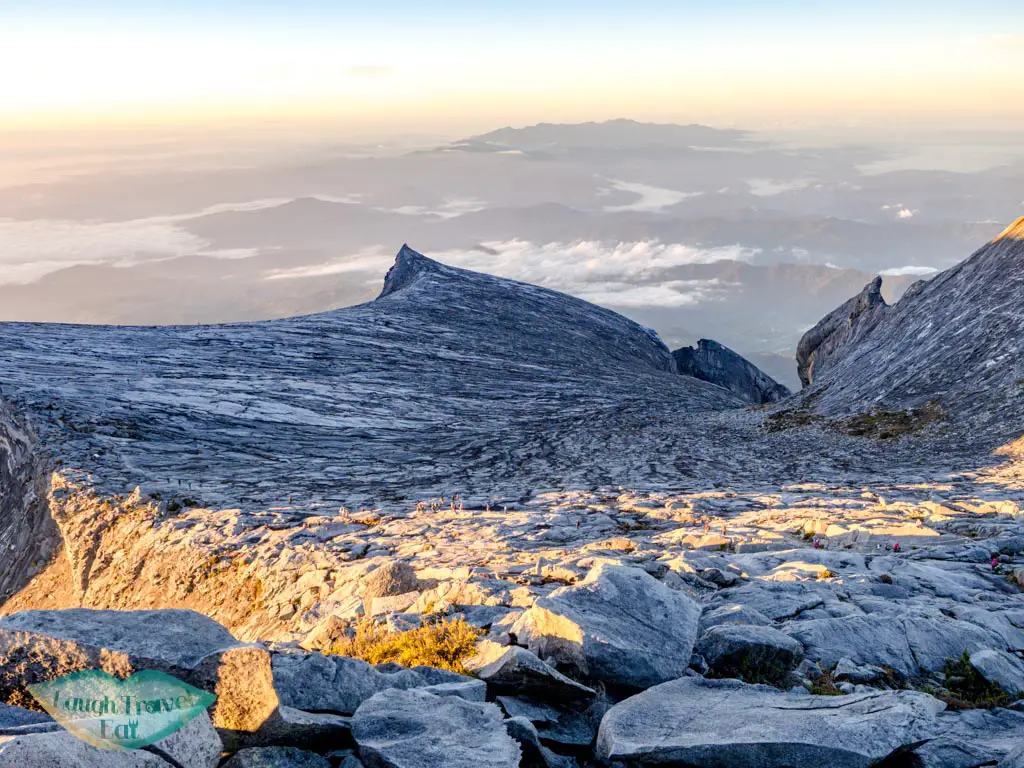
The event is dated back to about 10 million years ago deep in the Earth. Subsequent uplift and deformation that includes a glacial period results in the the sheet-like structures as the pressure ease and the rock expands. This is called Unloading Joints. The unique shapes of the mountains are a result of glacial erosion in the Pliocene period about 2-5 million years ago. All in all, Mount Kinabalu is consider to be a young mountain.
Mount Kinabalu Climb permit
The trail is managed by Sabah Park and there is a limited number of people allowed to ascend per day. This is mainly to do with the bed space available in Pana Laban, where all hikers rest before the summit ascent the next day. There is 135 slots per day, going up to 175 with recent opening of two new huts. It used to be 195 but some of the huts were damaged by the 2015 earthquake.
Permit availability can be checked online, but it’s best to email and ask around directly.
Note: price is different for Malaysian and International hikers. It’s cheaper for the former!
Climbing Mount Kinabalu package
The most common package for Mount Kinabalu trek is 2D1N, as it is mandatory to stay overnight at Panalaban base camp before going up to the summit for sunrise since Dec 2015.
Another option is to stay an extra night before at Kinabalu Park which gives you time to acclimatize and lower the risk of high altitude sickness.
There are numerous tour operators that offers packages and it’s all similar. Usually, the following is included:
- Meals during 2D1N trip
- Overnight accommodation in Panalaban base camp (shared)
Some companies charge extra for transportation to and from Kota Kinabalu, but here are general extra costs:
- Cost of mountain guide, hiking permit, and (usually) certificate*
- Transport from Kinabalu Park to and from Timophon Gate (the starting point), which takes around 10 minutes *
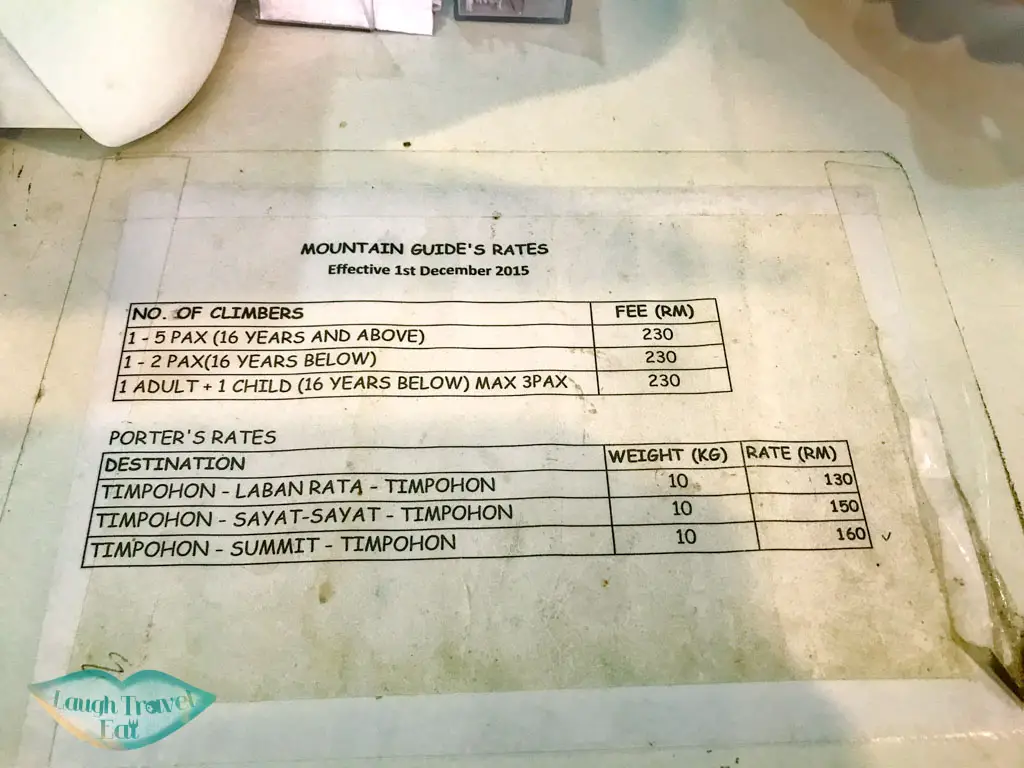
- Porter – you can hire a porter to carry up to 10kg of your belongings up or down if you are struggling with it
- Extra fee for transfer back to Kota Kinabalu if it’s after 17:00
- Any beverages (including water) on Panalaba Base Camp
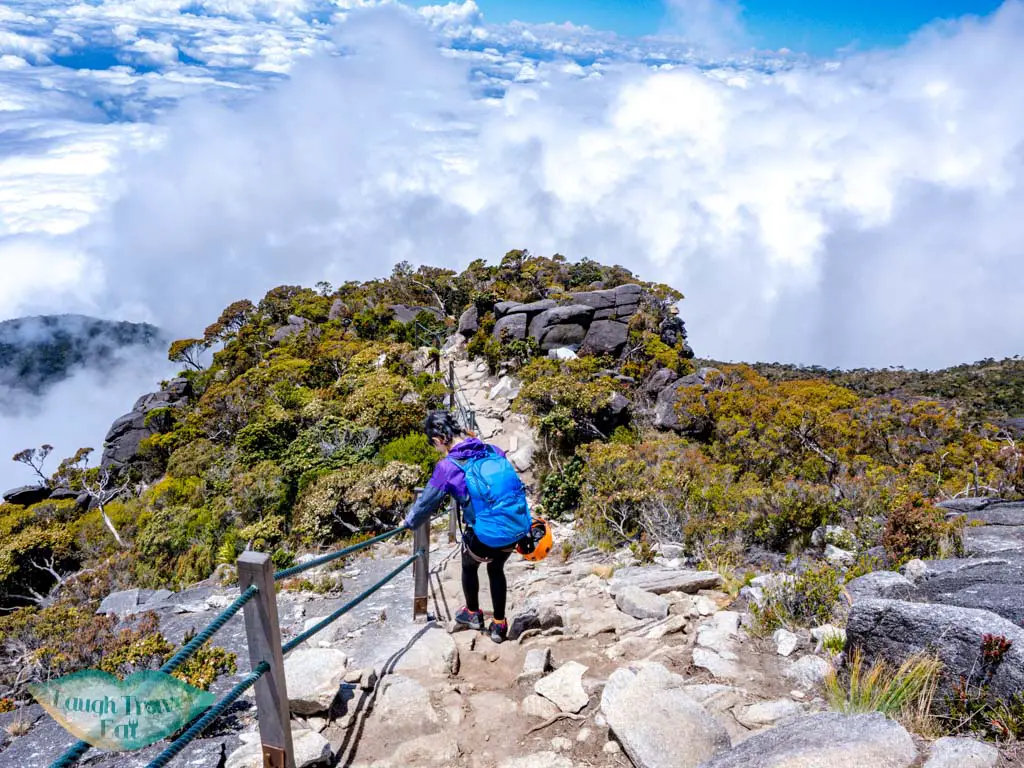
Note that some tours do include the cost of the first two so you should clarify when booking. You can find a list of official fee in the Sabah Park website here. But below is a quick overview:
- Climbing permit : 200 RM for international (80 RM for 18>), 50 RM for Malaysians (30 RM for 18>)
- Entrance fee: 15 RM for international (10 for 18>), 3 RM for Malaysians (1 RM for 18>)
- Climbing Insurance: 7 RM
- Mountain Guide: 230 RM for one guide (up to 5 person 16+, 3 or more children will require another guide)
- Transport to and from Timopho Gate: 17 RM one way per person, so 34 RM in total
Most of the packages include a bed in a dormitory, though private rooms are also available. For more information on accommodation type, jump to Mount Kinabalu Base Camp. Here are two tours that my friends and I have experience with:
DIY transfer to and from Kinabalu Park
If you are traveling to Kinabalu Park solo, an alternative is to get a ‘shared’ taxi or minivan from Padang Merdeka. It should cost 25 RM – they are all bound for Ranau so let the driver know that you’ll be getting off at Kinabalu Park. They depart as they fill up from as early as 7:30 so don’t leave it too late!
For the return journey to KK, you can catch a bus across the road from the park entrance. You’ll have to hail at buses or minibuses passing by so it’s not a guarantee. Personally, it’s best to book transfer as you don’t want to be dealing with this after your trek!
Sutera Sanctuary Lodges
- 3D2N package starts at 1599 RM for dorm to 3727 RM for private room
- 2D1N package starts at 1309 RM for dorm to 3147 RM for private room
Note: they also offer a stay at Poring Hot Spring instead of Kinabalu Park the night before, though I think that would be quite rushed!
The price does not include transfer to and from Kota Kinabalu or any of the extra fees mentioned above (climbing permit etc). They do offer transfer to and from Kota Kinabalu for guests who book their package at 850 RM return, maximum 5 people.
Marvelous Borneo
My sister and her friends booked with Marvelous Borneo for a 2D1N package.
- 1810 RM for 2D1N Via Ferrata Walk the Torq for a group of 4, +290RM upgrade to Walk the Torq (March 2019)
- Transfer to and from Kota Kinabalu and Kinabalu Park is usually charged extra: for group transfer, extra charge is incurred if you arrive after 17:00,
- 295 RM per person return transfer, pick up 6:00 – 6:45
The Best time to hike Mount Kinabalu
Mount Kinabalu is open to hikers year around, but it will close (fully or only for summit ascent) if the weather condition is not ideal – aka if it’s pouring. Therefore, it’s best to hike during the dry season between January to April, August to October.
However, the downside of dry season is that there might not be any water available on Panalaban for flushing or shower.
What to bring to hike Mount Kinabalu
The less you bring up, the better. That said, you do need a bit of essential as well as warm clothes. The temperature drops with the increase in elevation and there’s no heating in the rooms in Panalaban. The official website recommend a 40-50 L bag but I made do with a 30 L bag.
- Good hiking shoes – if they have ankle support, that’s even better
- Head torch – essential for the ascent to summit for sunrise
- Gloves – for climbing (especially if you are going to do Via Ferrata). There are also section of the summit climb that requires using ropes
- Fleece and thermals – it goes down to almost zero during the summit climb uphill and can get windy. I was fine in T-shirt, fleece, and a waterproof jacket but my friend wore a ski jacket
- Waterproof and windproof jacket – for the weather and the early morning summit trek
- Hat – for protection against the cold, too. Many use a bandanna instead
- Cap – it can also get sunny, especially after sunrise on the summit
- Sunscreen – it’s very sunny after sunrise so remember to apply some
- Sunglasses – it get sunny once the sun has risen!
- Flip flops – to shower and walk around, but Pendant Hut provides them for guests
- Eye mask and earplugs – for sleeping as you’ll be in a big room with lots of people
- Waterproof bag cover – in case it rains
- Day pack for summit – although I just moved my stuff to a packing cube and left it in the room. You might want to lock it in case things are stolen. I didn’t lock mine and was fine but a friend’s friend had her passport stolen!
- Hydration bladder – I find it easier to drink with a hydration bladder than with a regular bottle. Best to use a 2L one so you have room to fill it up.
- Sports drink powder/energy gel/chocolate – we bought energy gel but on retrospect I would probably have preferred chocolate!
- Towel – optional as shower facilities are available but I was too tired to use it
- Hiking poles – which you can also rent at Tomophon Gate for 10 RM each
- Knee or ankle support – if you need them. Mine was very well appreciated on the trek down and during Via Ferrata
- Umbrella or Poncho – optional if you have a waterproof jacket, but I brought one just in case
- Massage ball – mine was much appreciated after a day of walking and on the ride back to Kota Kinabalu
Note: you can charge your devices but I recommend you bring a powerbank and spare battery in case there isn’t enough outlets.
If you forget something, the Mountain Torq office and the gift shop next to the Sutera Sanctuary Lodges check in combinedly sells food, headtorch, poncho etc.
Sending postcard on Mount Kinabalu
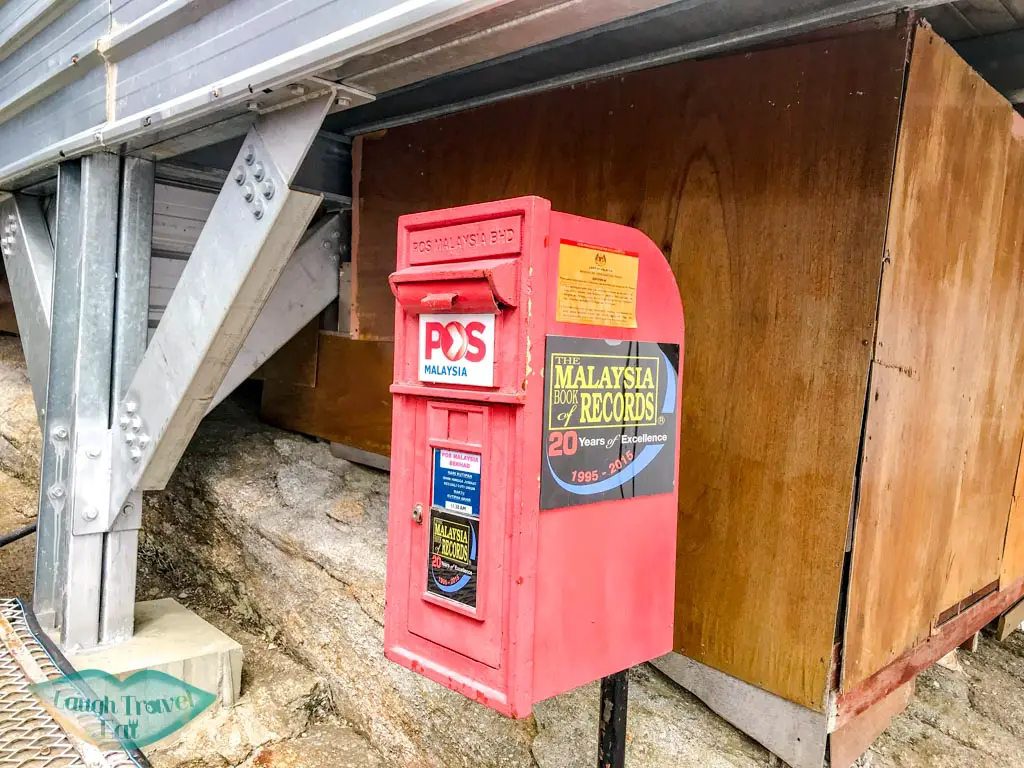
If you want to send postcards to your friends from the mountain, there is a mail box under Pendant Hut. however, the availability of postcards depends on the porter and their load, so it is best to buy them in the gift shop by Sutera Sanctuary Lodges check in in Kinabalu Park. it’s going to cost more to send there but it’s the highest post office in the region!
Tips on hiking Mount Kinabalu
Mount Kinabalu trails runs like a well oiled machine with fresh blood (aka new hikers) pumping through it every day, and the hike itself is only confusing to these new blood cells (aka us). Here are some tips from the blood cell who had been through this circuit (perhaps I should drop this analogy now):
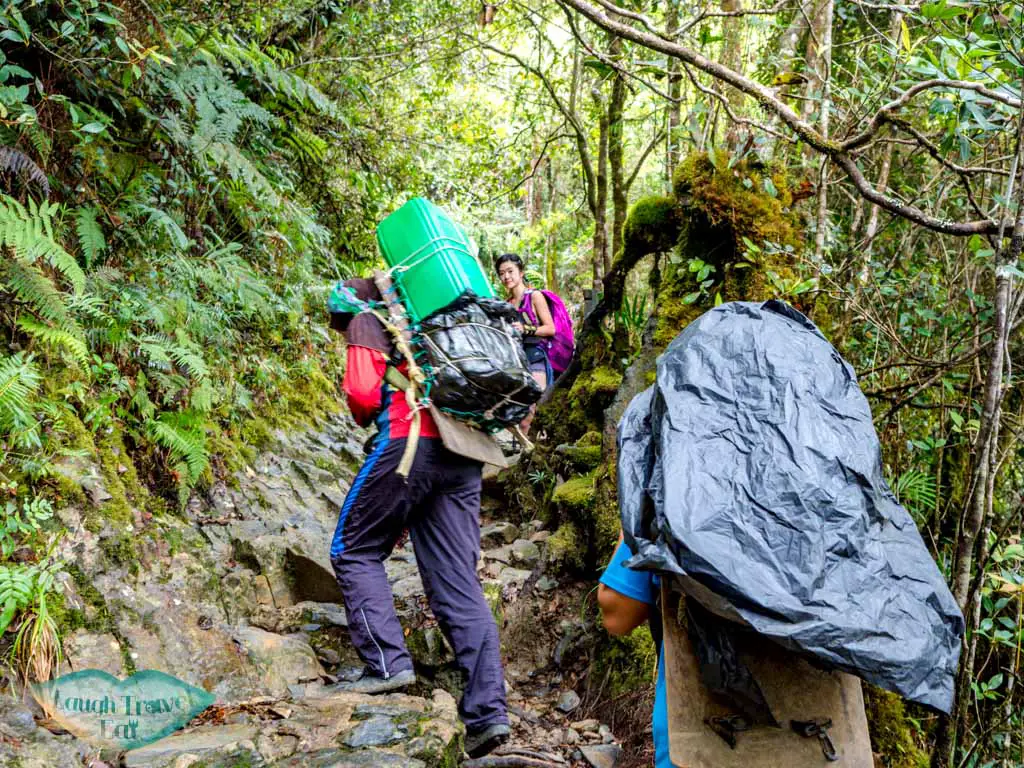
- Make way for porters – they carry all the water, food, and resources up and it’s a hard job!
- No littering – this is a national park after all. There are rubbish bins in every hut with metal lid to keep the squirrels out
- Keep your food safe against mountain squirrels – they are not afraid of human and will likely grab your food. Most are seen around 0-4 km
- No drone – please respect the rules in the national park and don’t fly your drone
- Rent or bring your own hiking poles – they are the two things that got me up and down to Panalaban. I didn’t bring it up to the summit hike since I need to be on my hands and use the ropes, but some did
- You’ll be given a tag to wear which you should keep on your at all times during the hike – there are several registration points that need it and it’s your meal ‘voucher’
- If you arrive later than 3pm, consider dropping out of Via Ferrata the next day as you’ll be tired
- Stay one night after at Kinabalu Park for optimal rest or even a night after!
- Altitude sickness pill should be taken the day before, don’t worry about bathroom as there are plenty on the way up
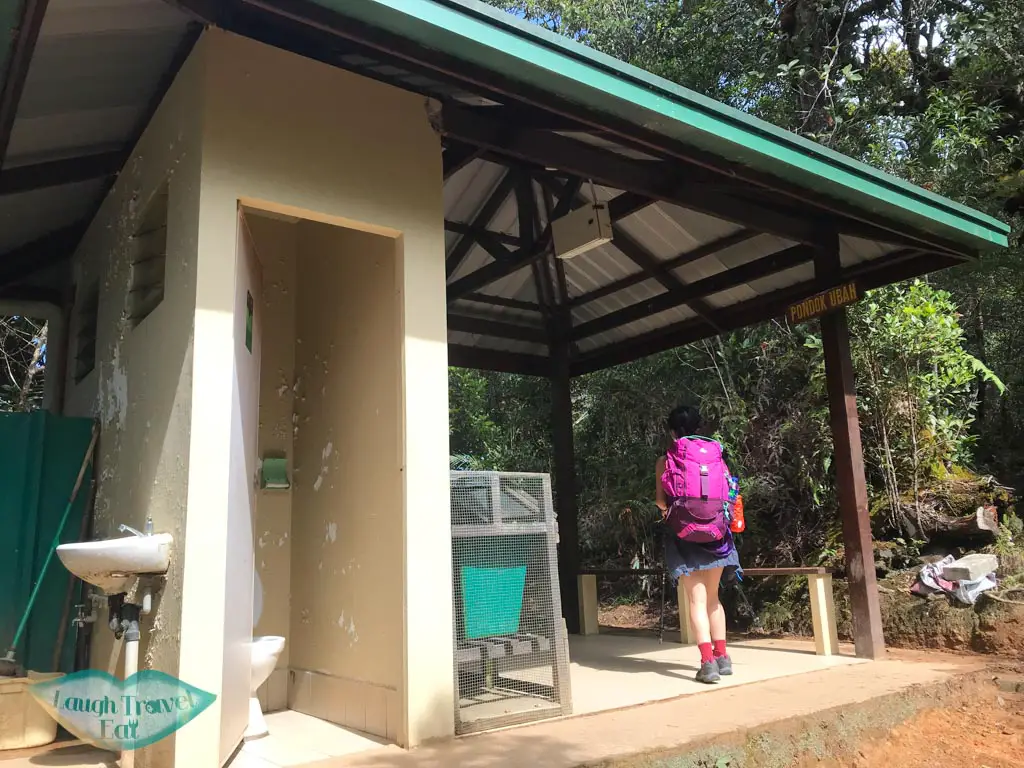
- Eat more but not too much during pre-breakfast for summit hike. I didn’t eat enough and was starving!
- Don’t book flights out the same day/night as your hike. Kinabalu park itself is a 2 hours drive from Kota Kinabalu and that’s dependent on traffic and weather
Via Ferrata Mount Kinabalu
If you are unfamiliar with Via Ferrata, it’s the term for assisted climbing routes usually in rocky and dangerous mountain face. There are two routes on Mount Kinabalu: Low’s Peak Circuit and Walk the Torq, the former longer and more difficult.
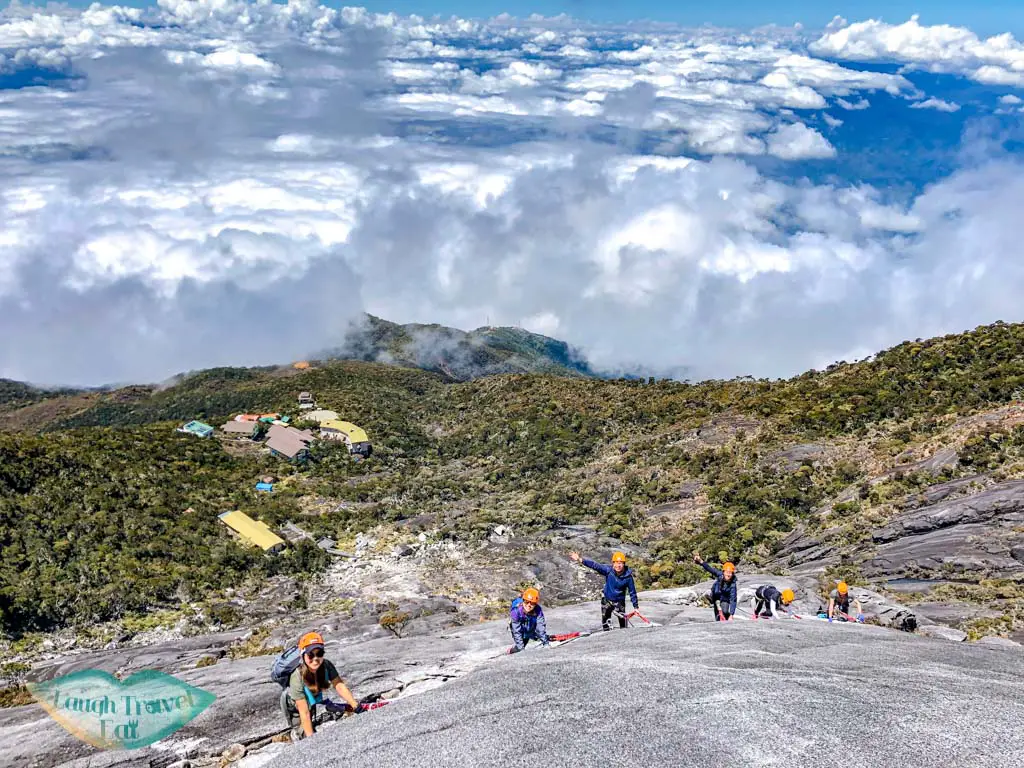
The paths were built by a French company and run by Mountain Torq, whose office is to the right behind the transportation office at the Kinabalu Park. Depending on whether you have booked it with a tour or independently, you’d have to register there. It’s also where you’ll get the certificate if you have finished the route.
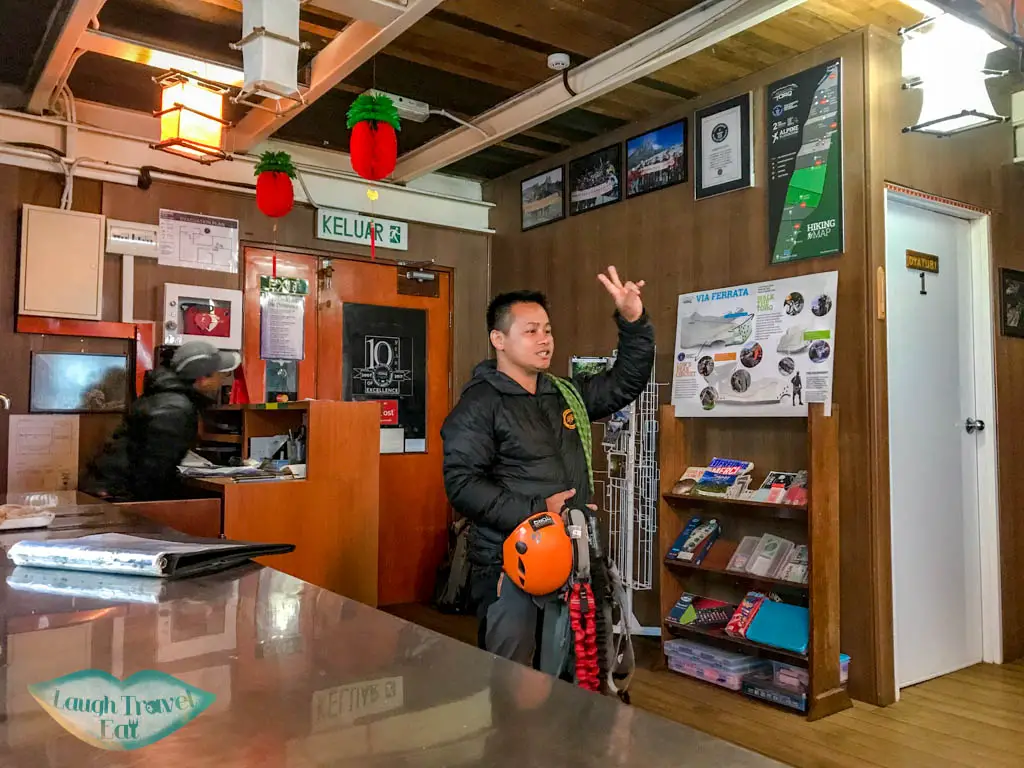
For those taking part in Via Ferrata, there is a cut off time for arrival at Pana Laban where all hikers stay the night on the first day. The safety briefing at 4 pm at Pendant Hut is mandatory, and if you didn’t make it you will not be able to take part.
The briefing includes a safety demonstration on how to use the harness and clip which lasted an hour and a half in total. A waiver form is signed at the end stating that the participants understand all risks along with a witness signature.
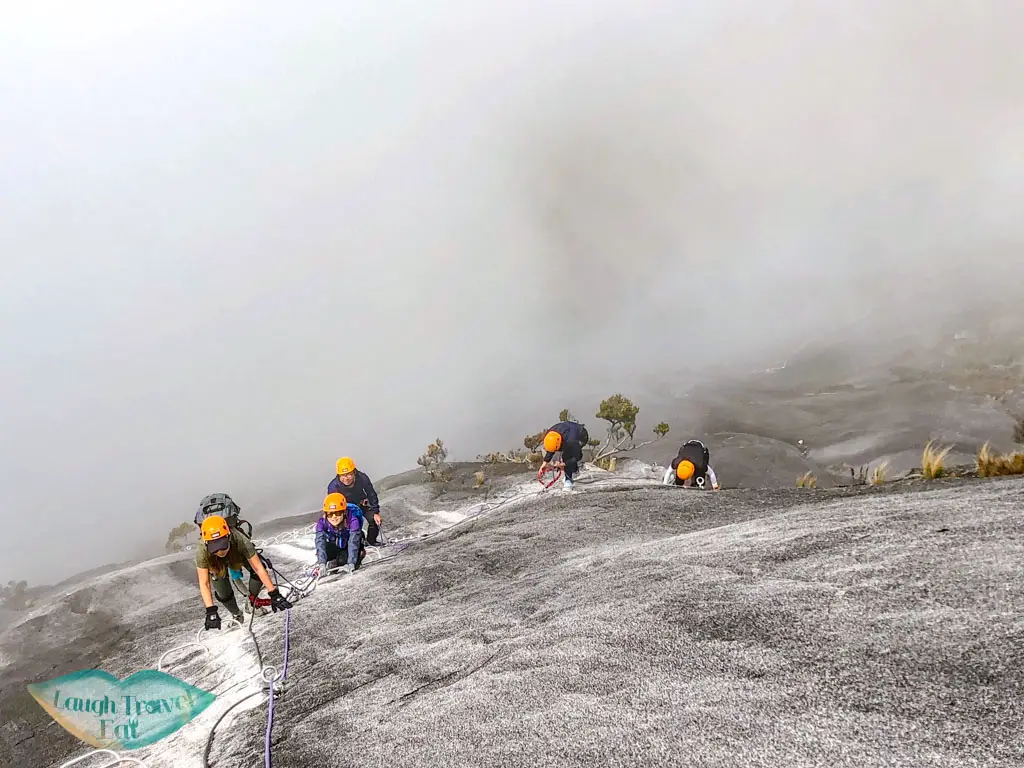
Tip: If you are tired, don’t strain yourself and downgrade or cancel. Via Ferrata is physically straining and can take up a lot of time if the groups are big.
Cancellation conditions:
- If it’s in the beginning and weather turns bad, then turn back. Weather bad
- Miss the time then cancel
- Can also self cancel – be honest about your own condition as it’s very challenging
- If the shoes is not good then no go. No sandals, no open toe, shoelace must have, good conditions
- Trainer can also cancel if they see you are not in good conditions
Low’s Peak Circuit
The highest Via Ferrata in the world at 3776m above sea level on its highest point, Low’s Peak Circuit offers adrenaline junkies both a challenge and excellent photo opportunities.
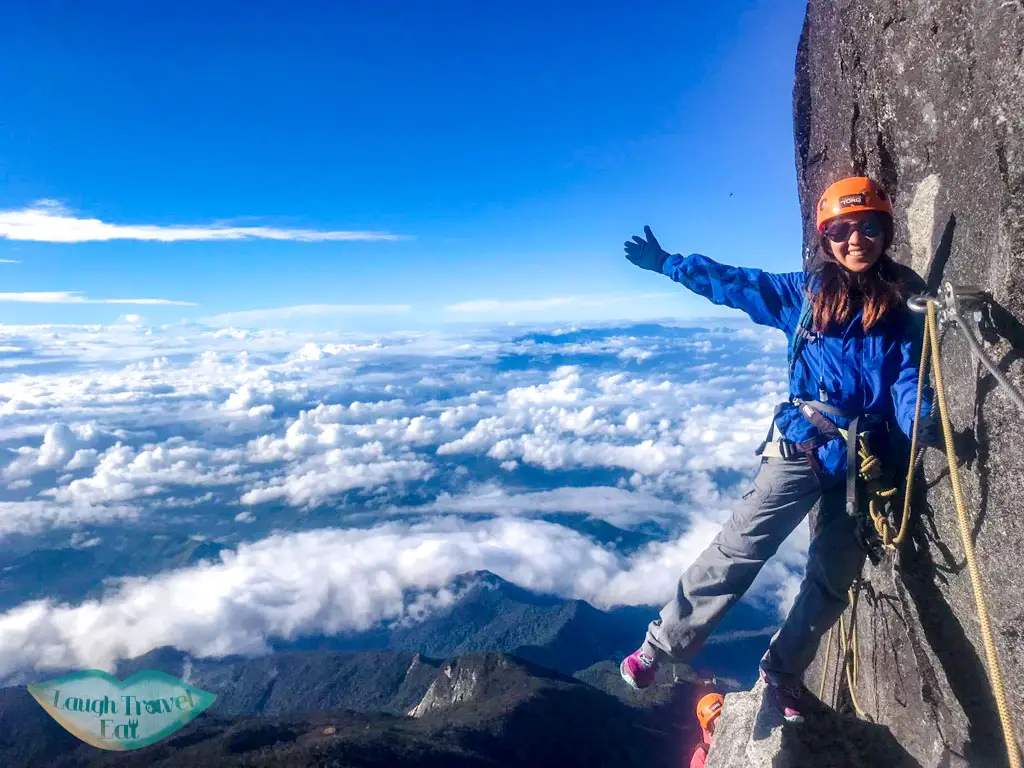
The circuit is 1.18km long with 365m of vertical traverse, and on average takes 4-6 hours to complete depending on group speed.
It can be divided into 3 parts:
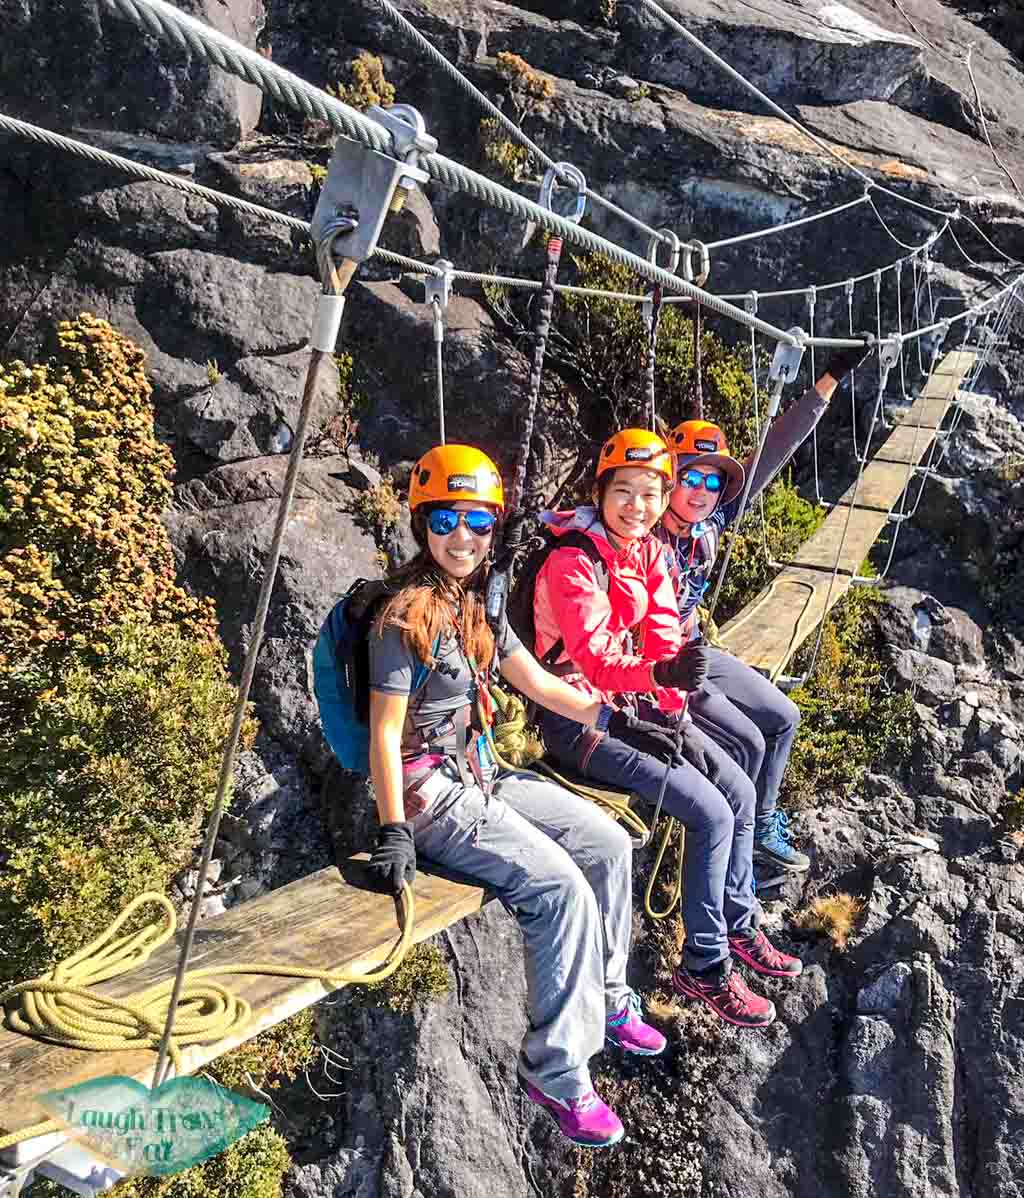
- 600m Vertical with a few highlights: the height, 400m in is the suspension bridge 20m long (swinging bridge World highest suspension bridge at 3600 m), then another bridge with just a cable (5-6m)
- Mini jungle, hike down for 300m, but not that easy, much harder than summit trail and the first part
- Connect to first part of walk the torq
In order to participate, climbers must reach the sign near the 7.5 km Marker at 7 o’clock, where they’ll put on gear and get started! The fastest record is 1 hr 20 mins but the slowest is 10 hours!
Walk the Torq
A more beginner friendly Via Ferrata option, Walk the Torq is a loop route that stands at 3520 m above sea level with 109 m vertical traverse. The 380 m long route on average takes 1-2 hours to complete but that is also dependent on the group speed!
It can be divided into 3 parts:
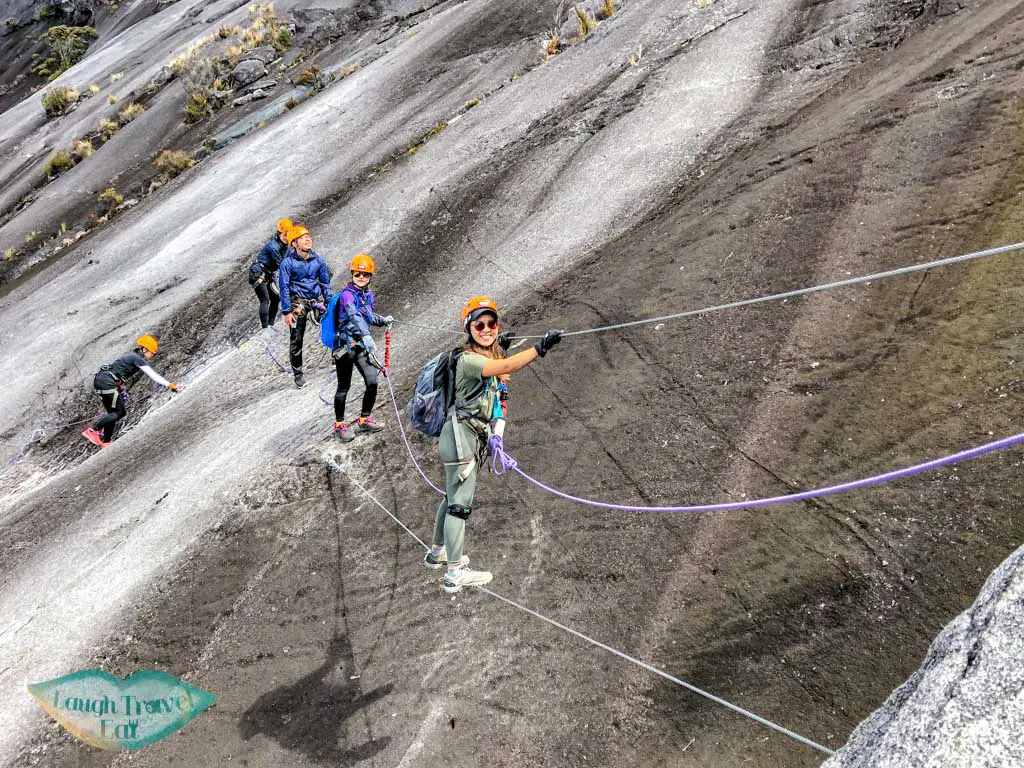
- 200m go down, then gentle sloop
- 80m horizontal and travel sideways with a wire ‘monkey’ bridge – kind of a tight rope for 5-6 m
- 100m going back up to the start with a 10m hanging ladder at the beginning
The meet up time caps at 8am at the last checkout point Sayat Sayat. The hut is a little further forward past the bathroom. The fastest record is 25 mins, but the slowest is 6 hours.
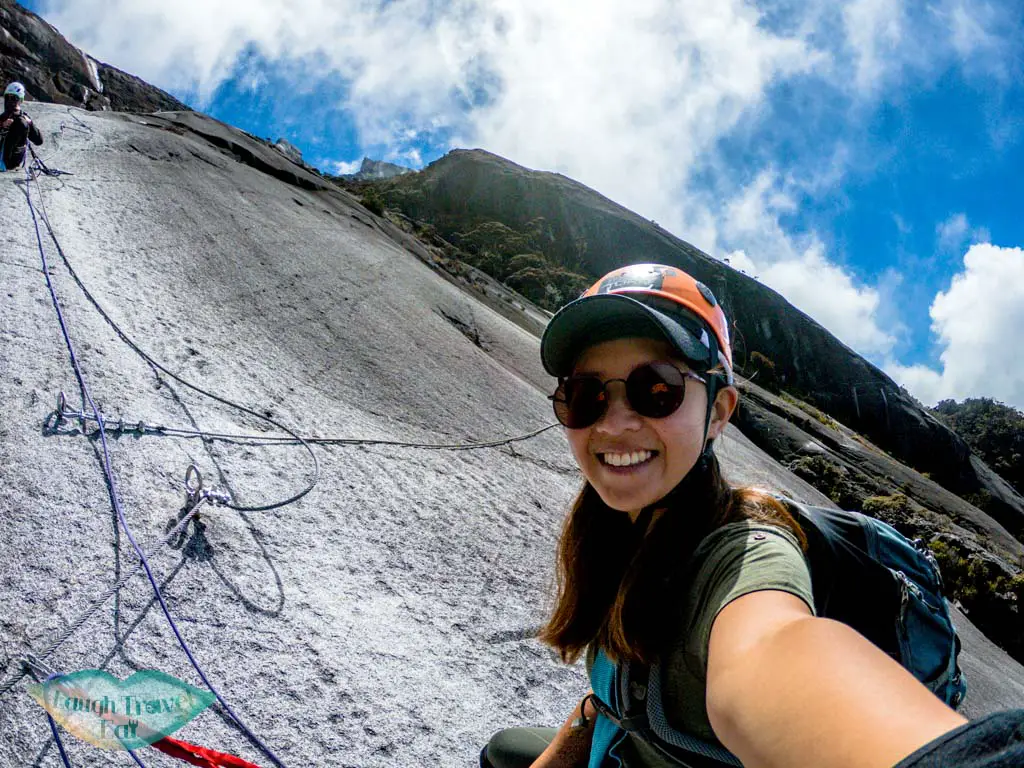
It took us about 4 hours to complete mainly because it was not very well time managed with 4 groups of around 5-6 people. The first group left at 7:30 and the rest of us departed later and were led to starting point and arrived at 8:30. Since we were the last group, we had to wait for another 20 minutes or so.
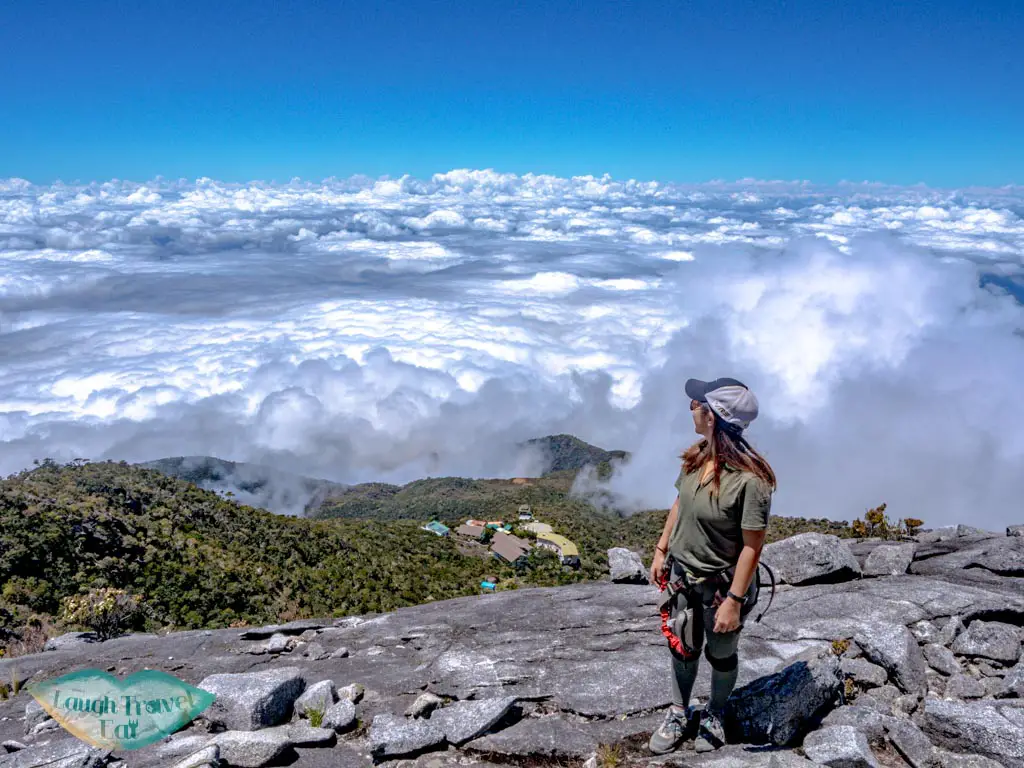
The views are stunning but it is very slow going with the rope and the harness, particularly for Walk the Torq as we have two harness clip to manage and it often get stuck, so we didn’t end until 11:00 and it took a while to get back to the main route.
Should I do Via Ferrata? If so, which one?
There are a few main factors as to what would make Via Ferrata fun/worth it. Personally, I would either do Low’s Peak Circuit or not at all.
Why you shouldn’t do Via Ferrata
- Because of the time constraint, if you do Via Ferrata, you have to ascent from the Peak at 6:00 am or 6:30 am, meaning no time to take it in and take photos properly
- If you are in a group of 4-5 it might be fun, but otherwise you’ll be pair with strangers and it becomes slower and a bit awkward at times with photos. We were also put last as we were a mismatched group…
- It’s quite exhausting and adds time before you go back down to Panalaban. Let’s not forget there’s still 6km down even after you reached Panalaban
Why Low’s Peak over Walk the Torq
- For many, it’s the walking along the cliff and monkey bridge that appeals, which are both not on Walk the Torq.
- Walk the Torq has two clips and Low’s Peak Circuit only have one, so even though it’s a longer route, it’s much easier and faster to move along.
Tips on Doing Via Ferrata
- Bring sunscreen! It can get sunny once the sun is up
- Arrive to check point as early as you possibly can – this means you go first and also get back down faster!
- Make sure your bag has waist (and chest) straps to stop them from swaying on the excursion
- Your guide will take photos for you so you can give them your phone!
- Don’t put anything that can be ‘smashed’ in your pockets as you will be laying on and pressed up against the rock face frequently
How long to climb Mount Kinabalu
The hike up and down Mount Kinabalu can be split into three major parts with the addition of Via Ferrata. I’ll give my personal time record further down but here is the average times:
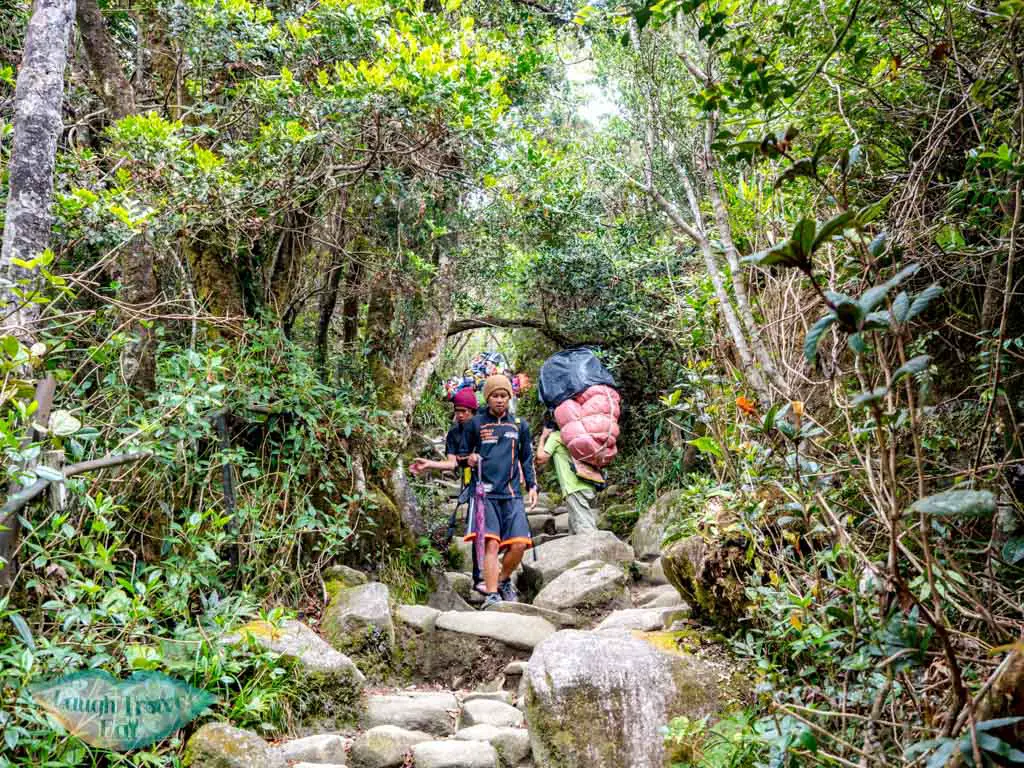
- 6 hours to hike up the 6km to the Panalaban Base Camp
- 4 hours on average to come down, don’t underestimate the trek down as you’ll already be tired from the sunrise trek and also did via Ferrata
- For summit, it’s another 2.8 km with an average of 3 hours up and 1.5 hours down.
The slowest recorded descent to Timpohon Gate for foreigners is 7-8 pm, for Malaysians 2 am! Generally, 1-3 people don’t make it up per day, and 5-6 people didn’t summit as they are either too tired or were too late. If you know you aren’t physically fit, I recommend staying 2 nights so you can summit on the second day then descend on the last.
How much water do you need for hiking Mount Kinabalu
While this is completely dependent on your own water intake and the weather condition, here’s the average water consumed according to me and my friends who’ve done it (or those who I talked to):
- From Timpohon Gate to Pana Laban: 1L
- Pana Laban to summit and back: 700ml
- Panalaban to Timpohon Gate: 700ml
If you are unsure, it’s best to bring extra 500ml, although I did end up carrying 2L up and basically only drank 2.3-2.5L in total.
There are free refill available in Pendant Hut but the main restaurant charges for water and will only provide a cup during meal times.
Mount Kinabalu base camp and Kinabalu Park
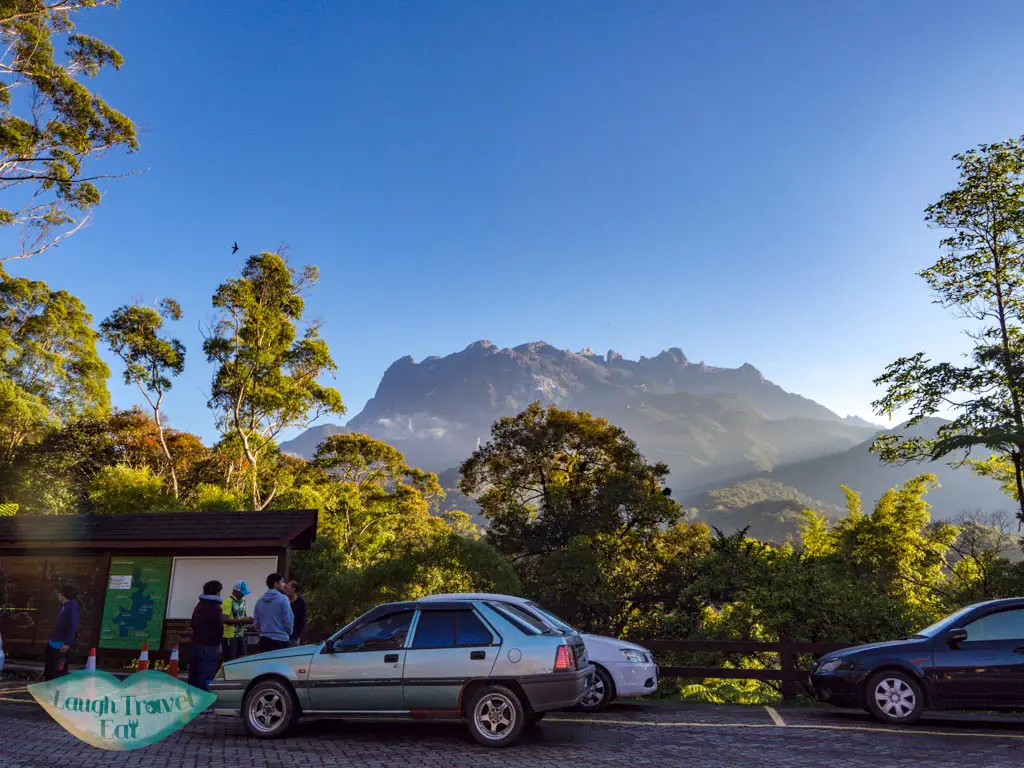
One of the biggest problem with hiking Mount Kinabalu is the high altitude. It might be best to stay the night before around Kinabalu Park to acclimatize and also get more rest than needing to travel directly from Kota Kinabalu, which is a two hours’ drive away. A lot of tour companies offer 3D2N package but you can also book directly with Sutera Sanctuary, the umbrella group that operates the accommodation in Kinabalu Park and Panalaban up in the mountains.
Sutera Sanctuary Lodges
If you book with the official website, you’ll be staying inside the Kinabalu Park with Sutera Sanctuary Lodges. You can also directly book with them online and they have a variety of lodging options for all budgets:
Dormitory:
- Grace Hostel – 10 bunk beds per room with shared bathroom (heated),
- Rock Hostel – 18 twin rooms with shared bathroom (heated)
Private Room:
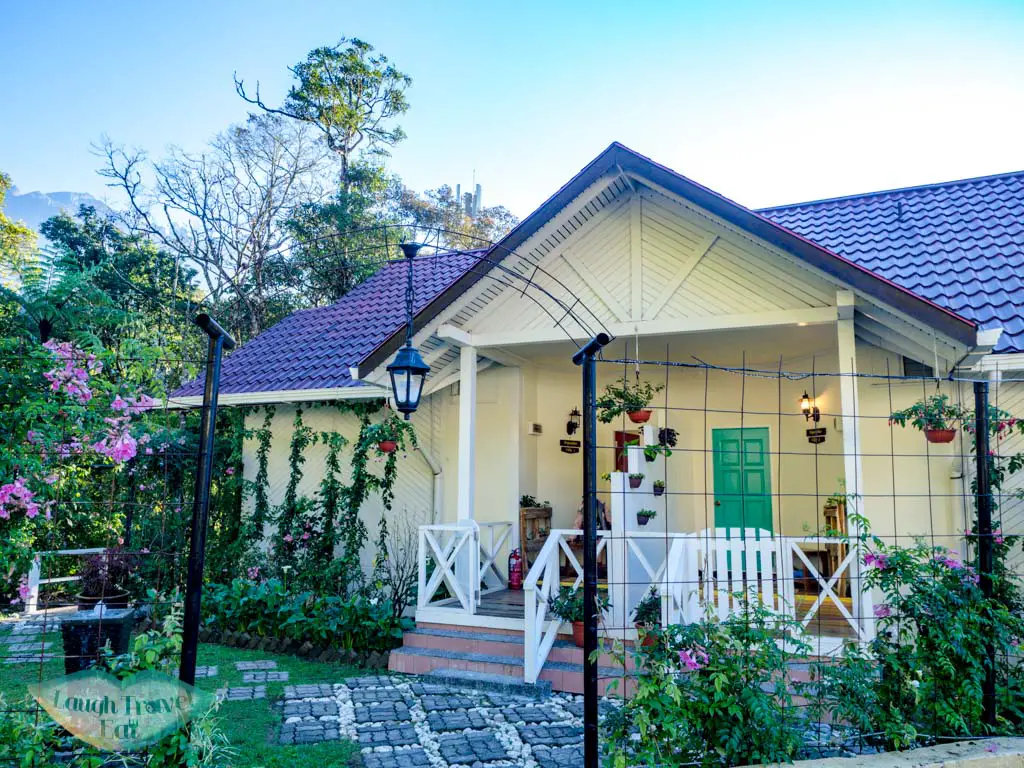
- Liwagu Suite – double room above Liwagu restaurant with private bathroom
- Hill Lodge – twin or double lodges with bathroom and living area
- Nepenthes Villa – two bedroom villa with pantry and living area
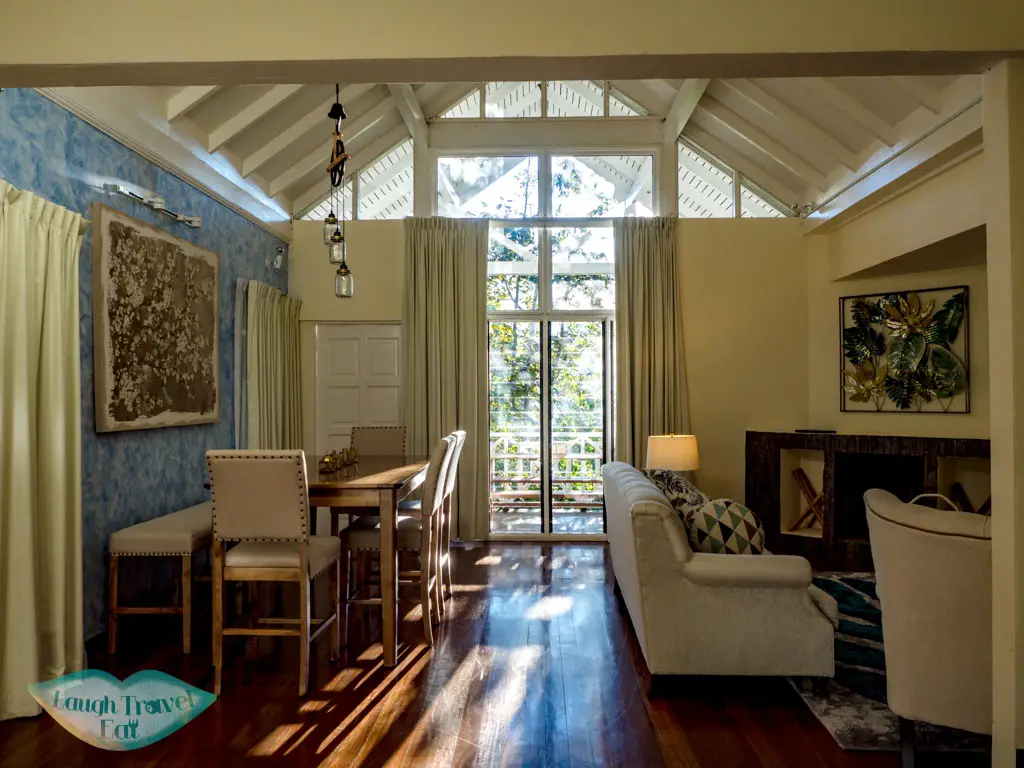
If you are a group of 4, the Nepenthes Villa is a comfortable villa that can house everyone. It has two bedrooms upstairs, one en suite double one twin, with an extra bathroom downstairs. The kitchen is open plan with a spacious dining room and living area and even a fireplace.
A small balcony is attached giving extra option for sitting, although it was raining quite hard on our arrival!
For even more comfort, you can upgrade to stay at one of the premiere lodges (rate current as of April 2019):
- Peak Lodge – 2 bedroom +400 RM/night
- Summit/Garden Lodge – 2 bedroom + 1600 RM/night
- Kinabalu Lodge – 3 bedroom +2600 RM/night
Dinner at Liwagu Restaurant
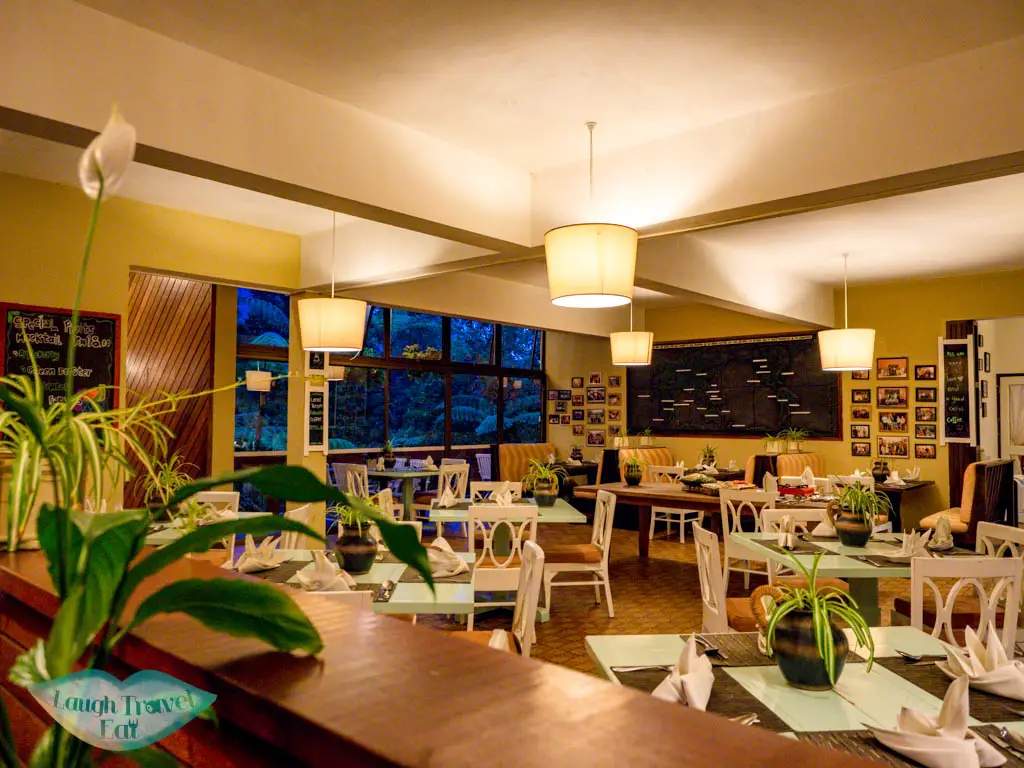
The staff arranged transport to drop us off and pick us up for dinner, which was about 10 minutes’ walk downhill otherwise.
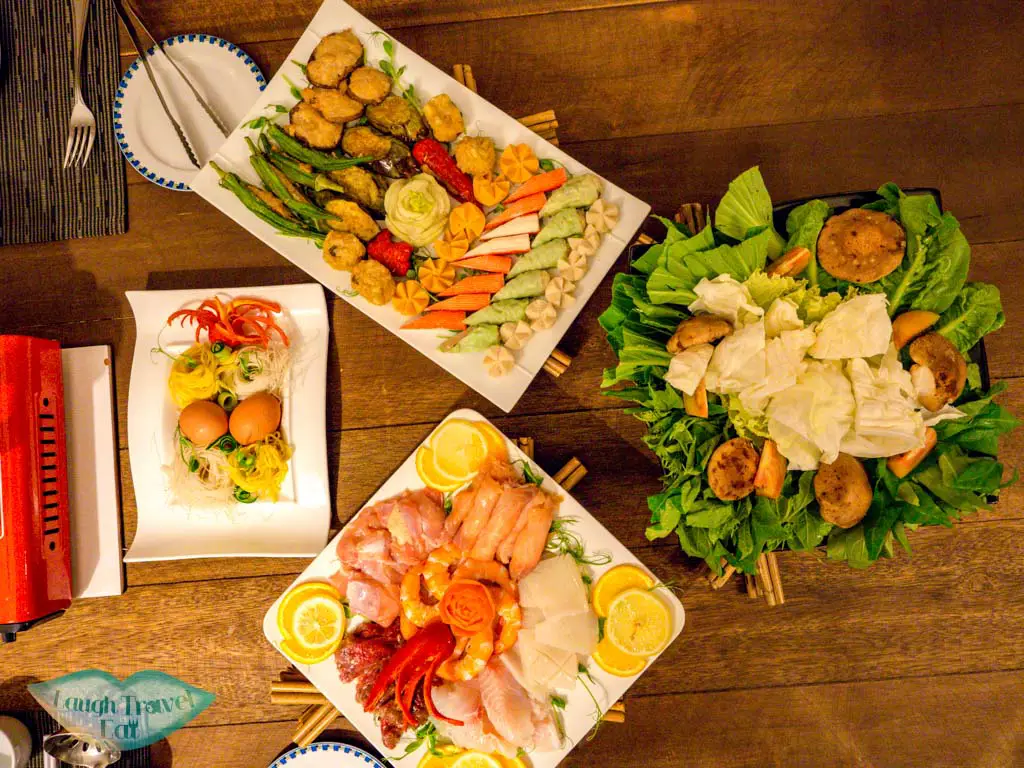
Kinabalu Park Breakfast at Balsam Cafe at Sutera Sanctuary Lodges
Included in the 3D2N package, the buffet breakfast at Balsam Cafe is a spread that will give you enough energy for the upcoming hike. From fruits to pastries to yoghurt to an egg station. There is also Sabah tea and coffee.
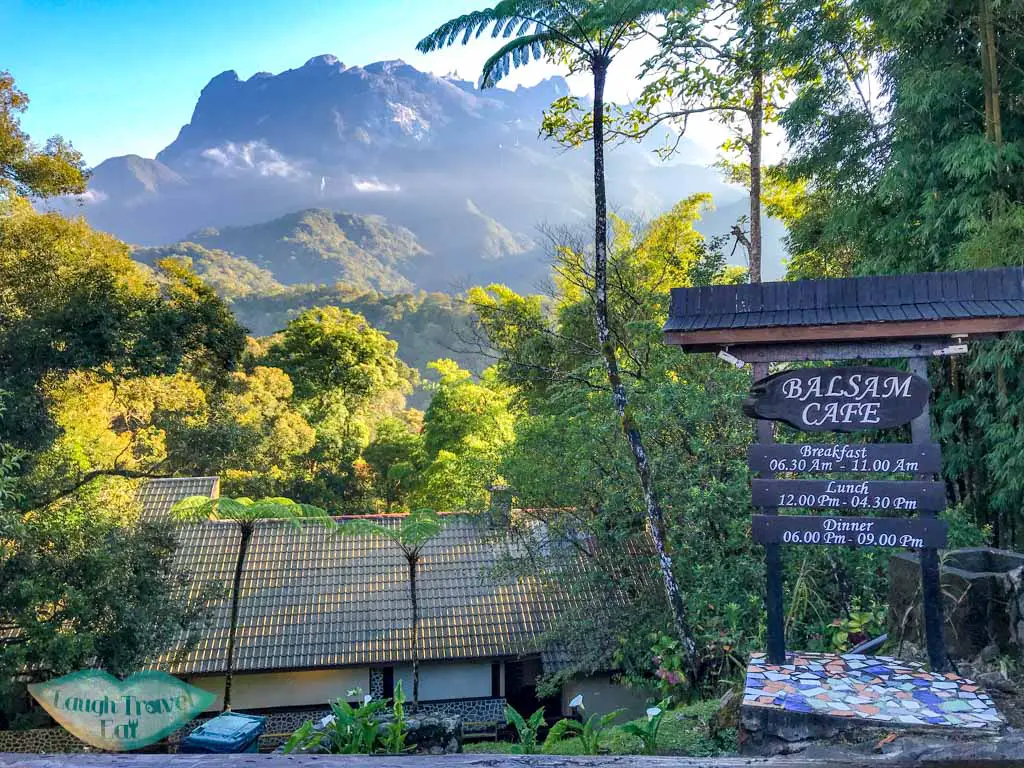
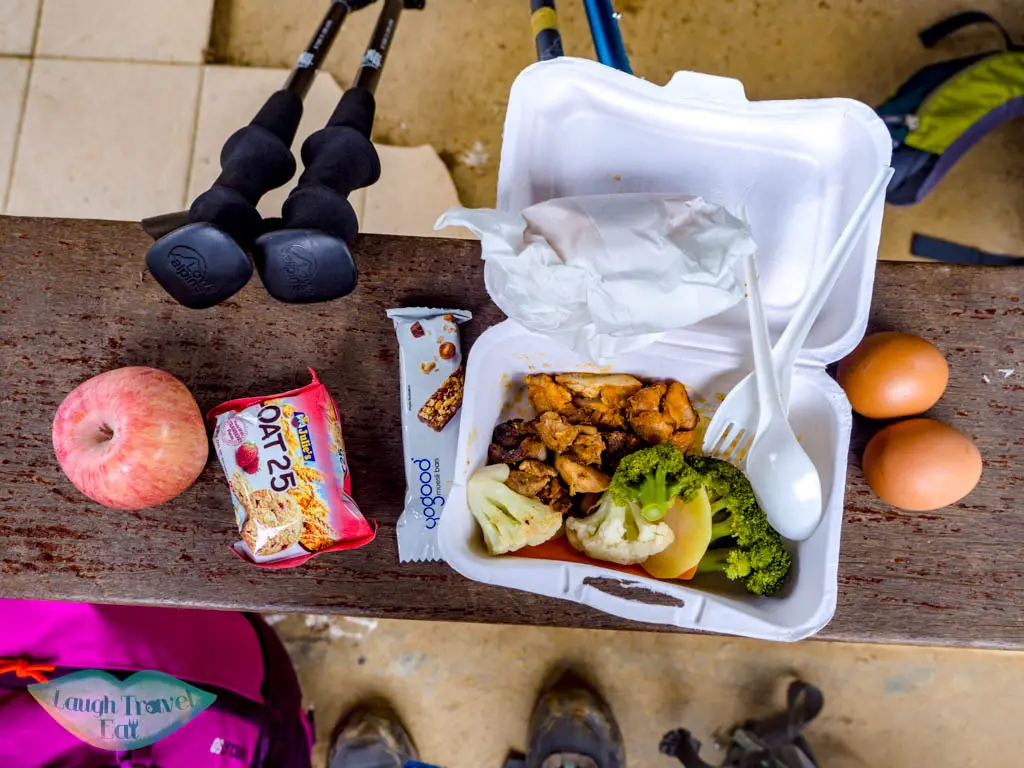
The packed lunch is collected here, too. We had a box of chicken with some vegetable, cereal bar, cookies, and an apple. From what we observed when eating lunch on the hike, different tour companies give different packed lunch, usually a sandwich!
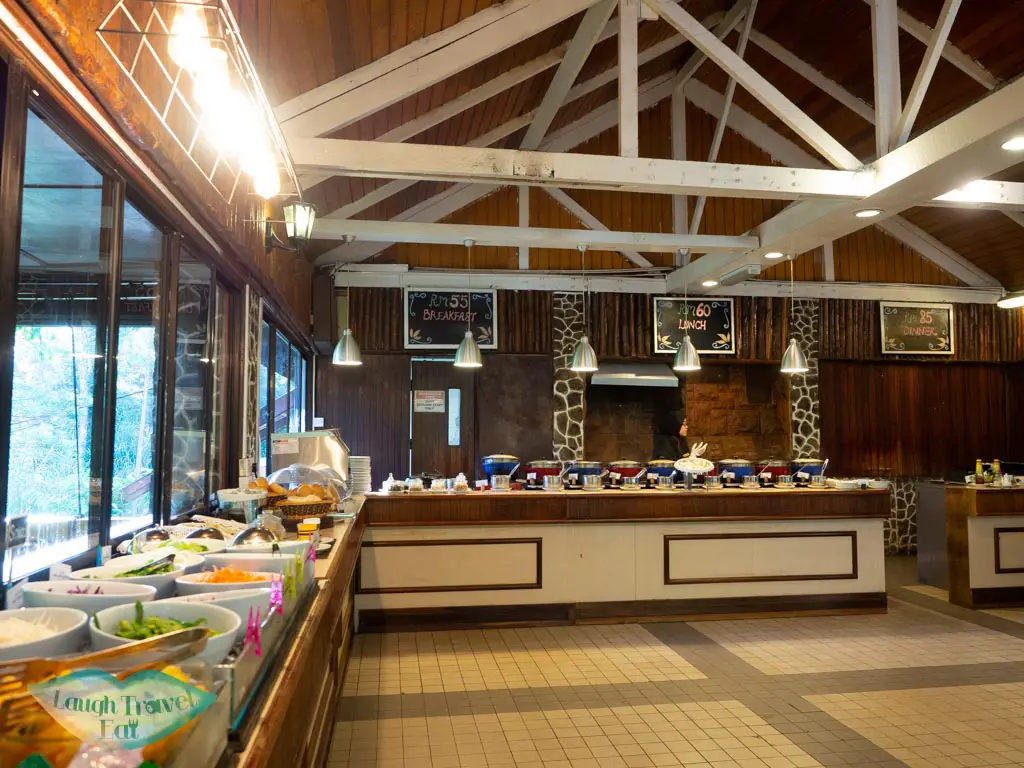
Pro tip: arrange to get picked up from your lodgings for breakfast the next day to make sure you don’t have to walk! You can leave luggage at the office at 12 RM per piece
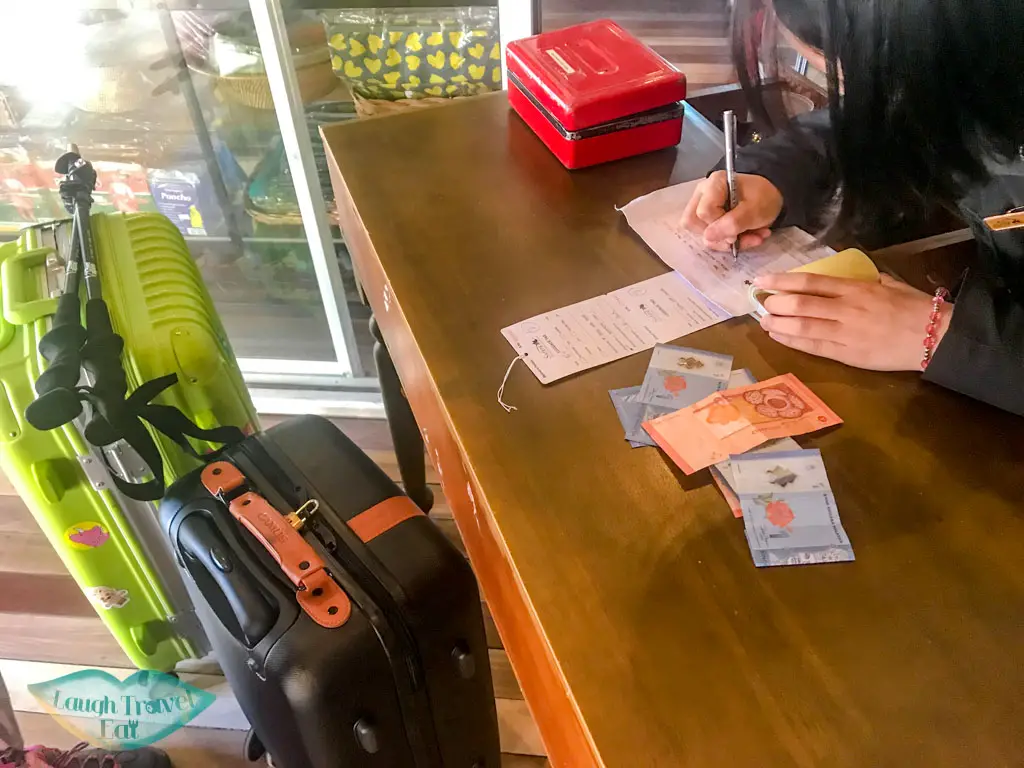
The Sutera Sanctuary check in and Mountain Torq office have essentials if you forget such as poncho, chocolate and energy gel, head torch etc.
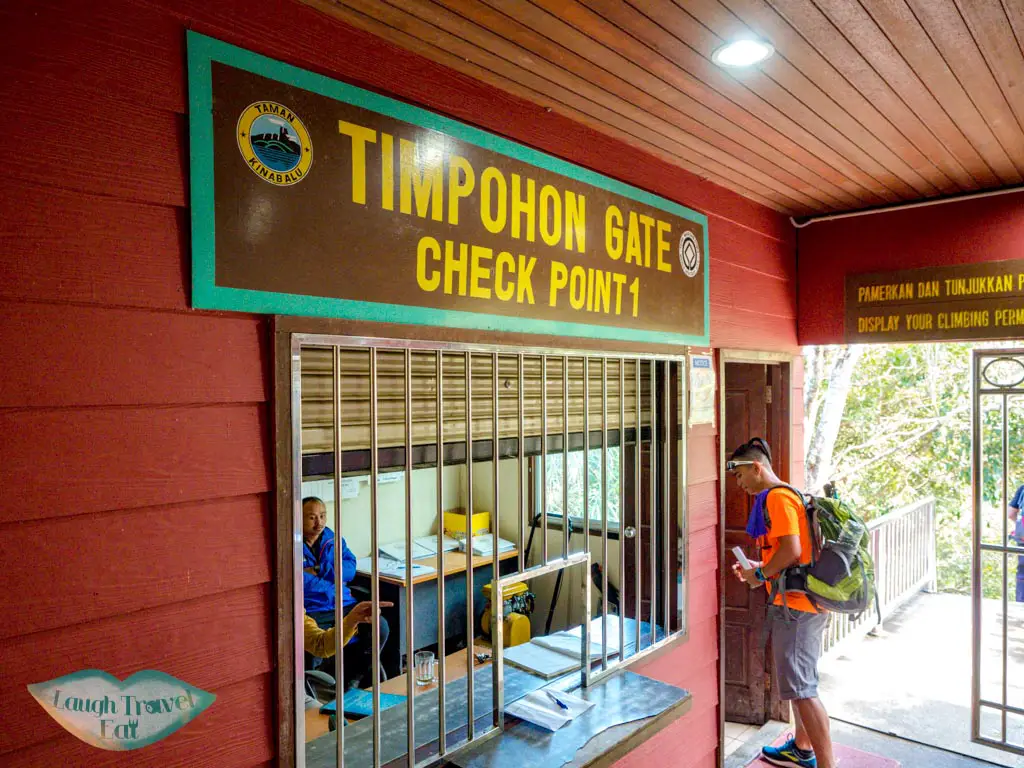
Timpohon Gate
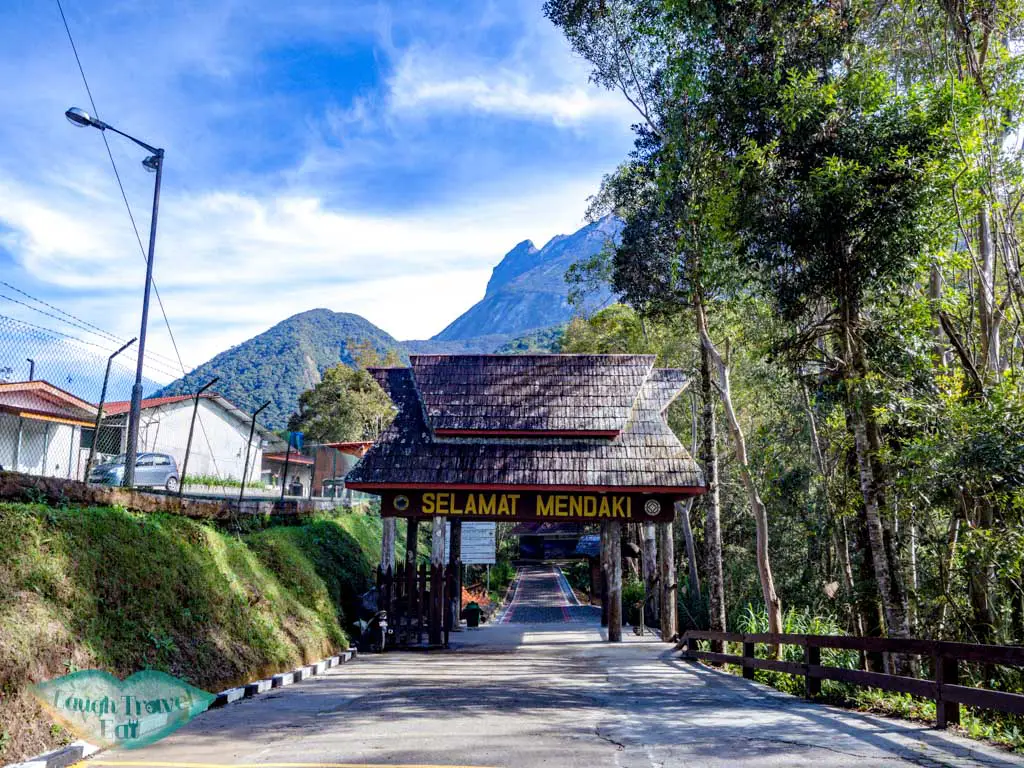
The official starting point of the hike is at Timpohon Gate, which is about a 10 minute ride from the Kinabalu Park. The van drops hikers at the front of a gate that isn’t the Timpohon Gate itself, but a brick road that leads to it. If you need the bathroom, it’s enroute to the actual Timpohon Gate.

Registration (and rent hiking pole)! 
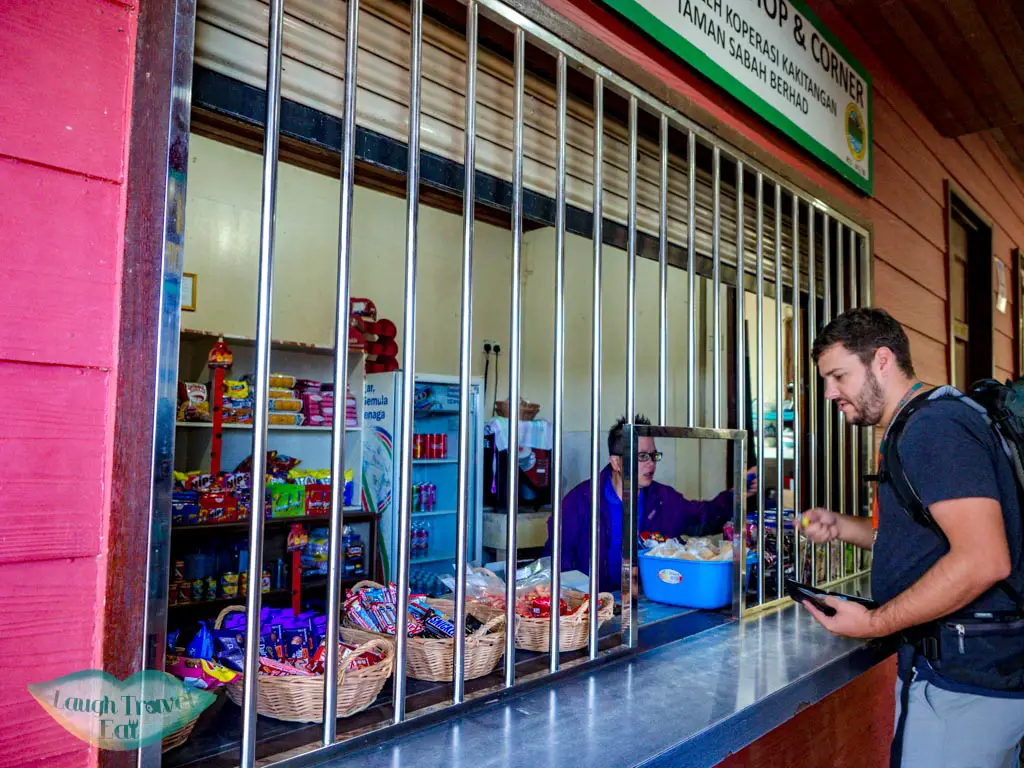
Snack shop
Once you reach the gate, a staff behind counter will check your tag and register you in. This is your last chance to buy any snacks or rent hiking poles (10 RM per stick) – you won’t be able to do so at Panalaban Base Camp.
Mount Kinabalu climb
In general, according to our guide and our time, my friend and I are slightly below average in terms of speed for the hike. Here is a run down of my experience with time + milestone:
7:00: We had stayed at the Nepenthes Villa the night before and arranged to be picked up for breakfast. We were the first to arrive which gives us time to grab all the food we need and enjoy a leisurely breakfast.
8:00: We met our tour guide, checked out, and got our identity tag for the hike.
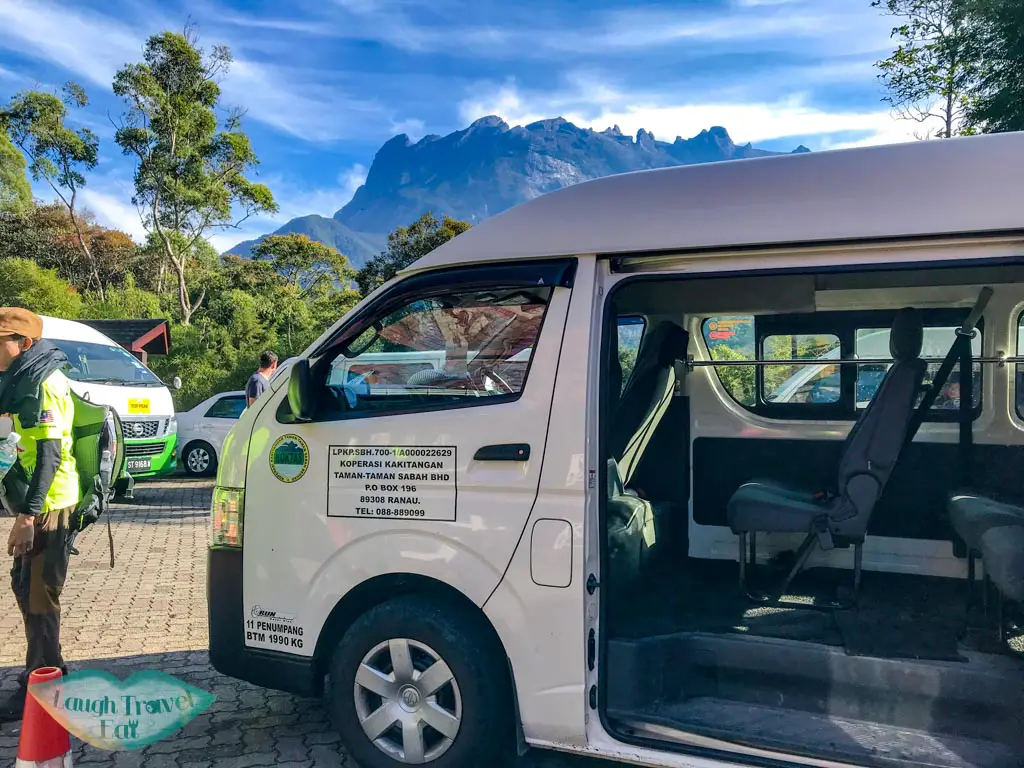
8:30: We got on the transport van and left for Timpohon Gate. The ride is about 10 minutes long and they depart as soon as the van is filled out. Most people leave for the gate around this time so we were on the way pretty quickly.
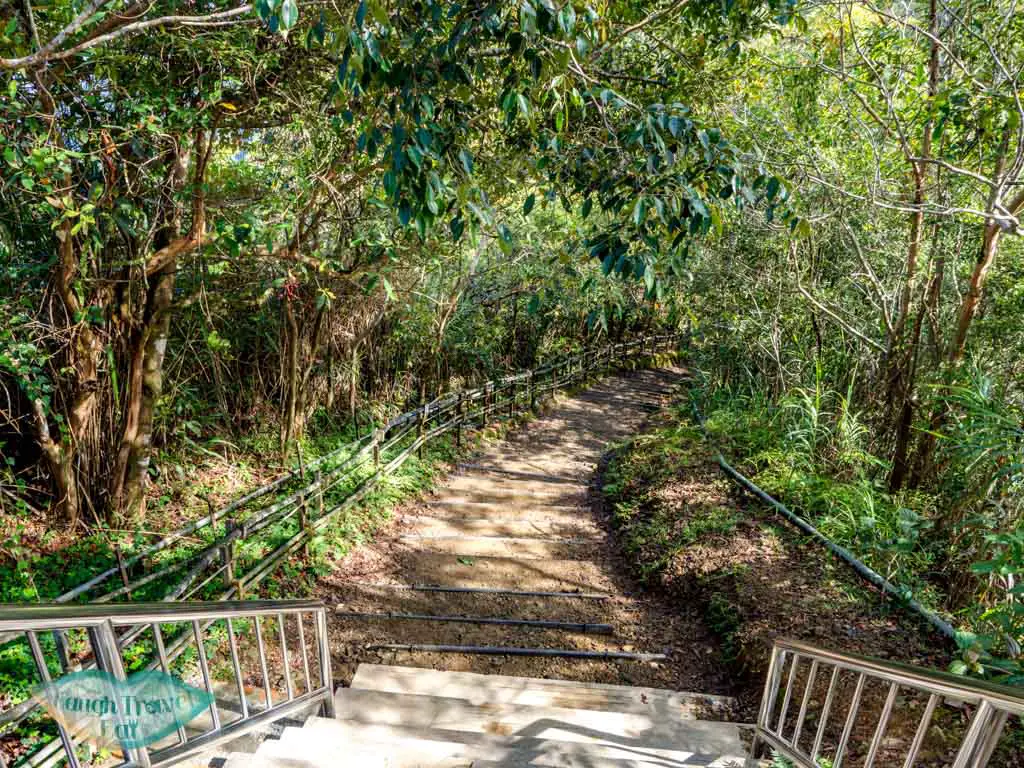
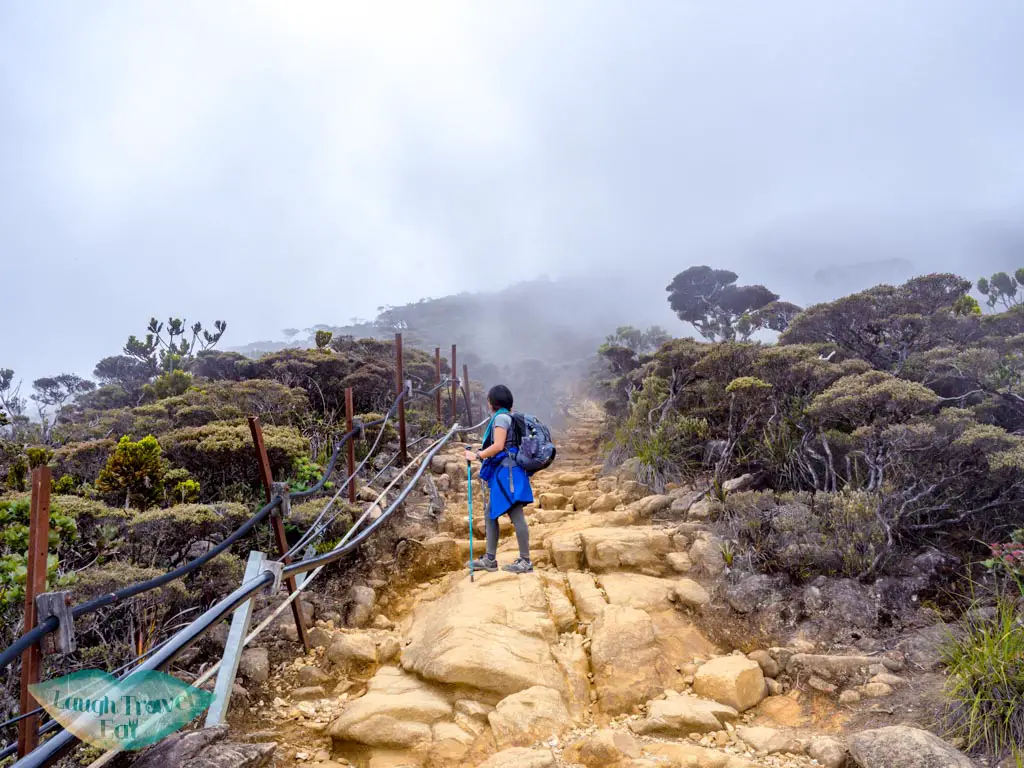
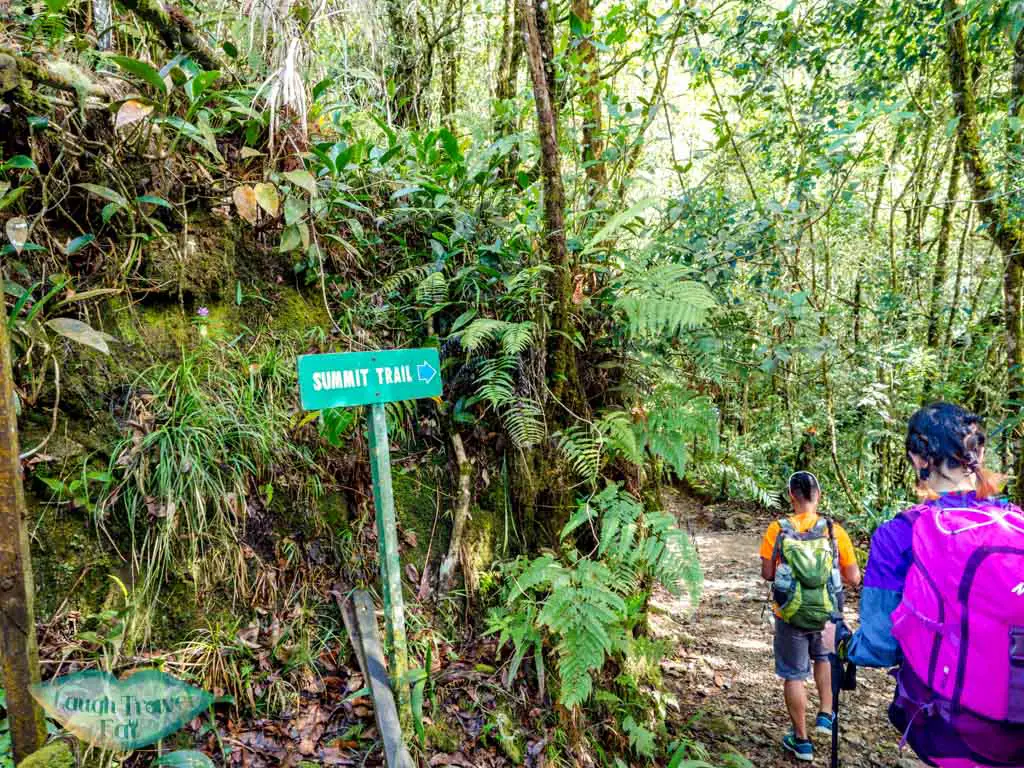
8:50: Once we registered in, there is a flight of stairs down to a small waterfall before the uphill ascend begins in earnest. The uphill trek is all through the jungles, with dirt path, wooden stairs, and dirt packed stairs interlaced with rocky outcrops and some flat path. Most of the flat path are in the first 2 km which is the easiest, although the hike basically consist of 90% stairs.
Every 500 m is marked and there are seven shelter on the way up to Panalaban Base Camp. here is a break down of our progress in terms of time:
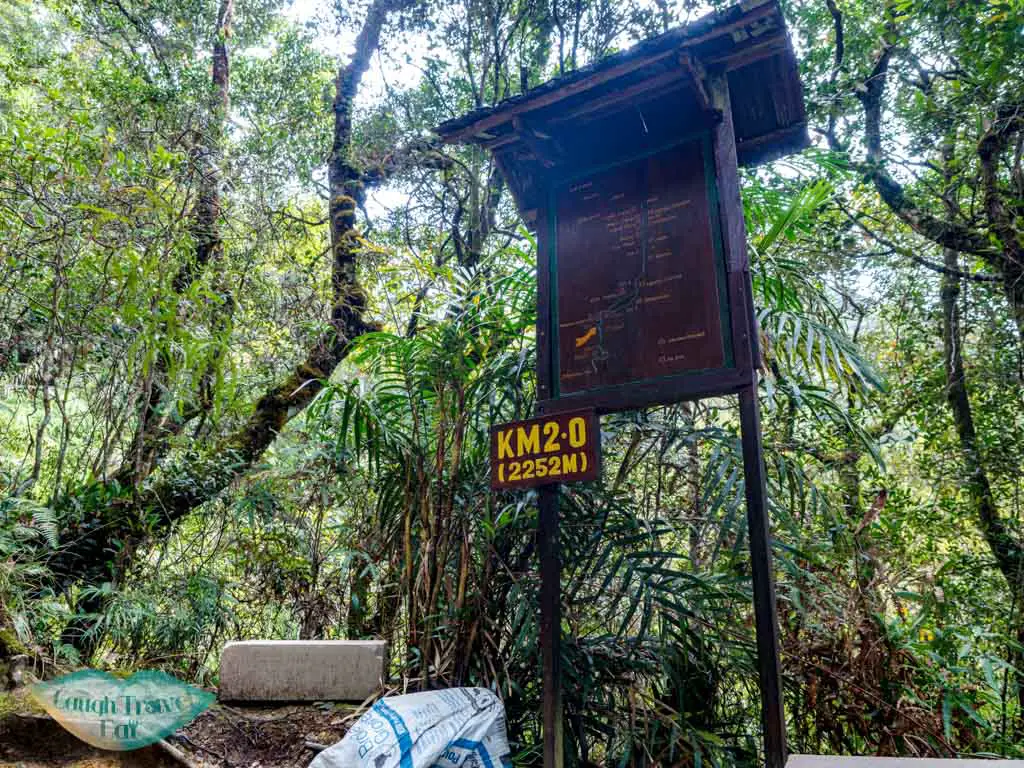
- 9:15 at the first hut Pondok Kandis, took a break and reached the 1km (2039m) market at 9:20
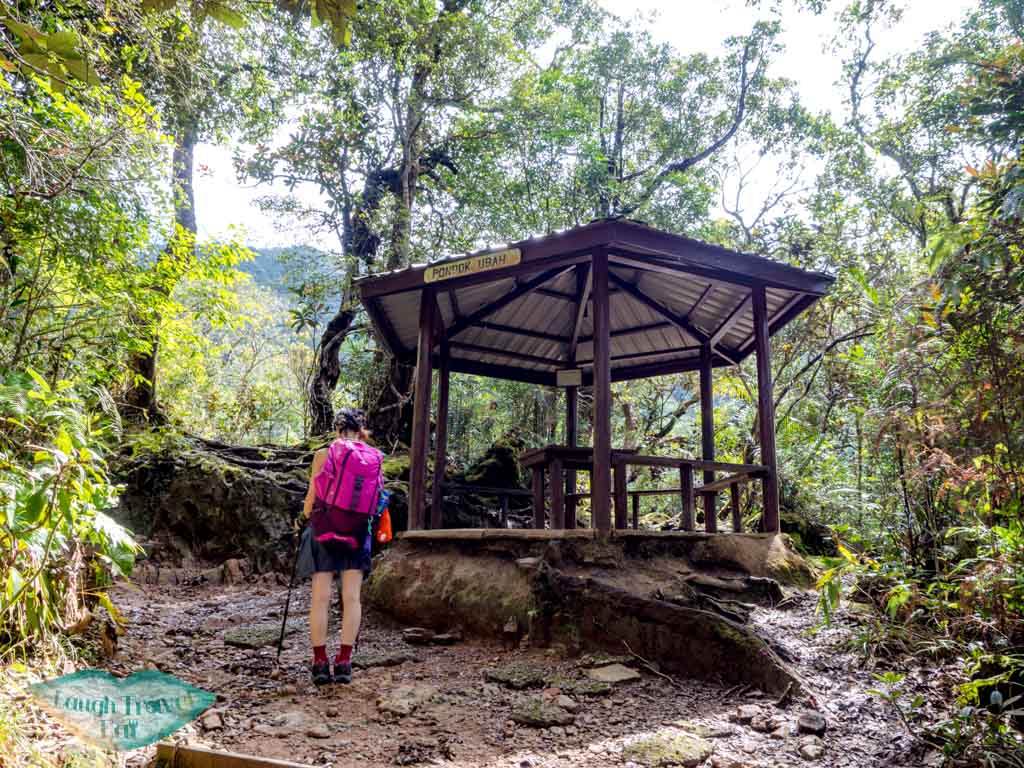
- 9:36 Pondok Ubah
- 9:50 1.5km (2165m)
- 10:04 2km (2252m)
- 10:29 2.5km (2350m)
- 10:48 3km (2455m)
- 11:24 3.5km (2634m)
- 11:42 at Layang Layang for lunch, left at 12:30
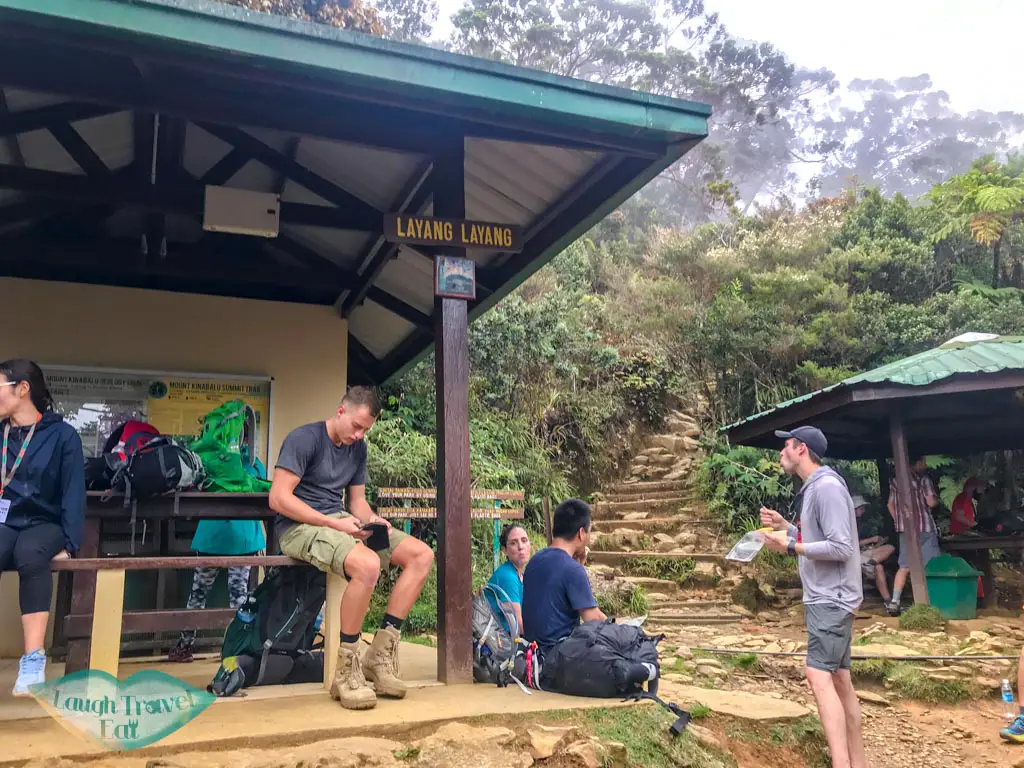
Almost everyone have lunch at Layang Layang, where there are two shelter for people to sit. It’s a rotating cast of hikers with people coming and going constantly, and since seatings are limited, people tend to stay around half an hour or so.
We were visited by the mountain squirrels again who are definitely very interested in our food!
- 1:01pm 4.5km (2898m)
- 1:36 at 5 km (3001m) and took an extended break at the hut – the trail is increasingly steep given the altitude, so unless you are in a hurry for Via Ferrata briefing, give yourself time to breath and rest.
- 1:59 at last hut Pondok Paka
- 2:40 reach the first hut (3230m)
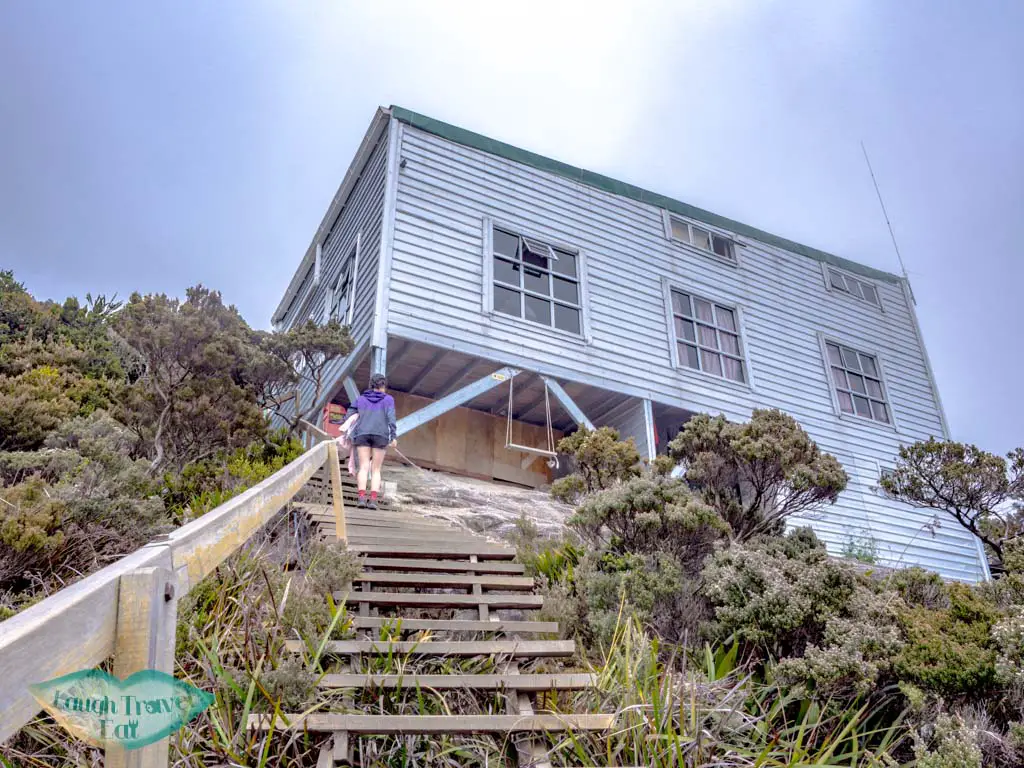
After we dropped off our stuff, we were taken to Pendant Hut to register in and wait for the Via Ferrata safety briefing. Most people who is going to do Via Ferrata stays in Pendant Hut, however, we didn’t – more accommodation breakdown below.
A lot of the other hikers were milling around the dining room area. Pendant Hut is the only hut left that offers free water refill, so definitely drink your fill! The safety demonstration, as mentioned before in Via Ferrata section, took an hour and a half in total. My suggestion is that you have dinner immediately afterwards as quickly as possible if you want to catch the sunset.
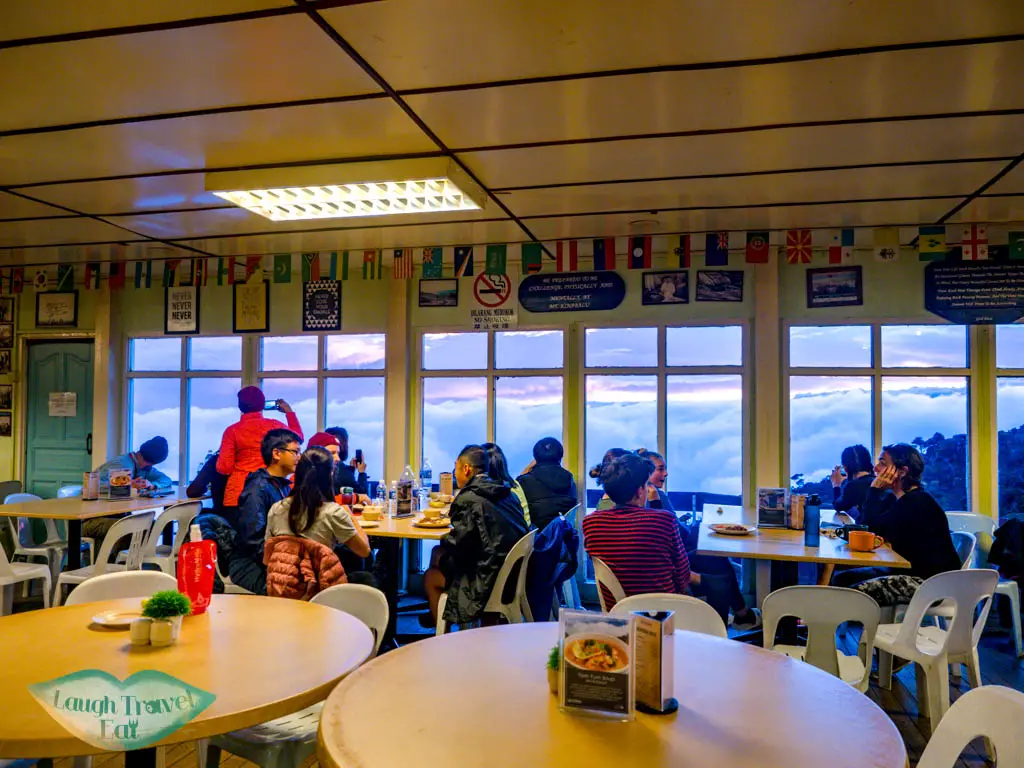
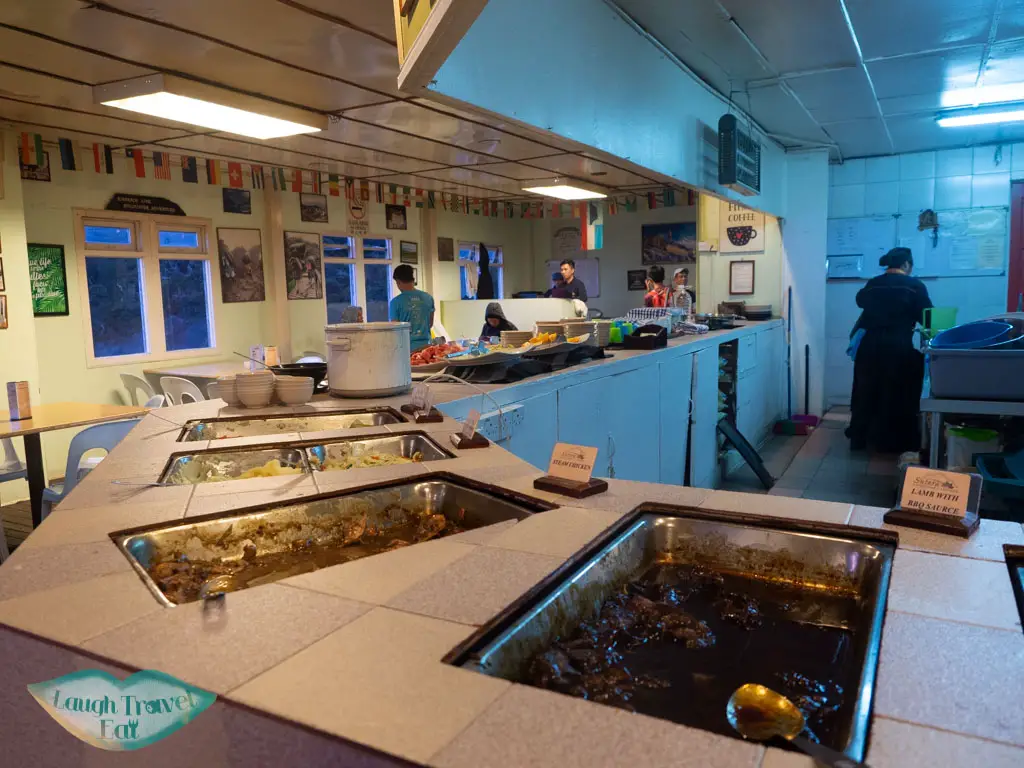
Dinner is served for all at the Panalaban main hut from 16:30 to 19:00. It is buffet style with an open kitchen, with most food being gone by 18:30! You’ll need to bring your tag to show and only a cup of hot water is given.
But there is also a snack shop across from the kitchen. If you are staying in Pendant Hut or further, bring a head torch if you are going to be there until sundown as it gets dark fast.
Hotel Mount Kinabalu
There are three main types of accommodation available on Mount Kinabalu in the Panalaban Base Camp. Aside from the Via Ferrata climbers who will most likely stay in Pendant Hut or the private room guests, allocation is random and dependent on arrival time unless you have booked a private room.
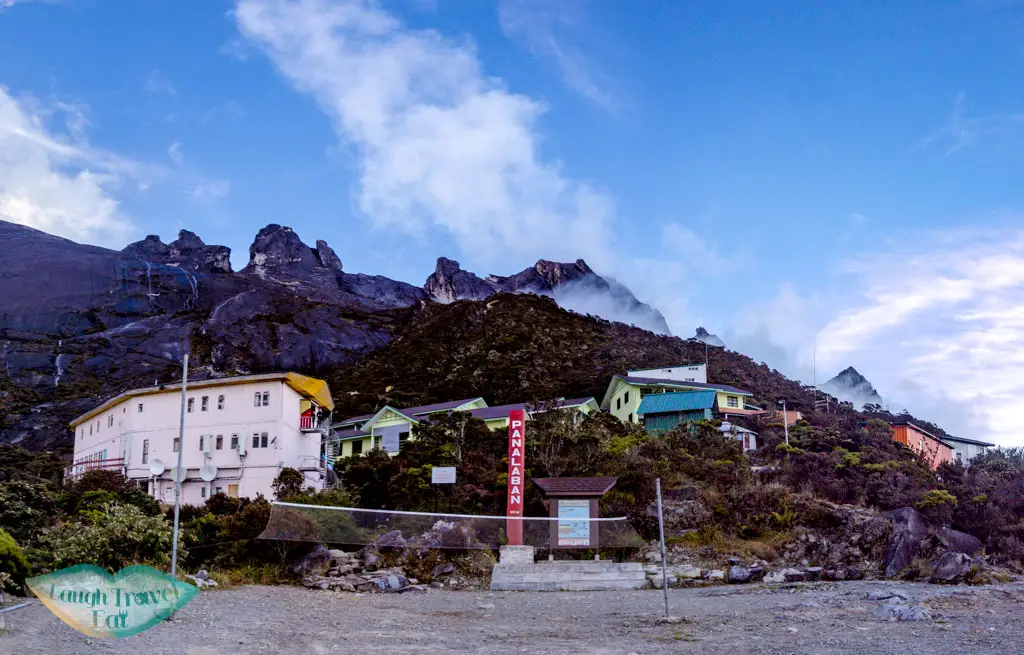
Shower is available for those who wants it, but remember to bring your own towel. During our trip it is said that the hot water supply is temperamental due to power supply issues, but many manage to take showers.
Laban Rata Resthouse
There is dormitory and private room above the restaurant in Laban Rata Resthouse. I didn’t see the inside of the rooms but there are photos on the official website.
Green huts between Laban Rata and Pendant Hut
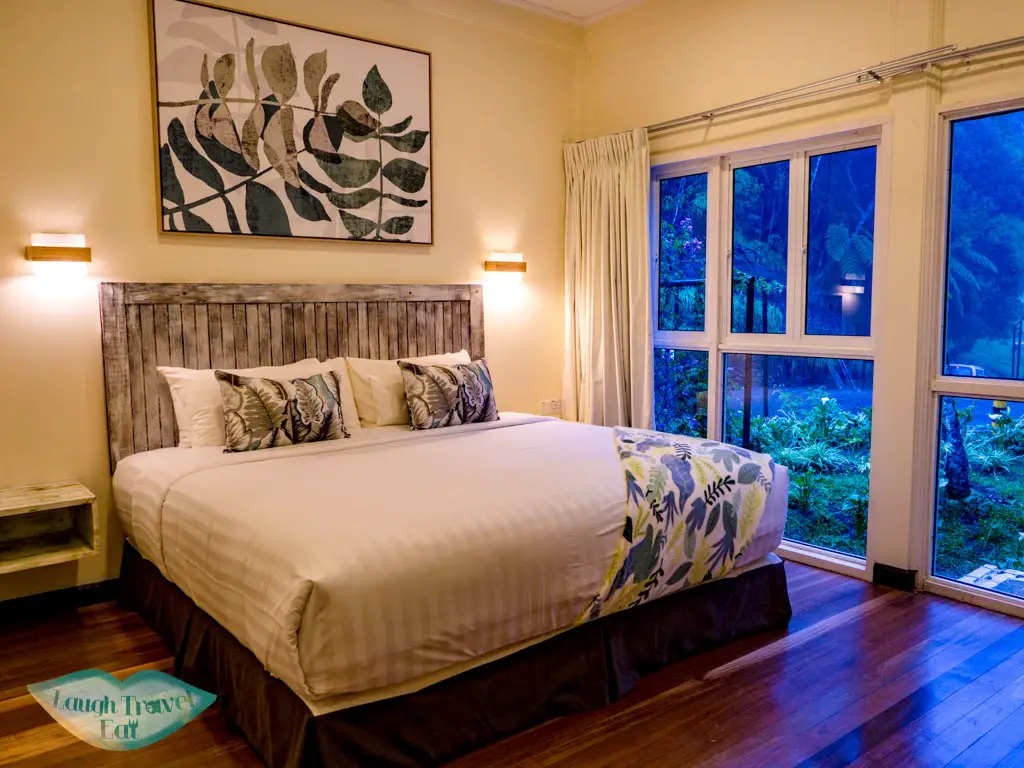
I’m not sure about the name of the huts but there are a few of them between Laban Rata and Pendant Hut. We stayed in one of the room and was surprised at how spacious they are. Better yet, all the beds are single and there are even outlets for us to charge our devices!
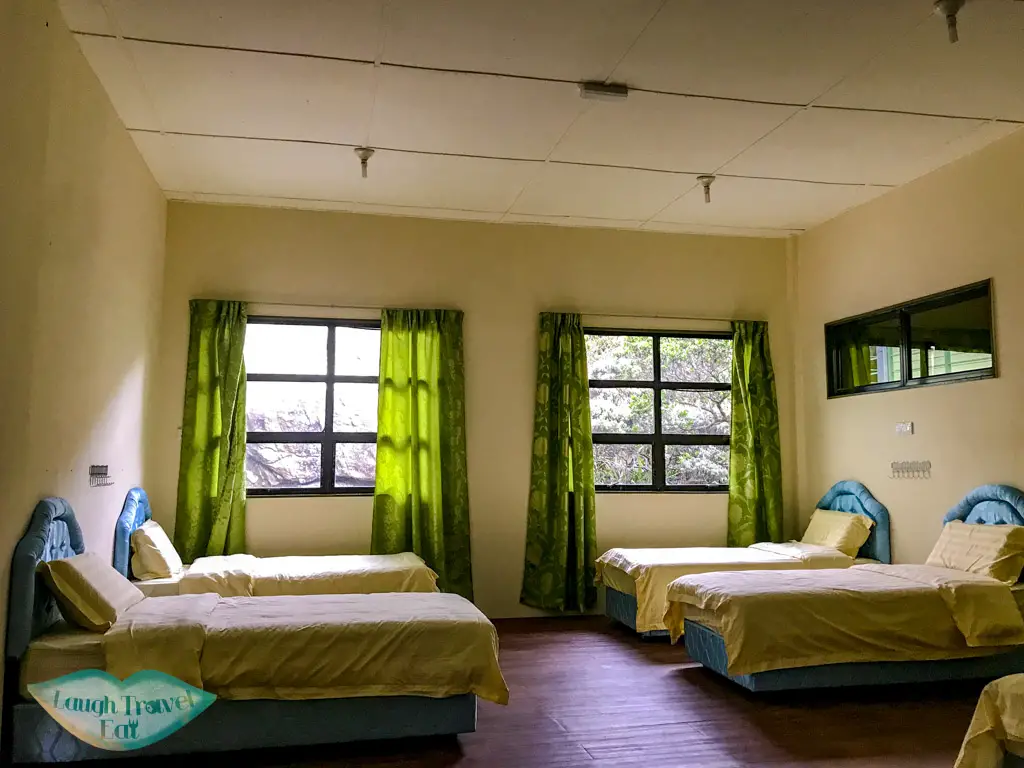
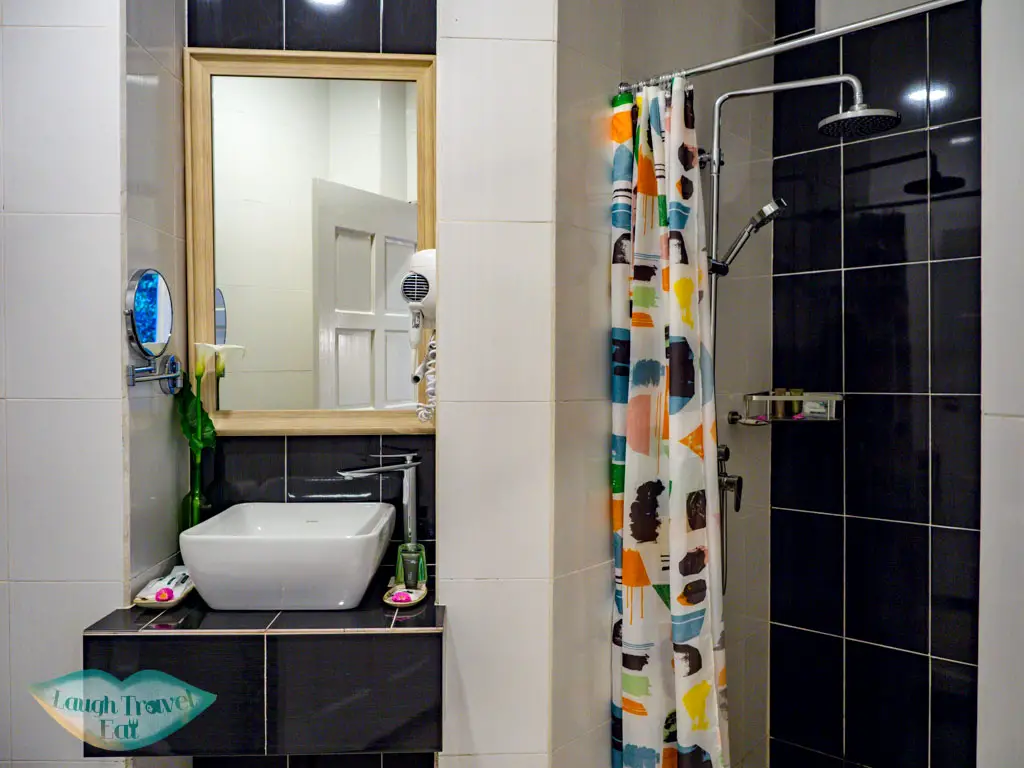
Each room has a shared bathroom with one shower cubicle, although from what I noticed none of the hikers in my room took one. It did get cold at night and I ended up putting on my fleece.
Pendant Hut
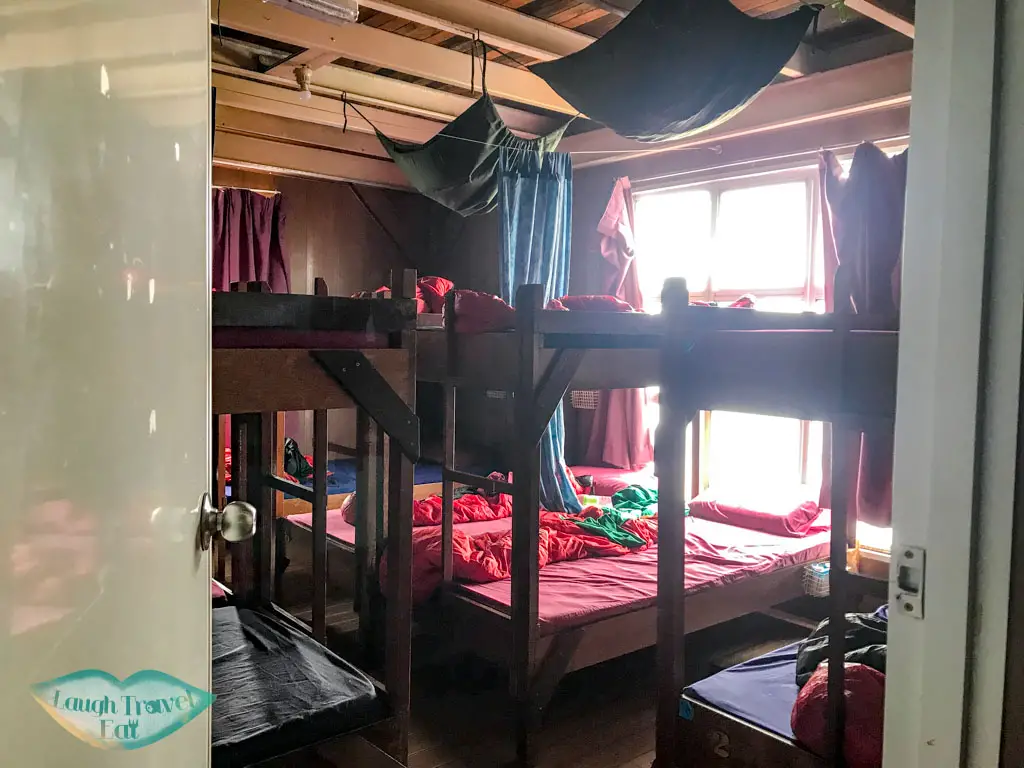
The highest accommodation at Panalaban, Pendant Hut is reserved for Via Ferrata hikers only. It is an eco friendly hut with solar panel and heaters and a shared bathroom and shower facilities. The dormitory here are more crowded with bunk beds and sleeping bags, and our friends who stayed there said that it got quite stuffy at night.
Mount Kinabalu Peak
The summit trek should be an as light as possible mission. Just bring head torch, gloves, waterproof jacket/poncho, tag, and water (1L min). I recommend packing your luggage before leaving as well so the staff can retrieve them if you are late or you can just take it and go. The average time for summit ascent is 2-4 hours
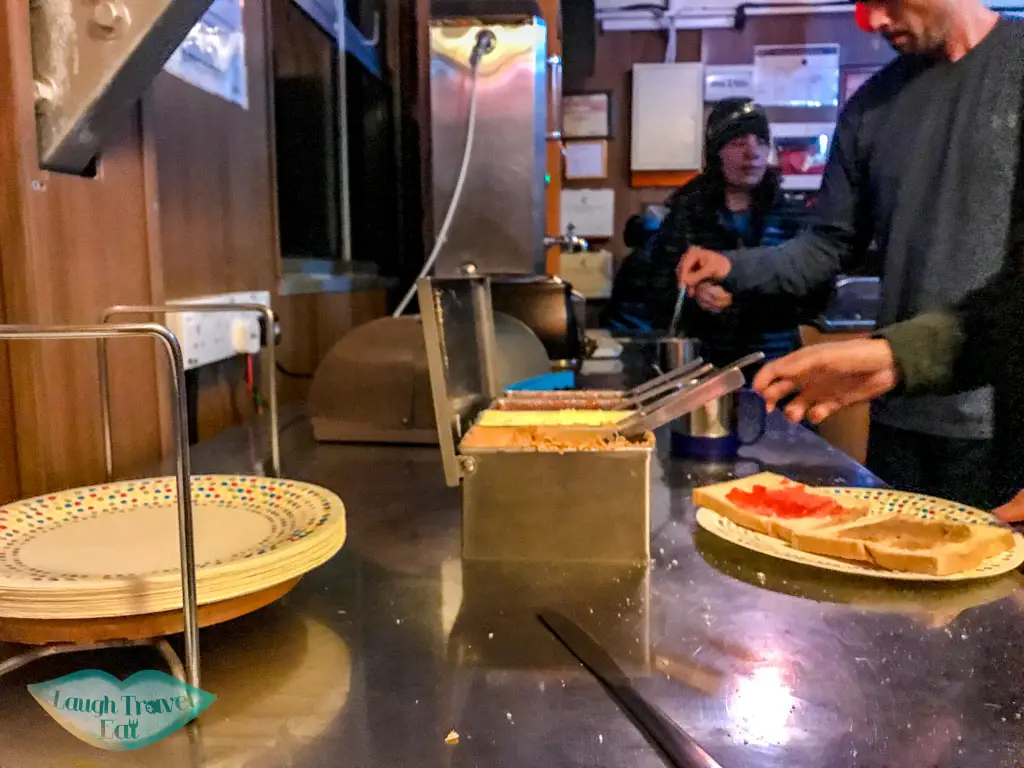
We woke up at 1:15 to get ready and head up to Pendant Hut to have breakfast since we are also doing Via Ferrata. There is one provided by the main restaurant too but it only starts at 2am, whereas the Pendant Hut serves by 1:45 and is en route up!
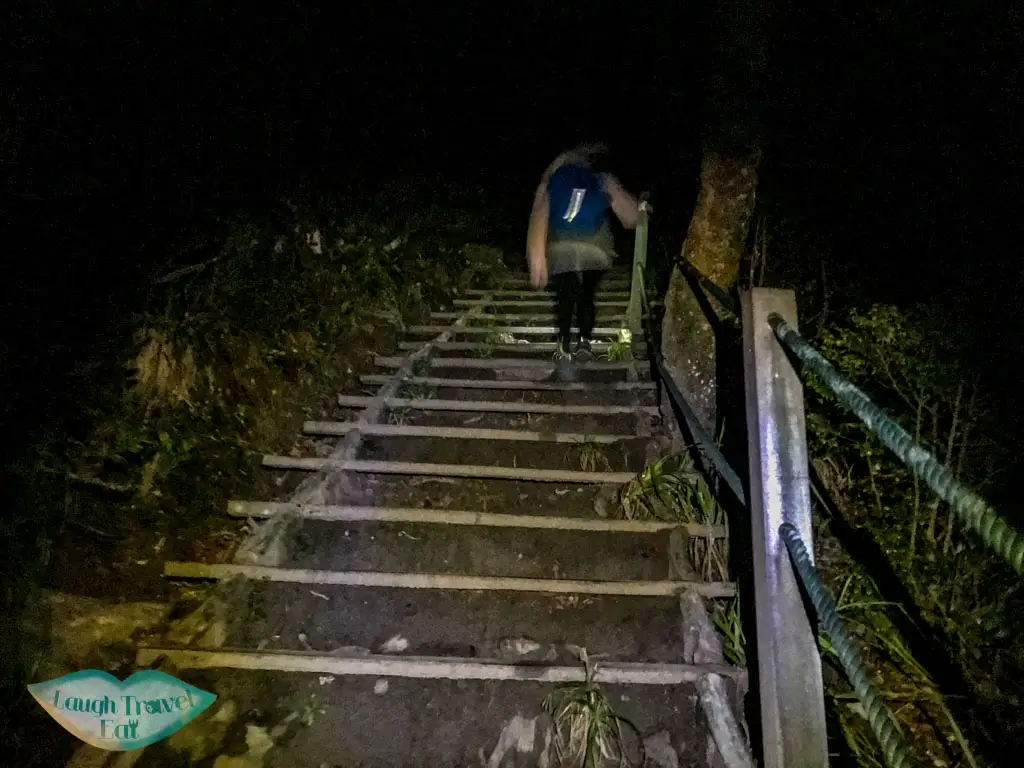
2:30 start off – our guide picked us up at Pendant Hut and we set off to climb the summit. The path to go up to the summit is accessed via the gate right at the front of Pendant Hut. The first 700m is still in the jungle, similar to the route previously.
It was pitch black so everyone had to use their head torch. I initially wore my fleece but took it off quickly since there was a lot of stairs. The trick, if you are tired, is to stick to the side and hold on to the rope or the railing.
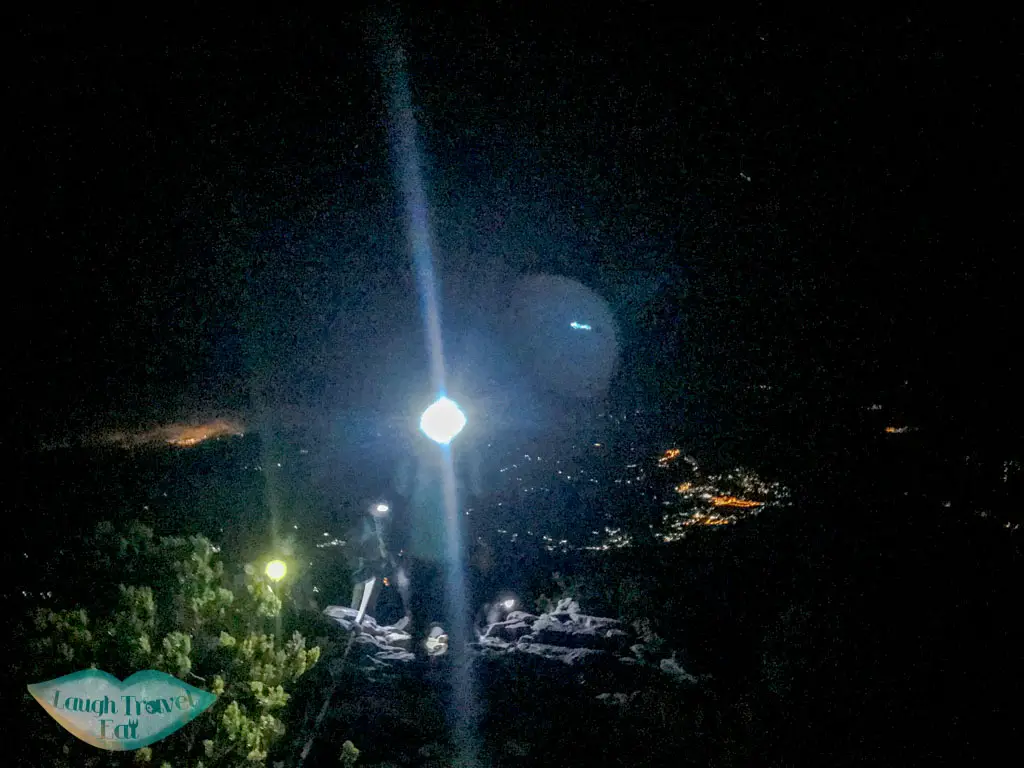
Before the last checkpoint was reach, the trail became rocky and there is a section where we needed use the rope provided to get ourselves up. So keep your gloves handy and take a break by the side if needed.
3:49 at the last checkpoint

We reached the last checkpoint Sayat Sayat that is the gate keeper to the summit. Your tag will be checked here and before it is also the highest toilet in SE Asia. If you arrive after 5:30 you won’t be allowed up there – since it means you are too slow to complete the summit trek and get down to Timpohon Gate on the same day.
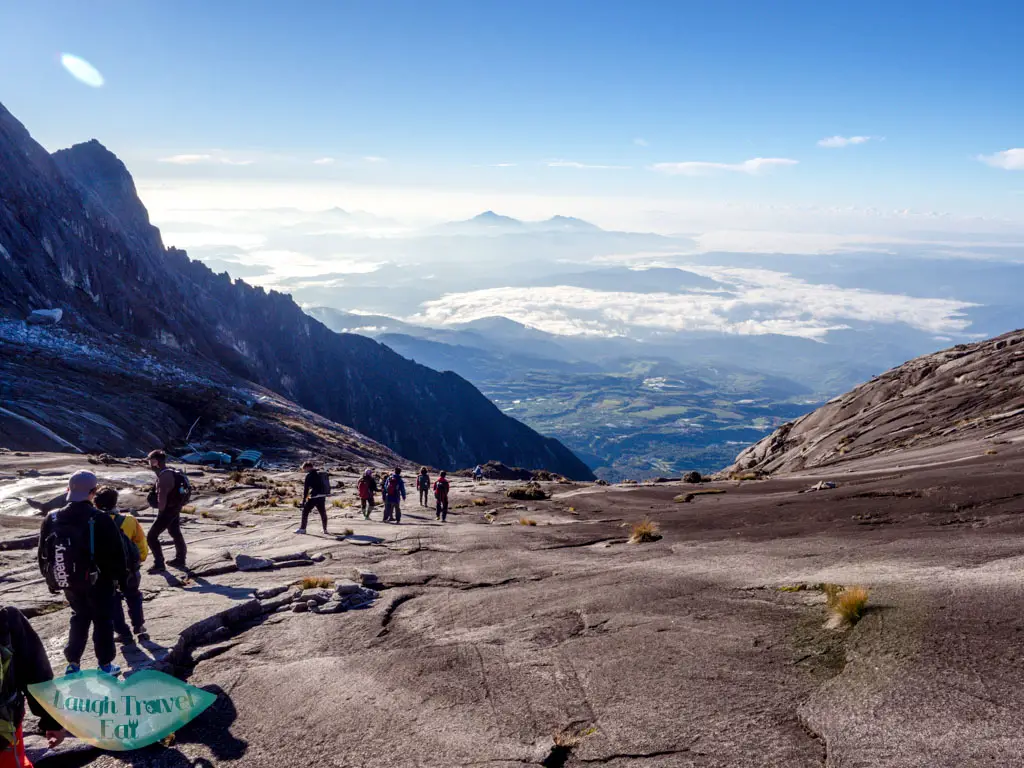
The trail has becomes less steep afterwards with a continual incline up. Stick close to the white ropes that mark the main trail. The last few km markets are a scattering of wooden signs and a plauqe on the floor, here are some timings:
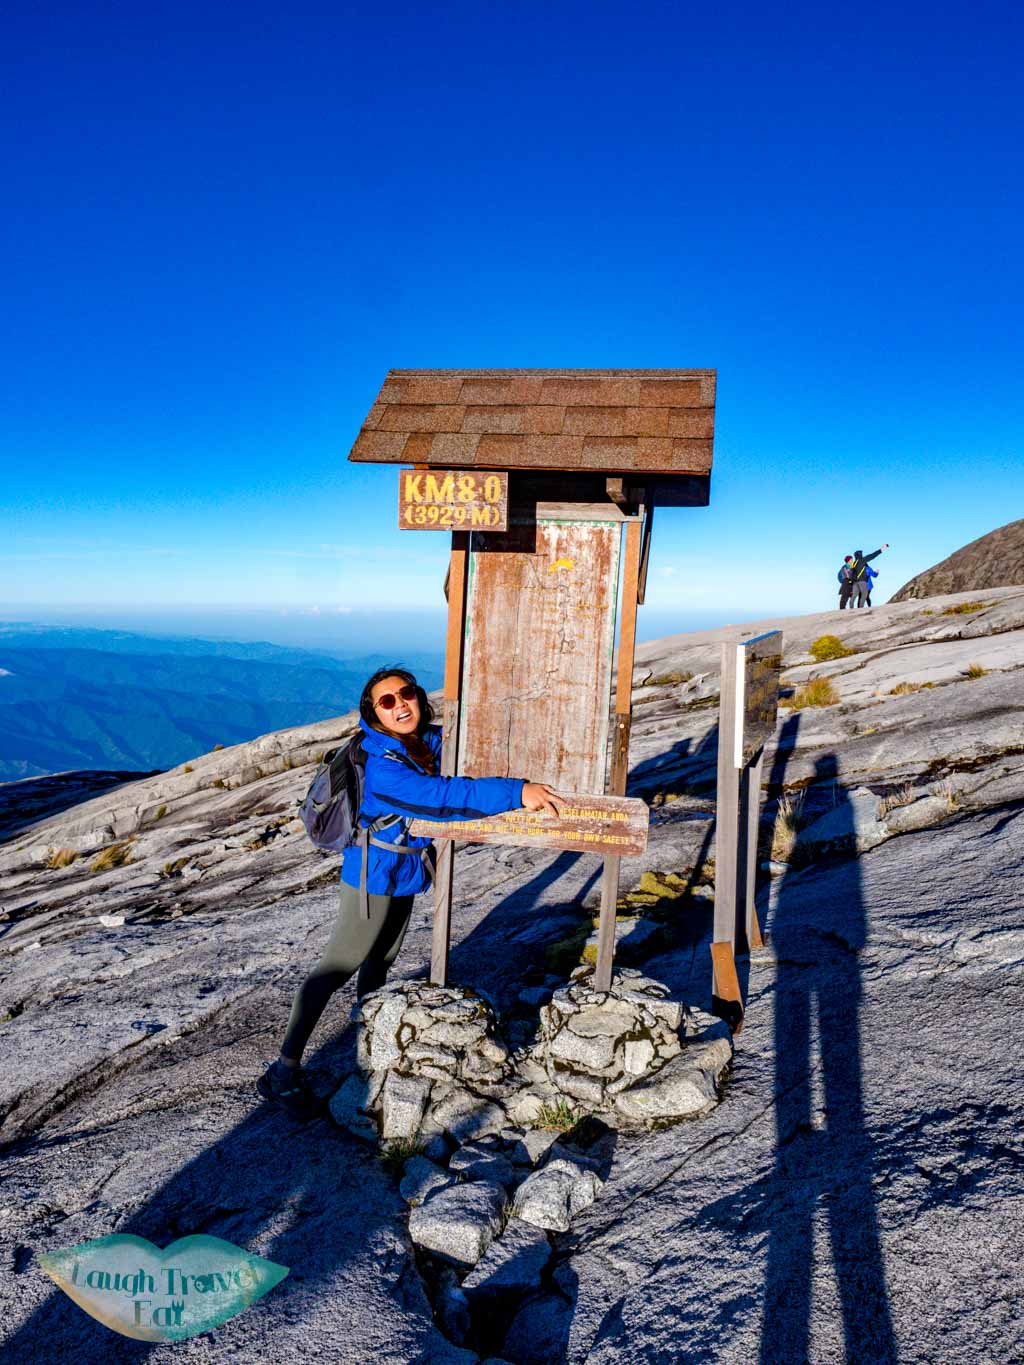
- 4:49am 8km (3929m)
- 5:19 am 8.5km (4008m)
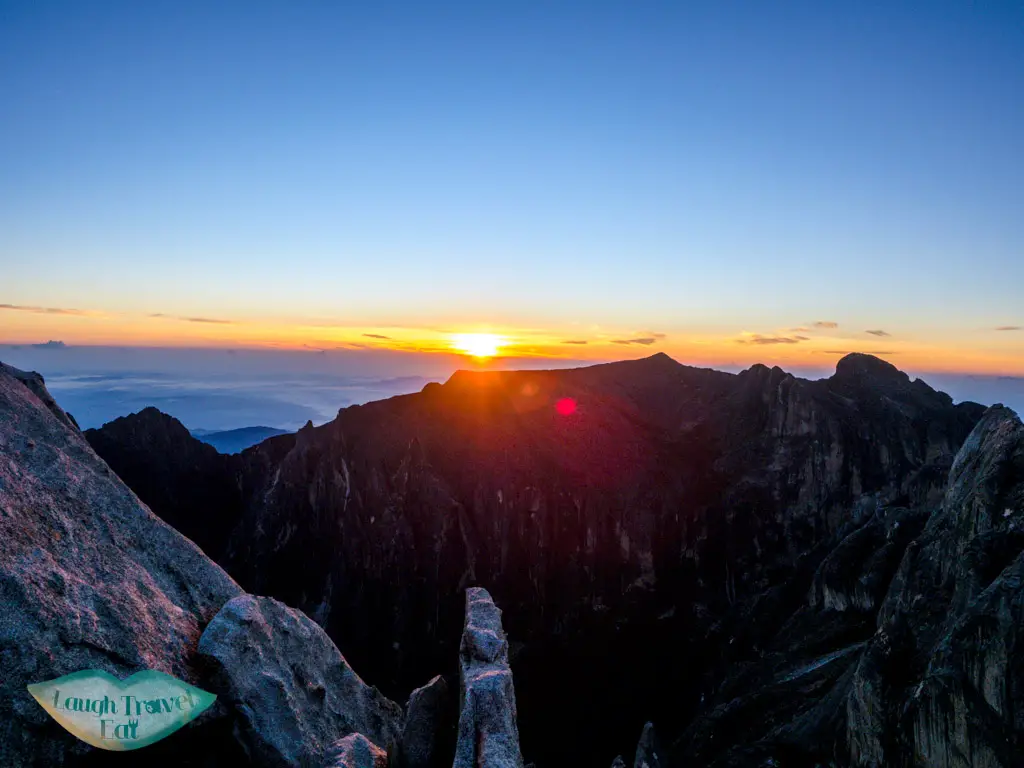
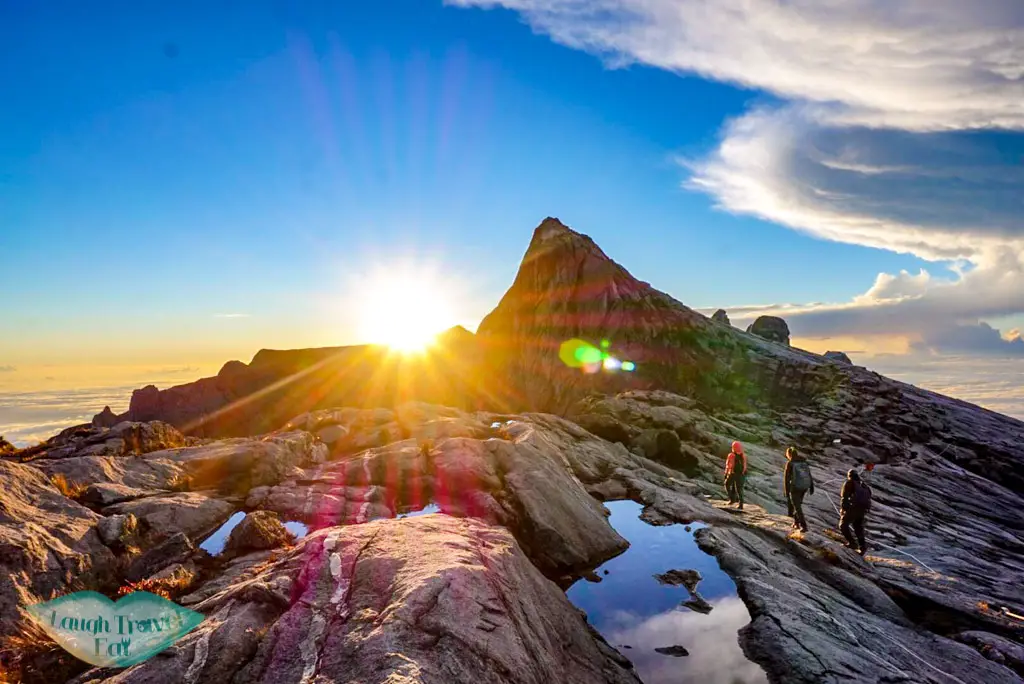
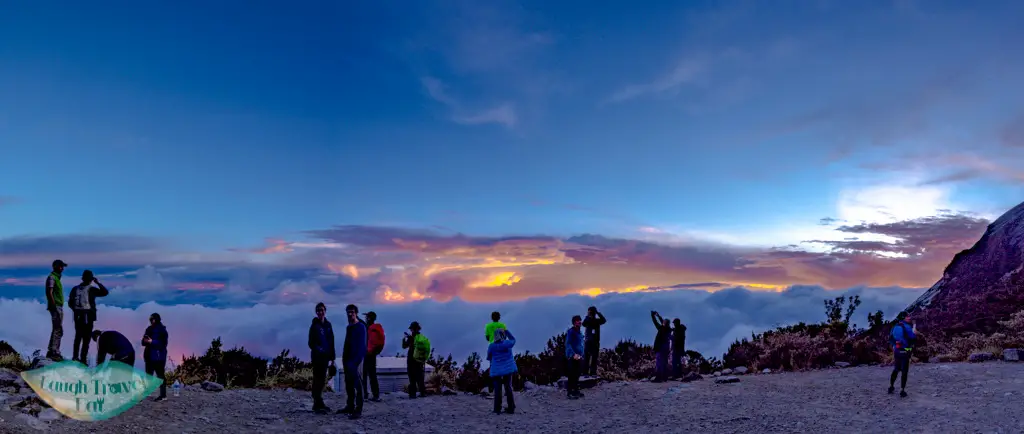
The sunrise usually happens around 6:15, but it’s best to arrive up by 5:30 to catch the predawn colours. Our guide led us straight to the top of Low’s Peak so we can take a photo with the sign that declare we are at the highest point.
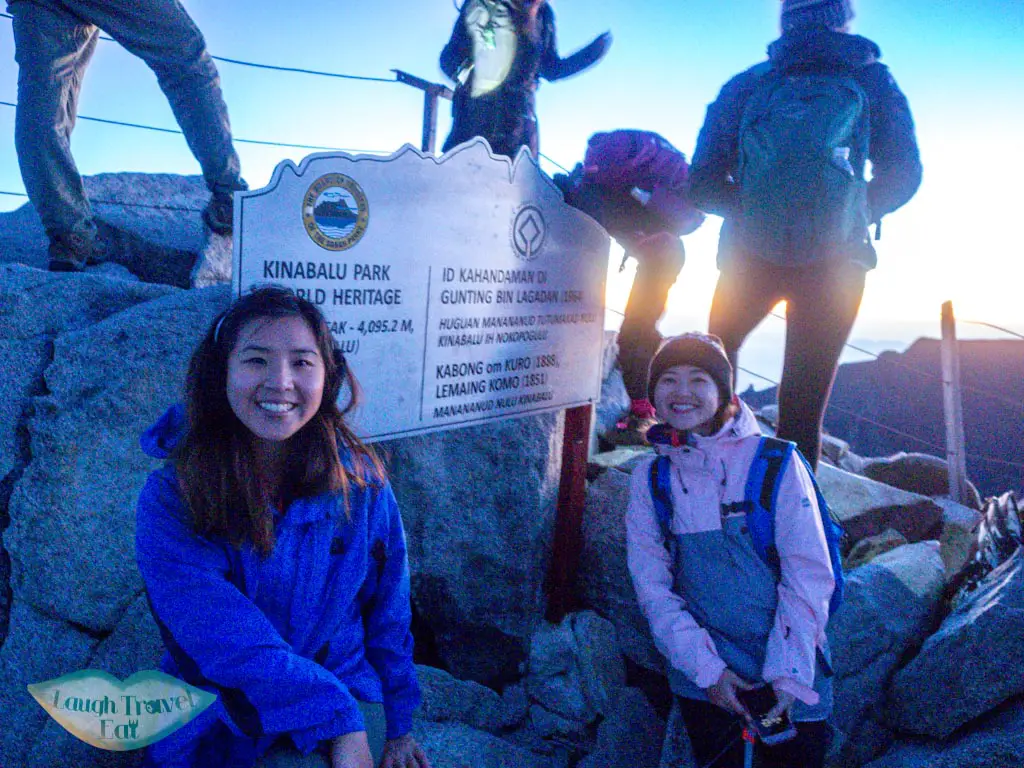
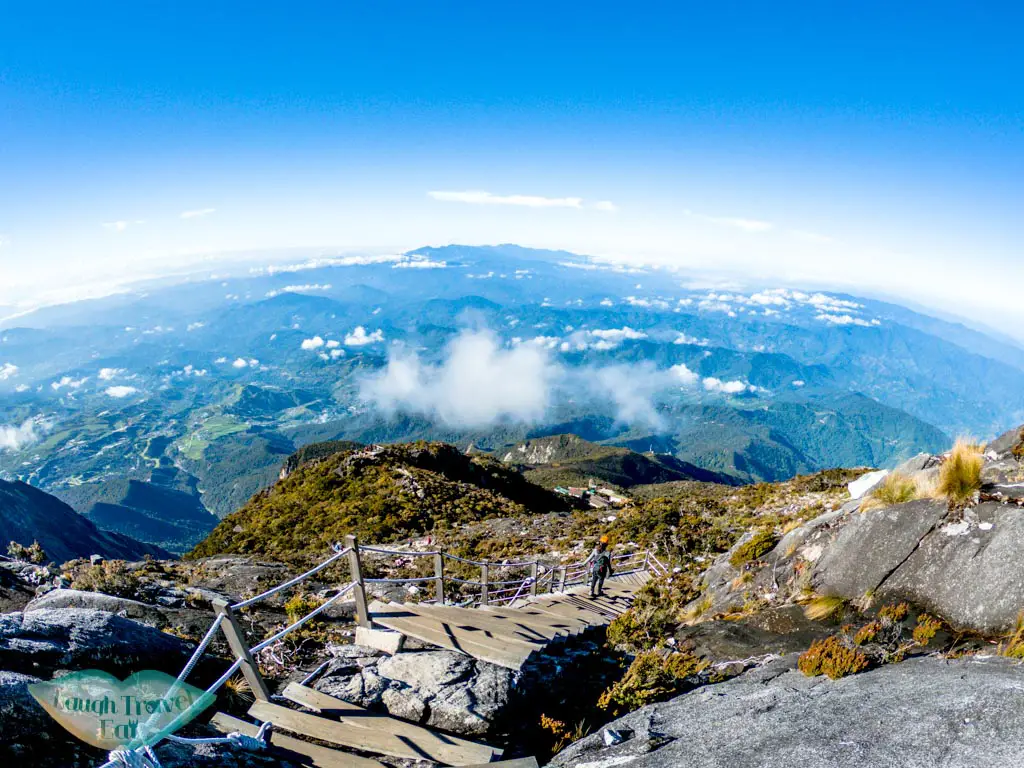
This last section is almost like rock climbing at that point so be careful. Most people are gathered around the cable fence that lined the incline up to catch the sunrise. I managed to snag a spot and set up my GoPro for a timelapse and photo. But be warned that it is crowded!
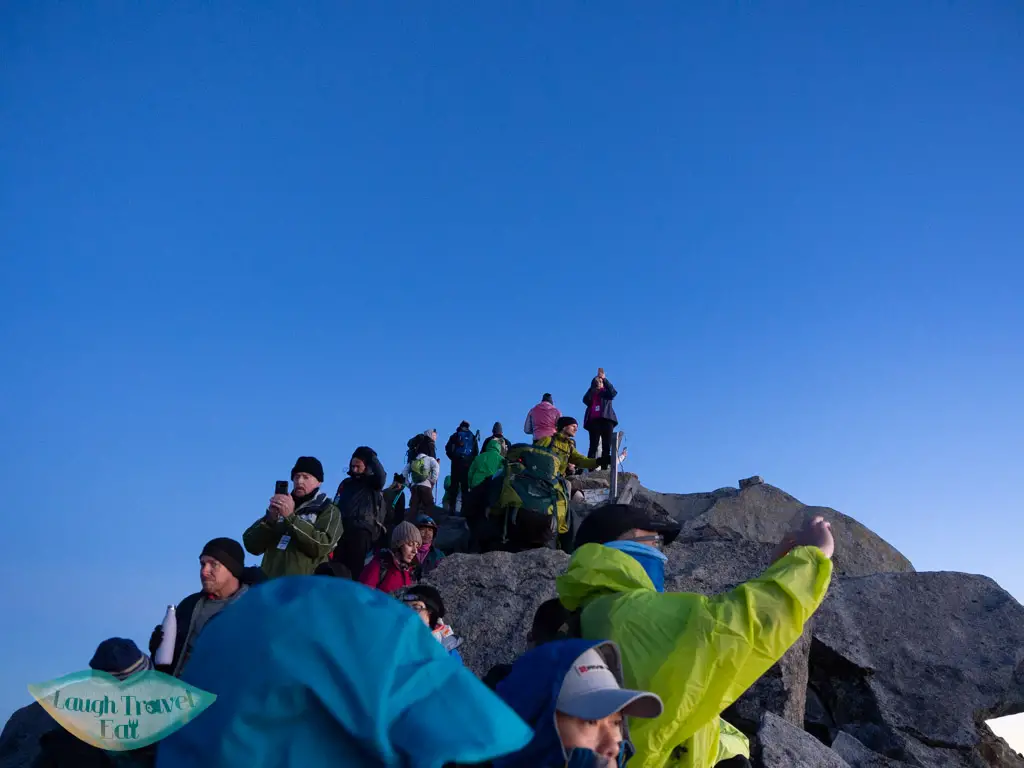
Since we needed to make it to Sayat Sayat for our Via Ferrata experience, we started going back down at 6:30. Going down is a lot faster but do keep close to the white rope.
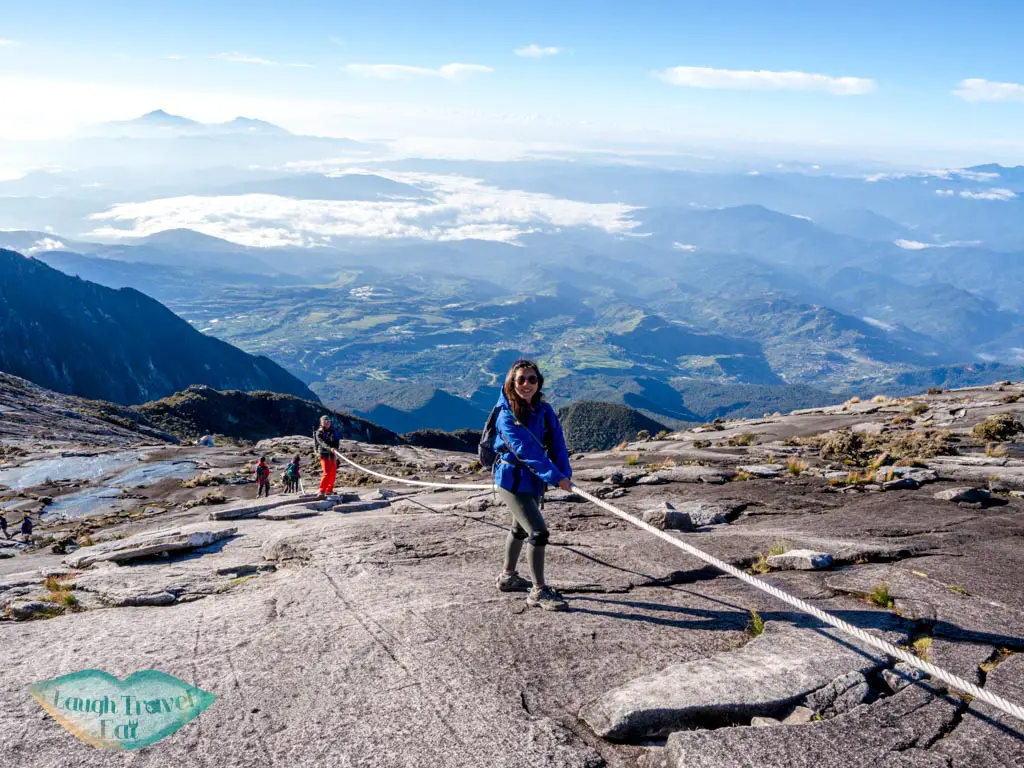
We were back at 8km at 6:51 and reached checkpoint at 7:19.
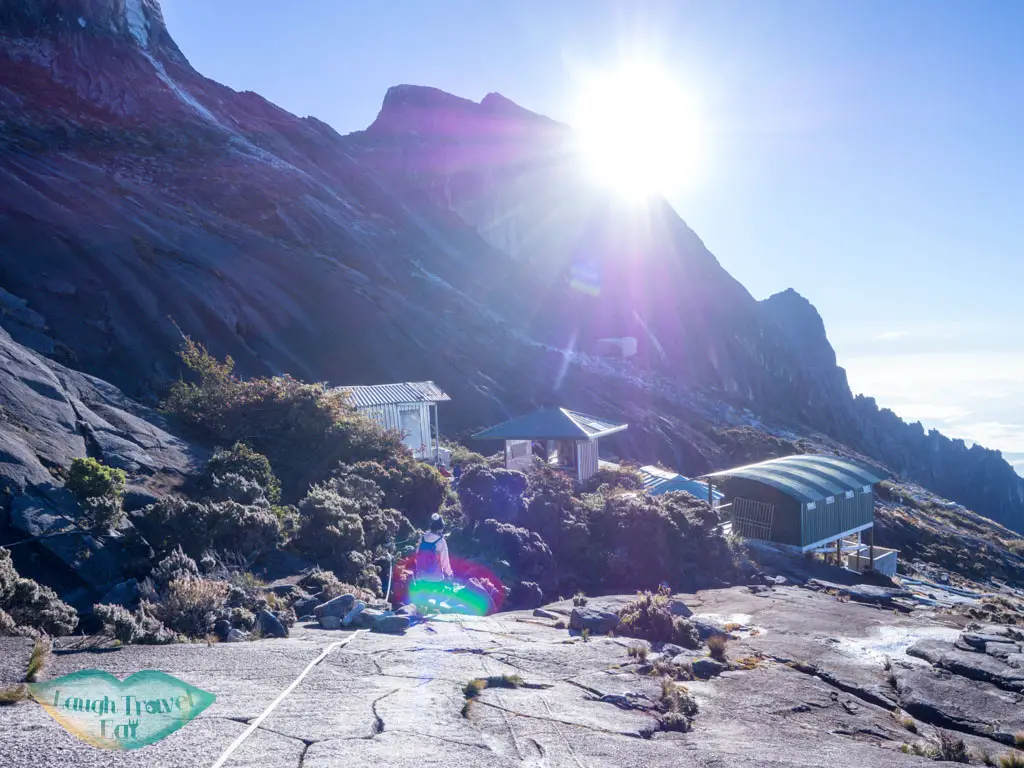
The first group departed at 7:30 with their harnesses on, however, as I talked about in the Via Ferrata section, the rest of the three groups didn’t start going down until 7:50.

Had to walk back down a bit 
It took us a while to reach the starting point
One of the member had problem going down so we didn’t reached the starting point at 8:30. And since we were put in the last group, we waited until 8:50 to start and didn’t finish until 11:03.
Descend to Timpohon Gate
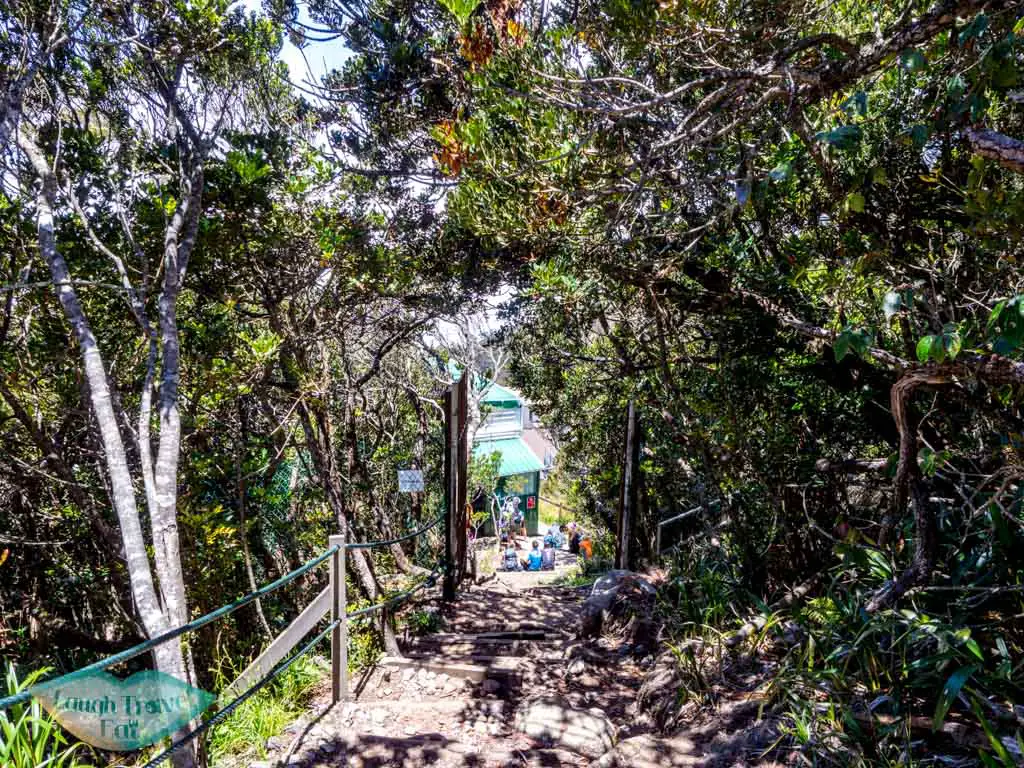
Breakfast at the main restaurant ends at 10:30 so we went to Pendant Hut for our second breakfast. We got back to the hut at 11:45, had food, packed up, then left at 12:50. From there, I was basically on autopilot from exhaustion – both physically and mentally!
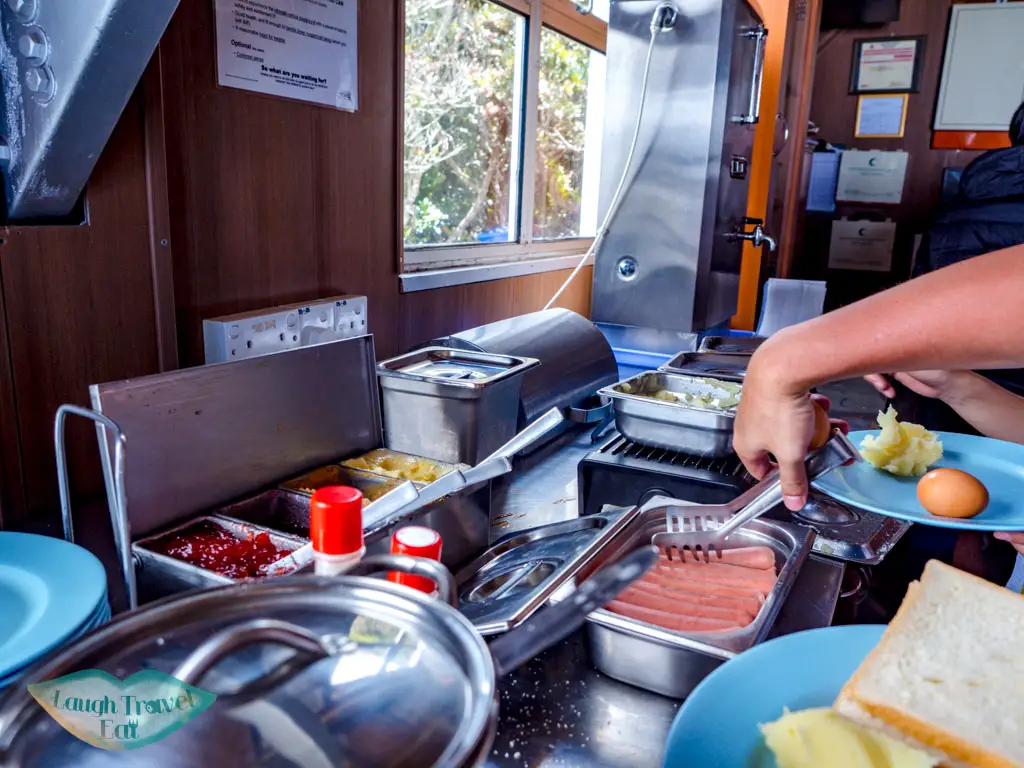
- 13:25 first hut
- 13:43 5km
- 13:48 Pondok Villosa
- 14:41 Layang Layang
- 14:56 3.5km
- 15:22 3km
- 15:35 2.5km
- 15.51 2km
- 16:06 Pondok Ubah
- 16:19 1km
- 16:20 another hut
- 16:39 0.5km
- 16:55 finished
I returned my hiking poles at Tompohon Gate and we walked to the road and wait for transfer back to Kinabalu Park. Our tour helped us collect the certificates and since it was already after 5pm, we retrieved our luggage and head back down to Kota Kinabalu!


 中文 (香港)













Wow, this is really detailed and useful post. It definitely looks like the kind of adventure I must do when in Asia again! Thanks for sharing!
It is! I honestly thought I won’t make it to the top but once I saw the sunrise it was all worth it!
Beautiful post Nam! I have heard that climb is tough, still want to try to it one day too though! We have been to Peninsular Malaysia but not Borneo yet, definitely will in the future. Thanks for the great info.
It’s definitely worth doing! I think it’s much easier without Via Ferrata, since we were mostly exhausted due to the intensity of day 2!
Wow, what a comprehensive guide! My friend just summited Kinabalu the other day, and I have been inspired to put it on my list, so this will be suuuuper helpful for when I do! Lovely pictures as well 🙂
Well done! What an epic experience. It looks like you all had a blast!
I reeeeeally wanted to do this when we stayed in KK. None of my friends fancied it, so we ended up going white water rafting and island hopping instead…but it has been calling me ever since!
It sounds like some of the Ferrata was a little frustrating for your group, but this sounds amaaaazing to me too!!
This is an impressive, massive guide. Even reading through it made me sweat Bookmarked and now definitely on my Asia to do list.
That is a huge elevation gain! Congrats to you for completing! And what STUNNING photos! I’d never heard of this hike before reading your posts but wow- so beautiful! Thanks for teaching me something new and adding a new place to my bucket list!
Wow this is super detailed, great job!
Syabas Congrats on very2 fantastic guide n best view photos. M a local Sabahan. Up Mt K is a once in a lifetime event which I did in younger days like u say d Sunrise makes all efforts worthwhile BUT going down is never ending trek…autopilot!
Try again after pandemic as a challenge All d best. Happy 2021