South America
Salkantay Trek to Machu Picchu: picking which company + full break down
May
The Salkantay Trek to Machu Picchu has become a popular alternative to the Inca Trail due to the natural scenery, the alternative accommodation options, and also the better price point. As usual, I did not find enough information on the Salkantay Trek that I found detailed enough online, so I have decided to make this guide and go through with you step by step from researching the trip to booking it to hiking it!
Table of Contents
Inca Trail vs Salkantay Trail
We decided to hike the Salkantay after weighing the pros of cons between it and the Incan Trail.
Pros:
- It’s cheaper
- It’s more scenic
- 4 out of 2 nights of accommodation are not tents
- Unique accommodation options like the sky dome and hobbit hole
- A bigger circuit around Machu Picchu than arriving from the Inca Trail
Cons:
- Do not walk through the Sun Gate
- Not the classic trail the Incans take to the ancient city
- No shorter alternative

Do note that with anything that’s not the Inca Trail, you will take the transport up to Machu Picchu from the town Agua Caliente. I truly did appreciate the night of sleep in a hotel bed and a hot shower the night before, but if you want to have the arriving through Sun Gate experience, then Inca Trail it is.
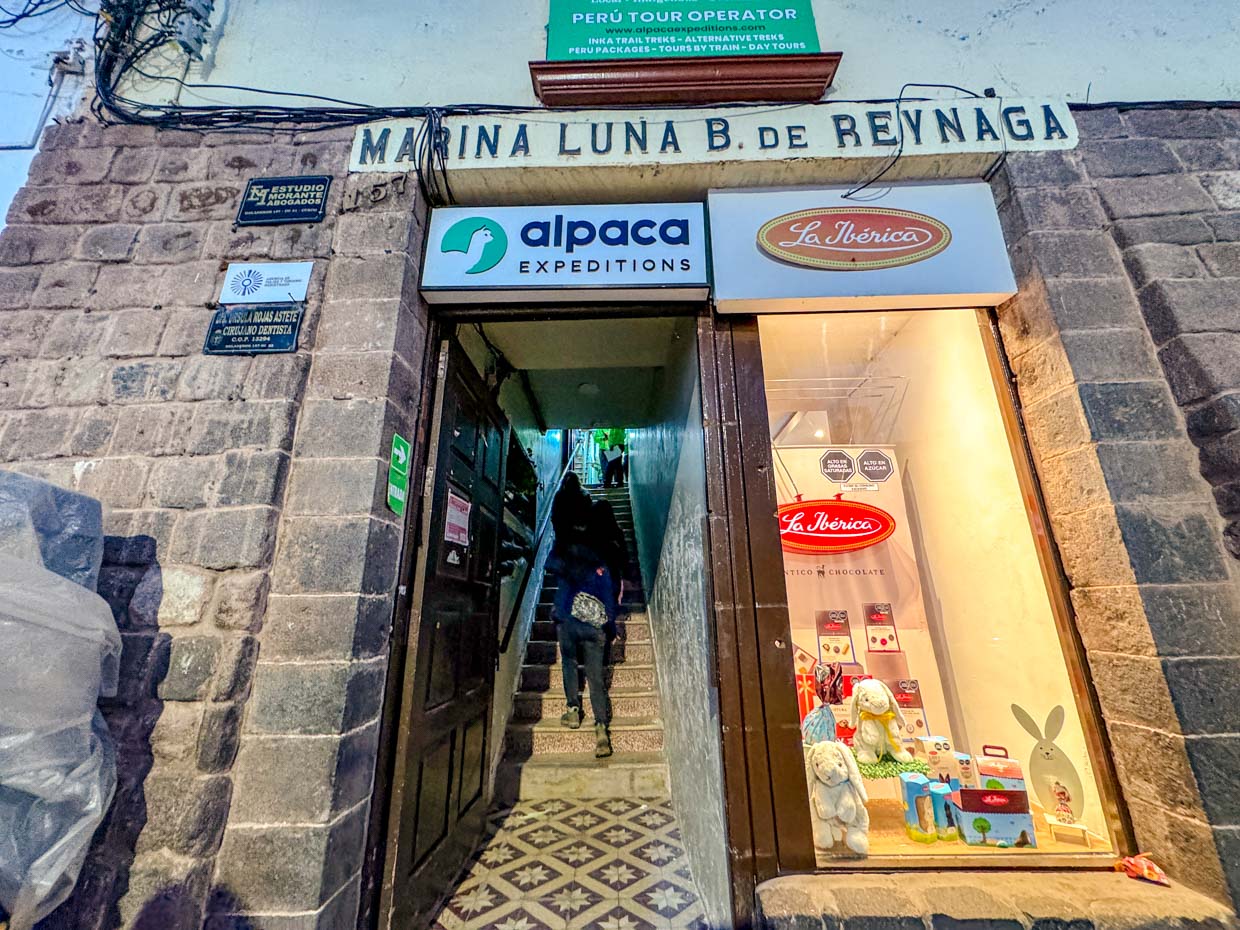
Choosing a trekking company
There are many tour agencies in Cusco that offers trekking but the two that stand out from the competition are Alpaca Expeditions and Salkantay Trek.
Their itineraries are similar with the same type of accommodation that differs slightly, the same goes for departure time and prices.
I picked Alpaca mostly because it had a day 0 which departs in the afternoon versus getting up and being ready at 4/5 am.
I recommend having a look at both of them and deciding which one suits you best. Sometimes there might be flash sales, so watch out for that!
Paying for the trek
A deposit is needed for the trek as the company will buy your permit for Machu Picchu straight away. This is also why ideally you should book it at least one month in advance as tickets get sold out very quickly.
There is an option to add the Huayna Picchu hike, which is right next to Machu Picchu, and out of 15 of us, only 2 booked it in time before it was sold out. This is usually 75 USD more (see more at Machu Picchu section).
We used Paypal, which is one of the only ways to pay, to deposit 200 USD each, and for the four of us it incurred a 44 USD fee for the deposit.
The rest in USD cash is best or you can use cards and pay 5%. I strongly recommend bringing the USD in cash as there are fees for most ATMs. While South America as a region is considered less safe, if you exercise general caution you should be ok with bringing USD around.
What to pack for the Salkantay Trek
If you’re like me, chances are you are already sweating thinking about what to pack for such a big trip. Here are a few quick tips that also apply even if you are not trekking with Alpaca:

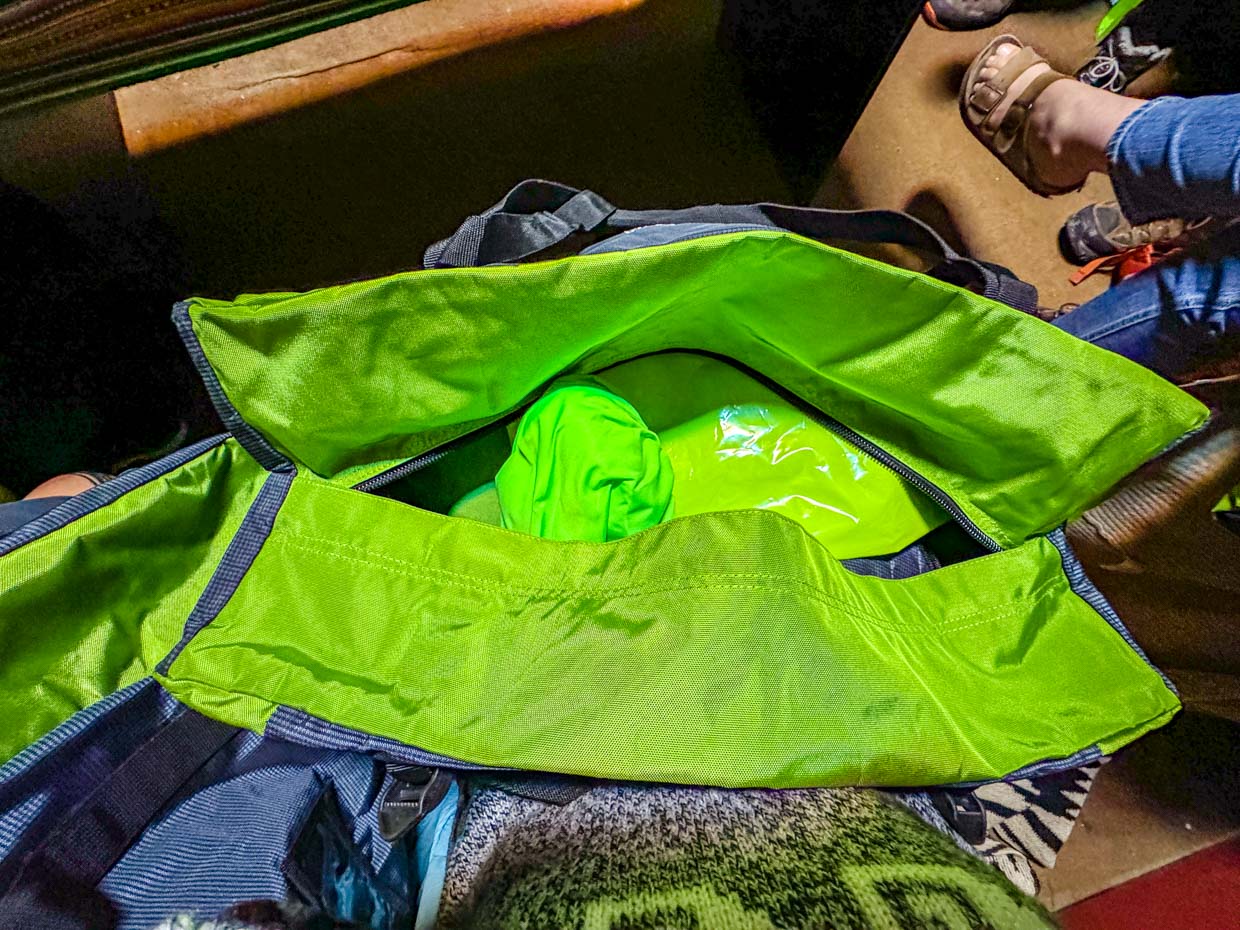
- Put your clothes in waterproof bags as the duffle is not waterproof
- Bring ziplock or plastic rubbish bags to section your items and put any wet things in
- Toilet paper. You do get them at paid toilet stops (usually 2 soles), but not always available
- Head torch (or hands-free torch) for getting around at night and in your tent
- Padlocks if you want to lock your duffel bag
- Sunscreen and mosquito repellent (and make it Deet!)
Here is my exact packing list:
Clothings for Salkantay Trek
The trek overall was warmer than I expected, but all my layers came in useful for the camping night. While I do recommend bringing shorts, the mosquitos are also vicious and the bite itches for ages afterward, so it’s up to you:
- 2 sports bra
- 3 sweat-wickering t-shirts
- 1 long sleeves SPF shirt
- 1 long sleeves sports top
- 1 fleece
- 2-in-1 down jacket and wind-breaker
- 1 set of heat-tech thermal top and bottoms as pajamas
- 1 set of light thermal tops and bottoms as layers
- Fluffy socks for night-time
- 6 pairs of socks (extra)
- Hiking sandals as flipflop
- 1 alpaca sweater
- 1 poncho (for machu picchu)
- Gloves
- Ear muffs
Gear packing list for Salkantay Trek
- Knee brace
- 27L backpack (recommendation is 25-30L)
Medicine packing list for Salkantay Trek
- Altitude sickness pills, we brought Alturi and X for around 100 soles at the local pharmacy
- Paracetamol for main relieve
- Anti-histamine for allergy
- Mosquito repellent
- Blister plasters
- Regular plasters
- Disinfectant cream
Included from Alpaca + what you can rent
- Small pillow
- Foam mattress insulation
- Day pack cover
- Rain poncho
- Sleeping bag ($25 USD)
- Sleeping pad ($20 USD)
- Trekking poles ($20 USD)
Arguably you don’t need an extra sleeping pad on top of the foam mattress insulation, but if you are travelling during the wet season (which I strongly do not recommend), you might need it.
Hiking the Salkantay Trek with Alpaca Expeditions
The trek actually starts on day 0! So make sure you book accordingly as otherwise, you might end up messing up your dates.
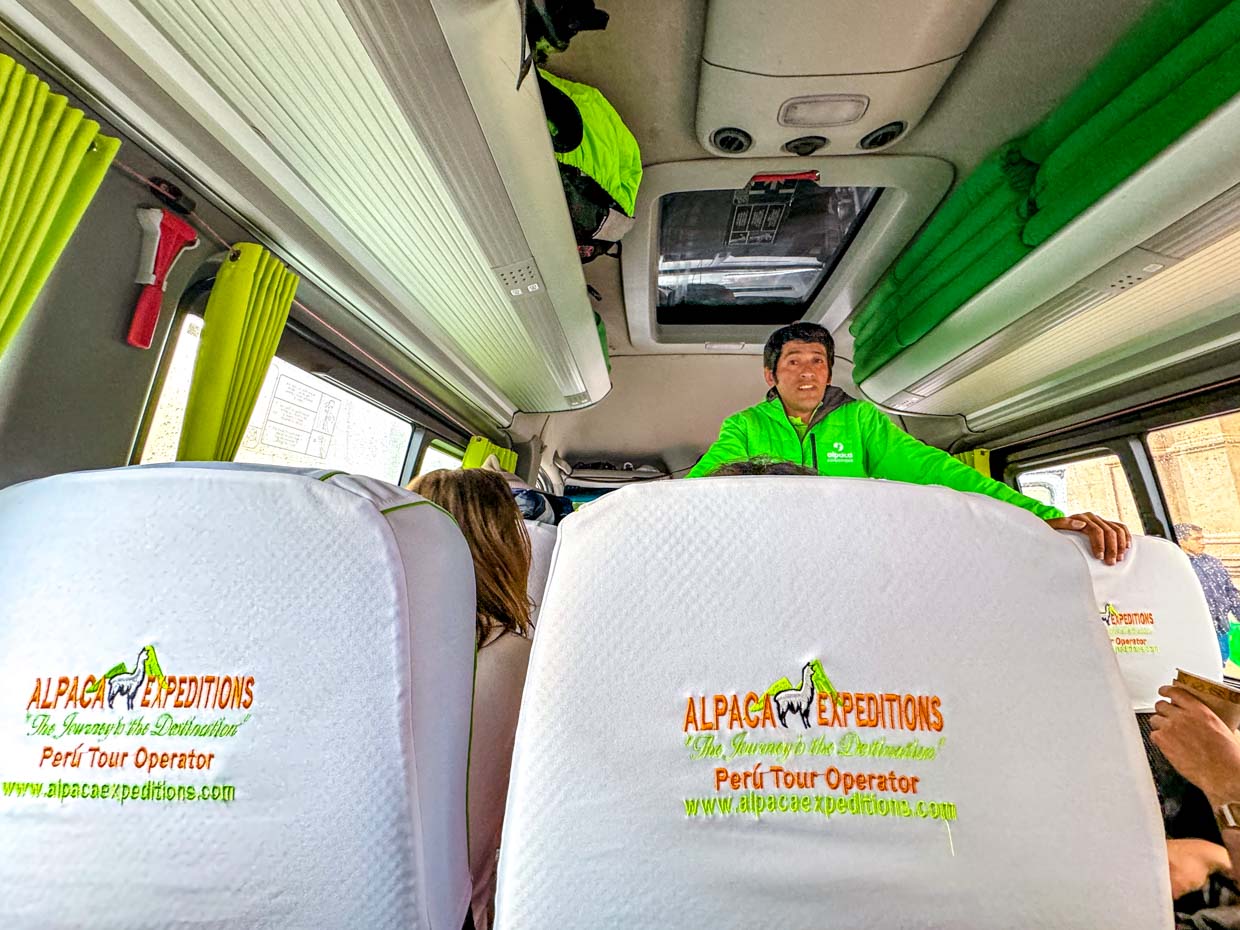
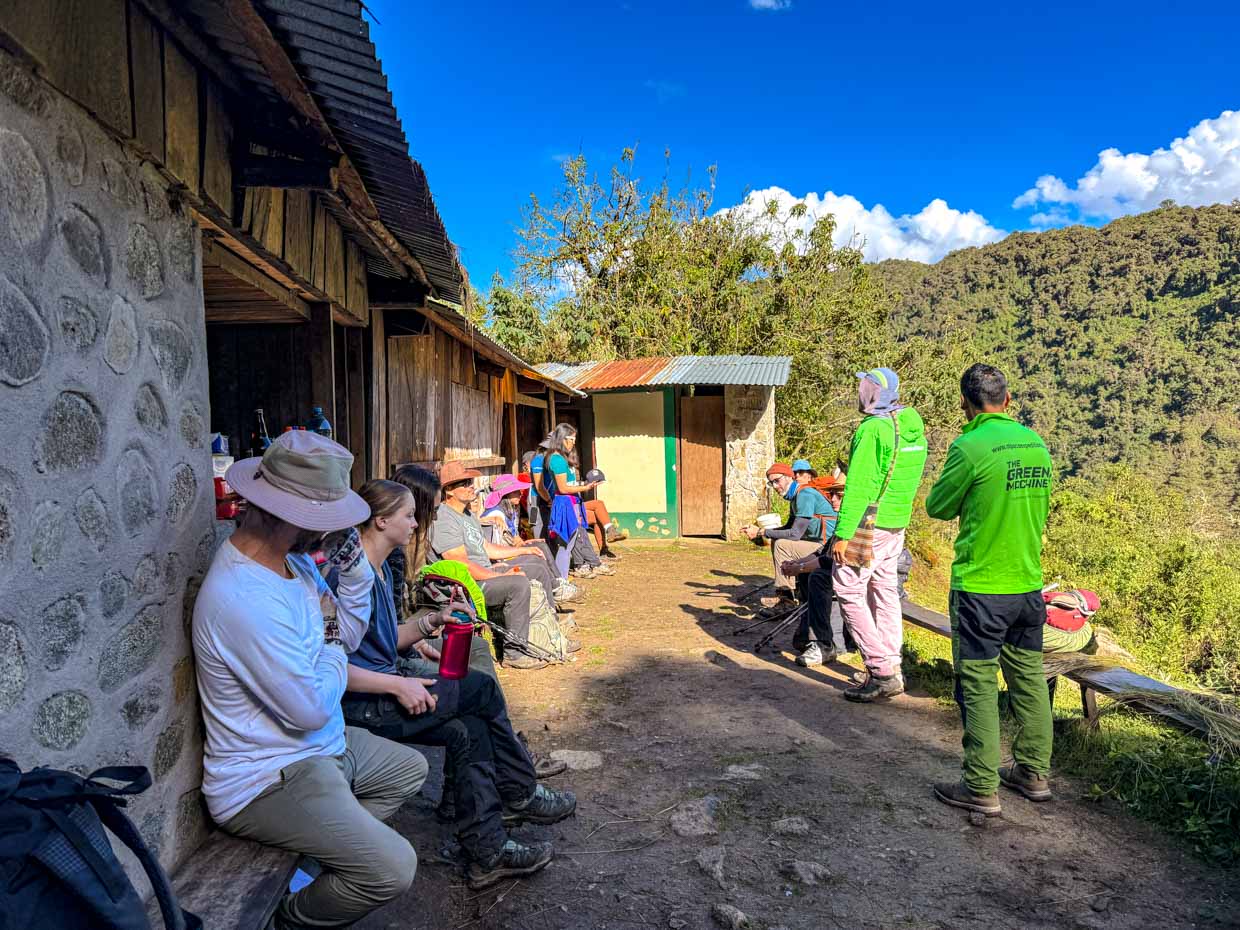
Day -1: Briefing
The night before you leave, you need to attend a briefing at the office at 6 pm where you’ll receive your duffel bag!
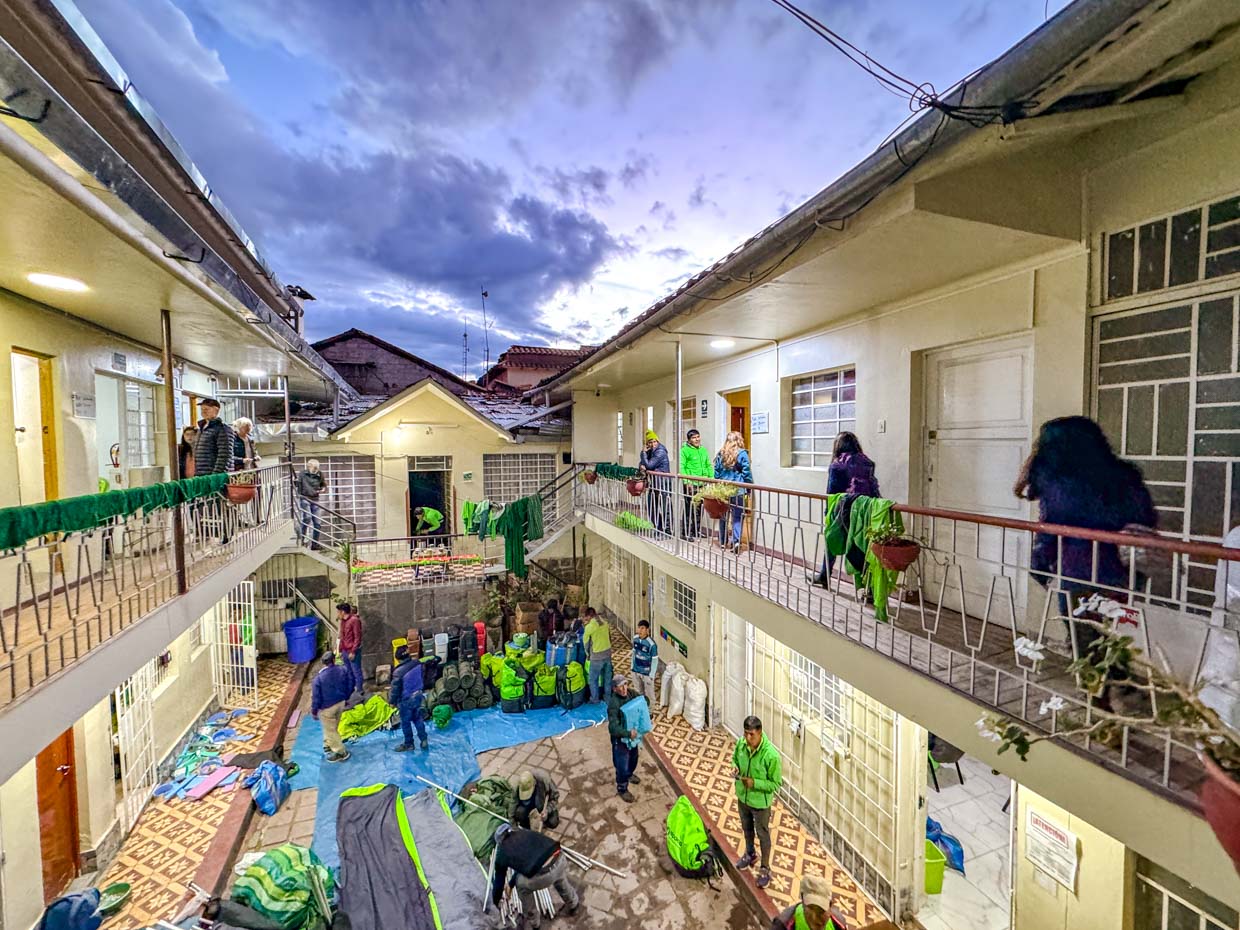
Be warned that the Alpaca Office involves stairs and it gets very busy with many briefings going on.
We were rushed into a room where the guide asked each of us for allergies and hotel details, t-shirt sizes as they’ll give us tshirts for Machu Picchu. Since they asked us individually, it was quite time-consuming so the entire briefing overran to an hour plus and not 30 minutes.
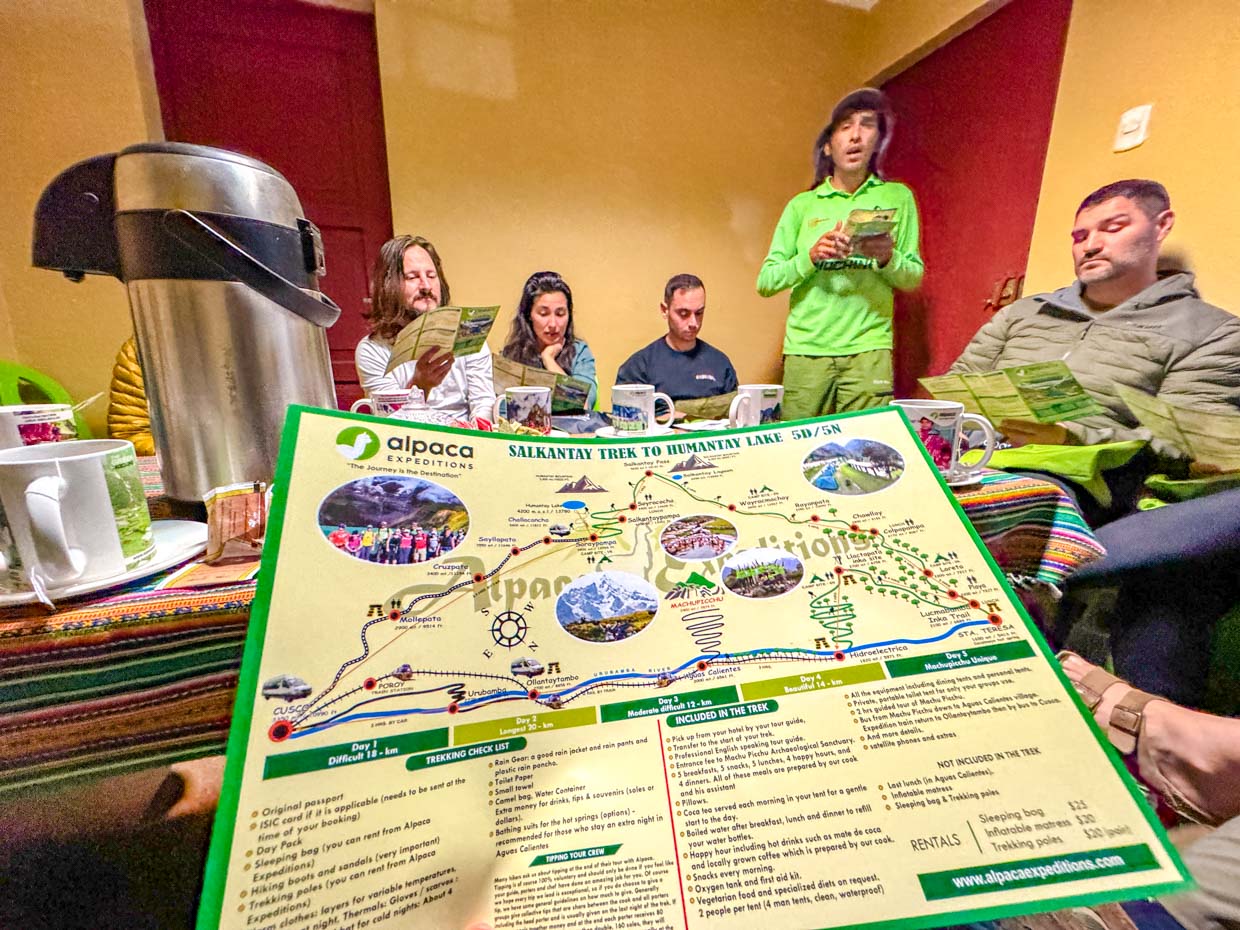
Here are some extra information for you regarding the briefing:
- +30 USD if you want a single tent
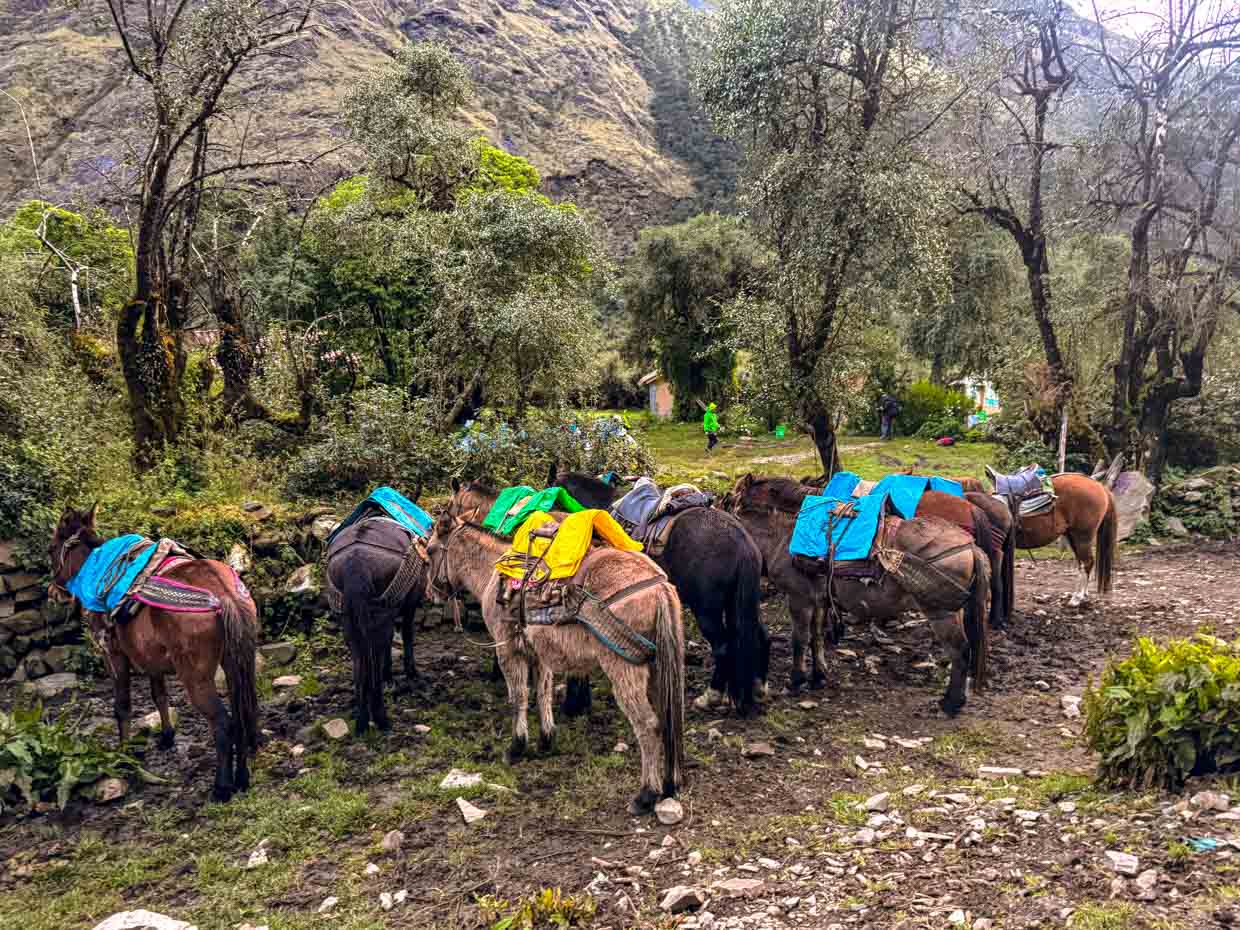
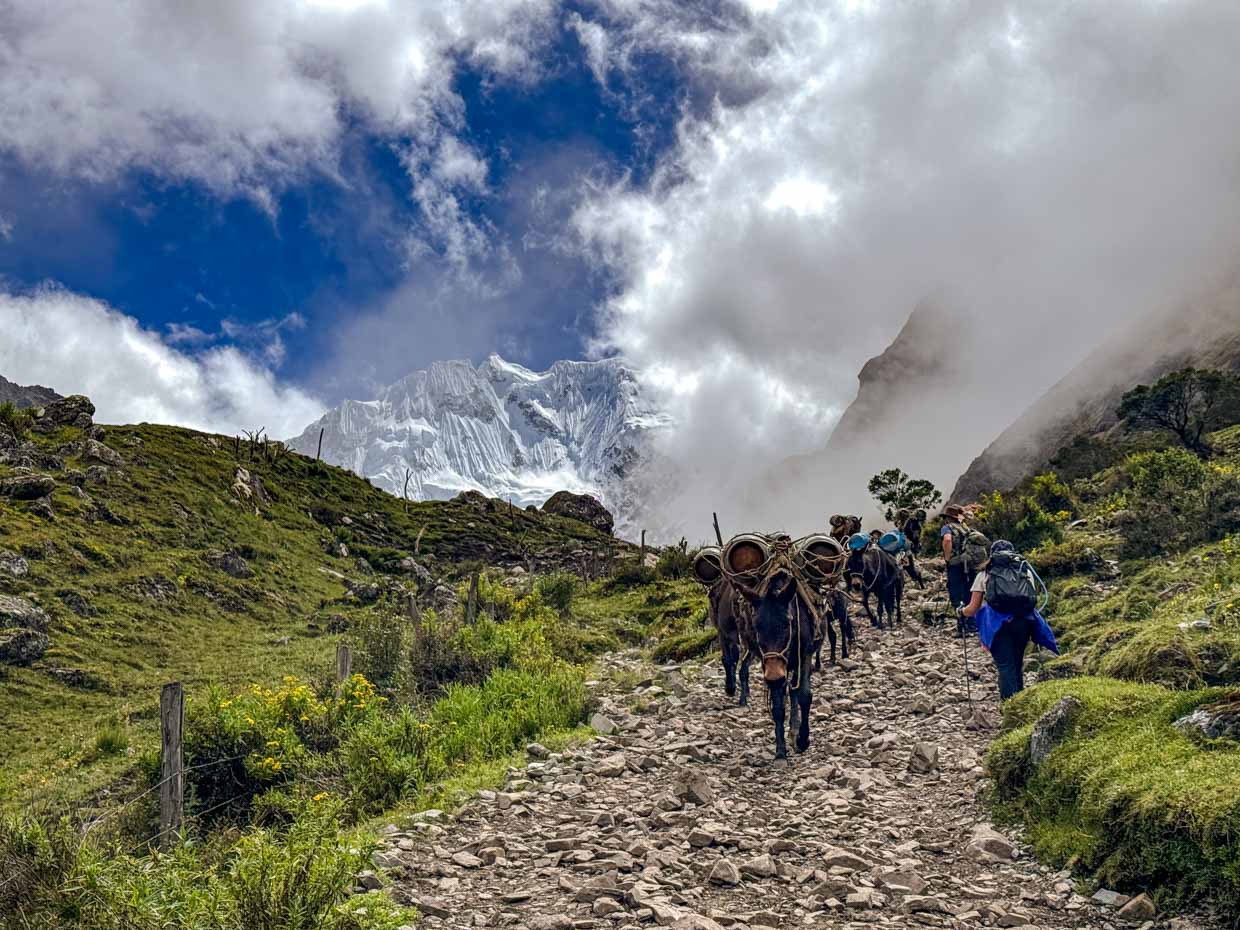
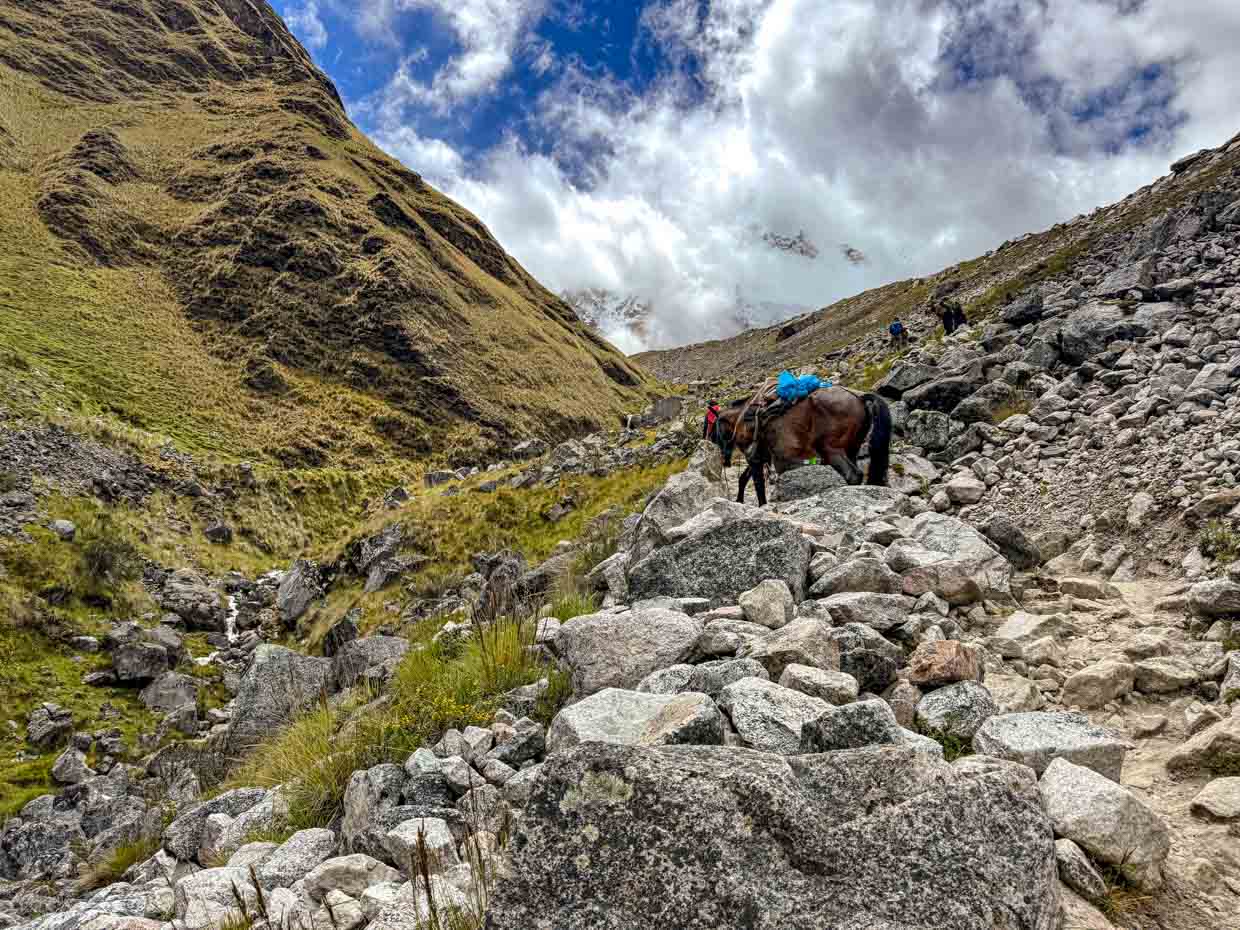
- Horses and donkeys carry our items for this trek. If you rent a sleeping bag and mat from them they add up to 3.5kg total, so you have space for 4kg
*you won’t receive either of the items then so remember to leave space in your duffle for sleeping bag! - Duffel bag and rain cover for your bag are both not completely waterproof. They will give you a plastic bag for your things inside, but it might be worth bringing your own
- Bring your USD and passport for miscellaneous items on the trip and for Machu Picchu entry
For our start of April departure, it was moved up to 1 pm due to road work.
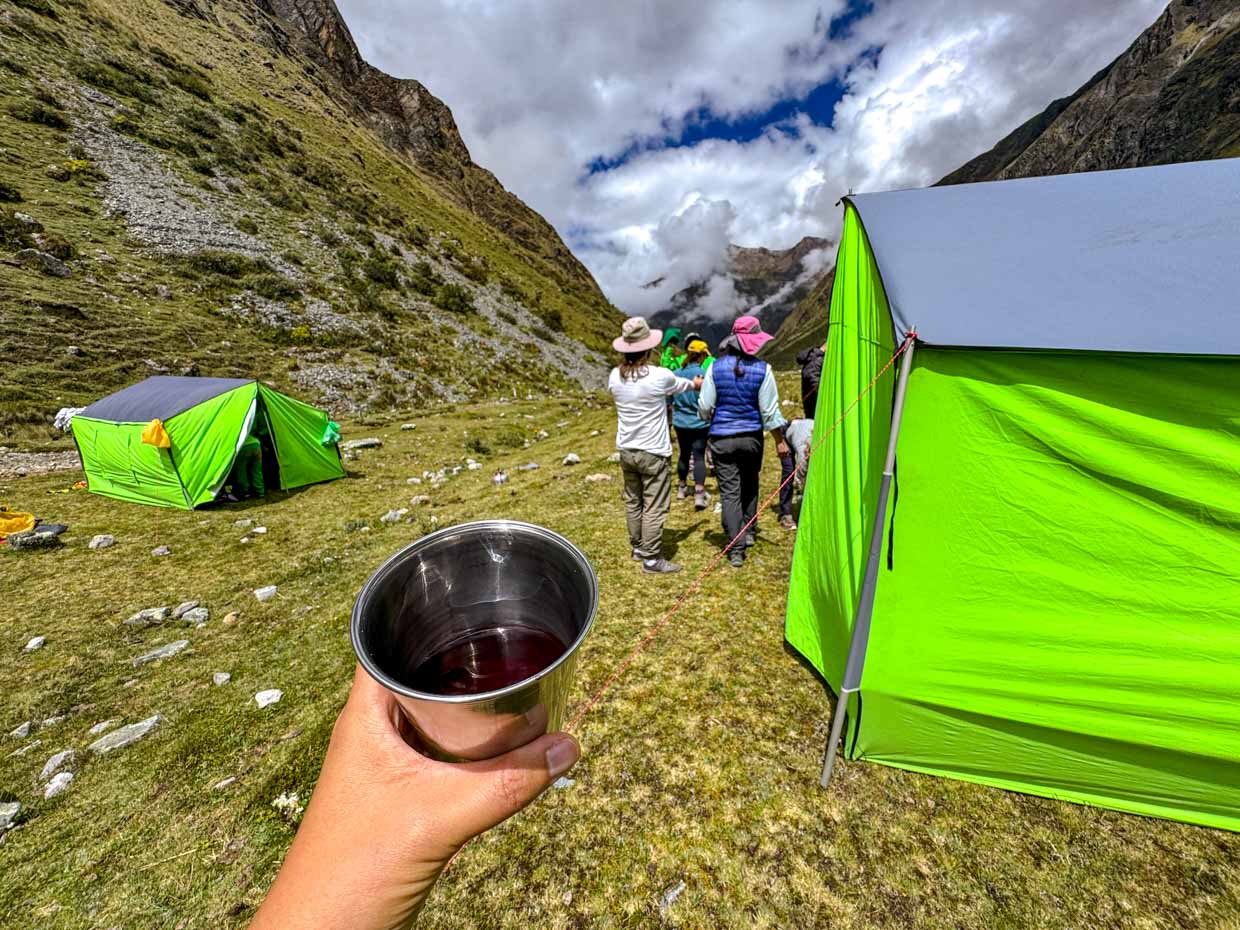
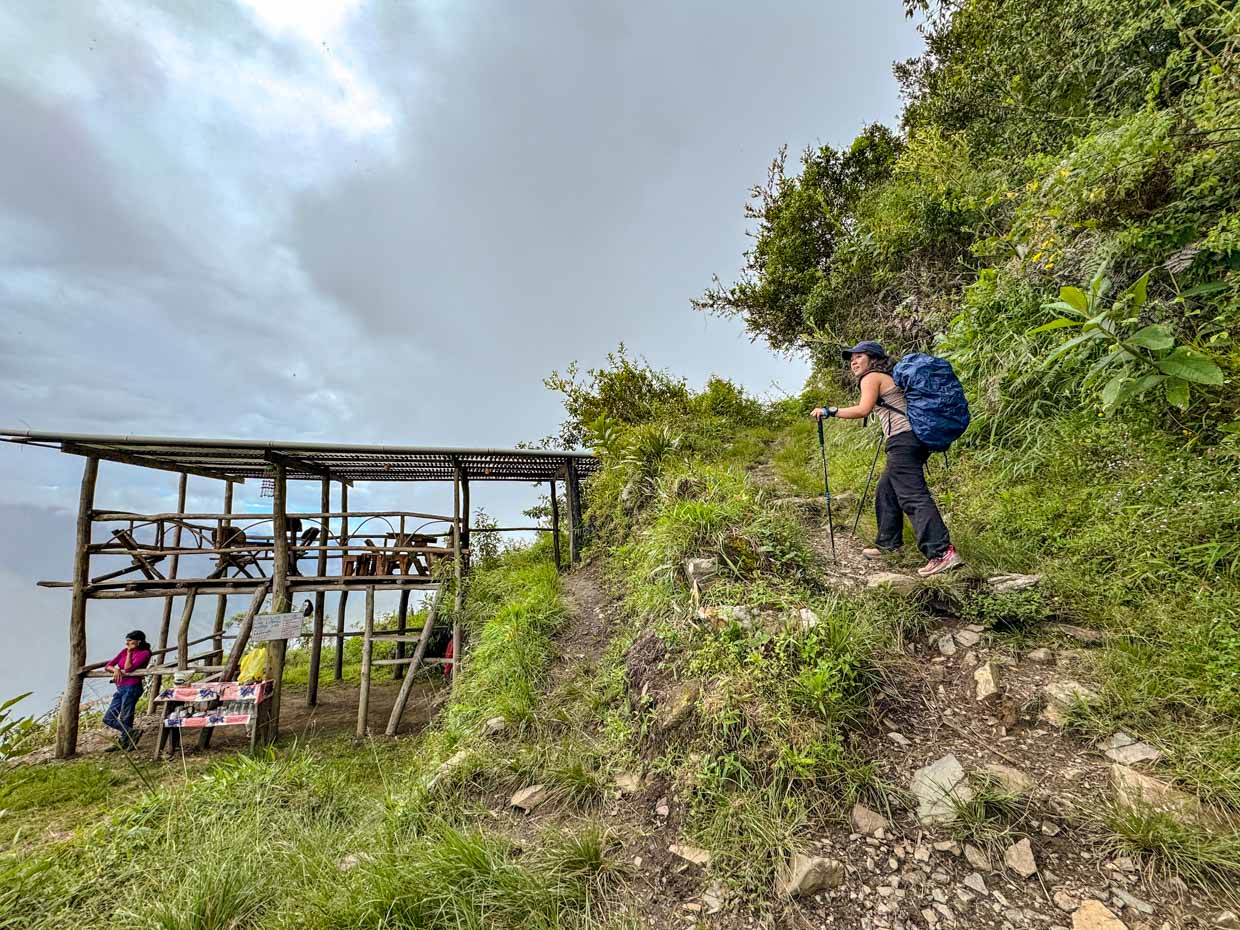
Day 0: Glass Cabanas
We arrived early for our departure to put our suitcase upstairs at the office, where they’ll label it and return to us when we arrive in Cusco at the end of the entire trek.
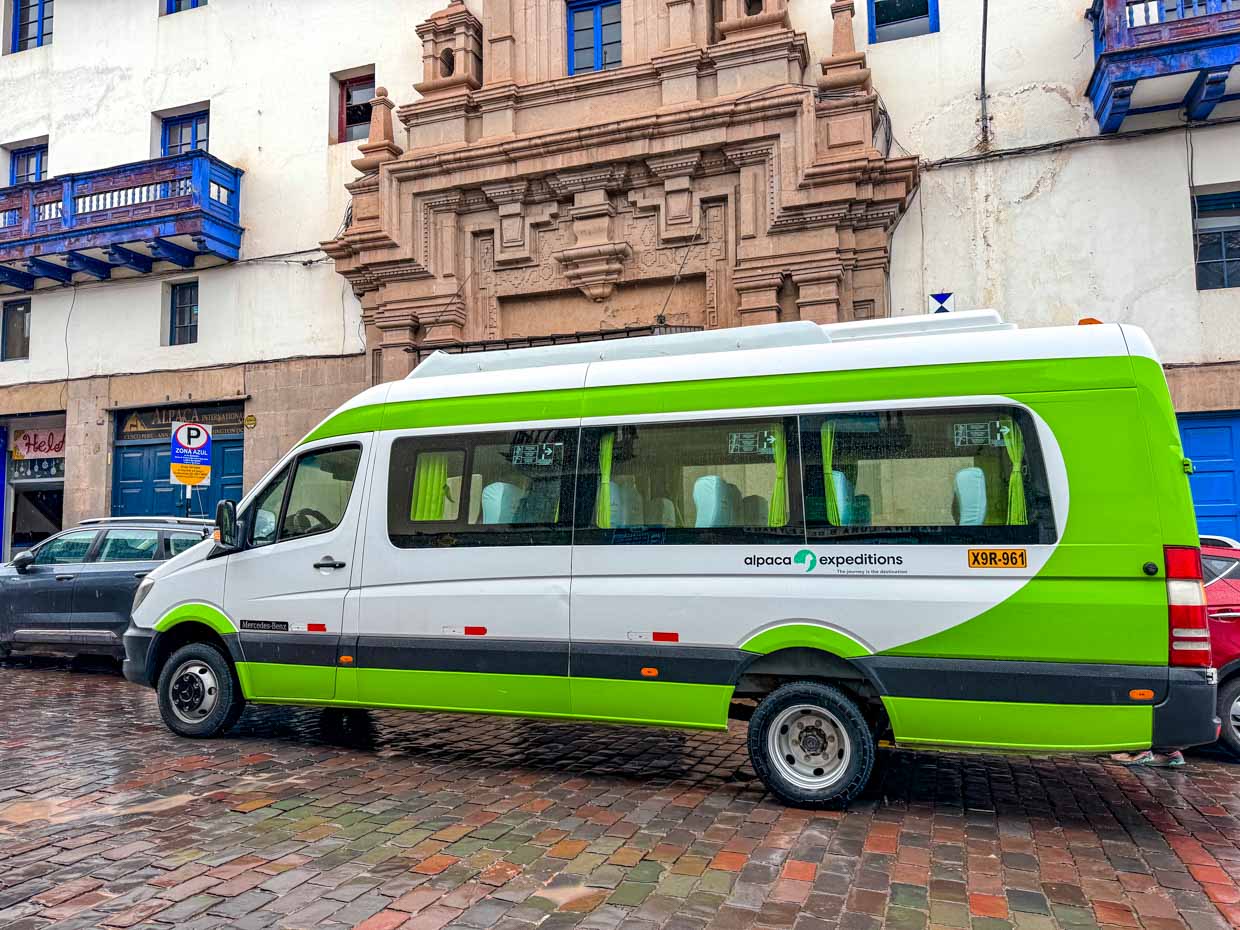
The bus ride was a 3-3.5 hours ride with 1 break at Mollepata about 2 hours in, where we can buy snacks and use the bathroom.

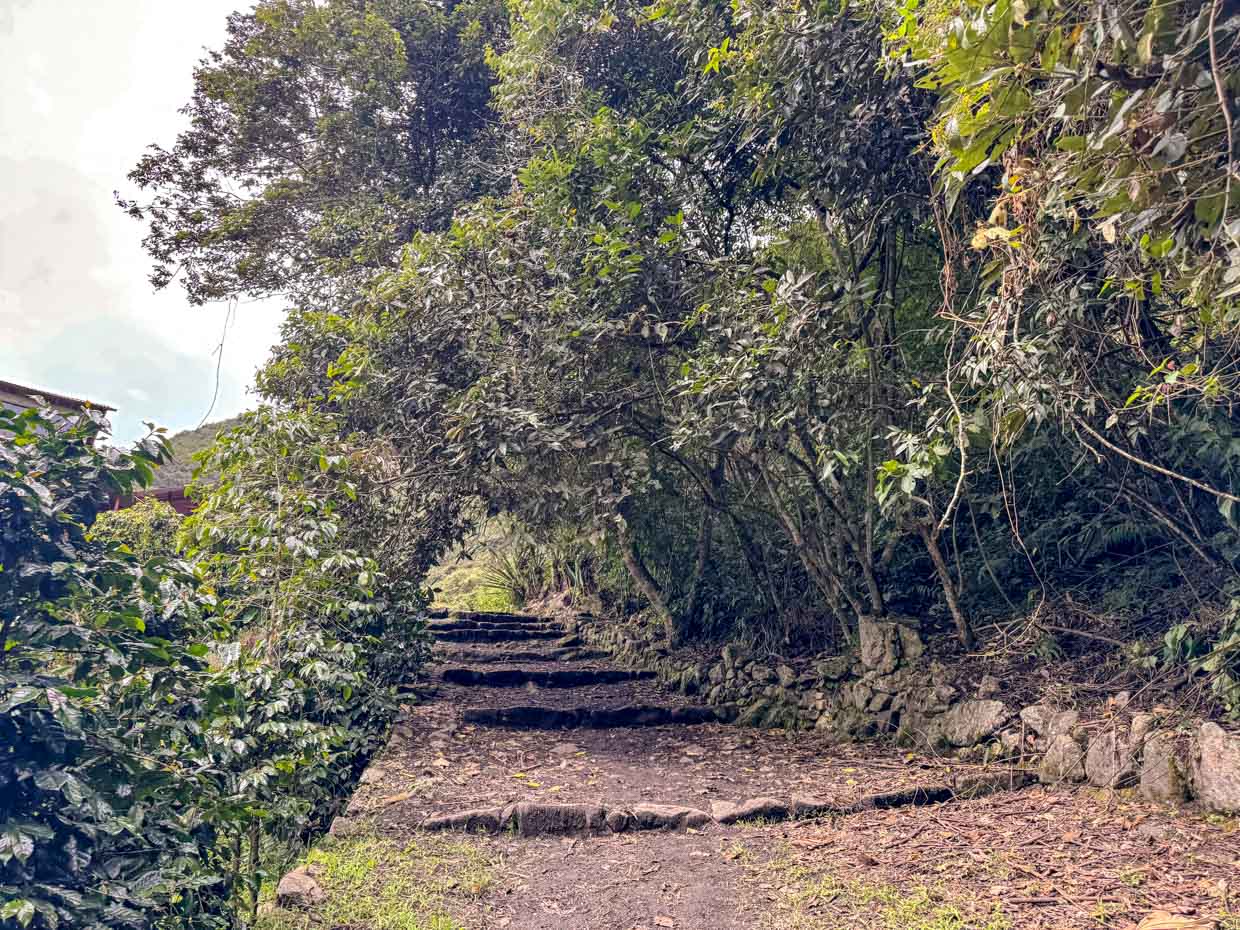
We received mixed information regarding what the last part of the trek would be like. We were told we had to motorbike down then it became a tough trek. Luckily, it was a flat, short 20 minutes walk along the main road.
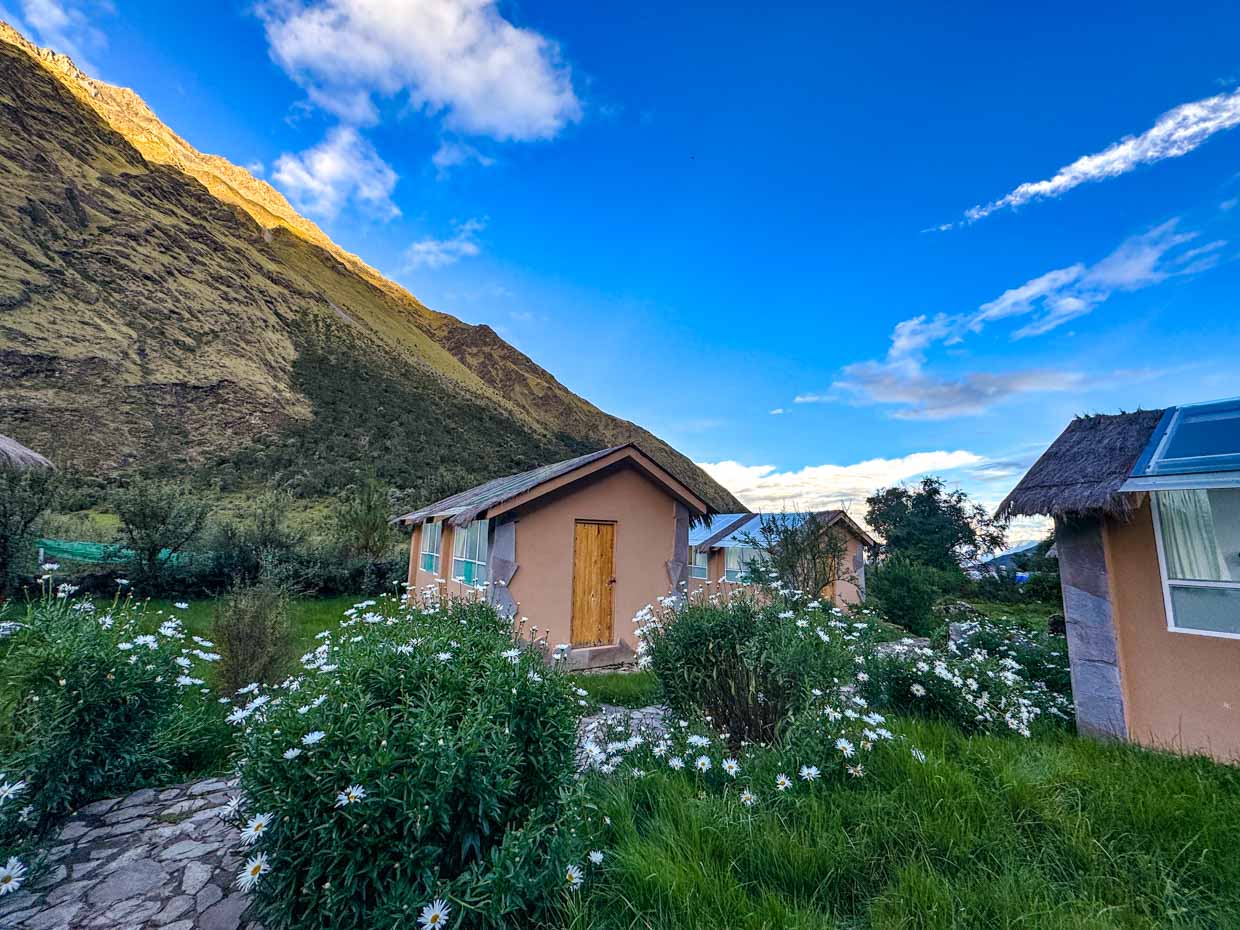
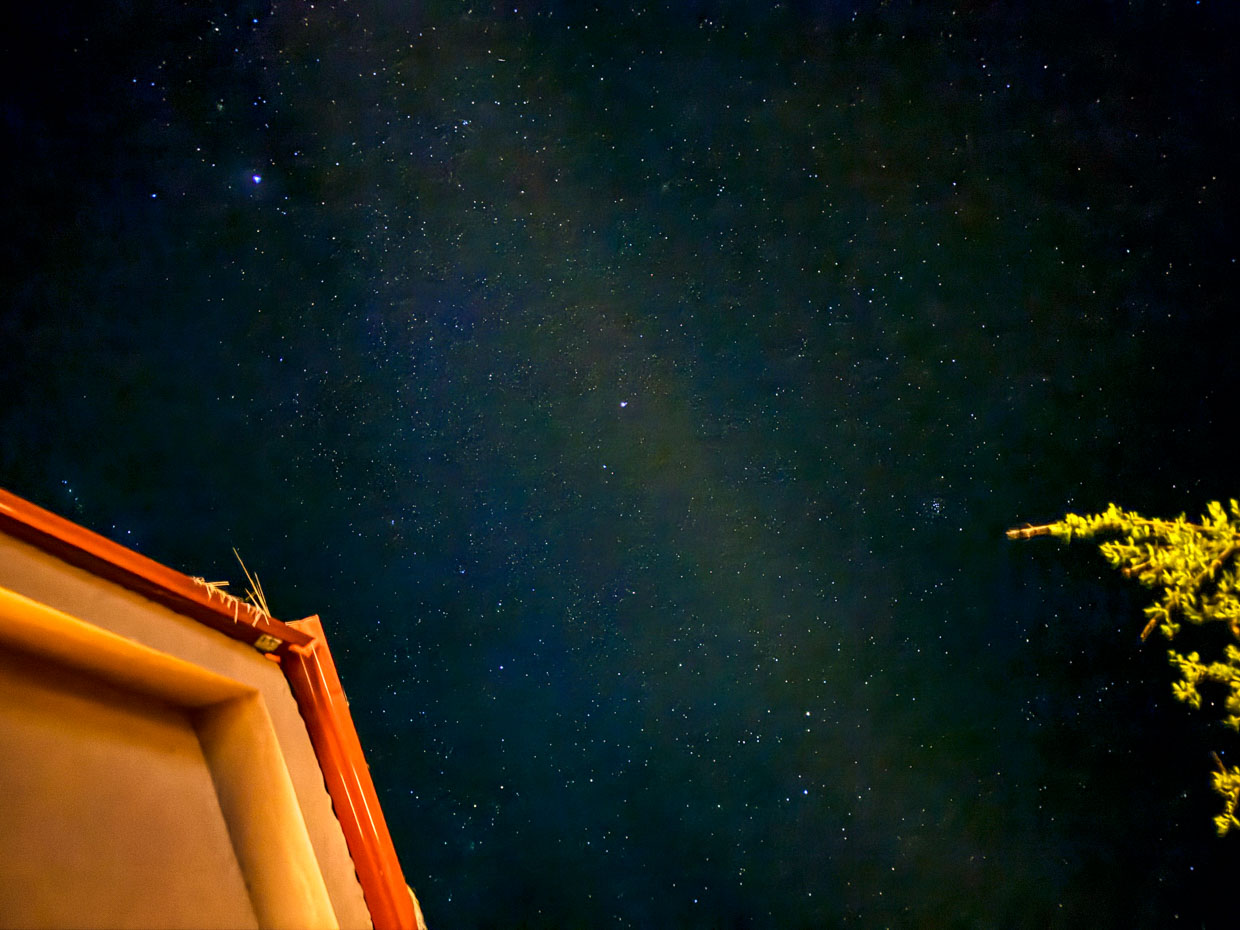

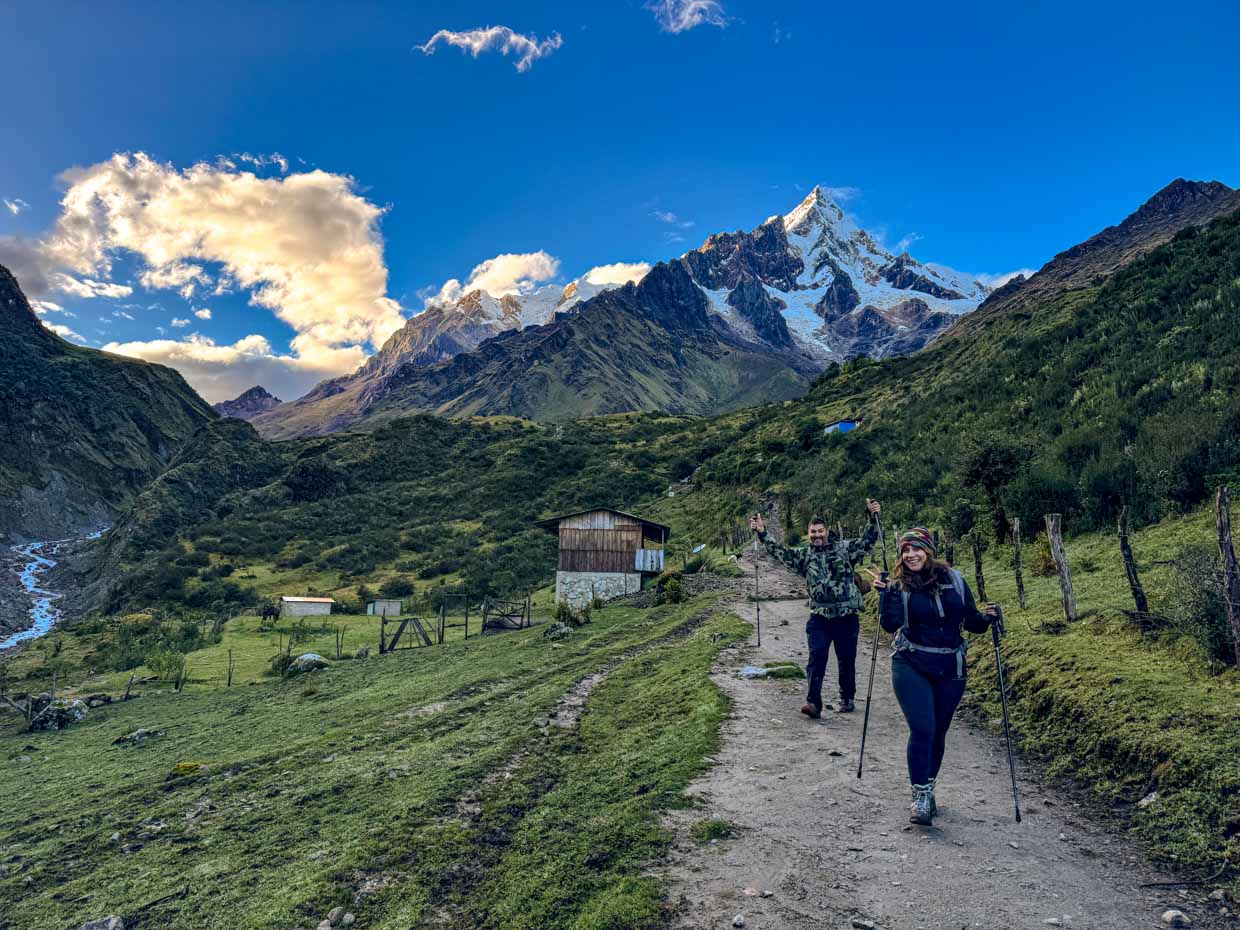
We arrived around 5:09 pm and rooms are randomly assigned to your own pairings. Our timing was perfect for the golden hour and we had clear visibility to see the snow-capped mountains as well.
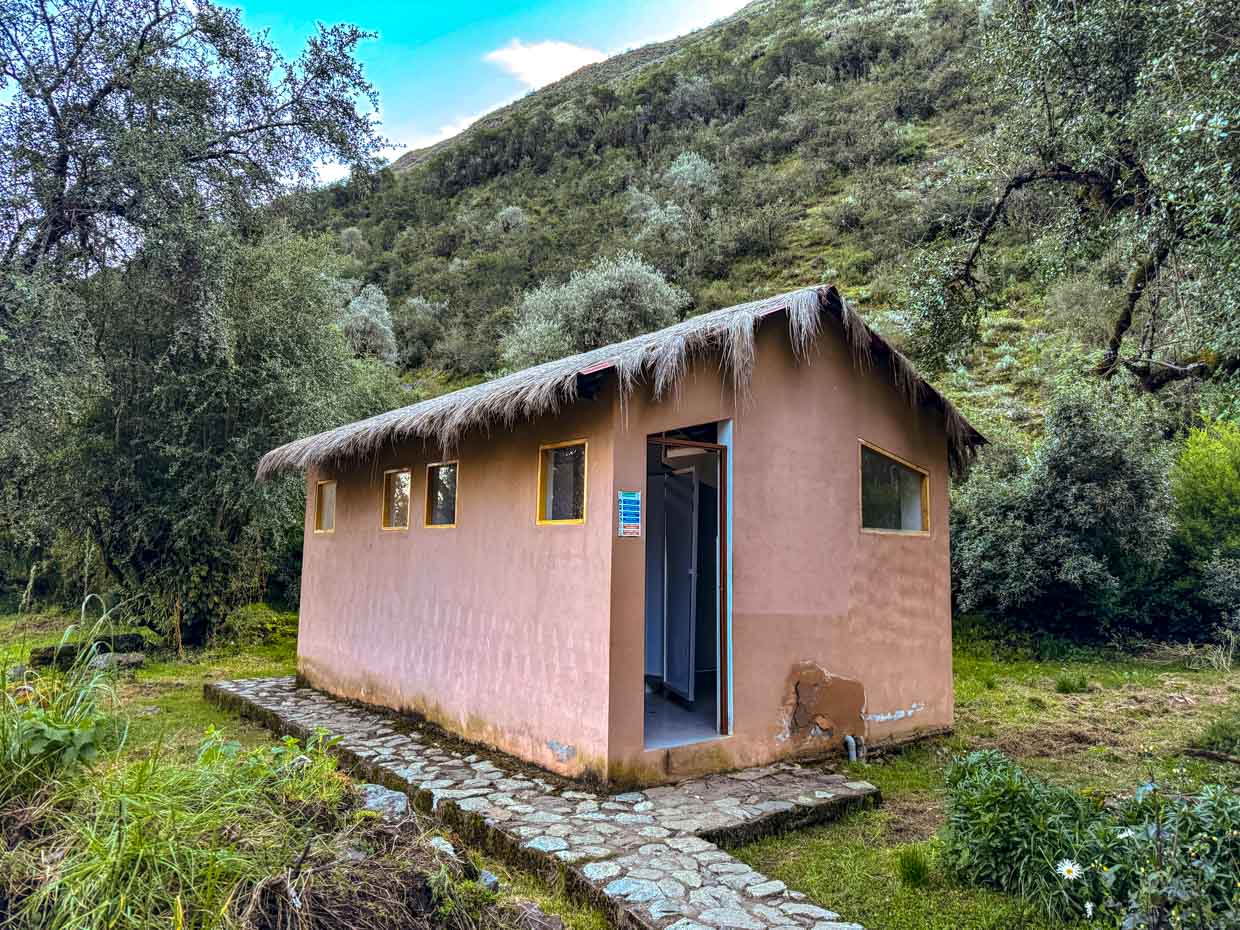
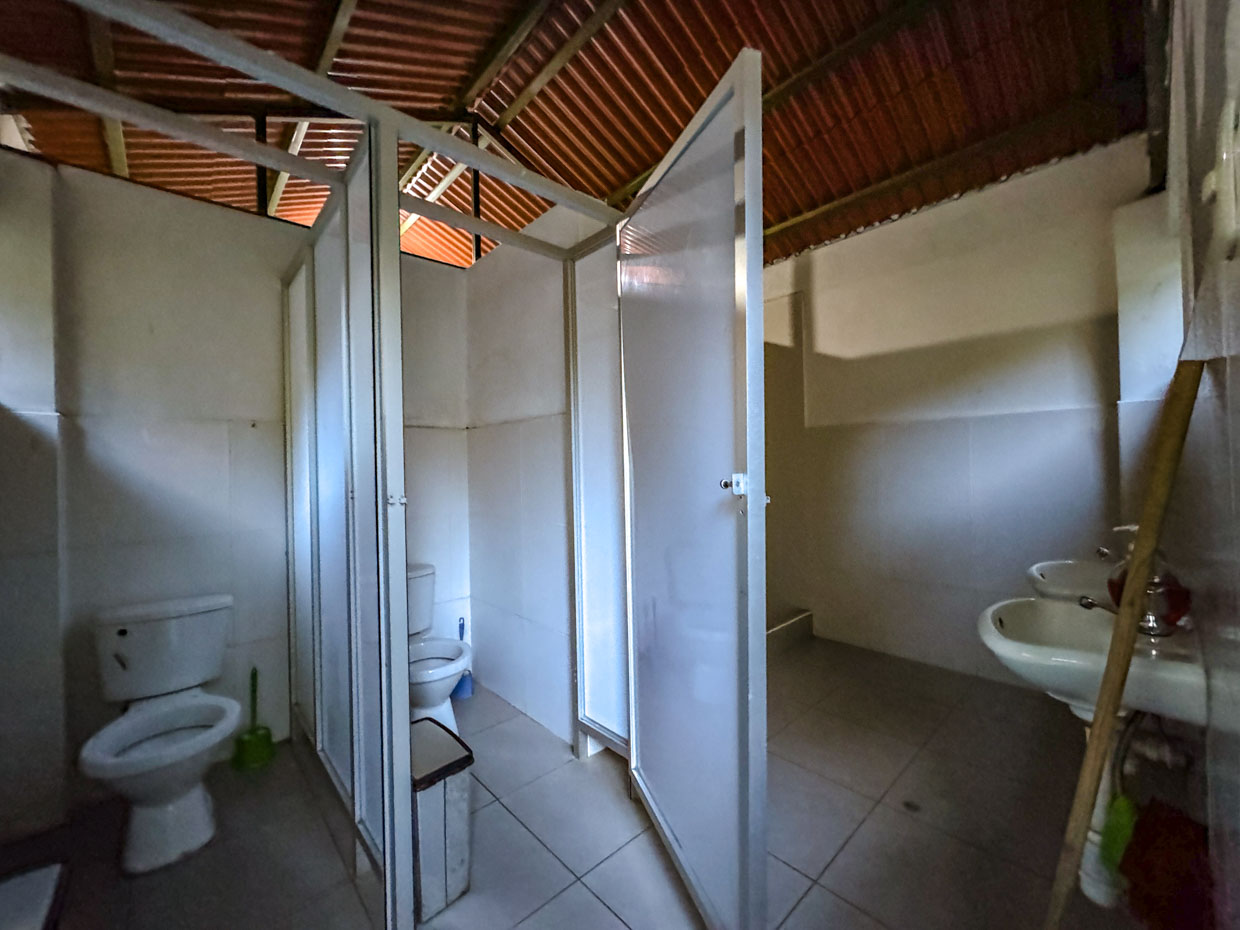
The bathroom is communal and while I saw there were showers, it was curtainless and doorless, and we were all still quite fresh so no one attempted to shower.
Note that you can’t use tap water to brush your teeth and there were no mirrors in the bathroom.


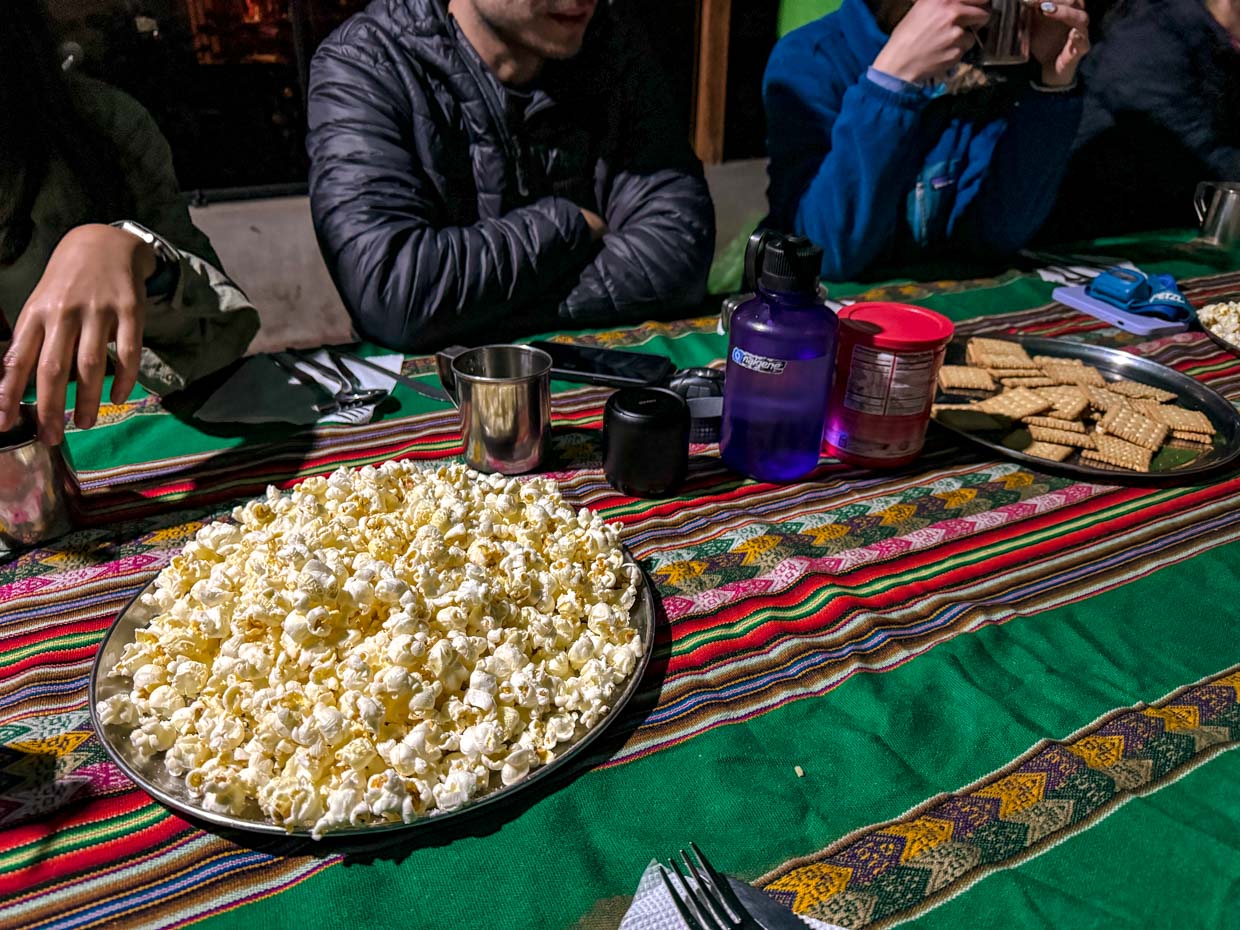
Dinner at 6:30 buffet style, we had spaghetti, veggies, and chicken drumsticks with popcorn as starters. Everything was delicious and it was followed by a briefing on what we’ll do tomorrow.
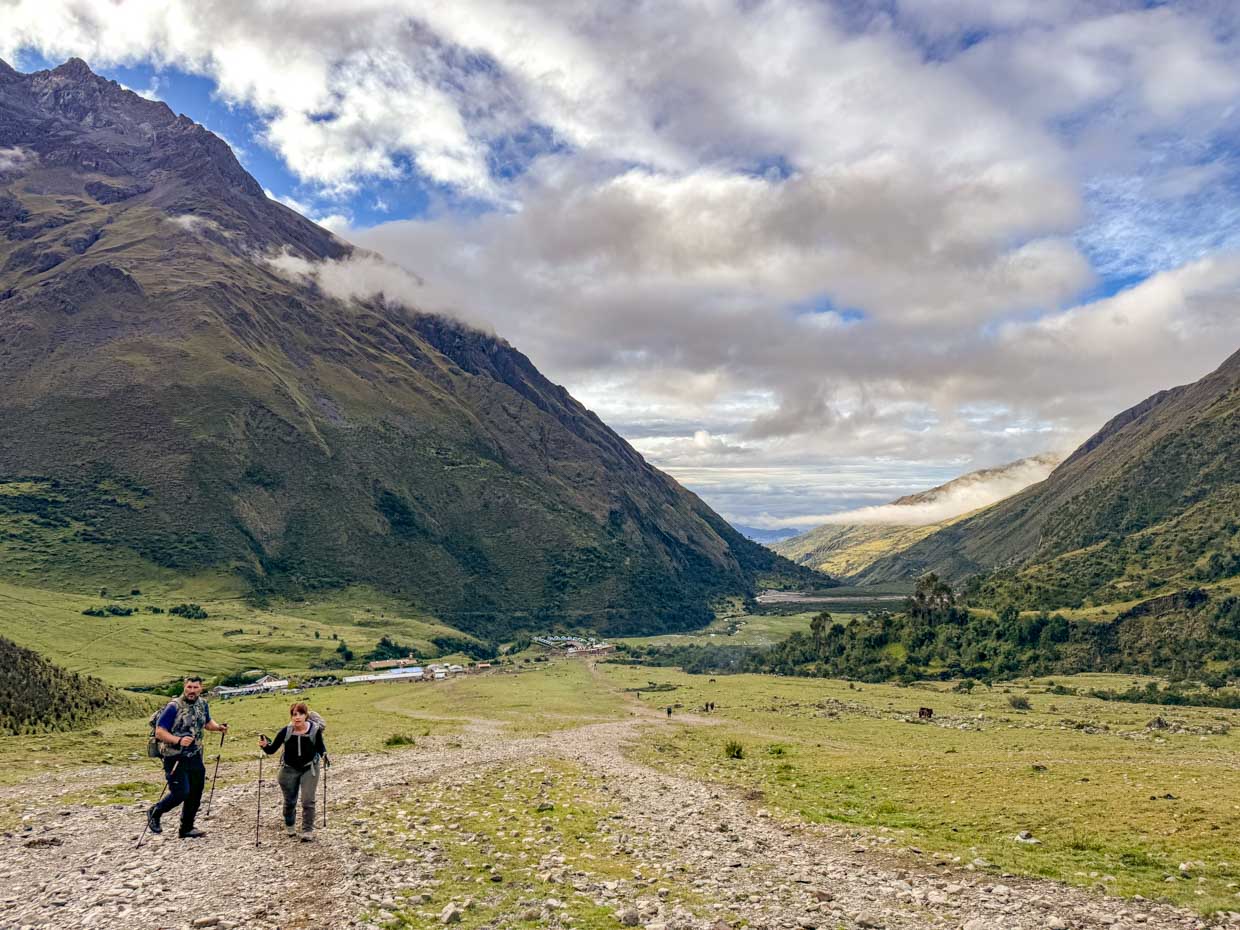
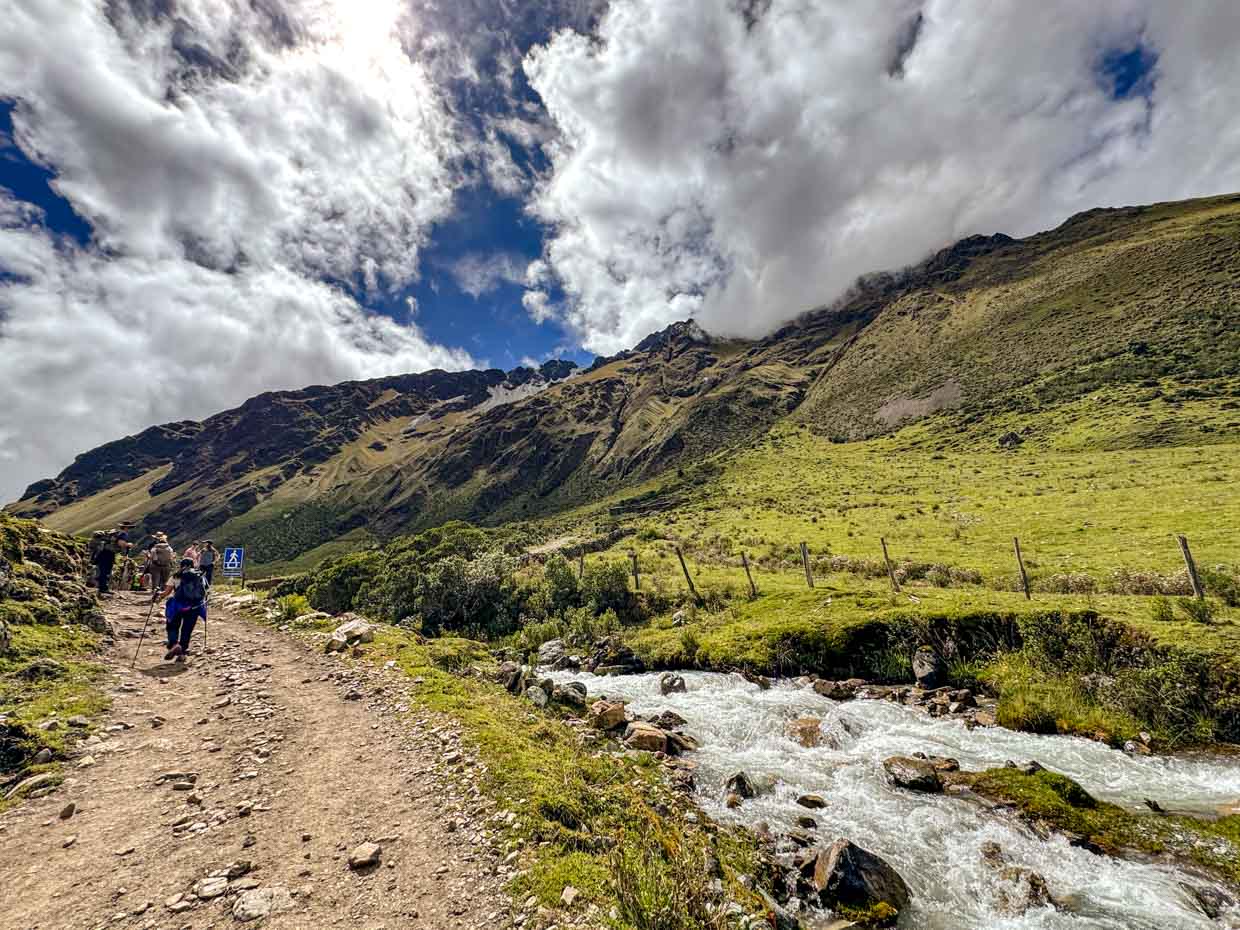
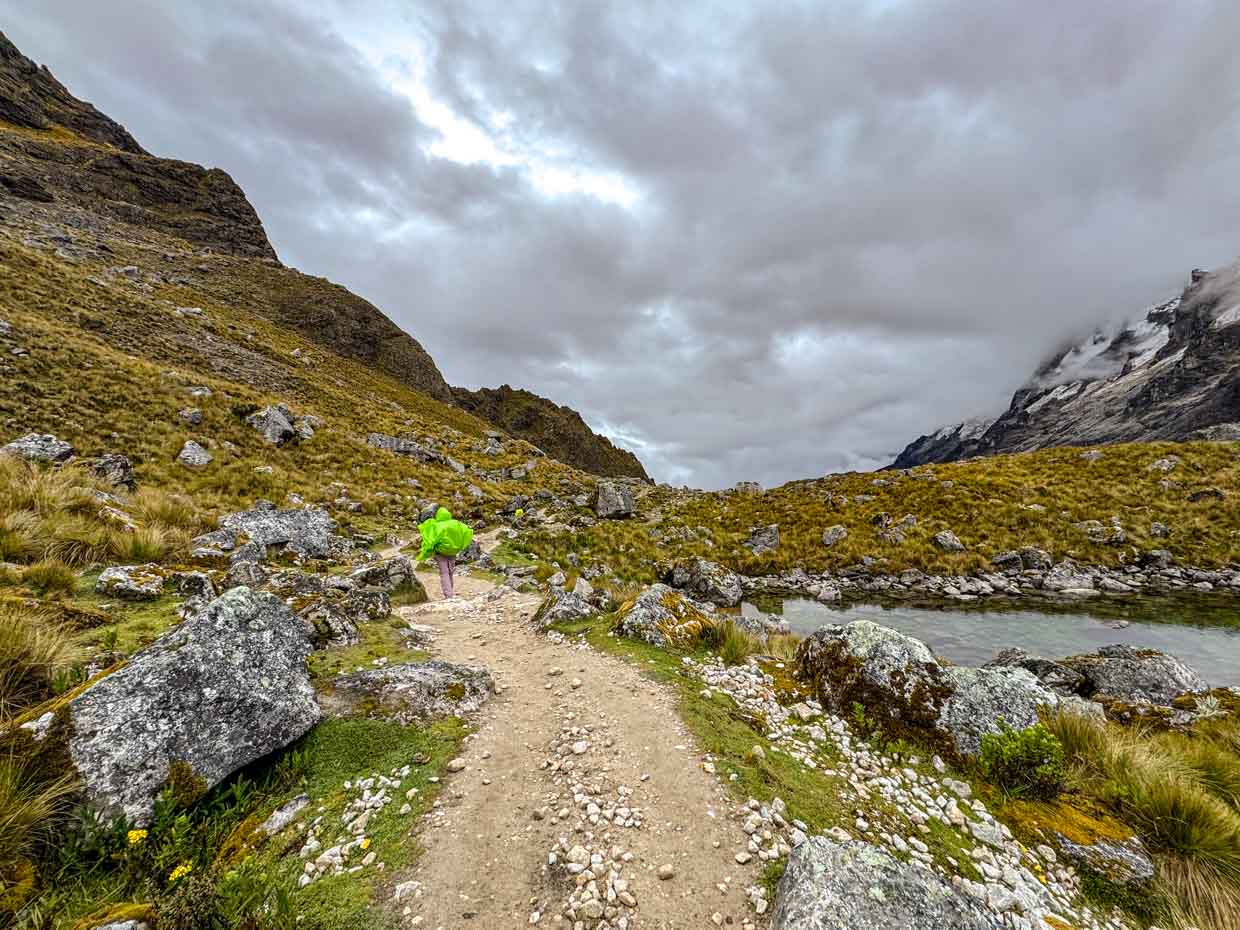
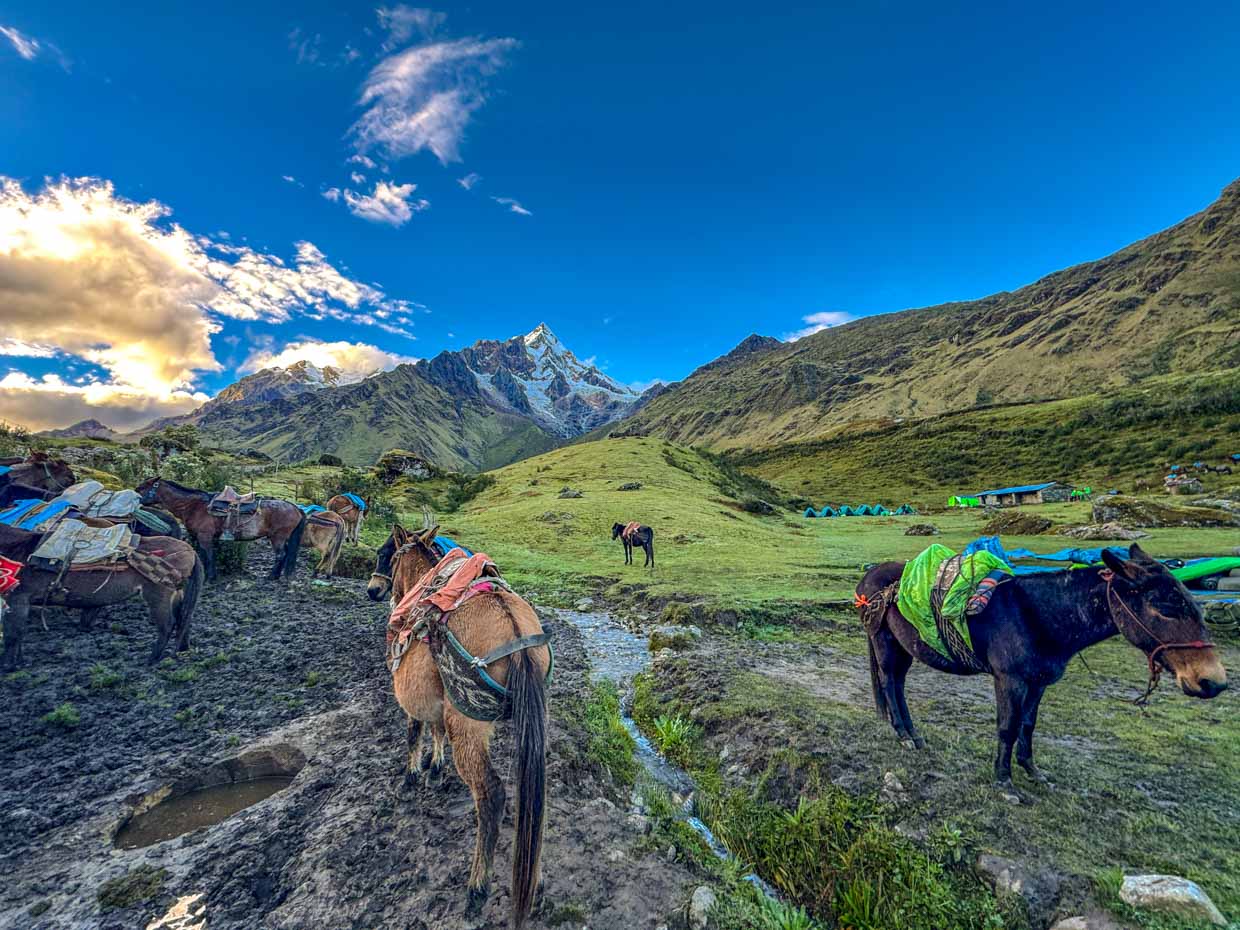
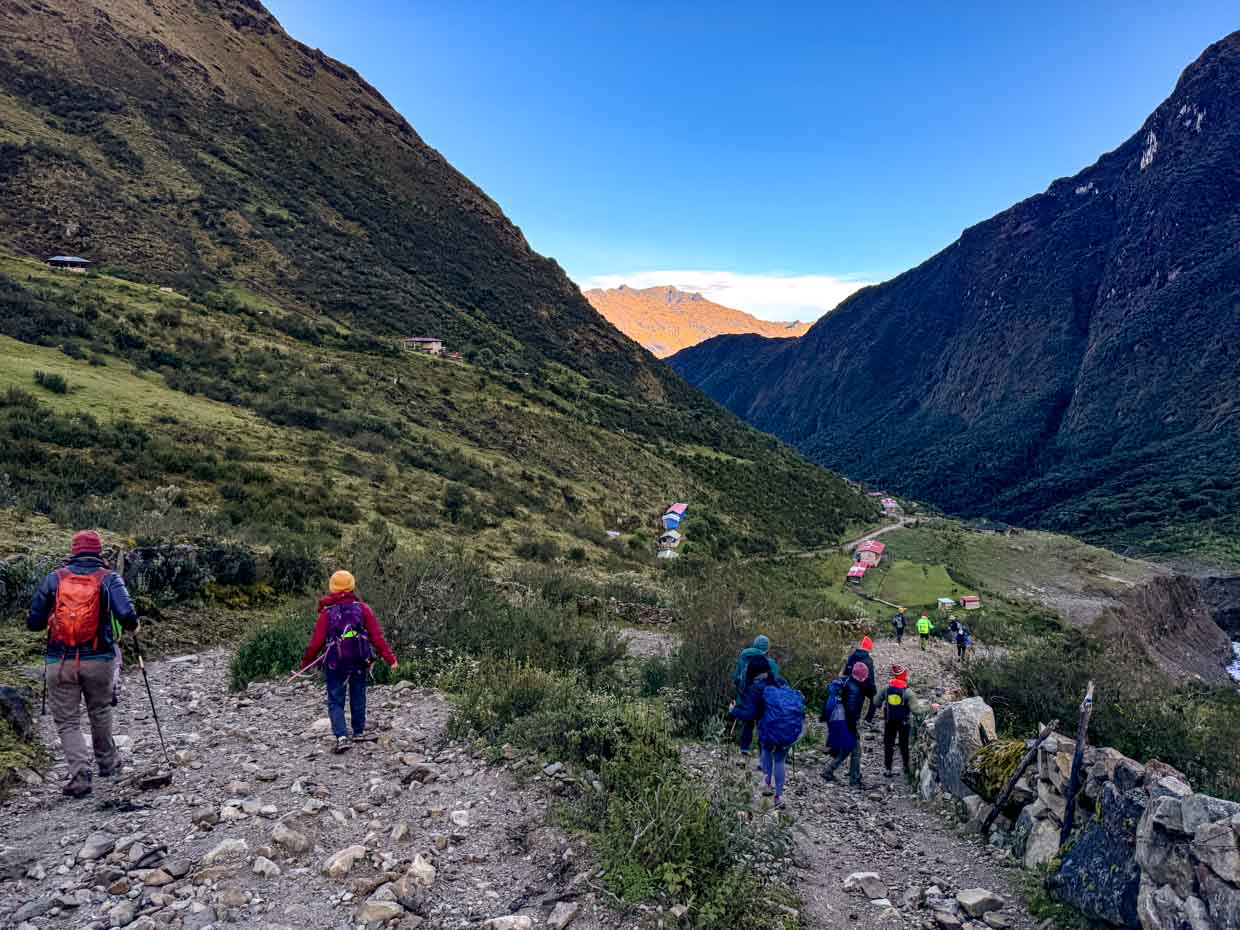
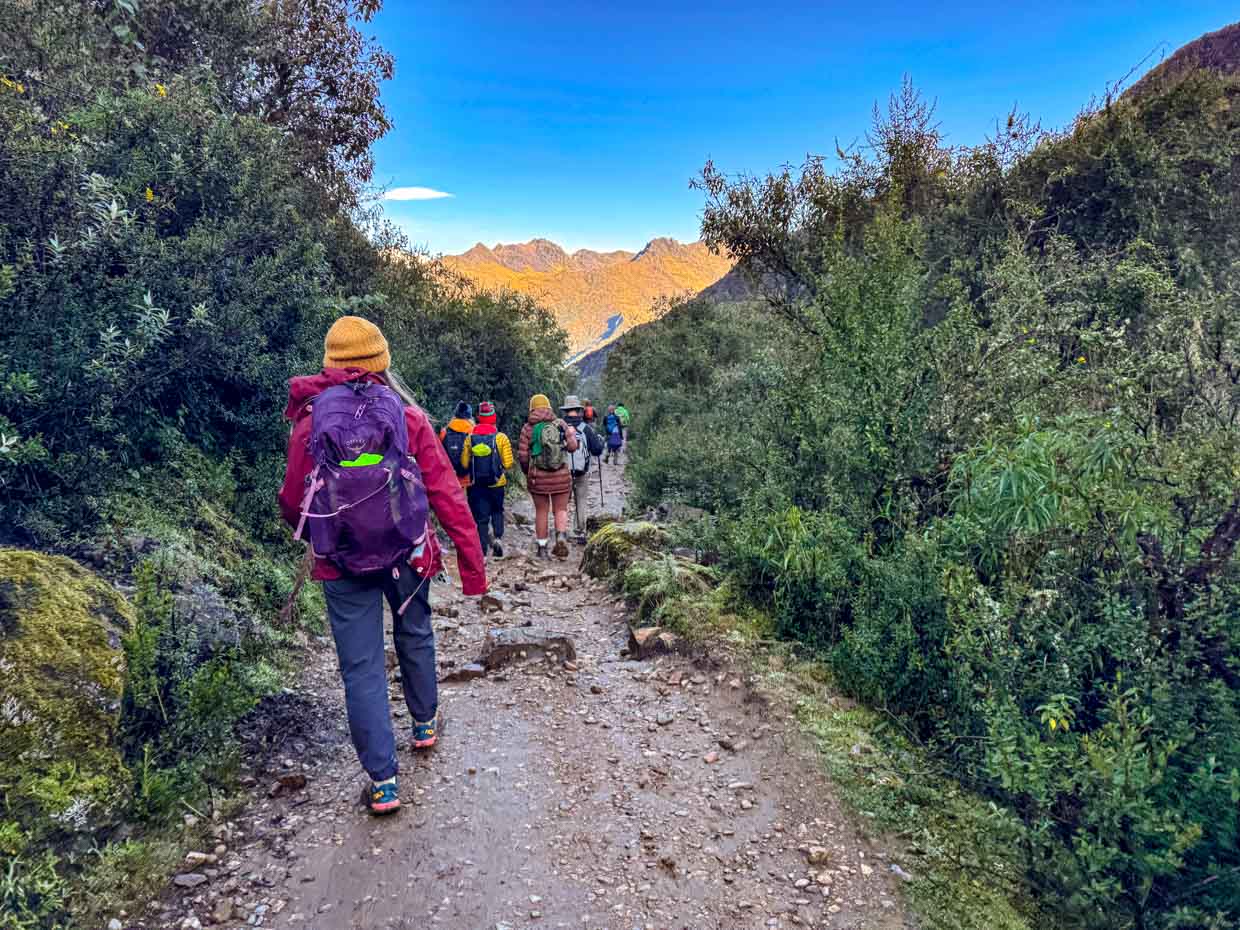
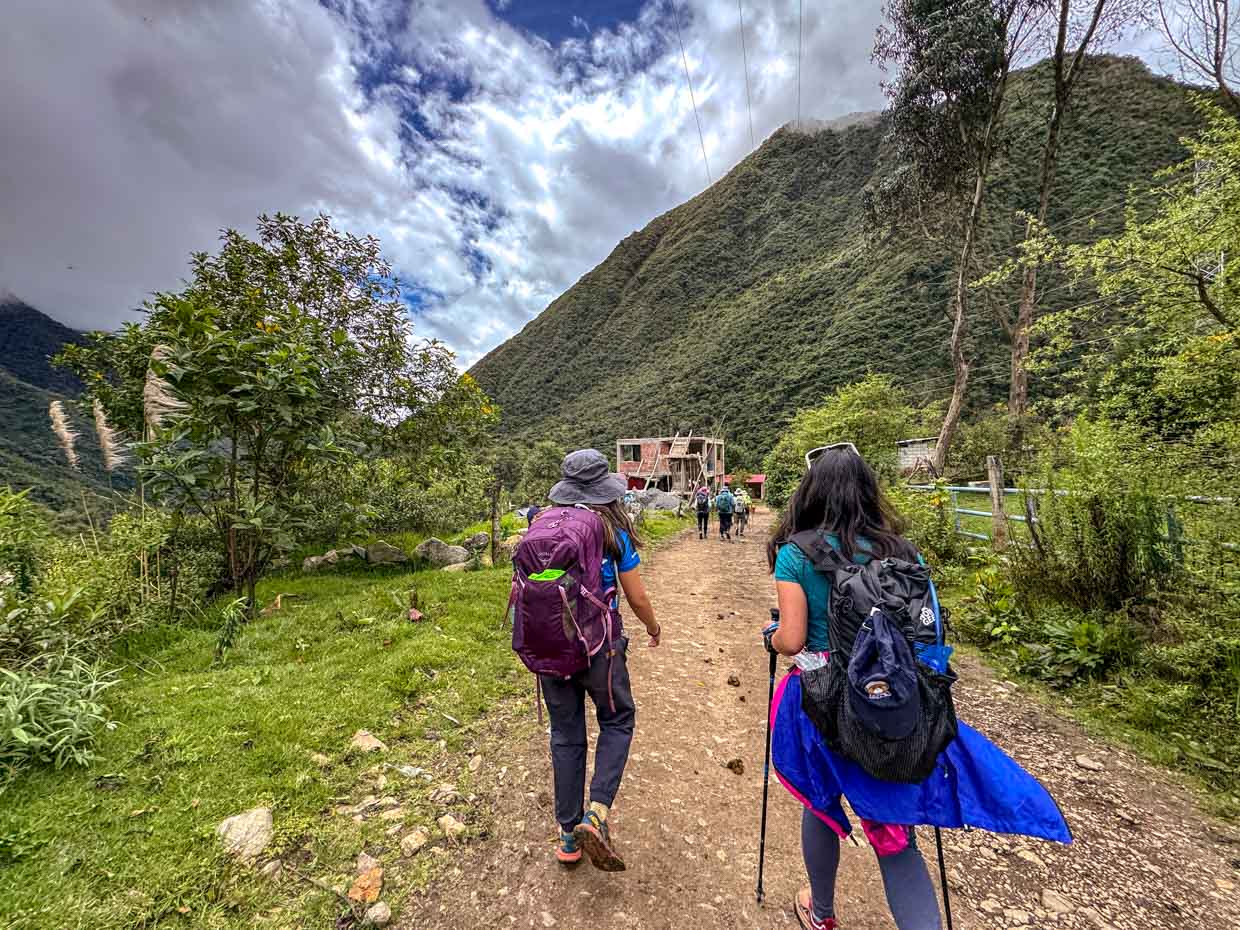
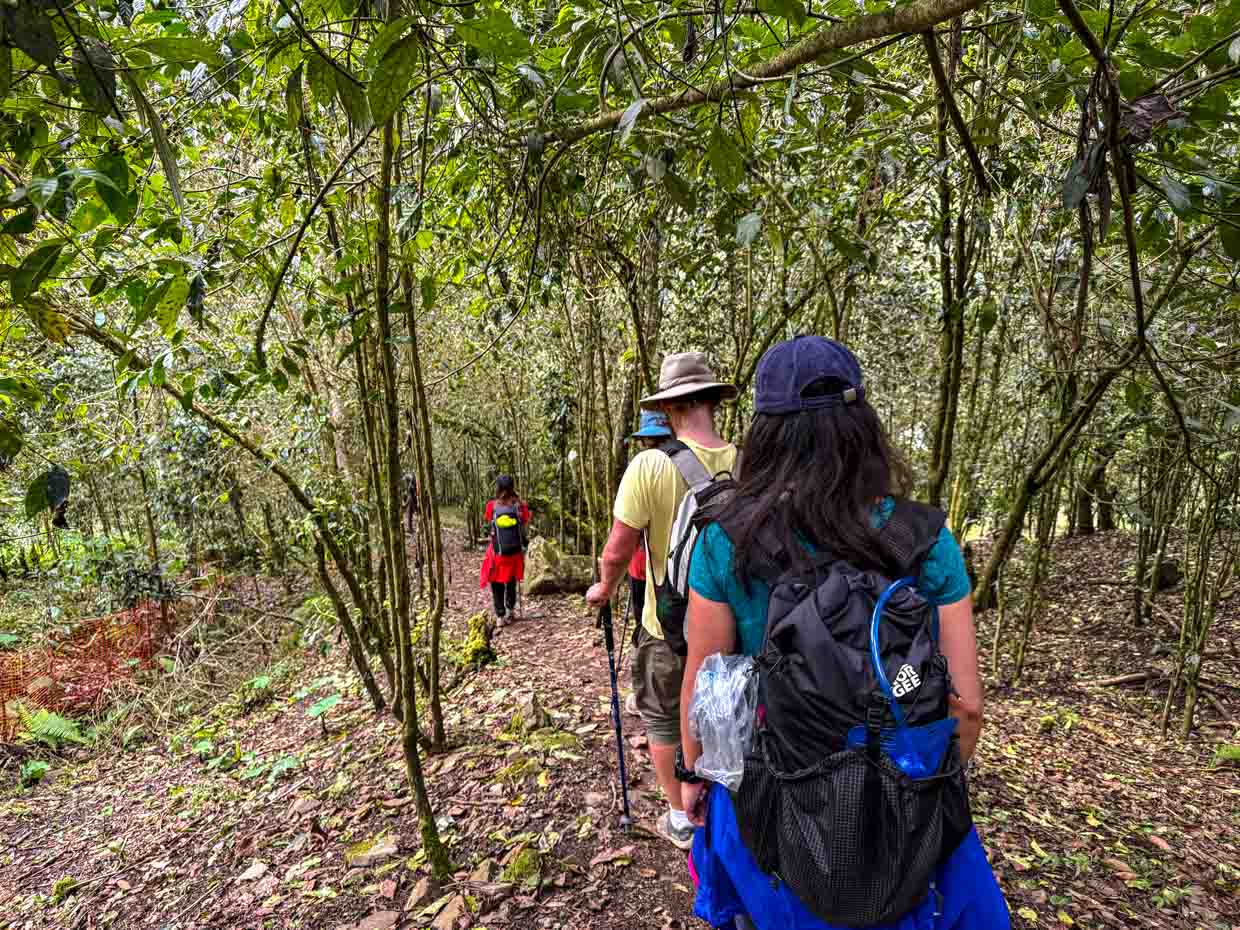
Day 1: Soraypampa campsite – Humantay Lagoon – Salkantay Pass – Wayracpunko
Our wake up call was at 4:30 am with hot coca tea and we had around an hour to pack and have breakfast.
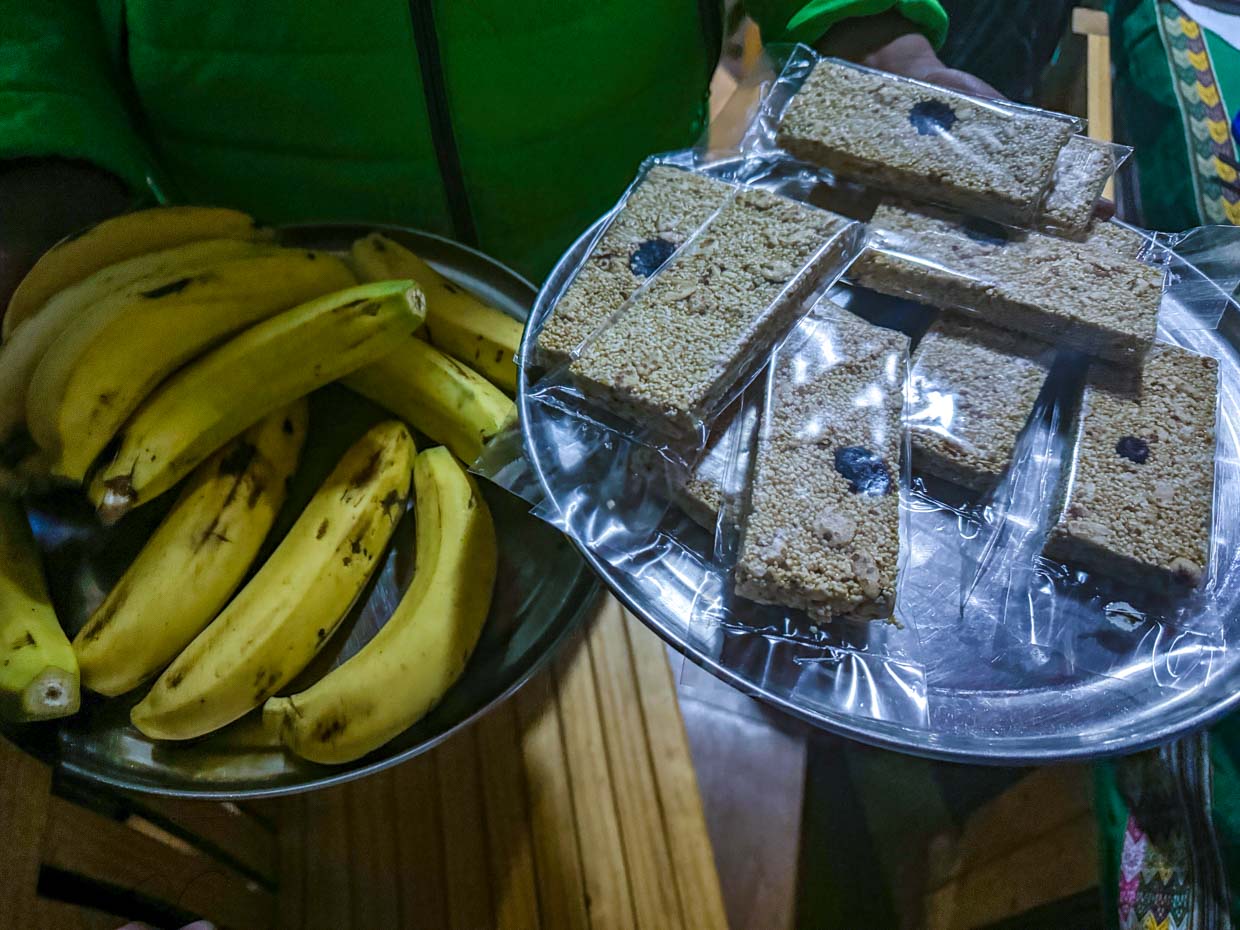
We were given snacks to bring for the morning: banana and quinoa bar. They also have water for us which will be refilled at lunch.
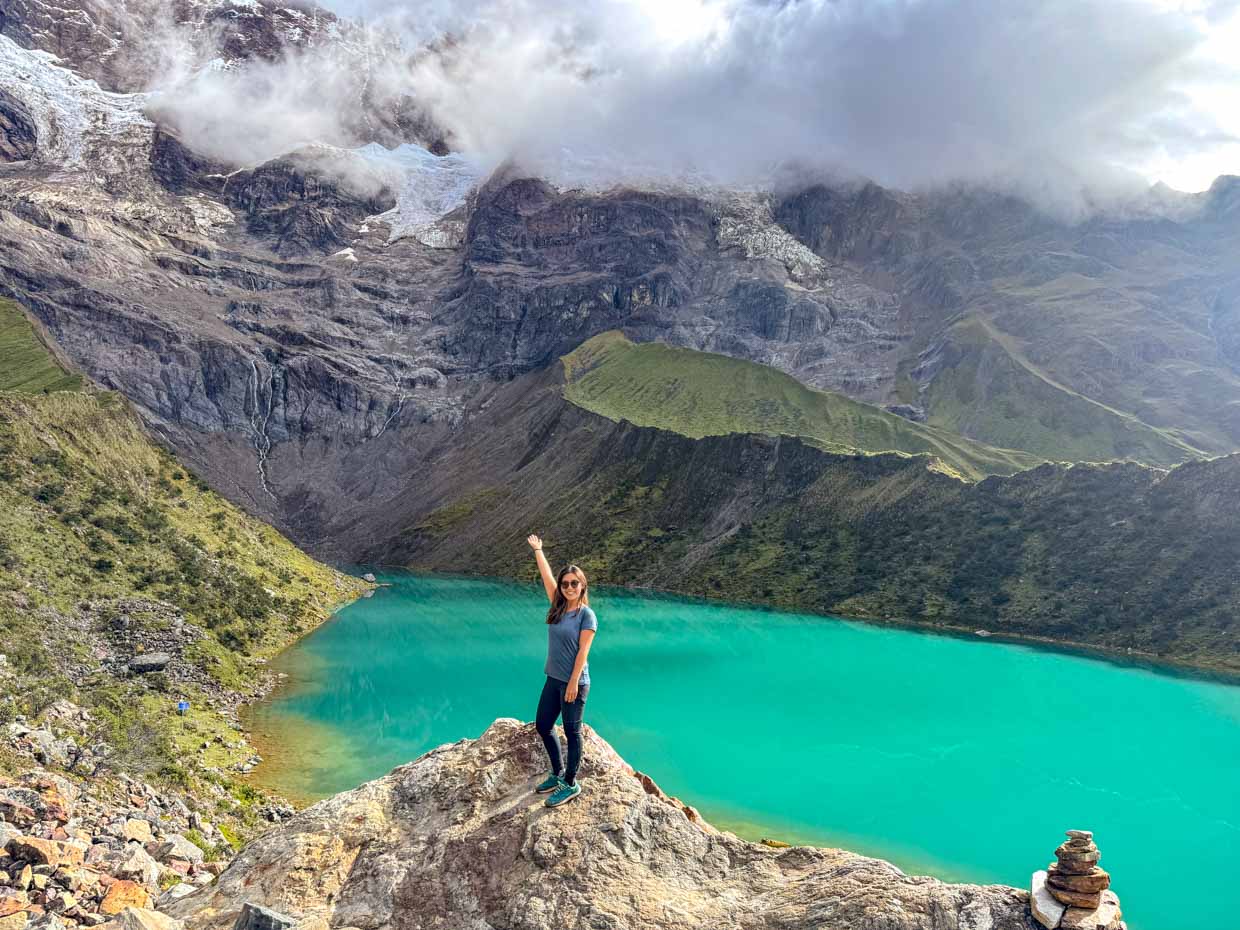
Then we started hiking which was mostly a gentle slope and we reached the start of Humantay Lake at 6:42 am.
Humantay Lake (4200m)
The hike up to Humantay Lake, which is at 4200m above sea level, and the average speed was about 1.5-2 hours.
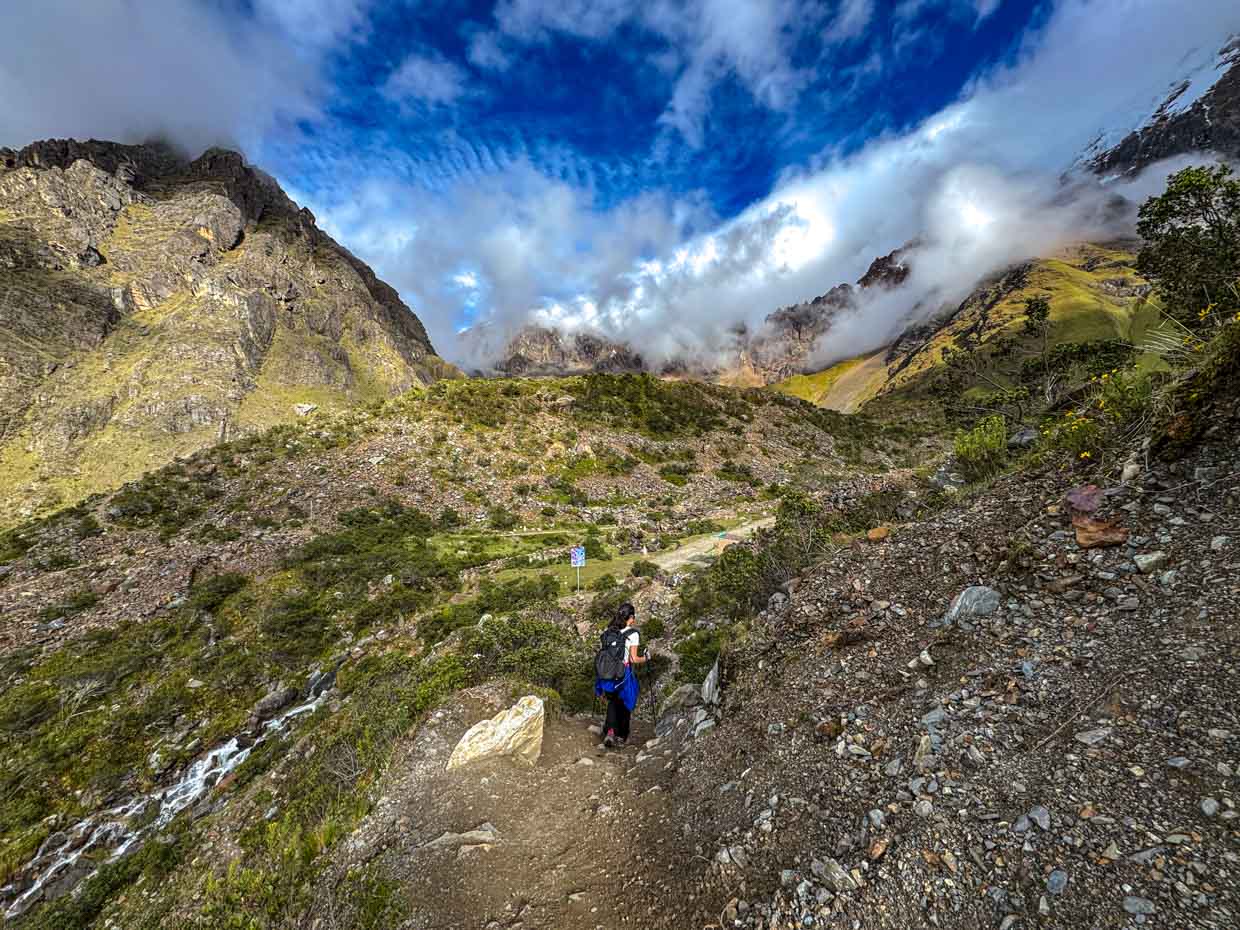
It was quite steep uphill and we got to the top just before 8 am when it was still quiet and sunny.

We stayed there for just under an hour before we started our descent.

They say that if you touch the water, you’ll be forever young. And we got back to the start of the trail at 9:33.
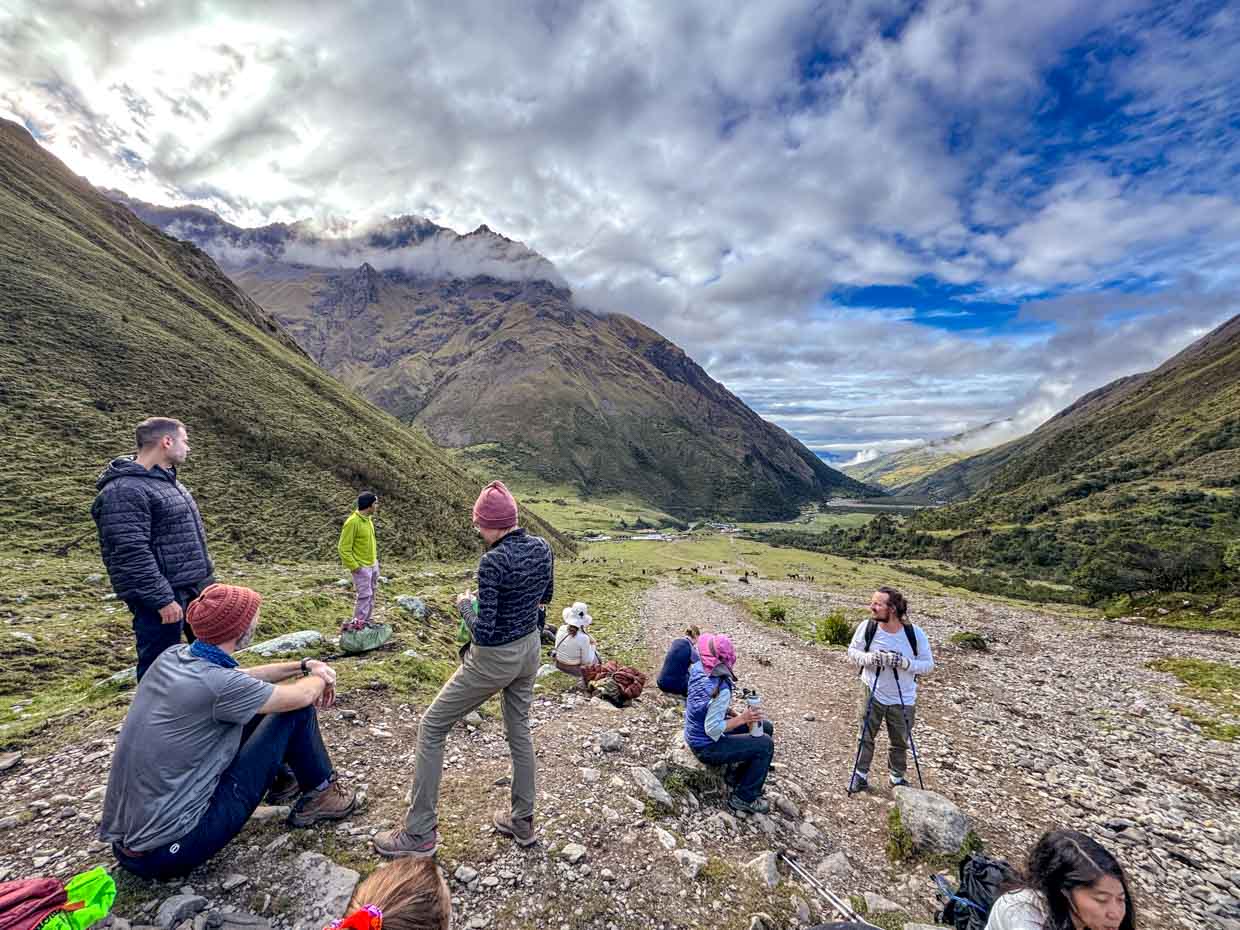
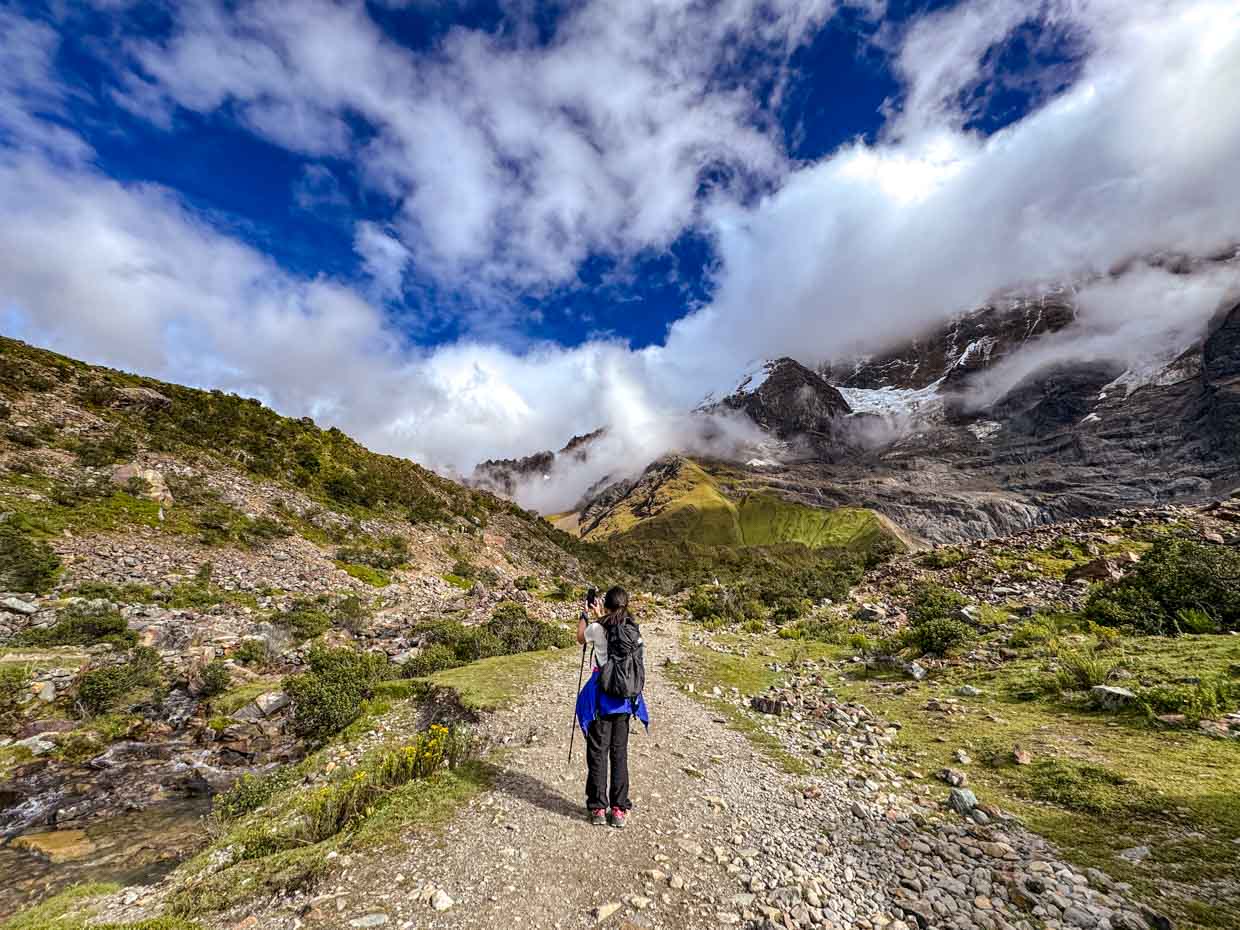
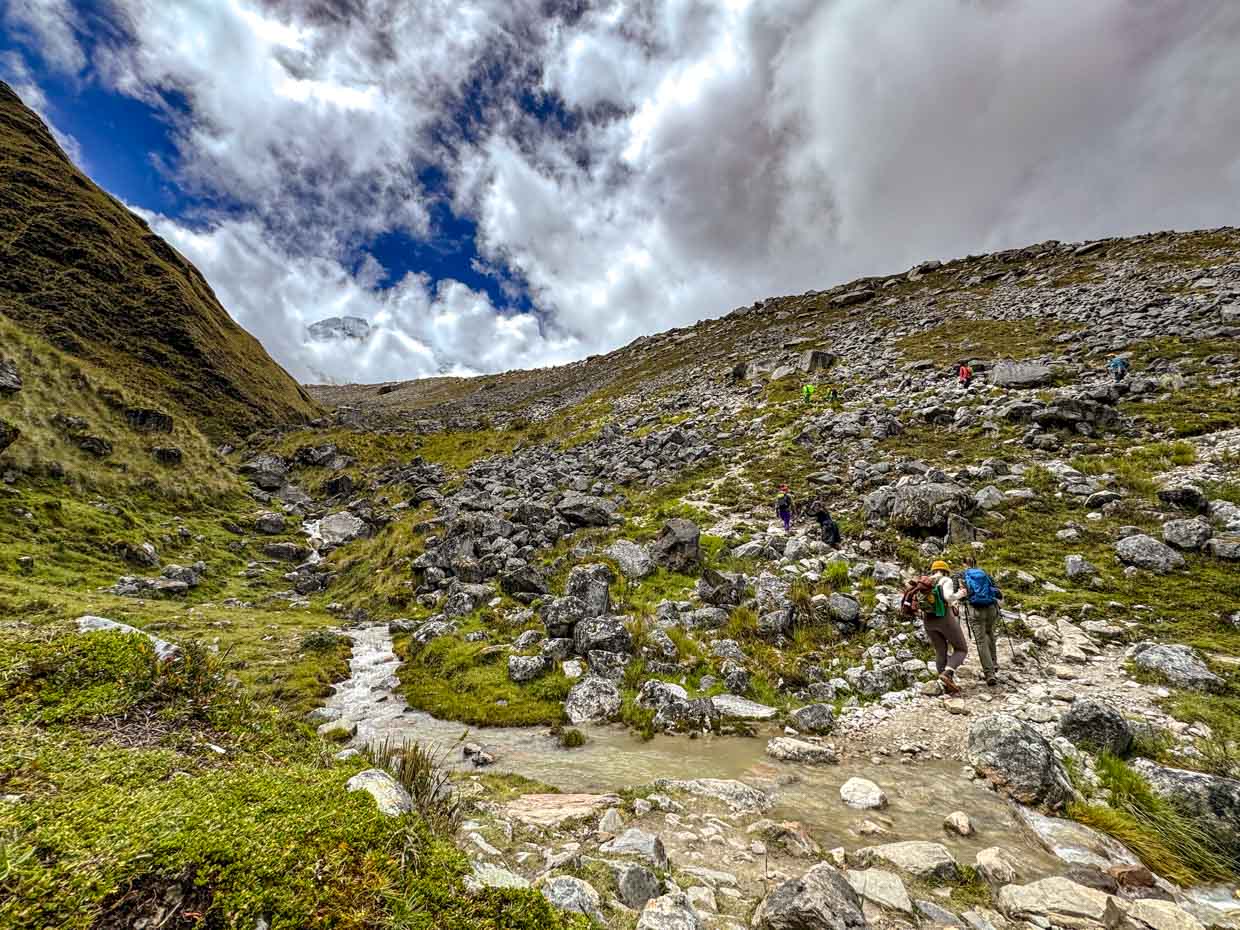
Soyrococha Lunch (4400 m)

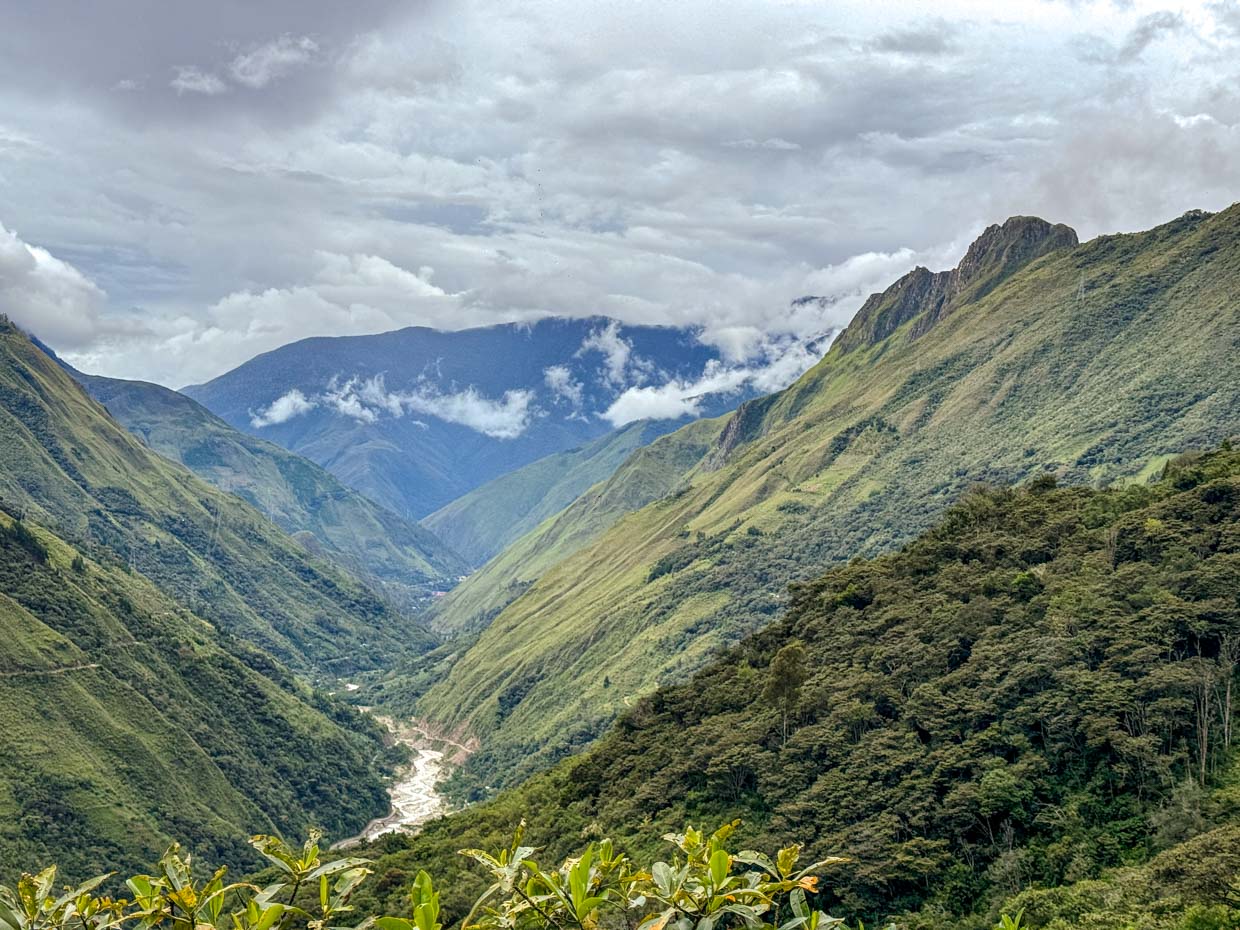
From the Humantay Lake trail start we went back down to the main trail and it was a 2-3 hours gradual ascend to our lunch spot with view of the snow covered mountain of Salkantay.
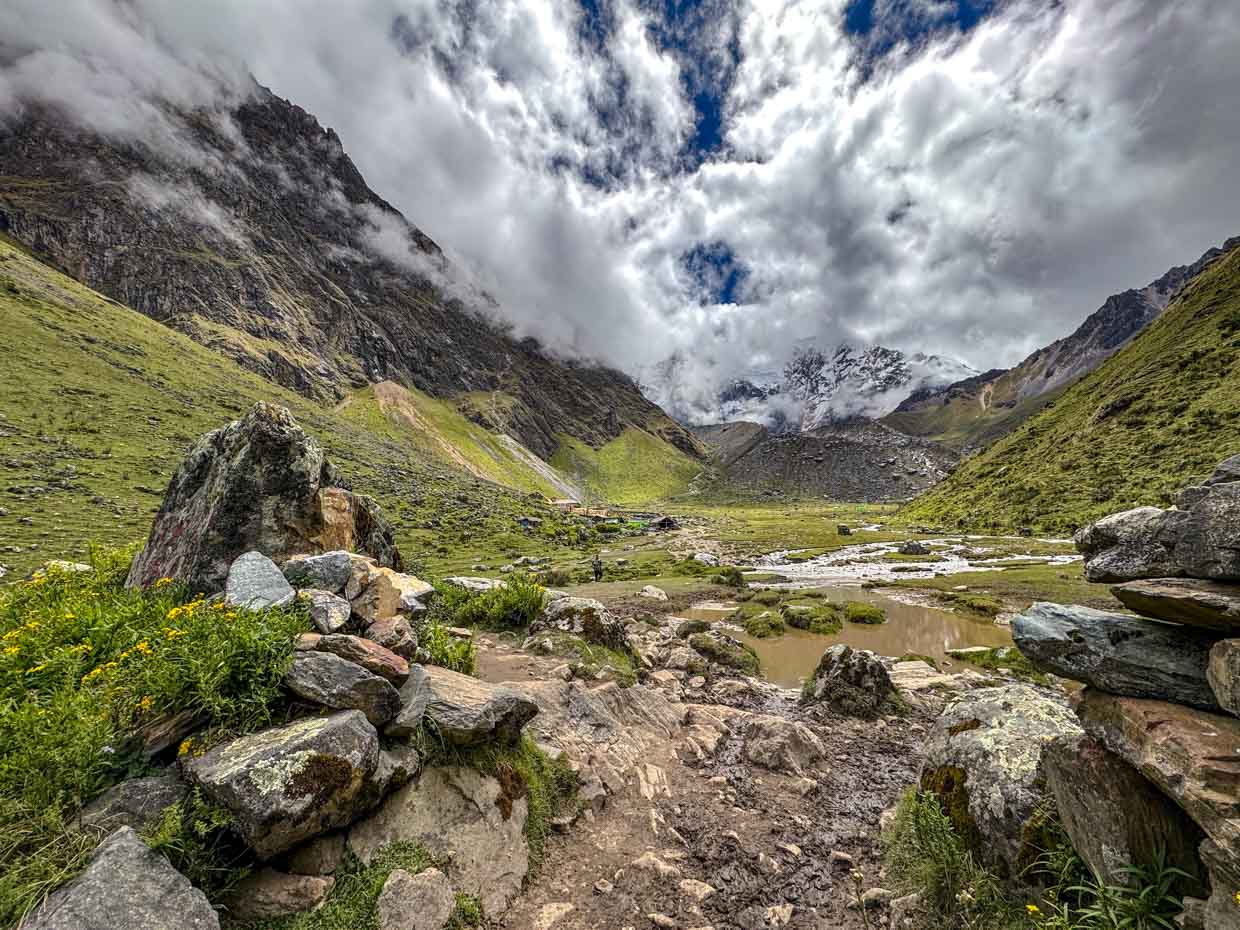

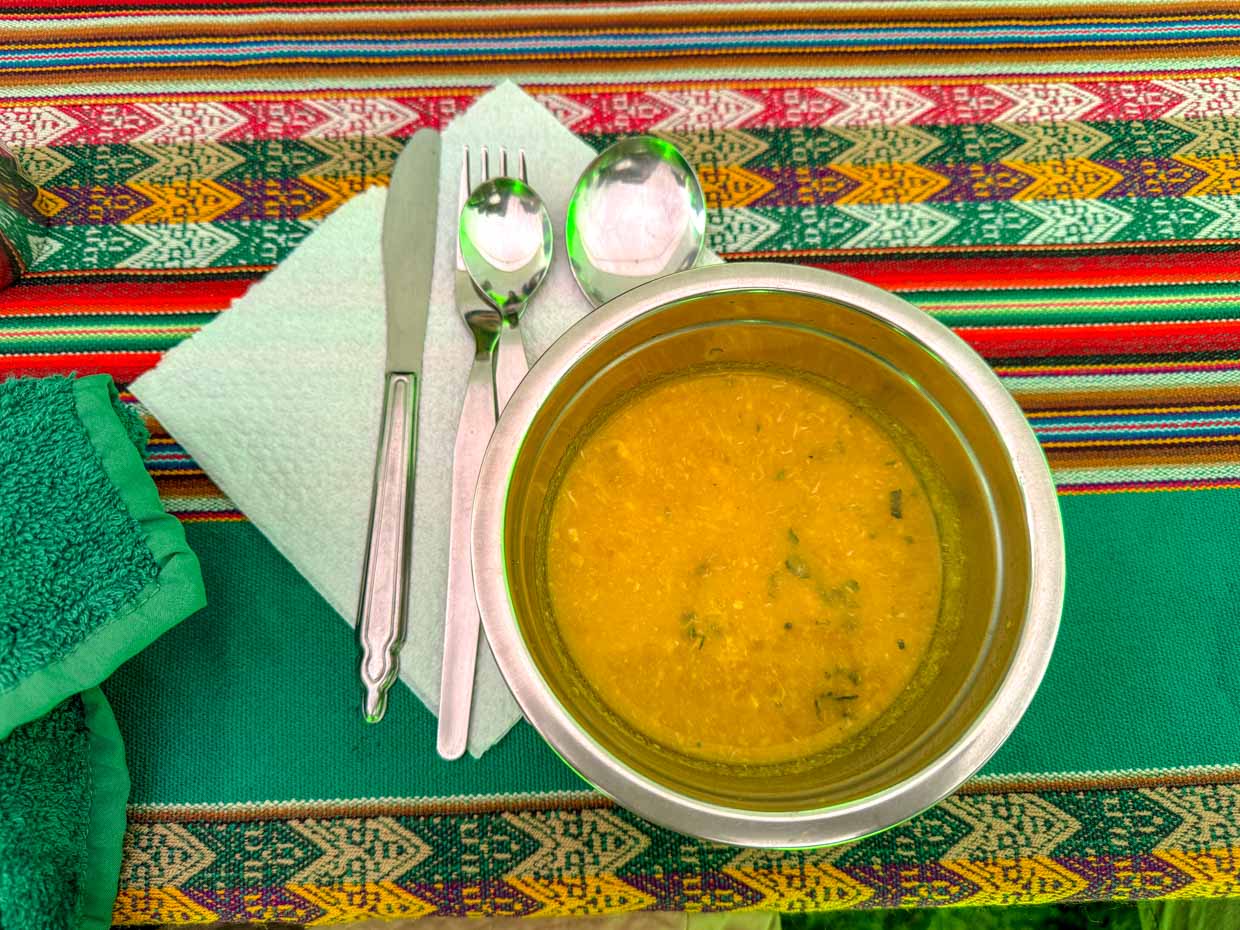
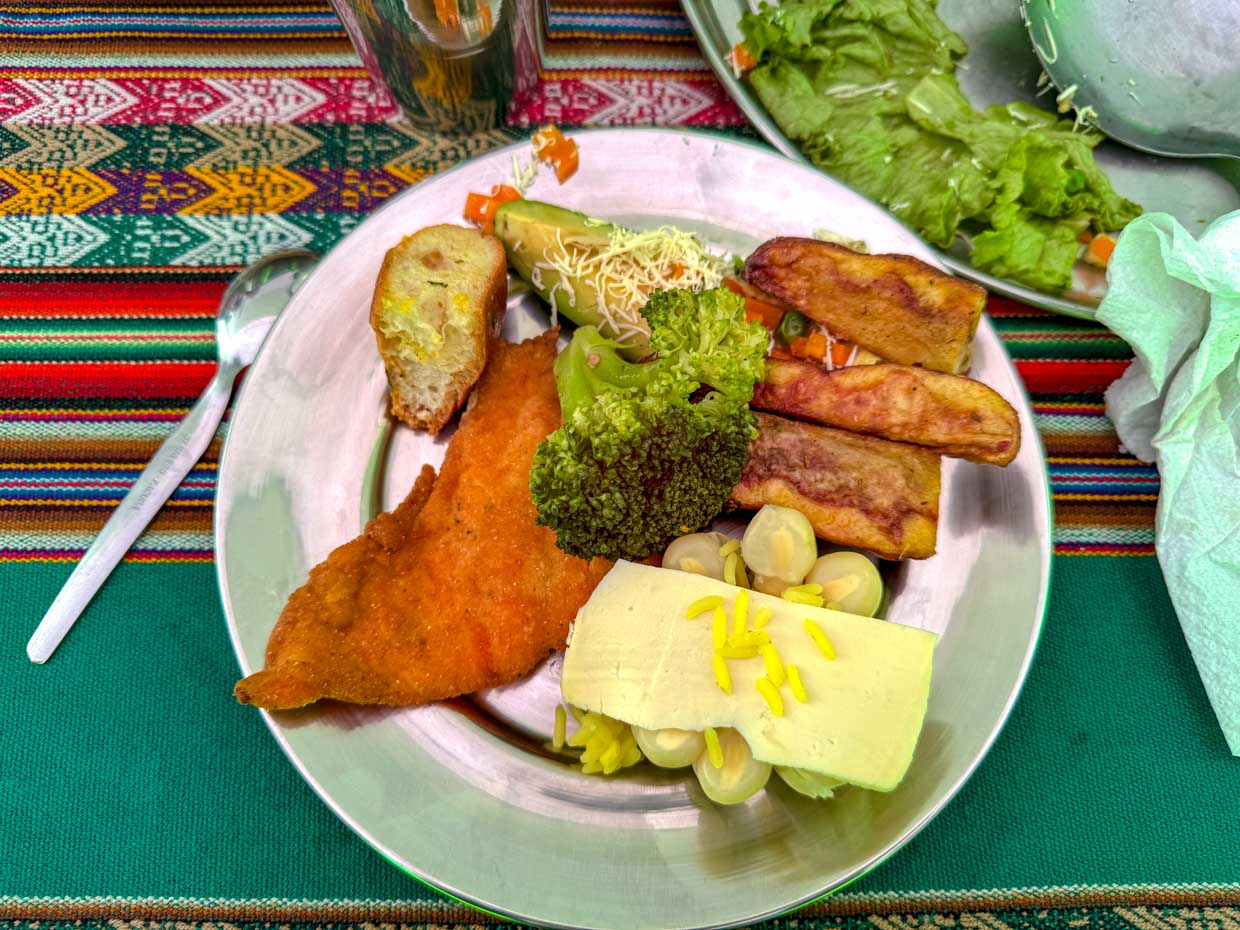
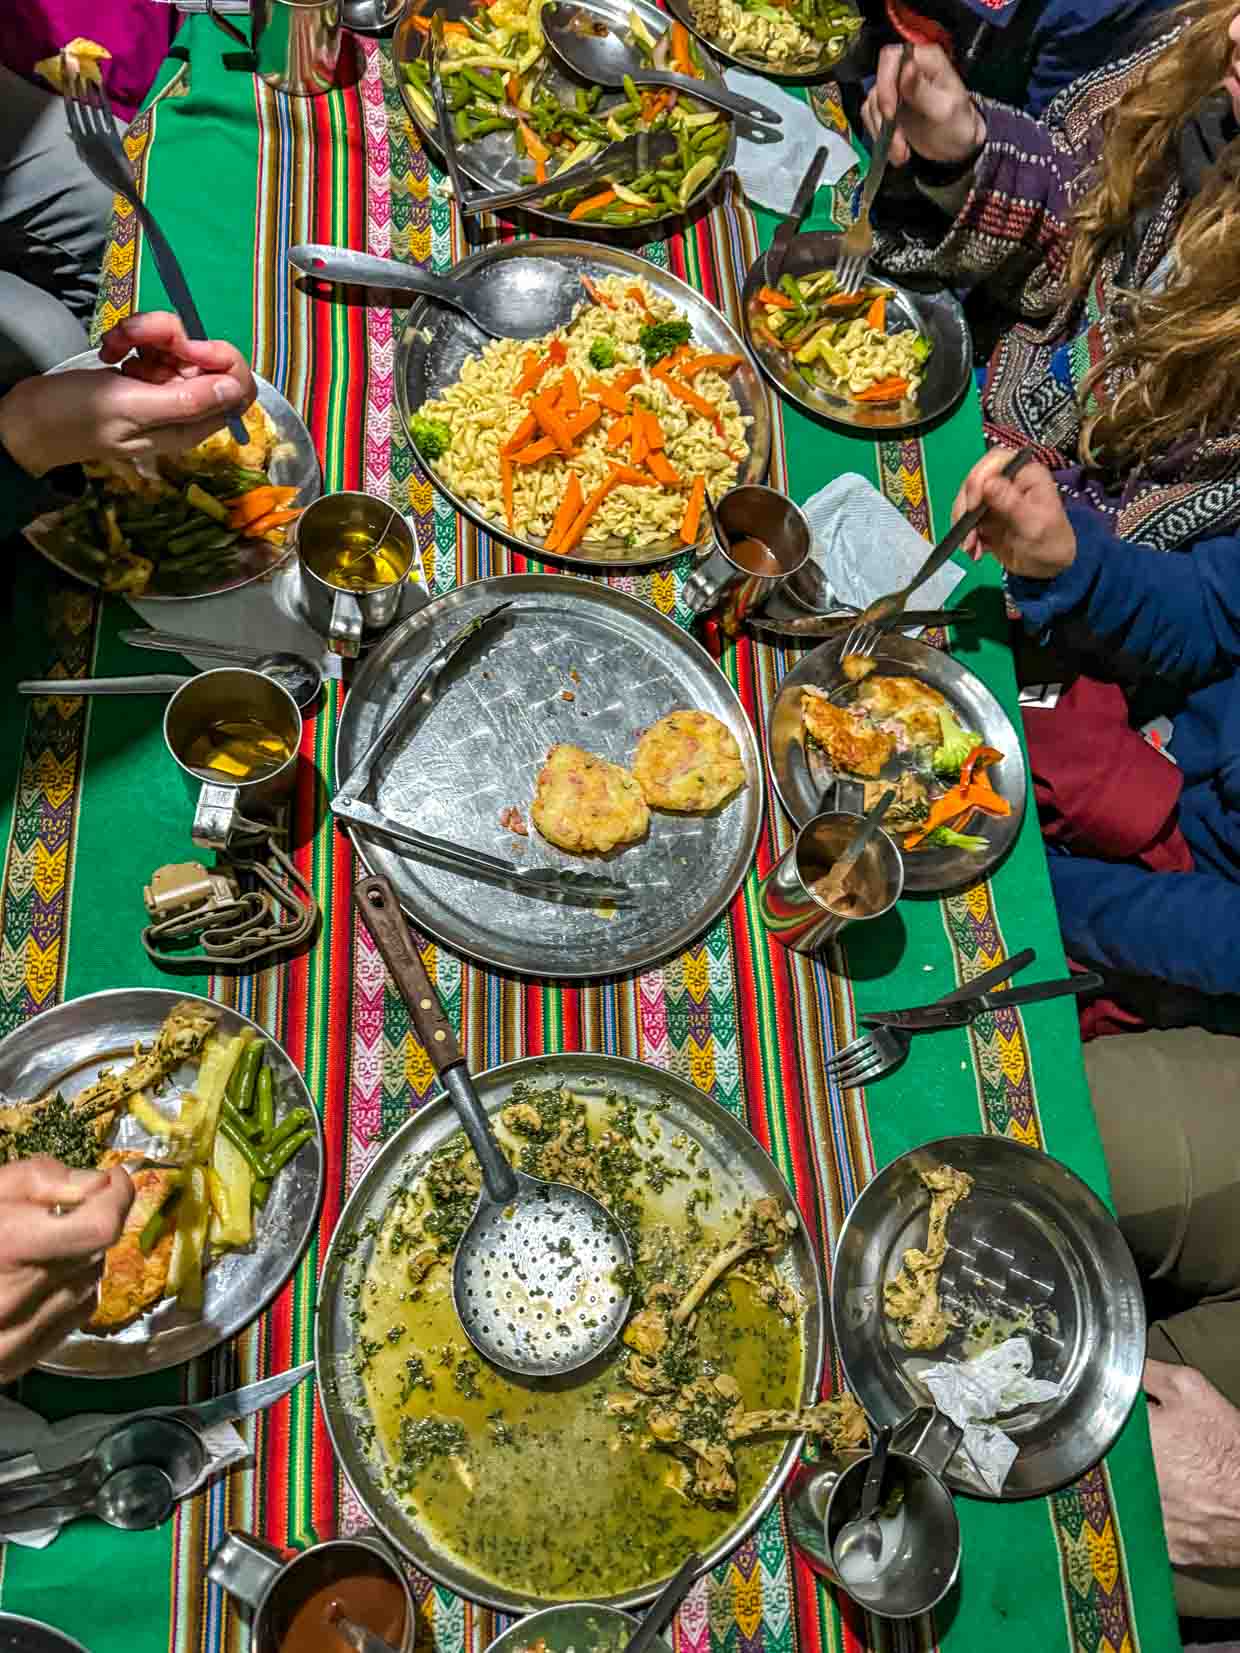
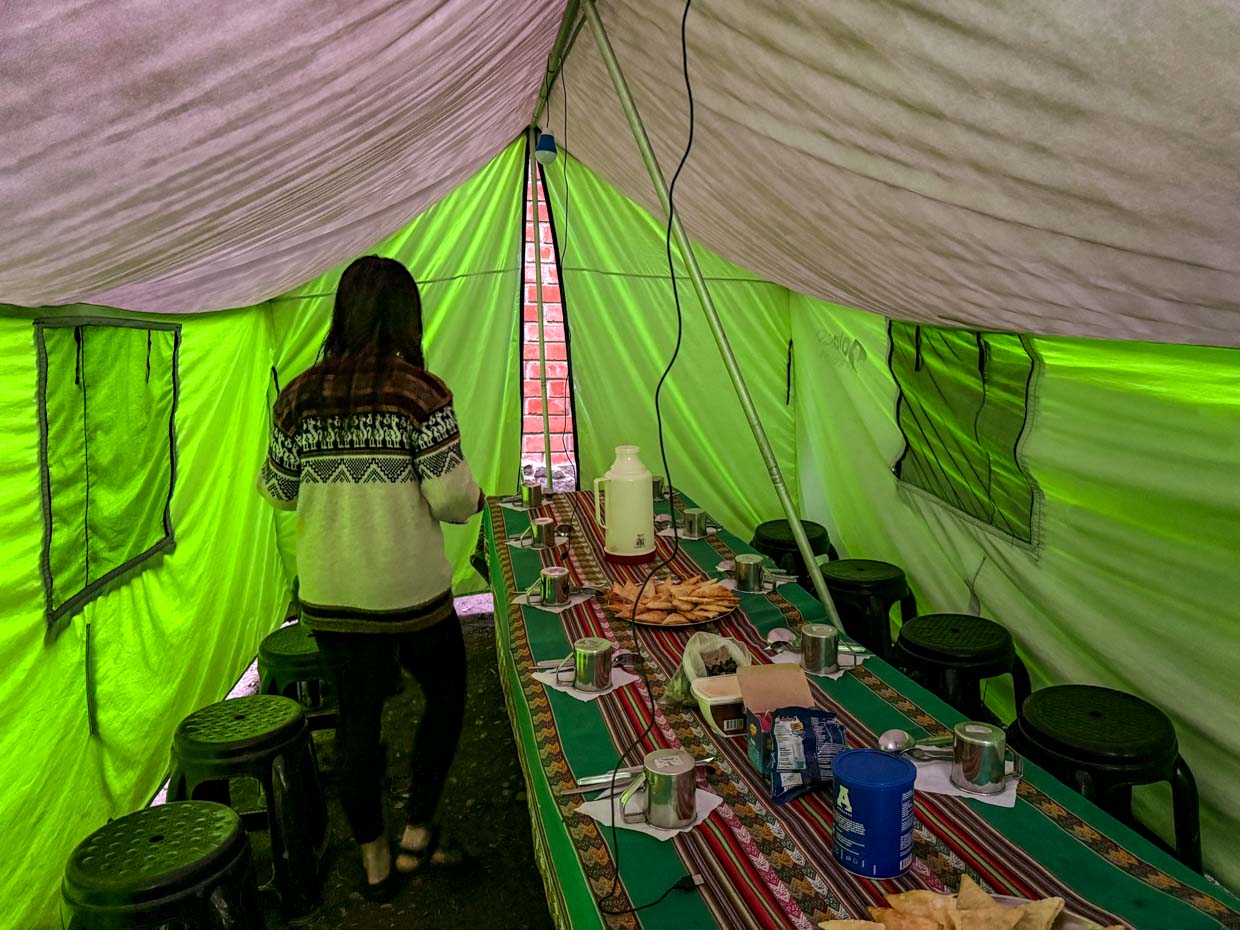
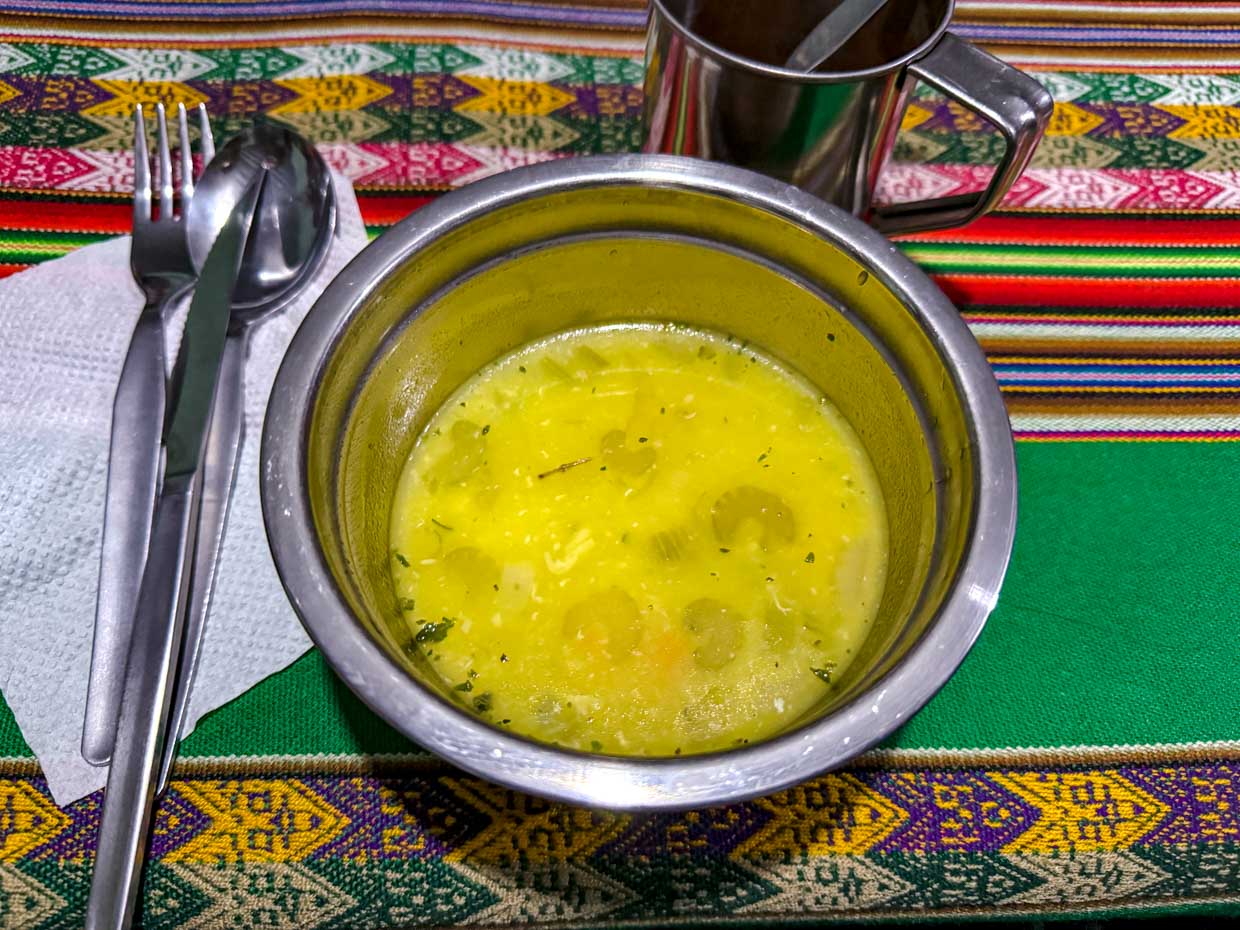
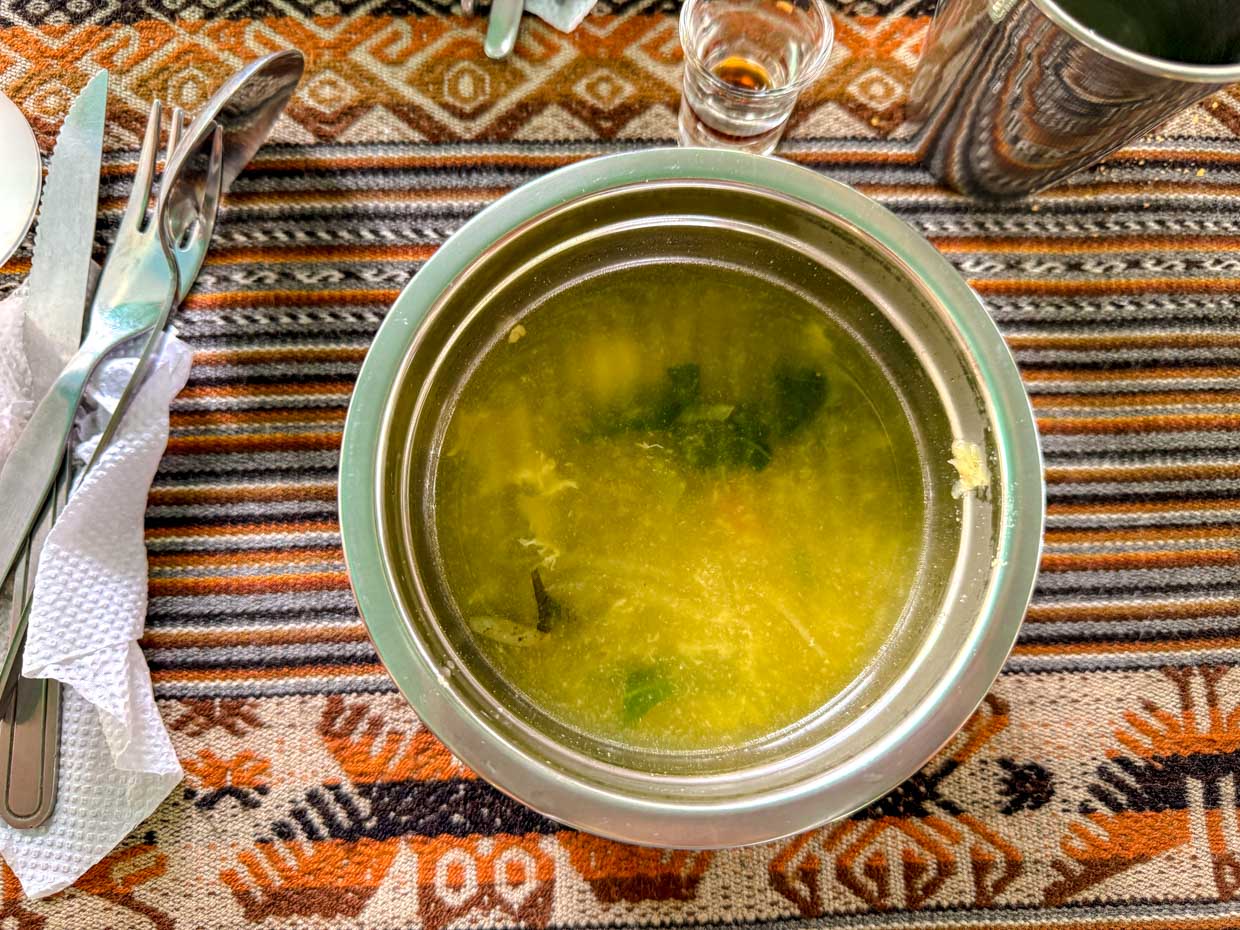
The Alpacca team was great and erected a dining tent for us to dine in, and we had soup, garlic bread, avocado with salsa, grilled fish, corns, and cassava in buffet style.
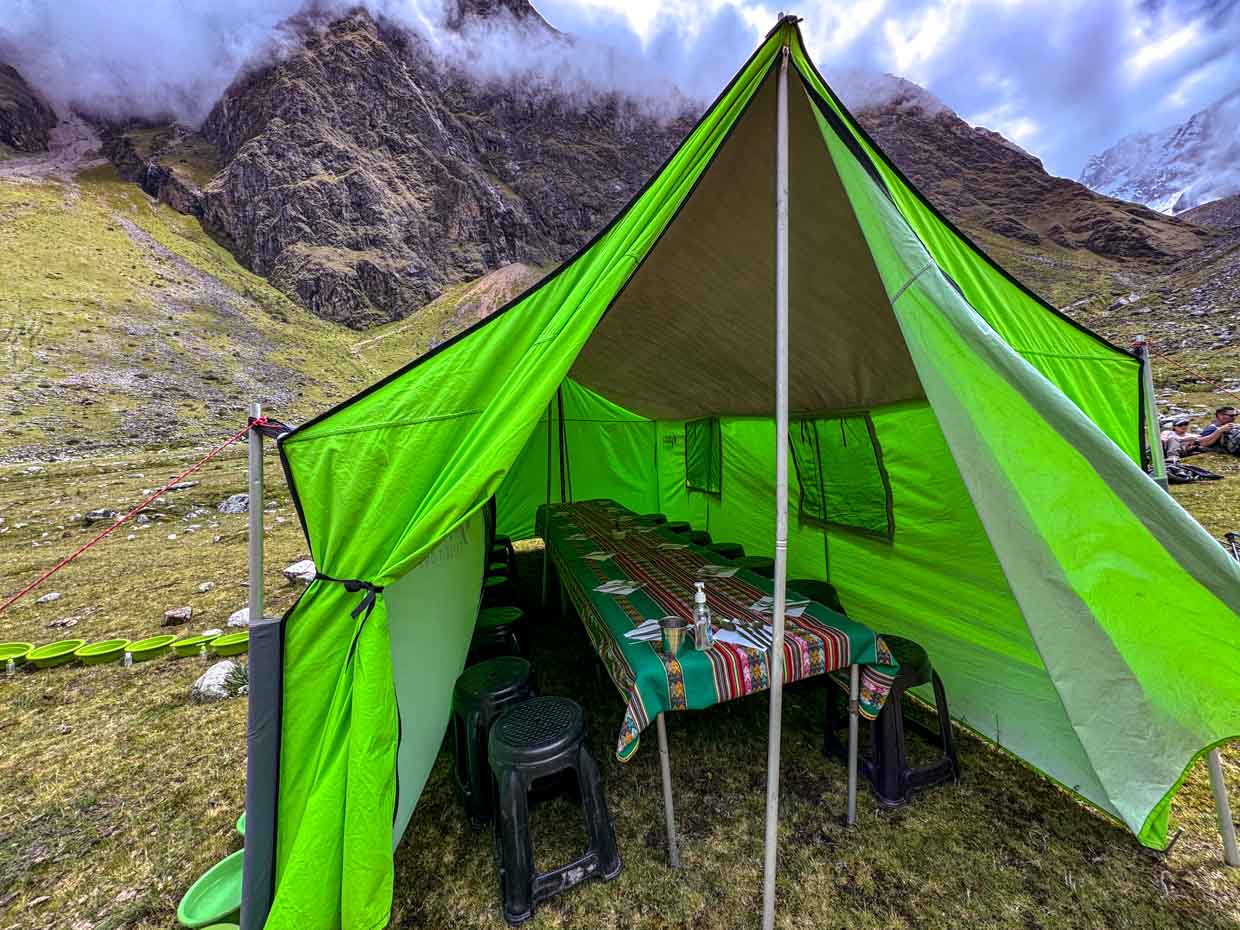
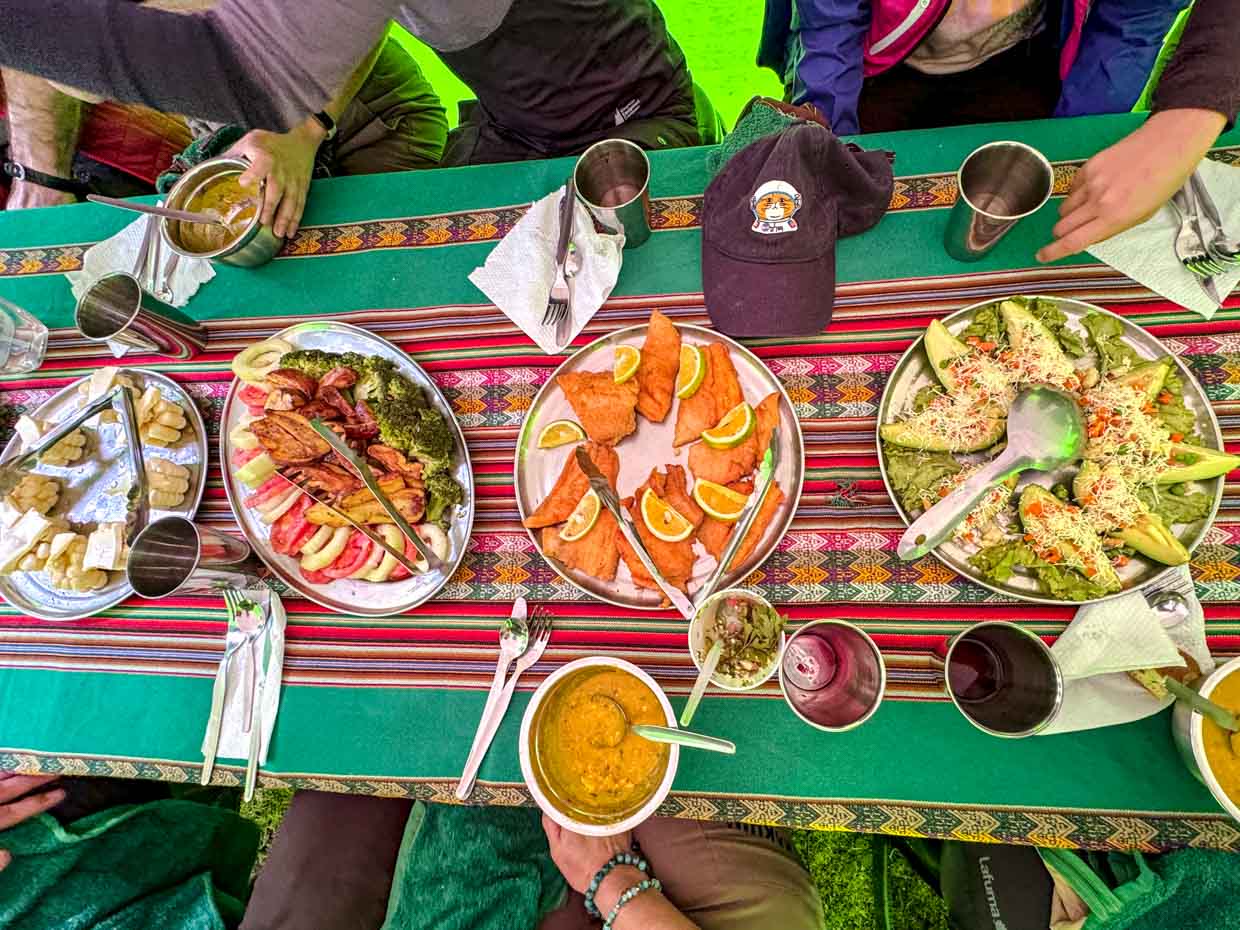
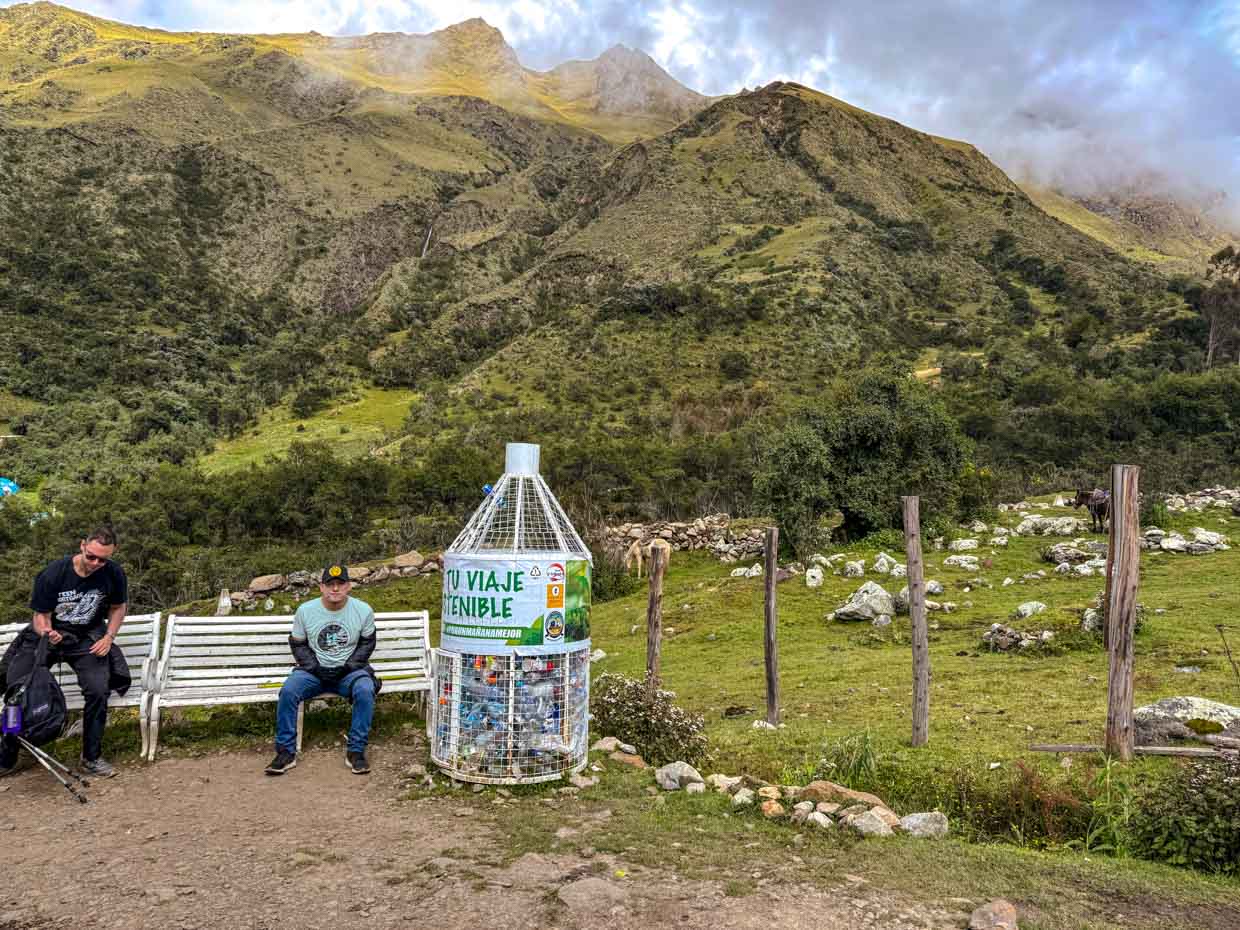
There’s also a toilet tent and we rested for around 50 minutes before we started to go up to the Salkantay Pass.
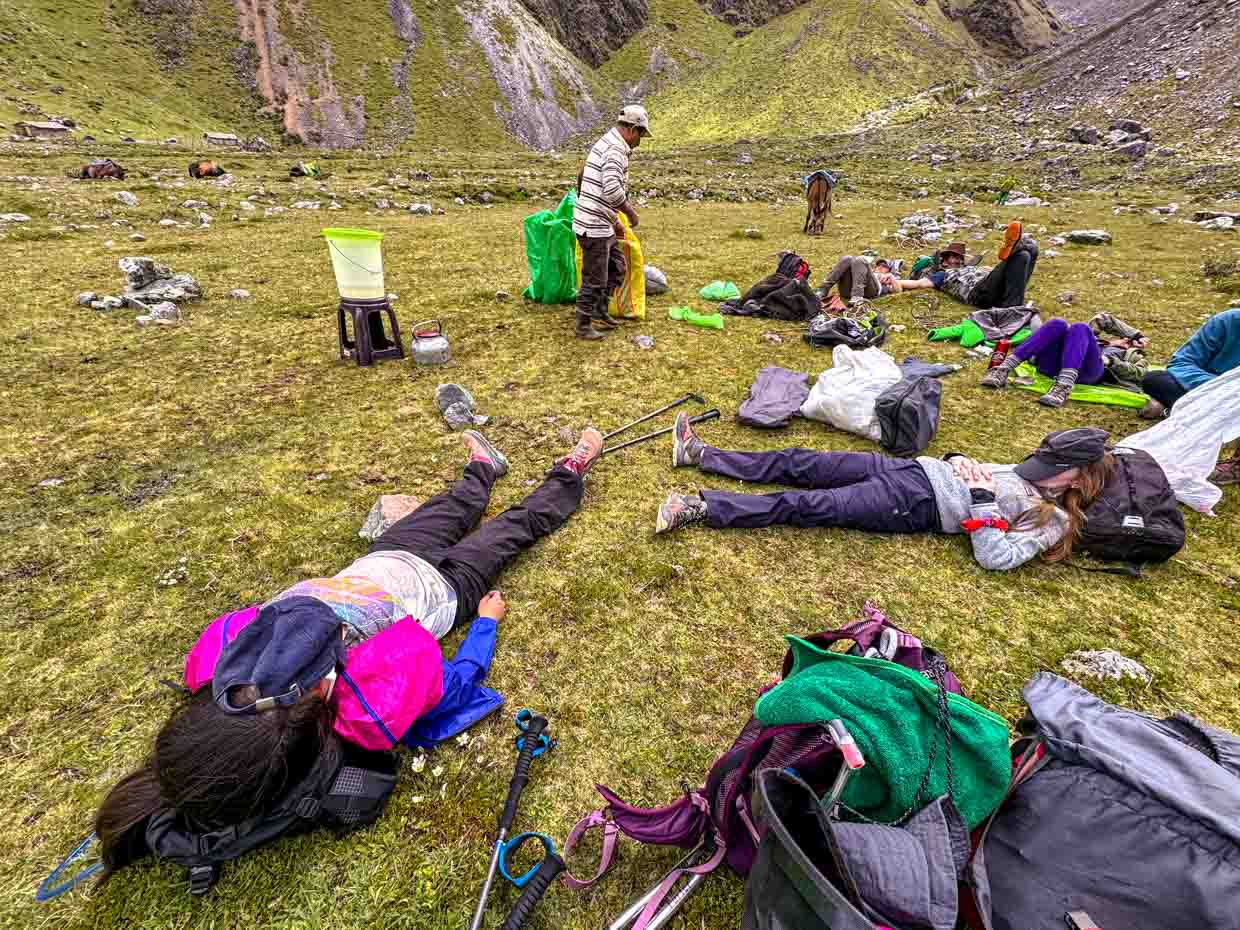

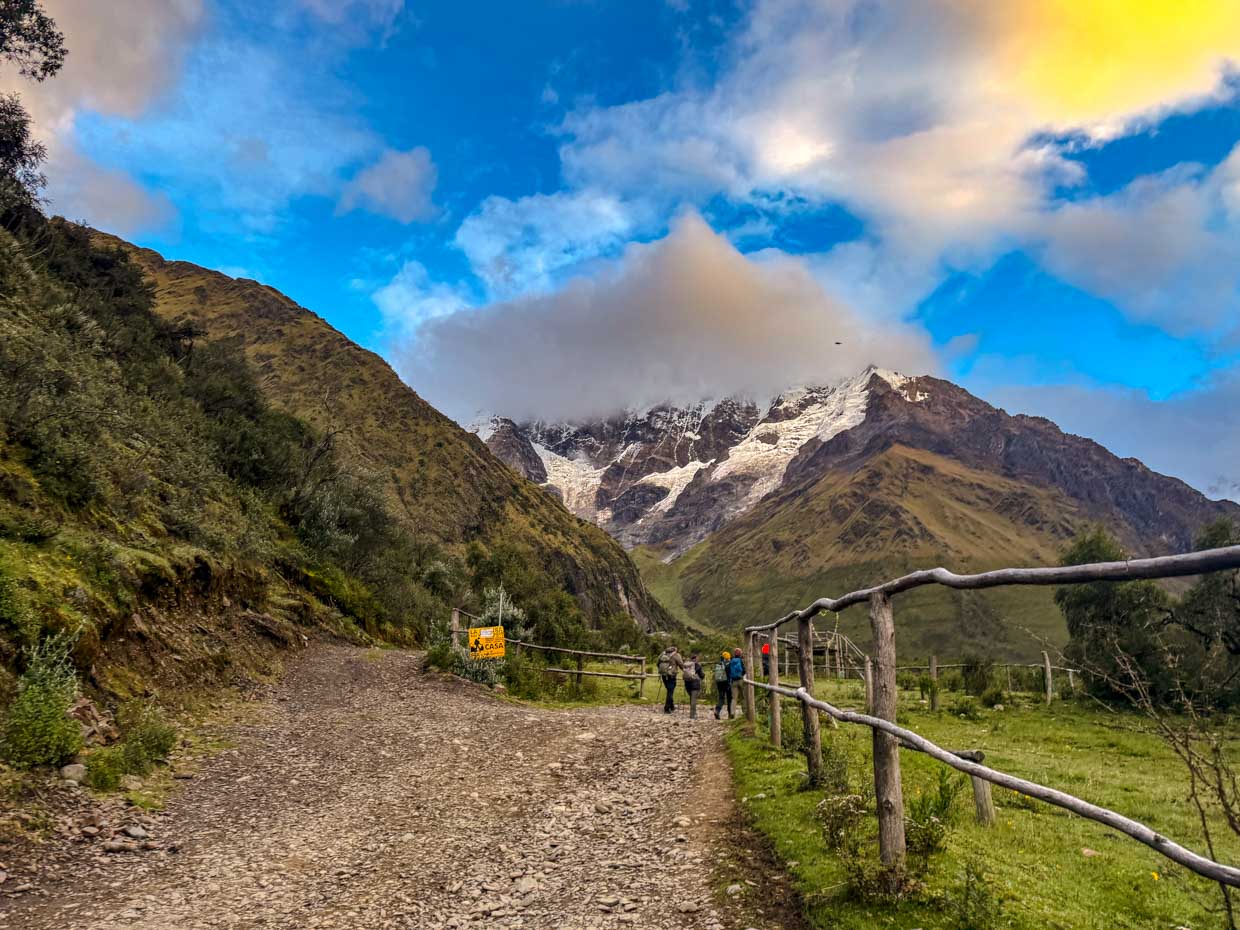
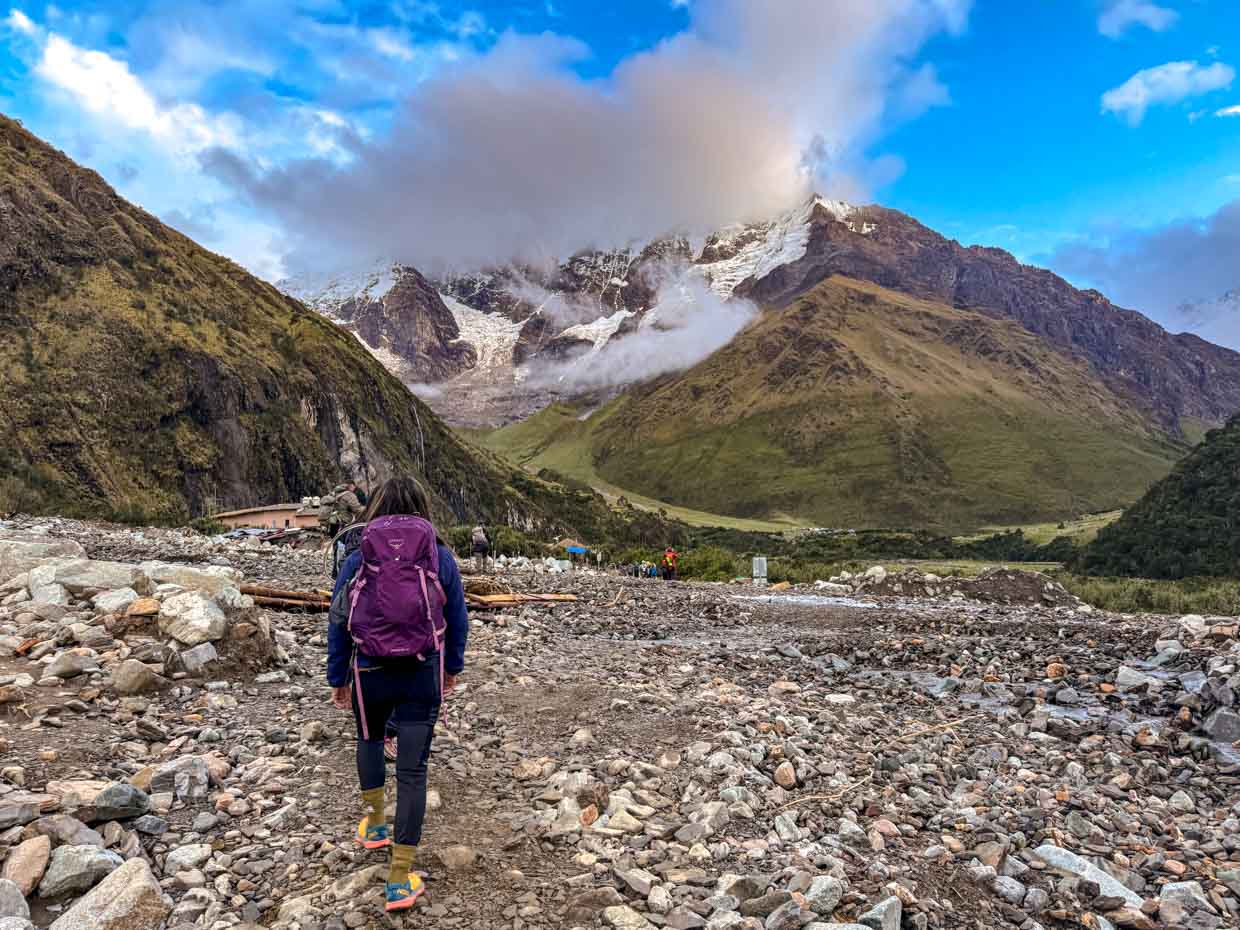
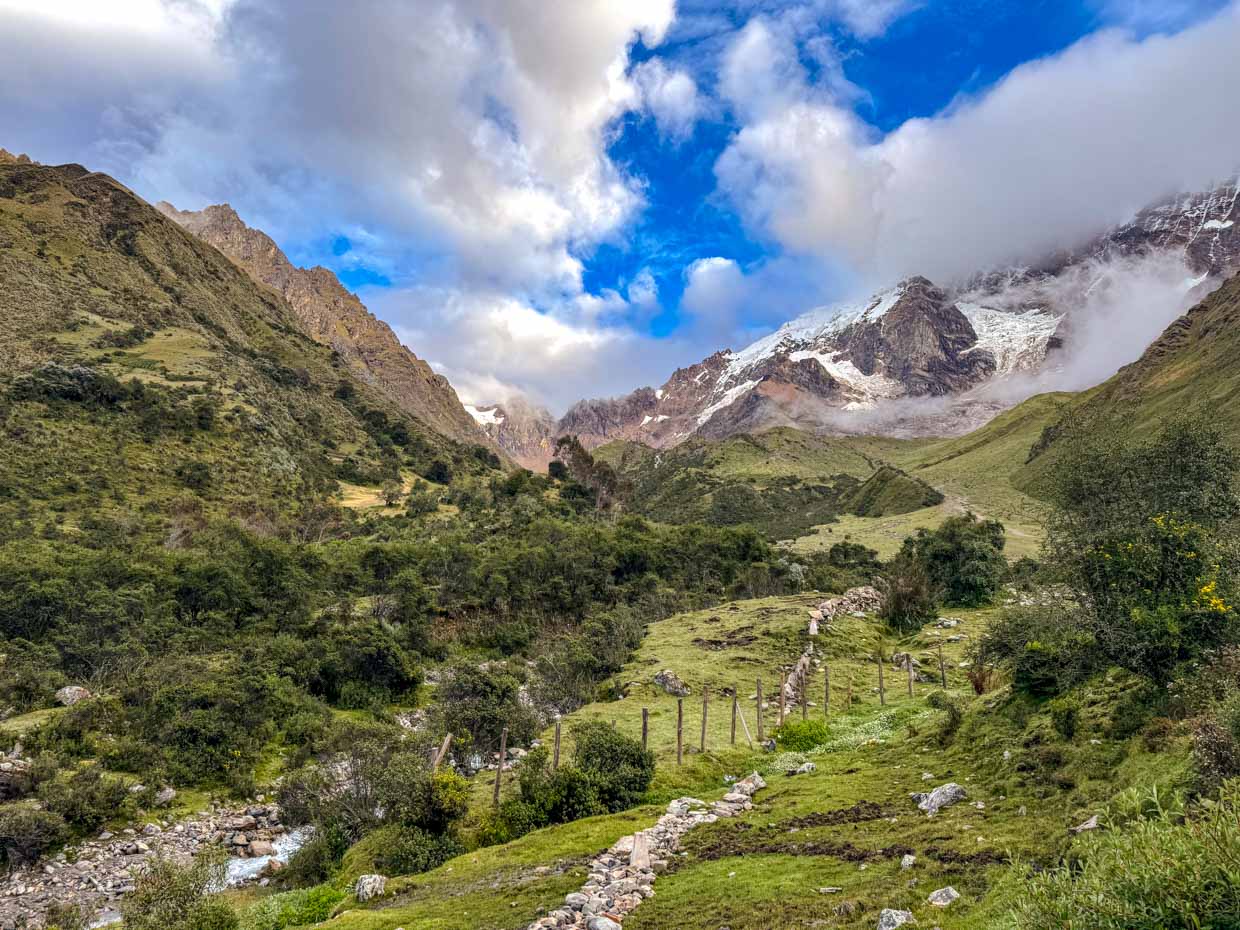
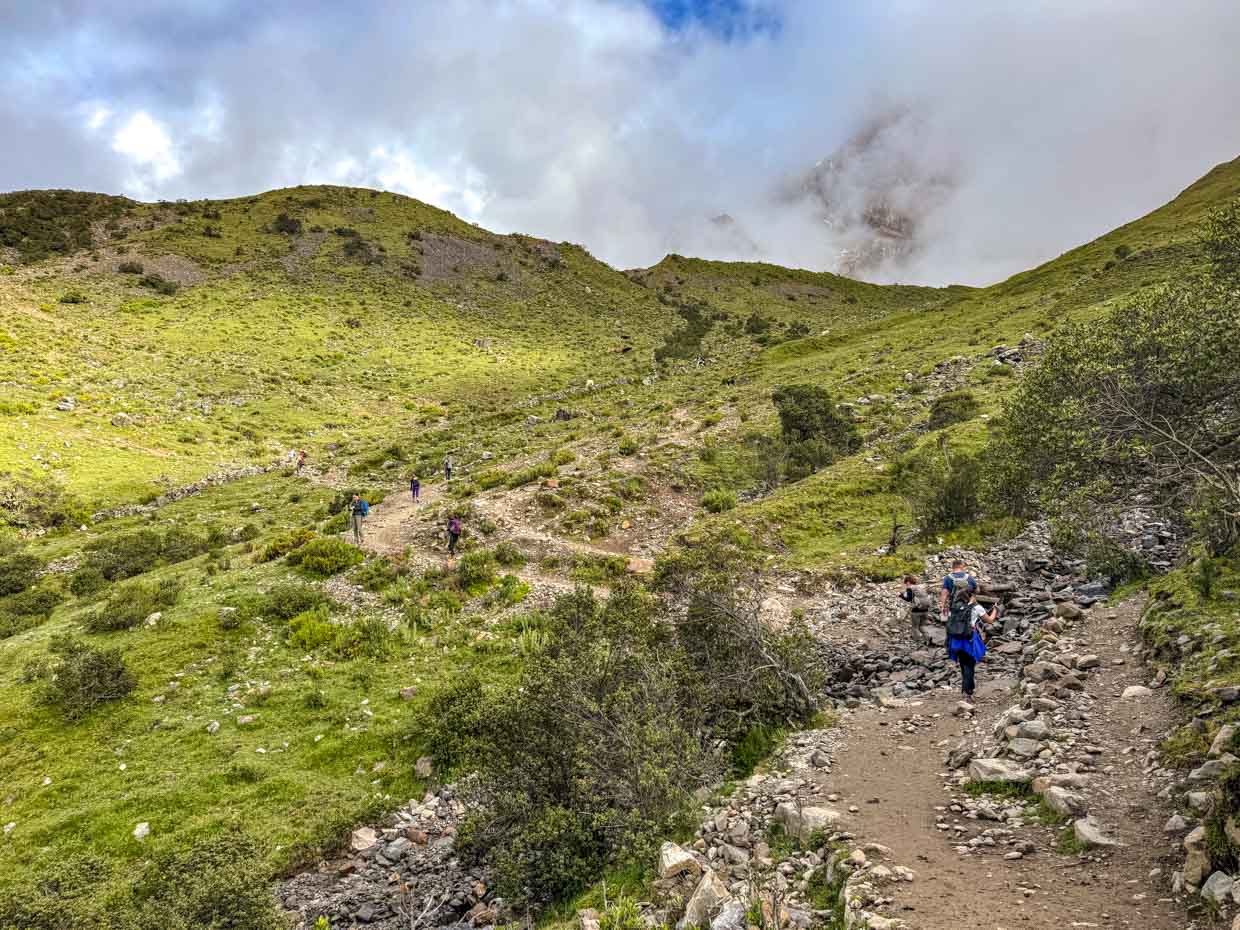
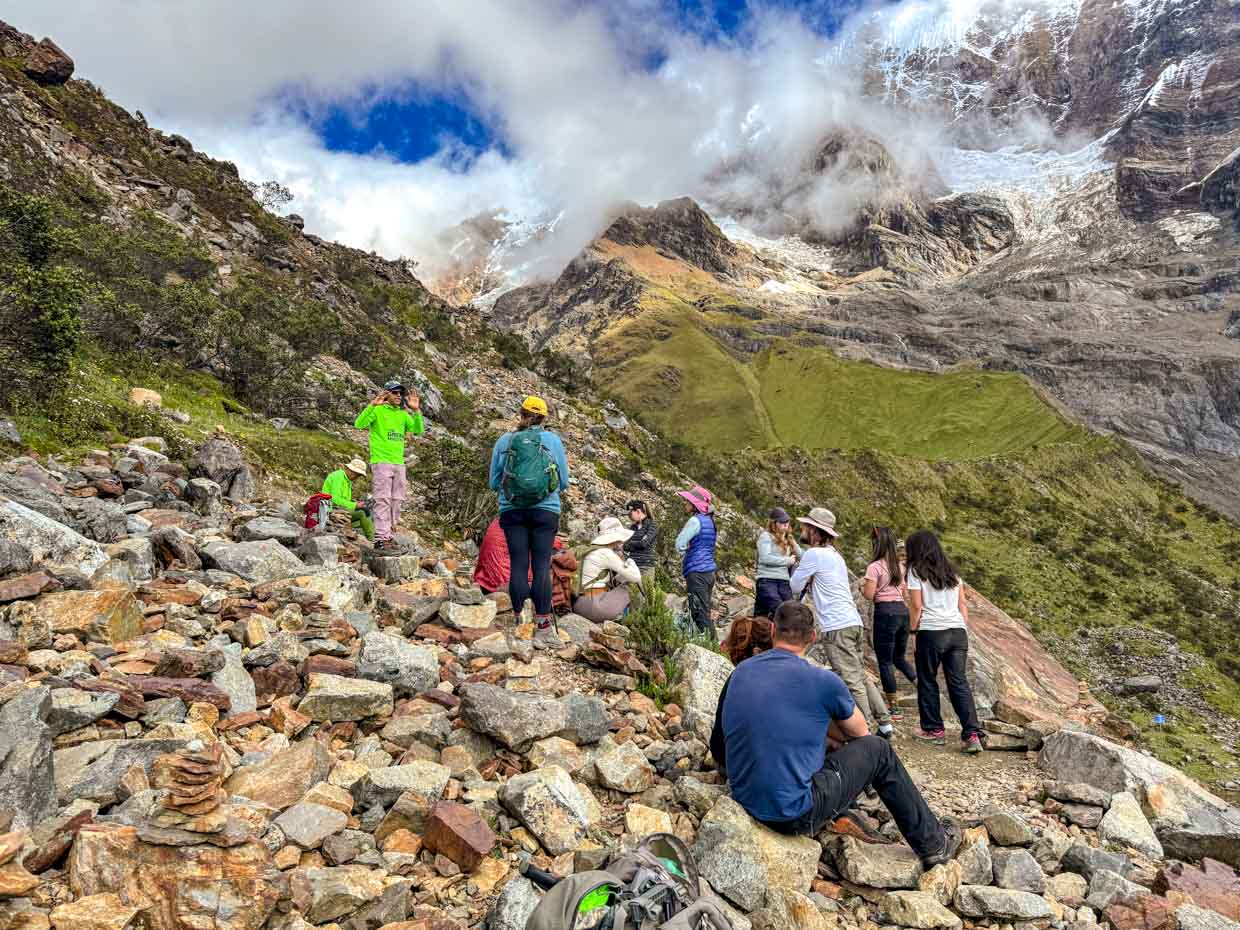
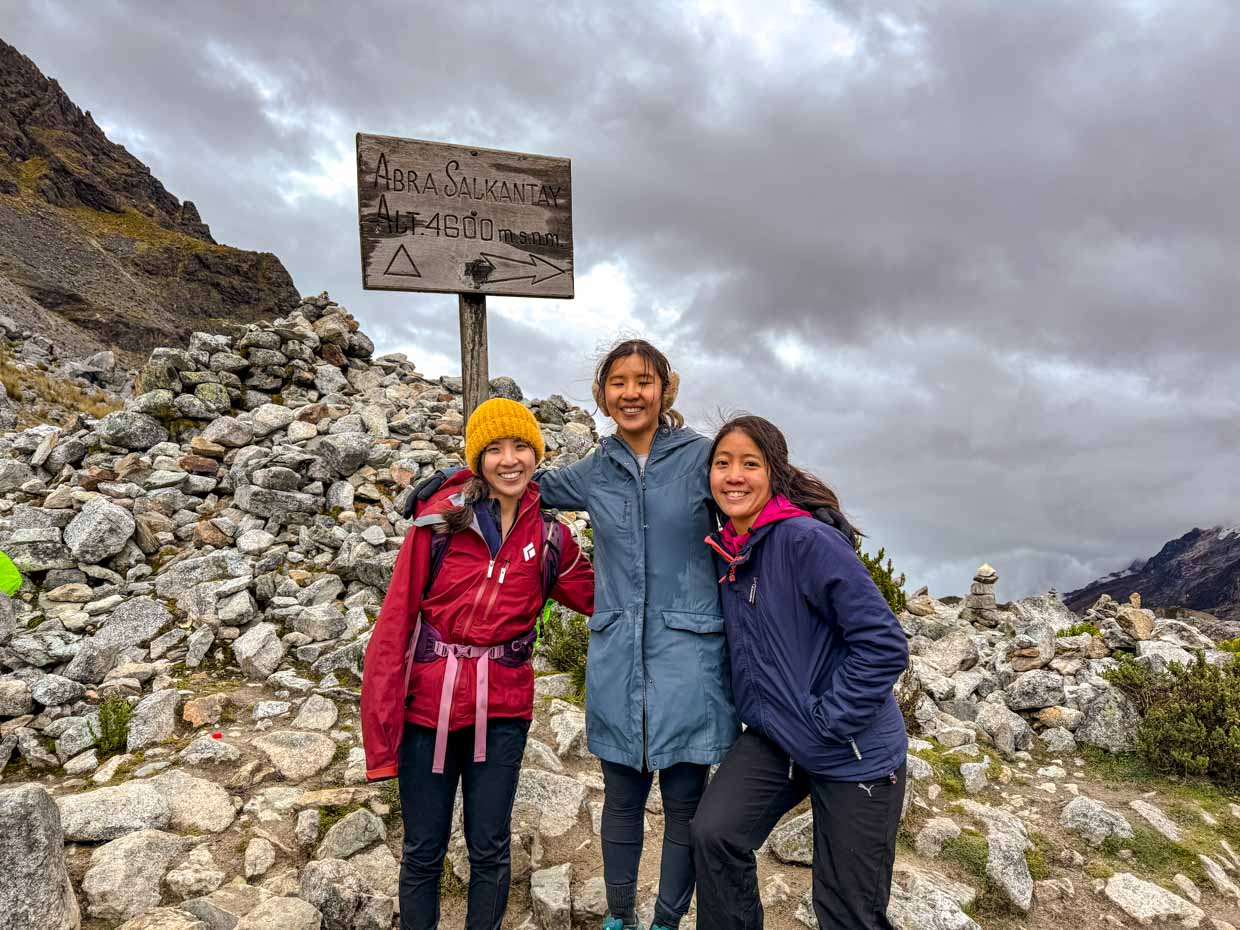
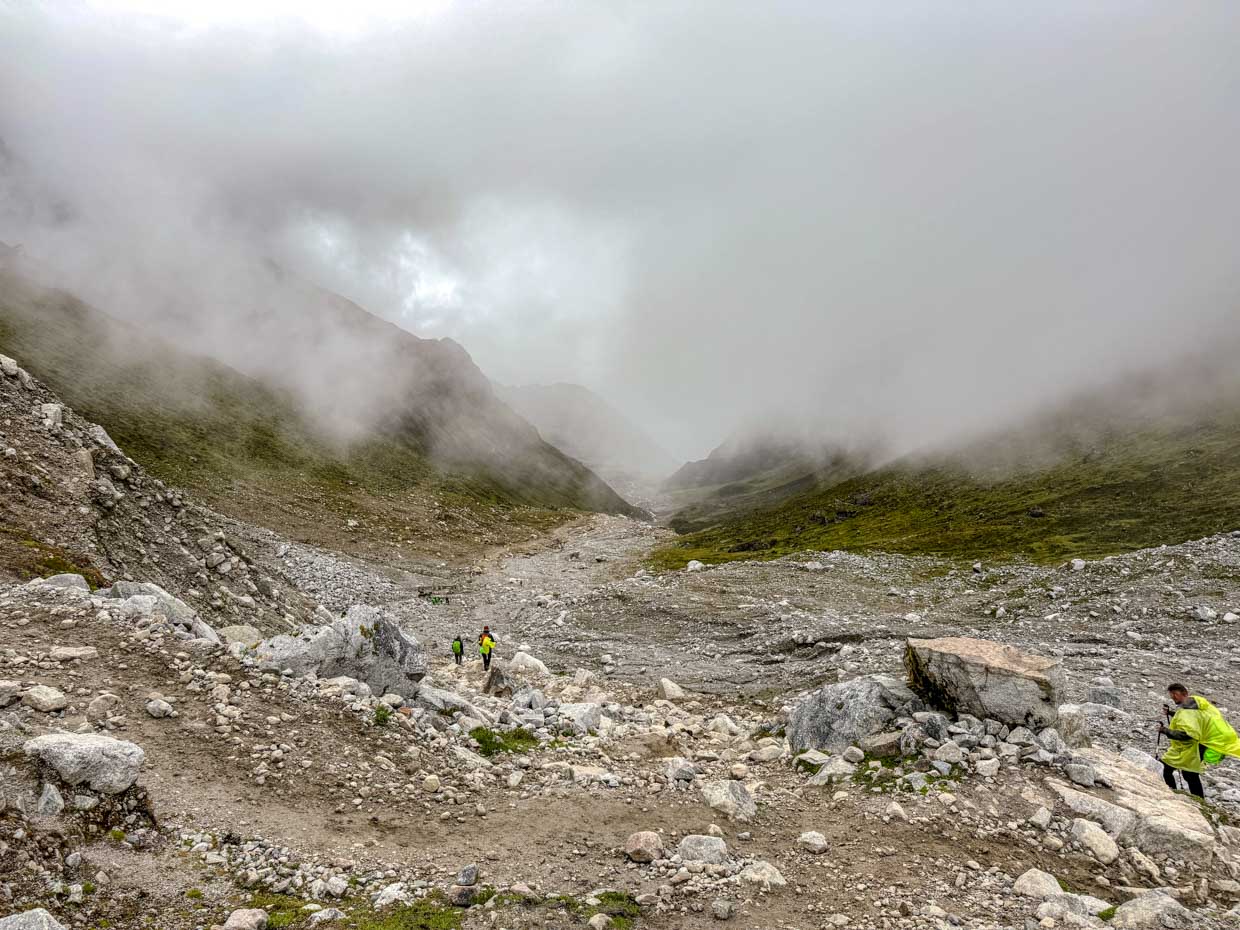
Salkantay Pass (4,620m)
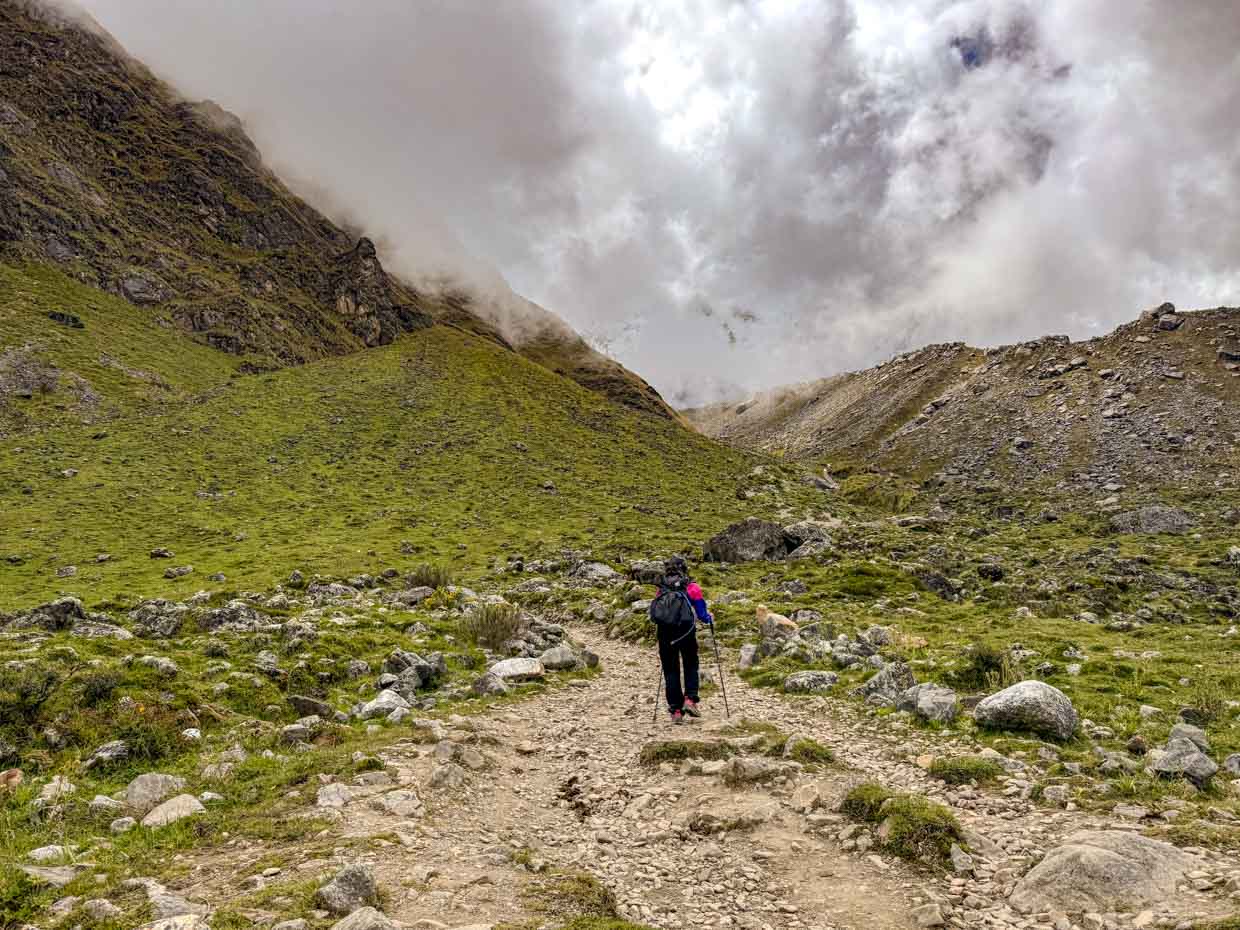
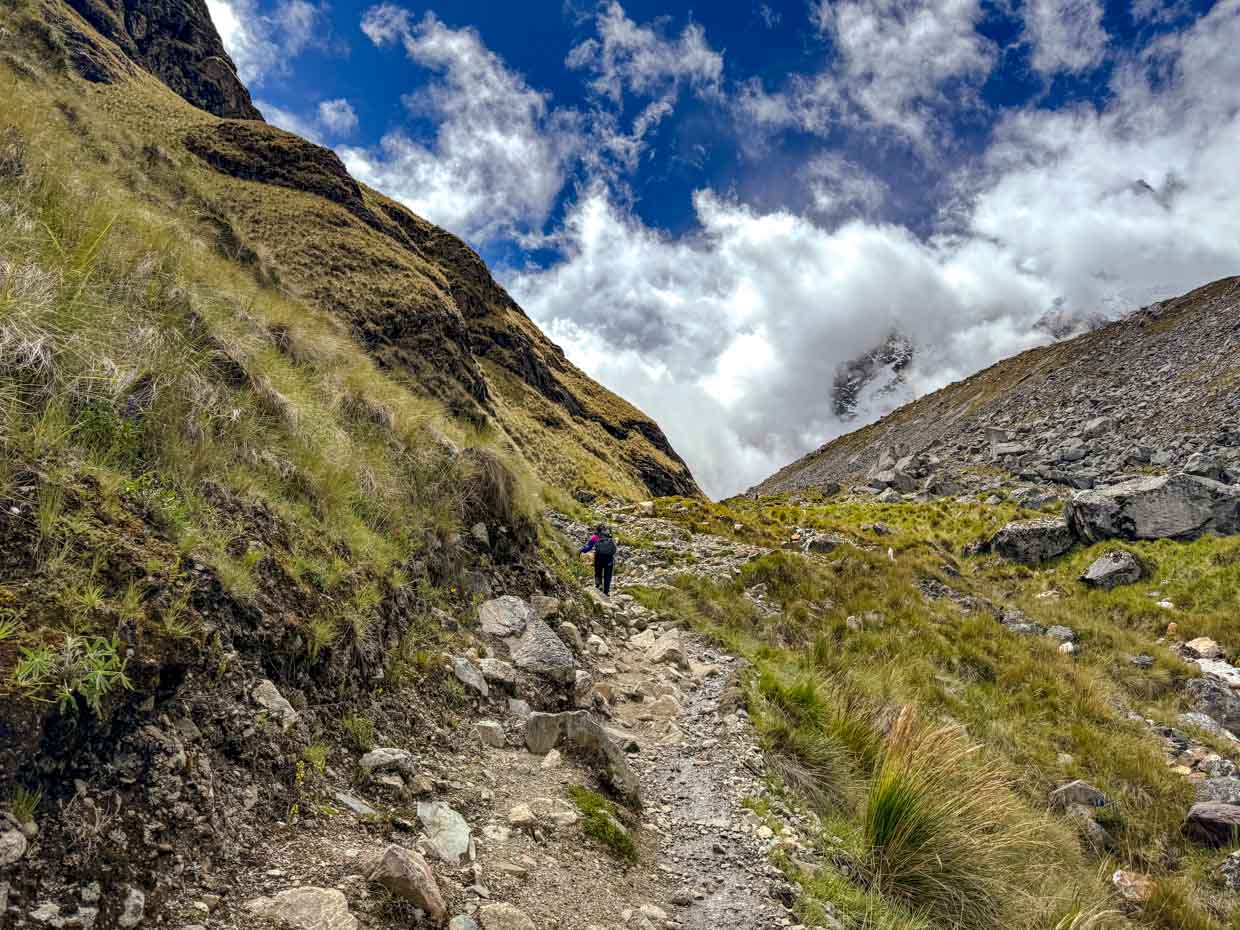
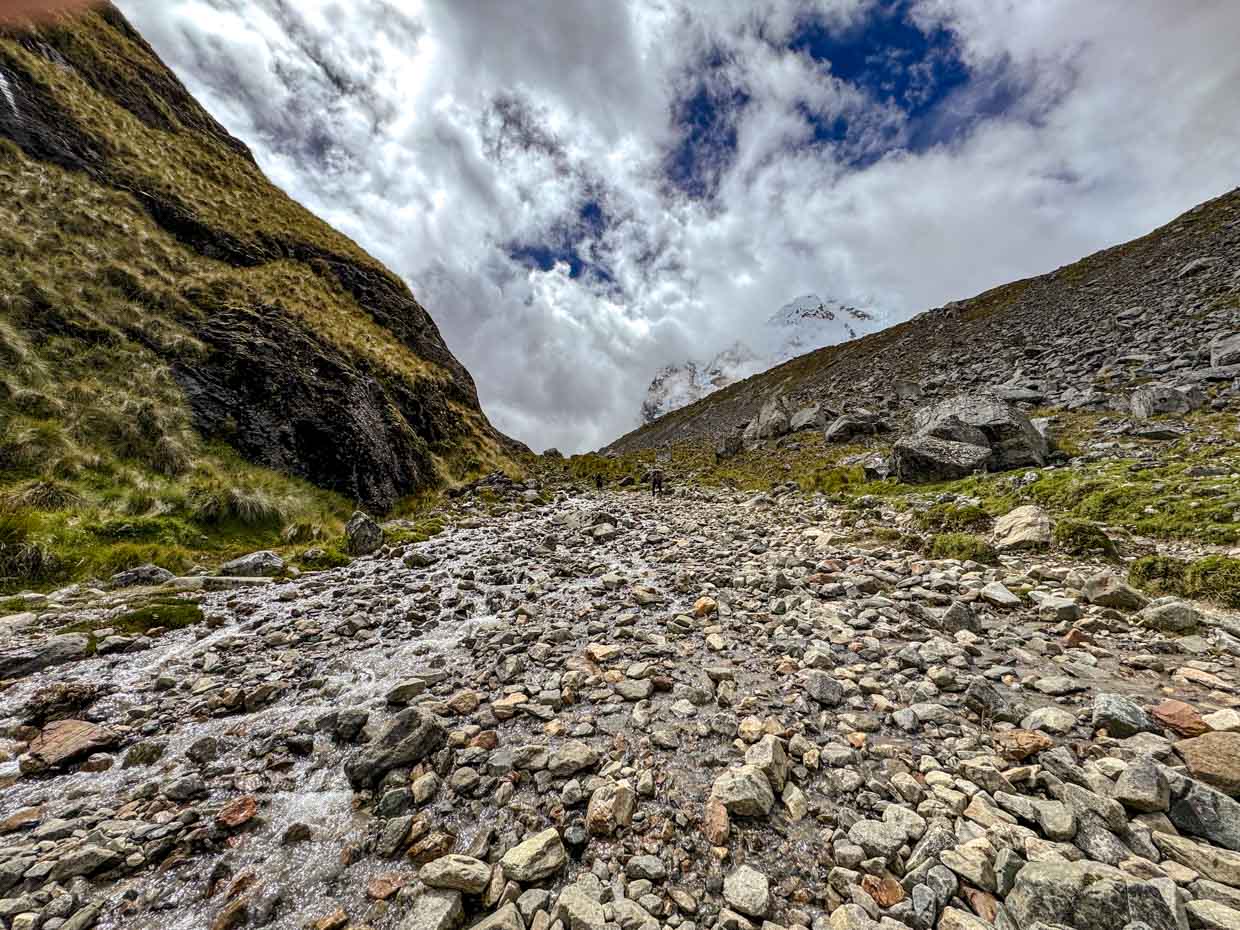
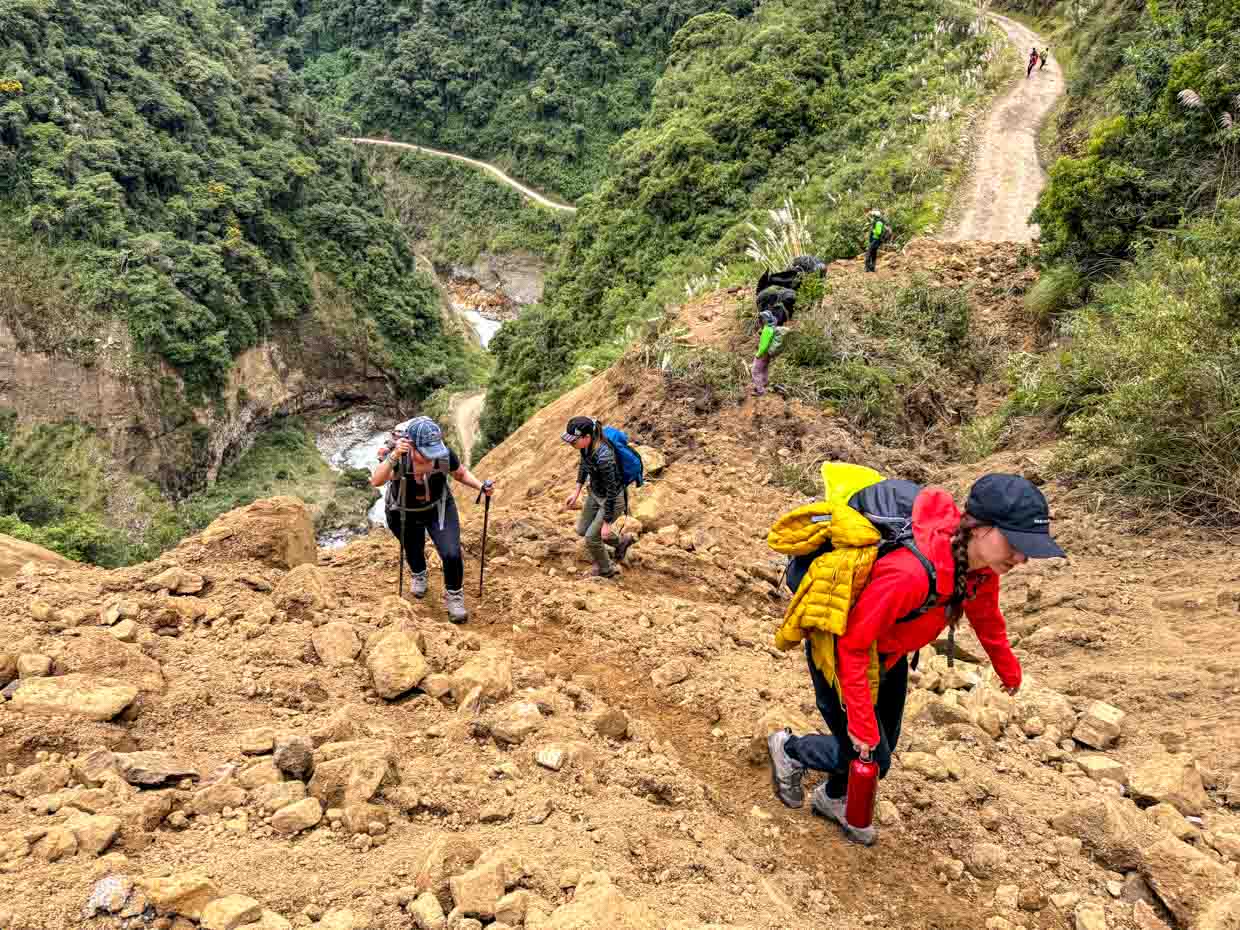
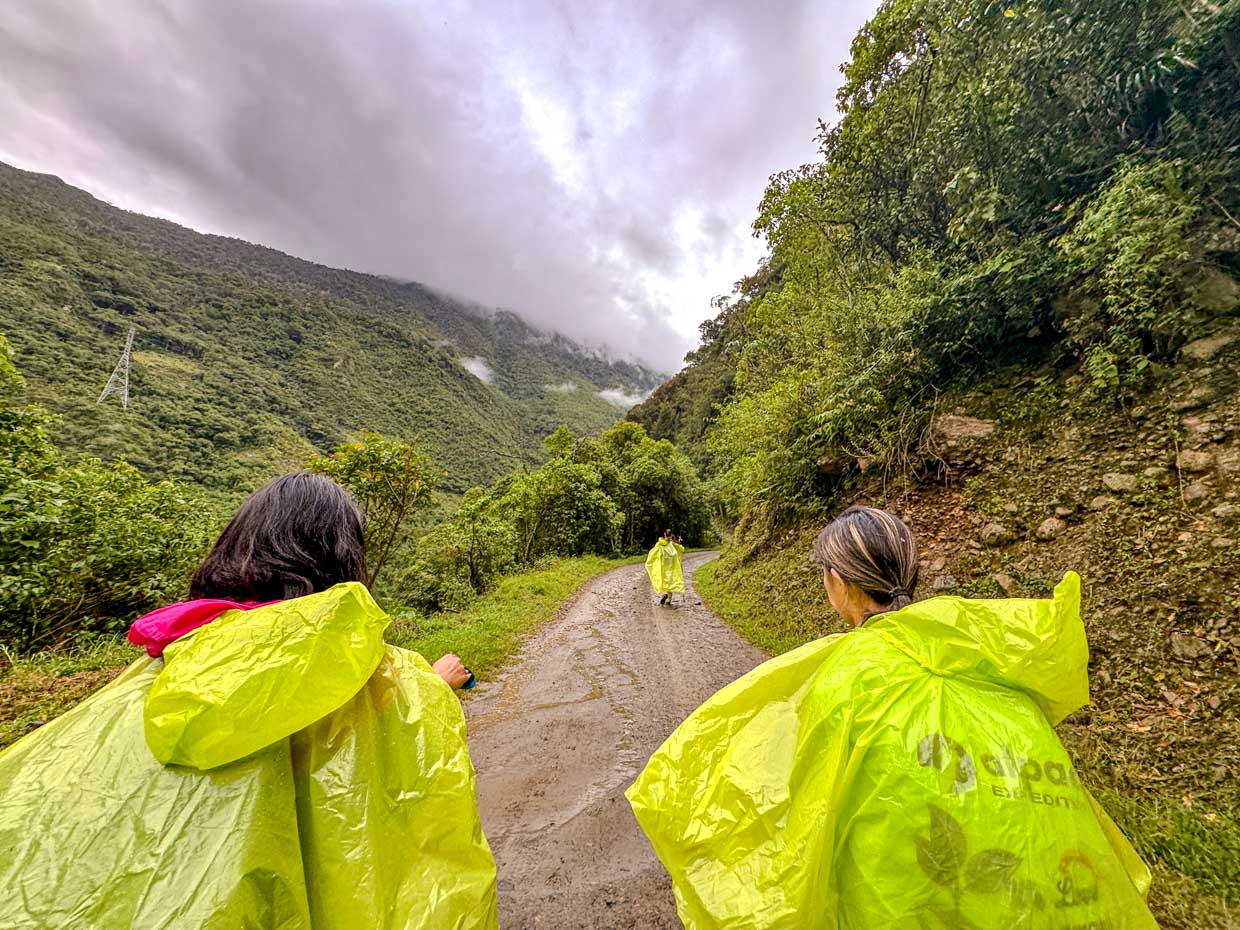
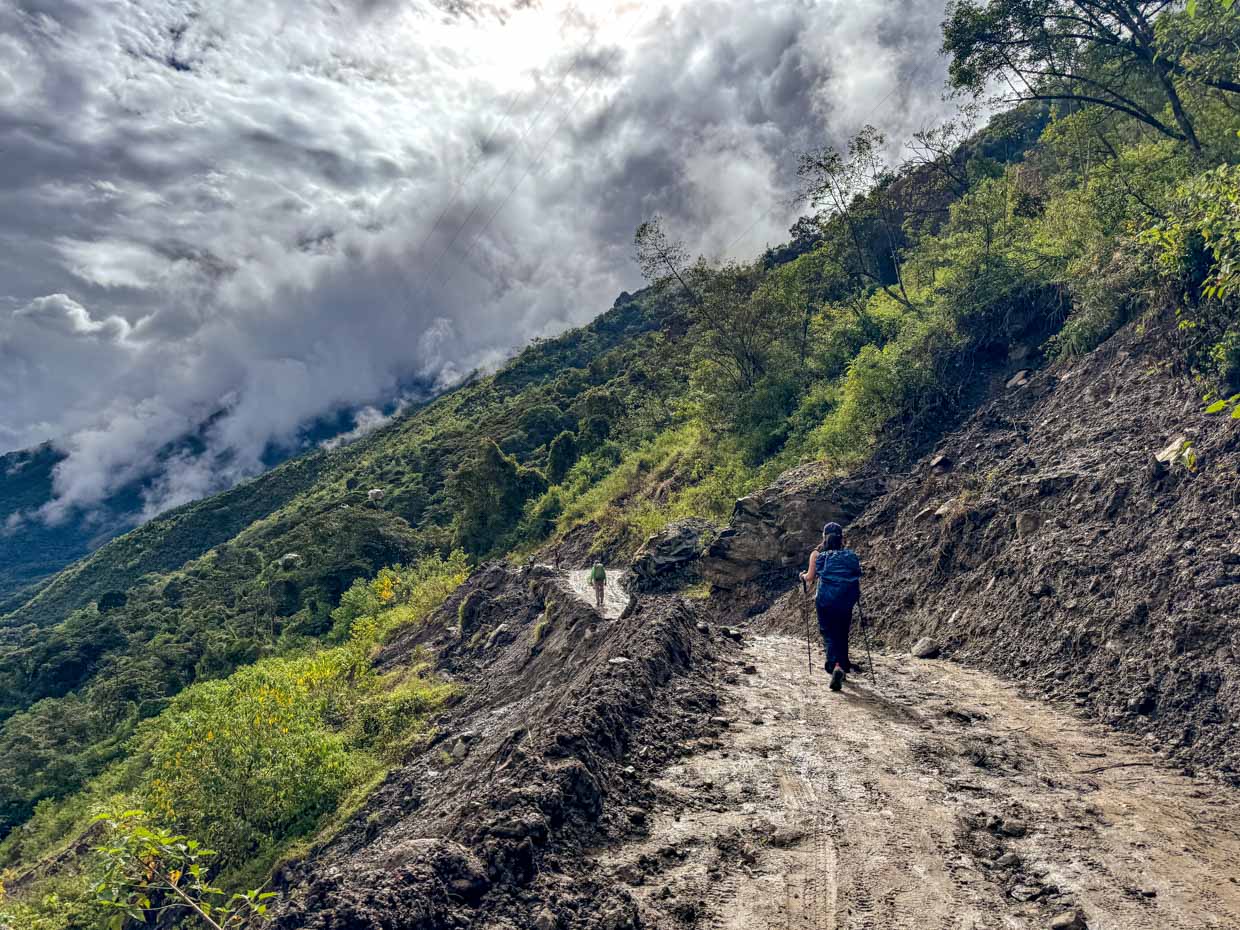
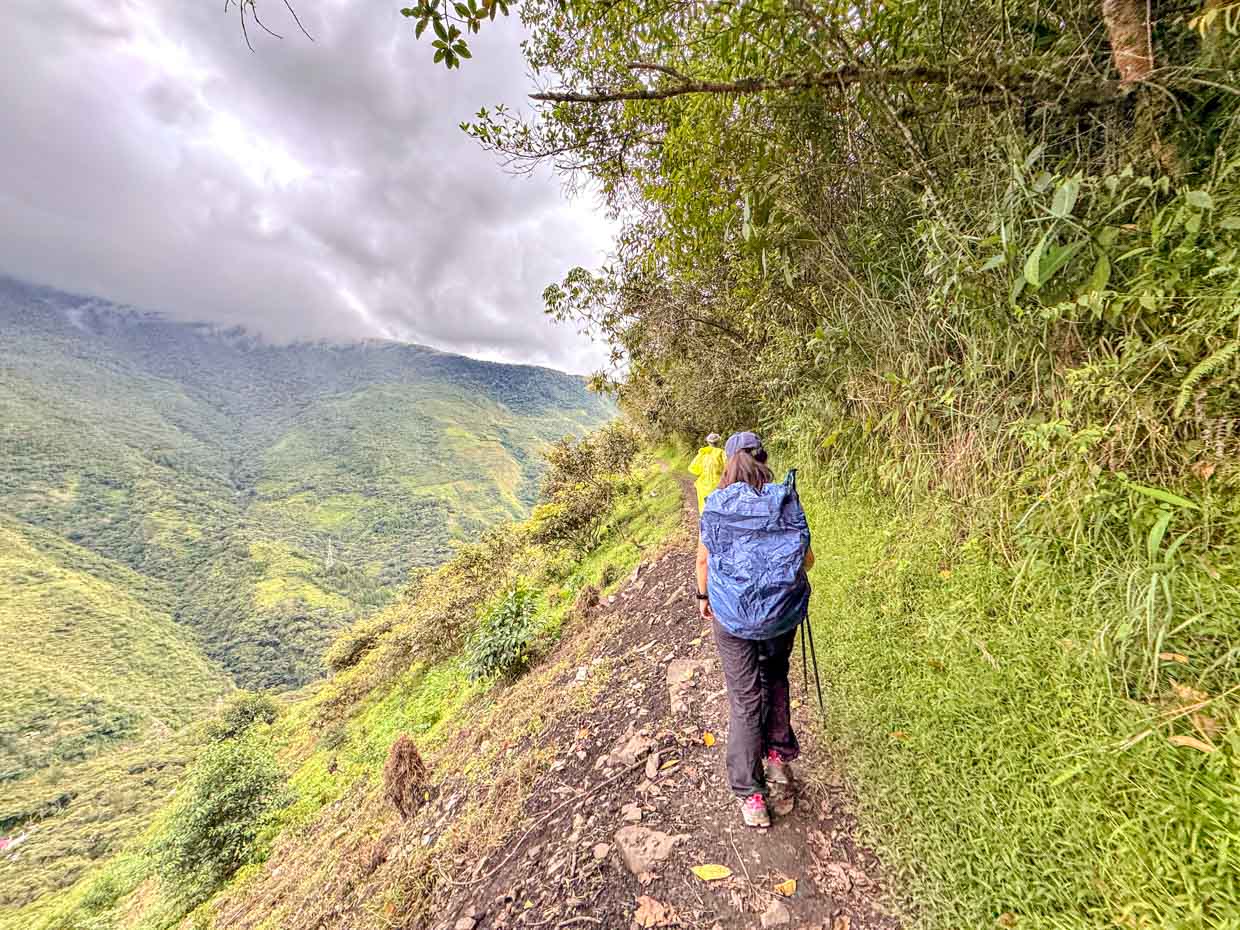
As we started walking up, it sarted to rain and my altitude sickness set in.
I became a lot slower as I needed to stop to breath so I didn’t make it to the top of the pass at 2:50pm, while most people arrived around 20 minutes ago, making it a 2.5 hours hike up.
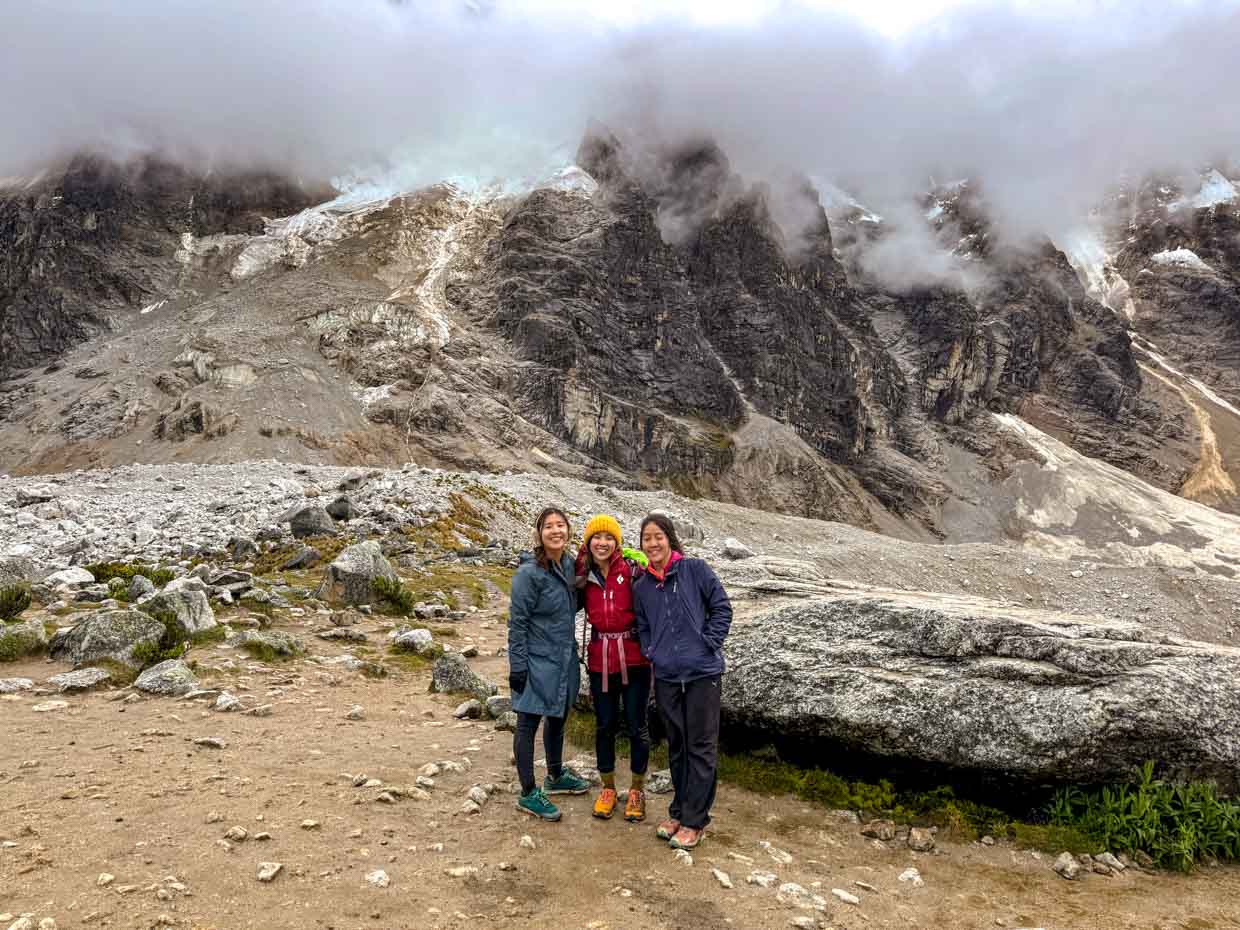
Since it was snowing and raining, we only took a few photos before we started our descent.
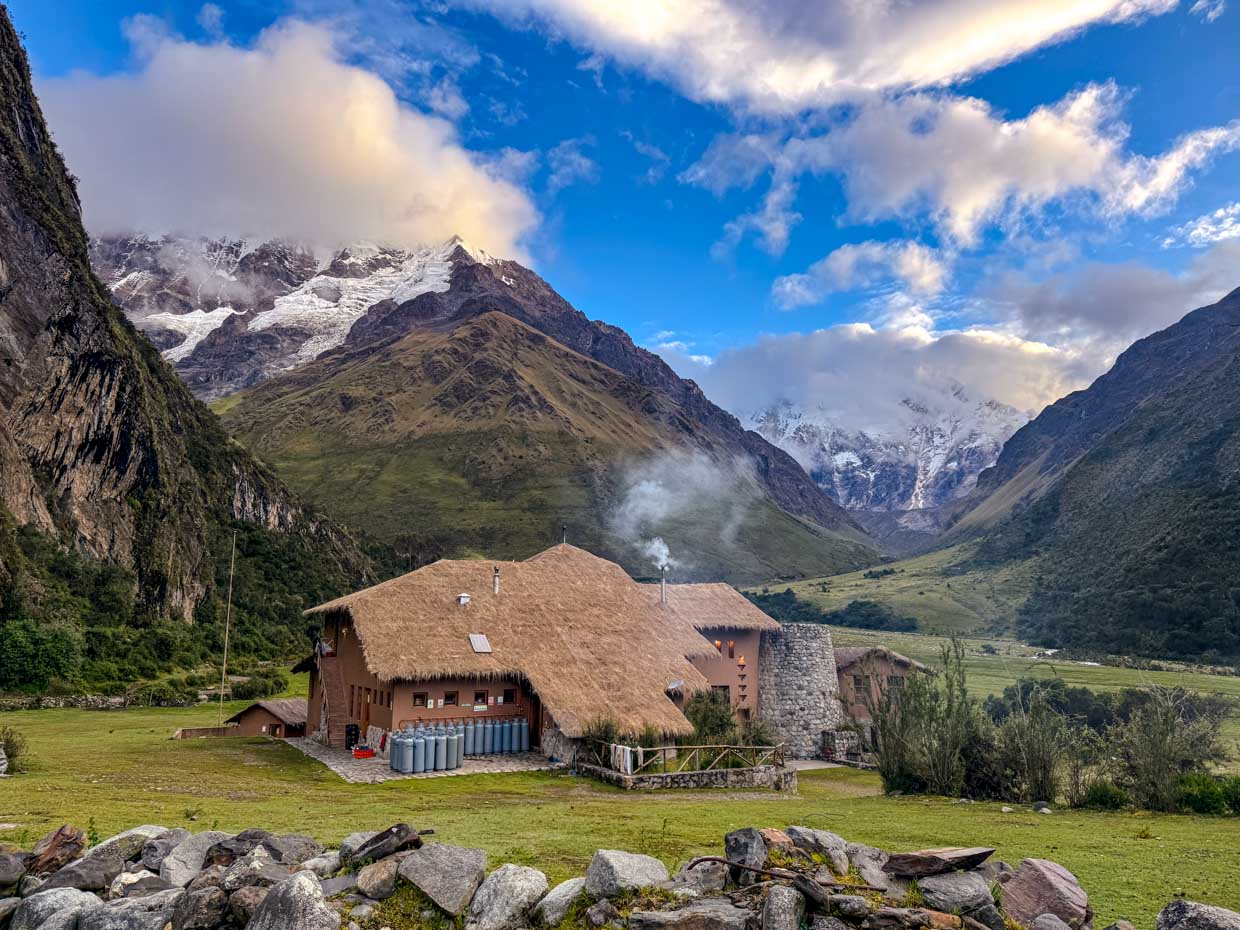
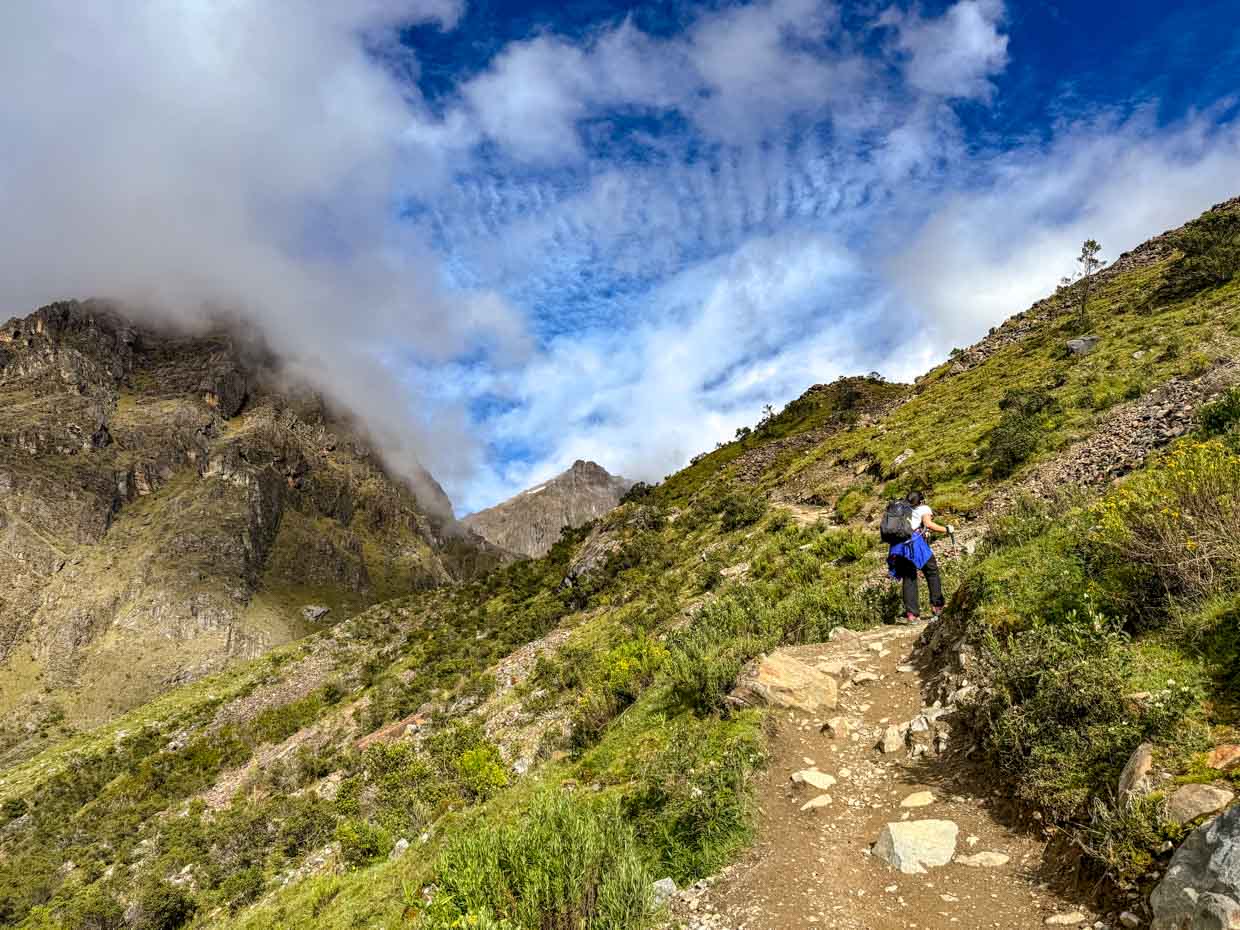
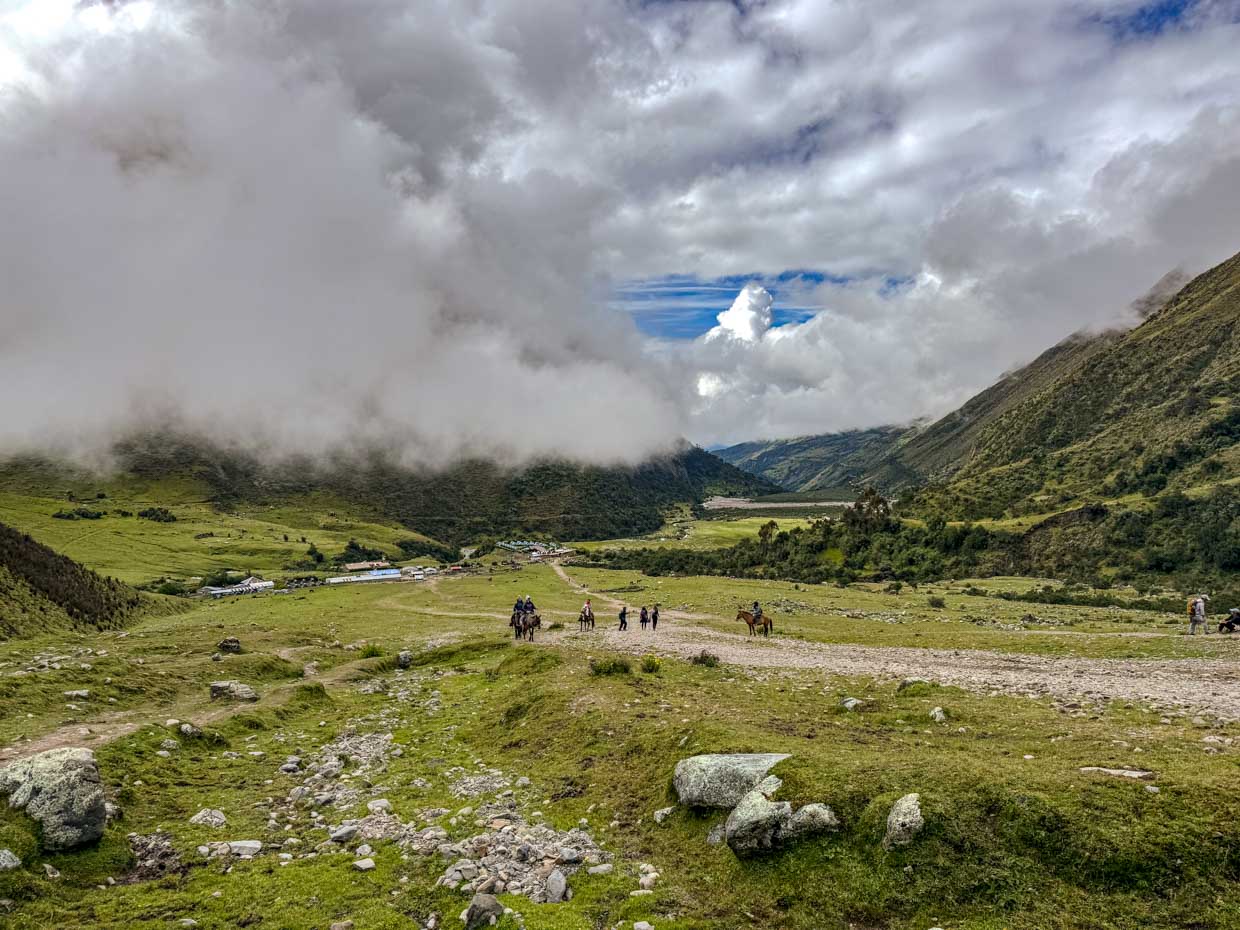
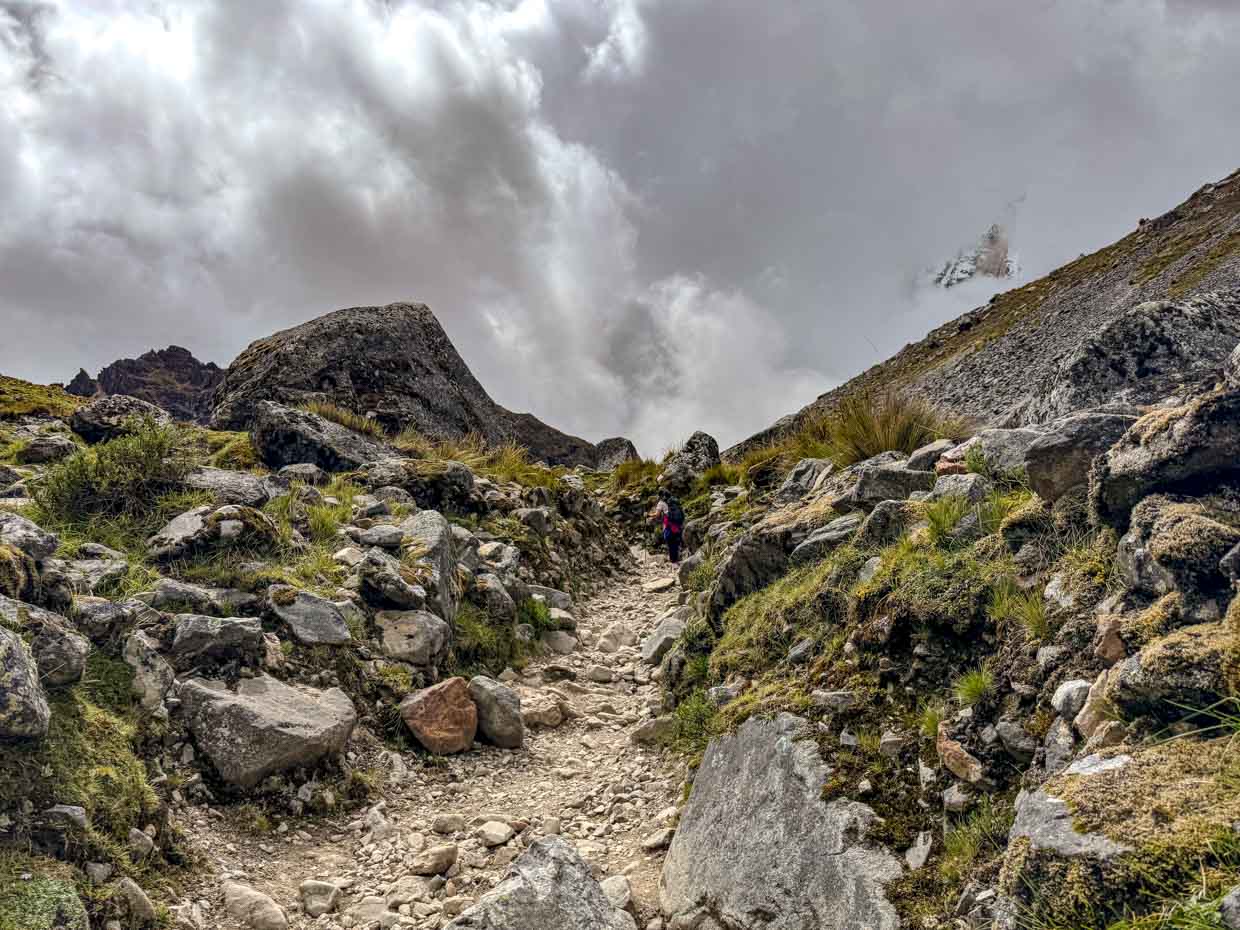
Trek to Wayracmahay Camp site (3800m above sea level)
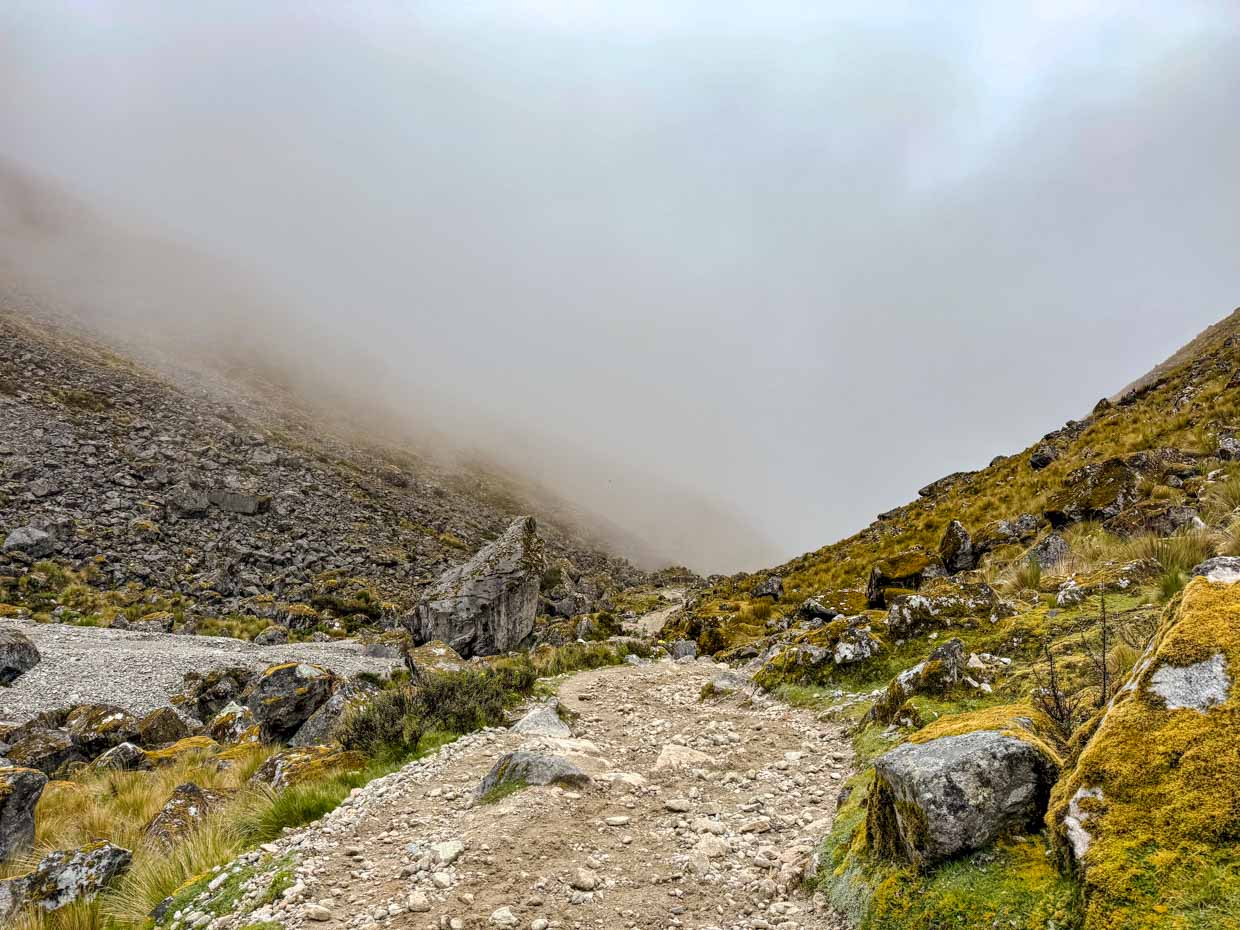
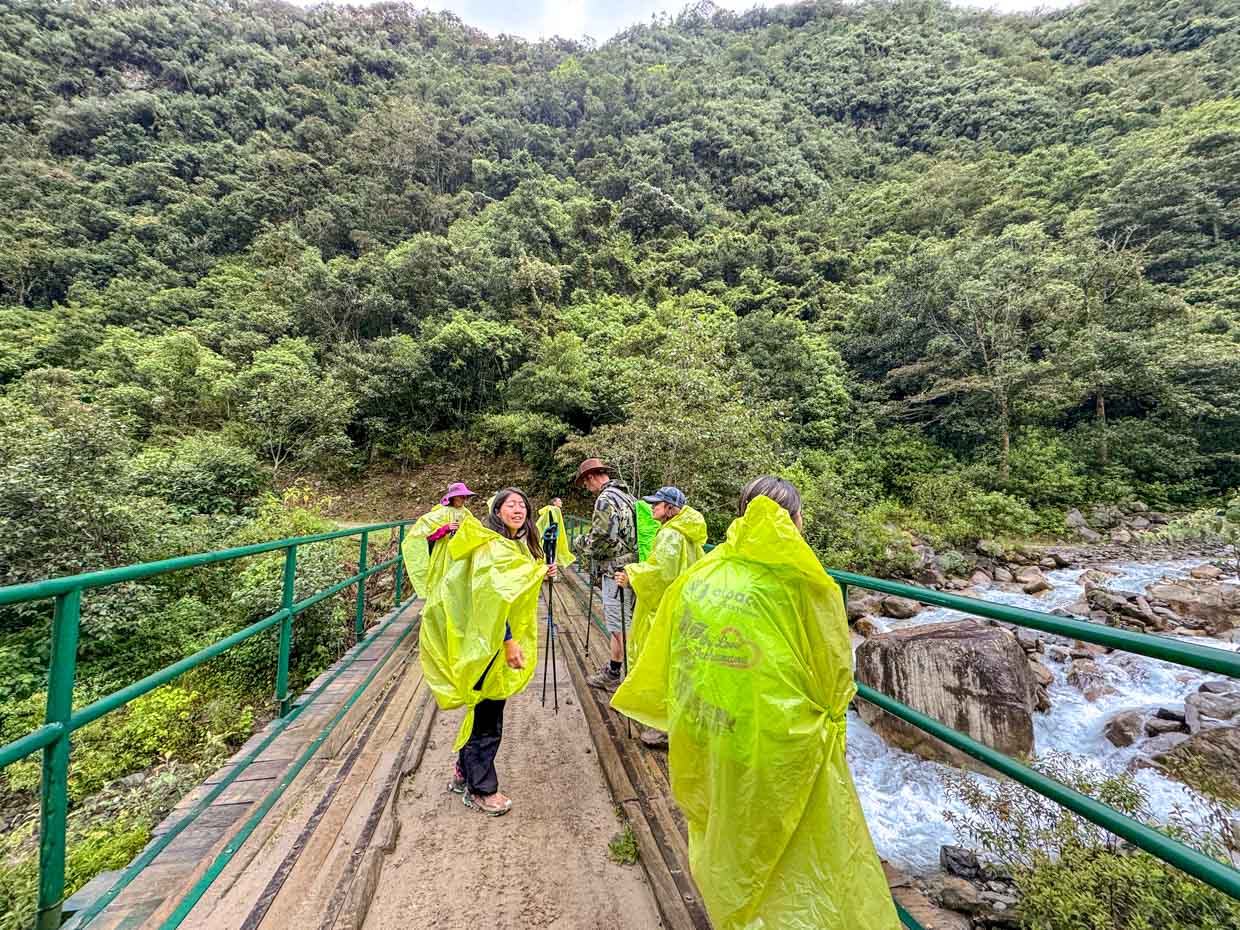
It was a 2.5-3 hours downhill which we hiked completely in the rain. It was easier to go down than up when you have altitude sickness, but it was still a tough trip.
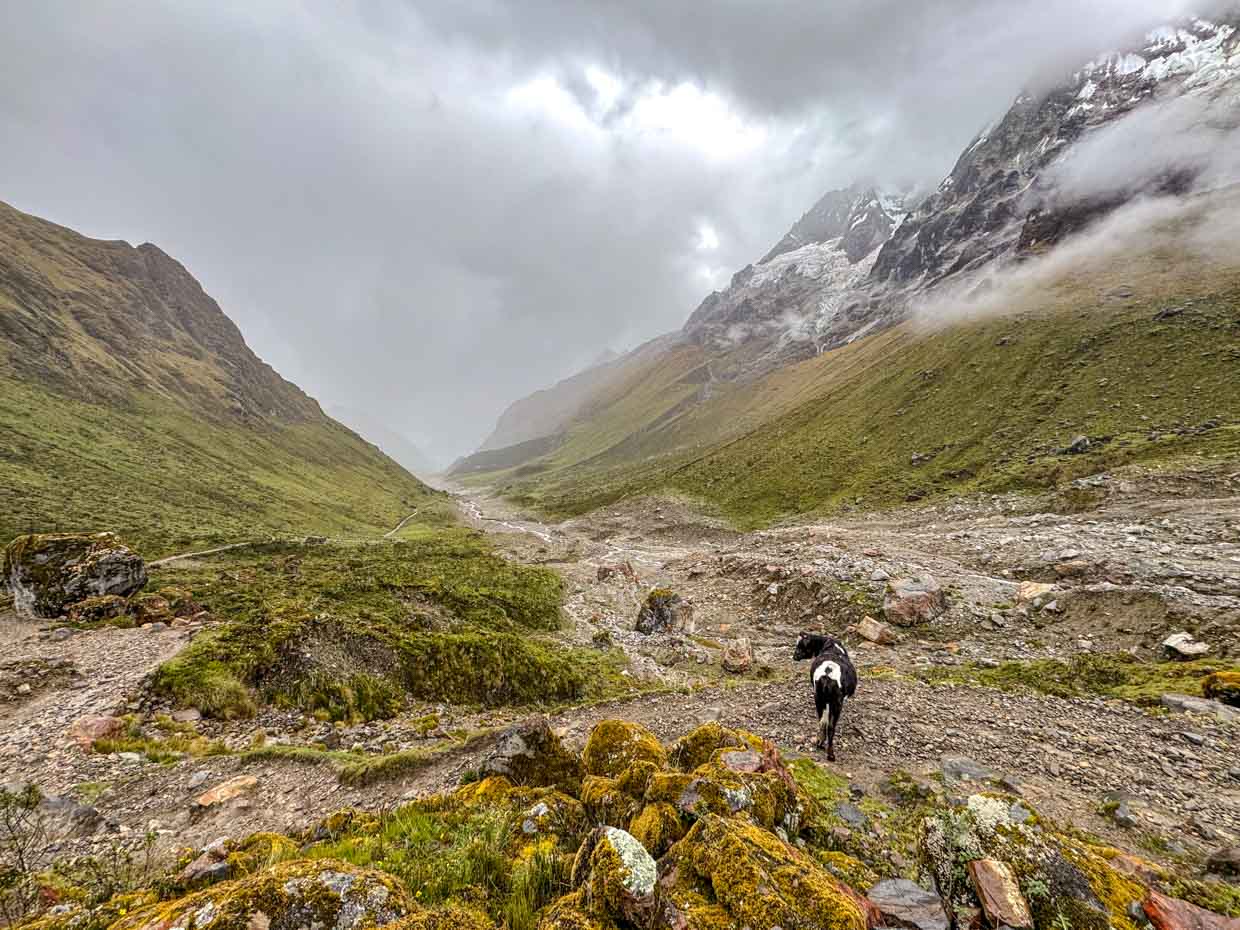
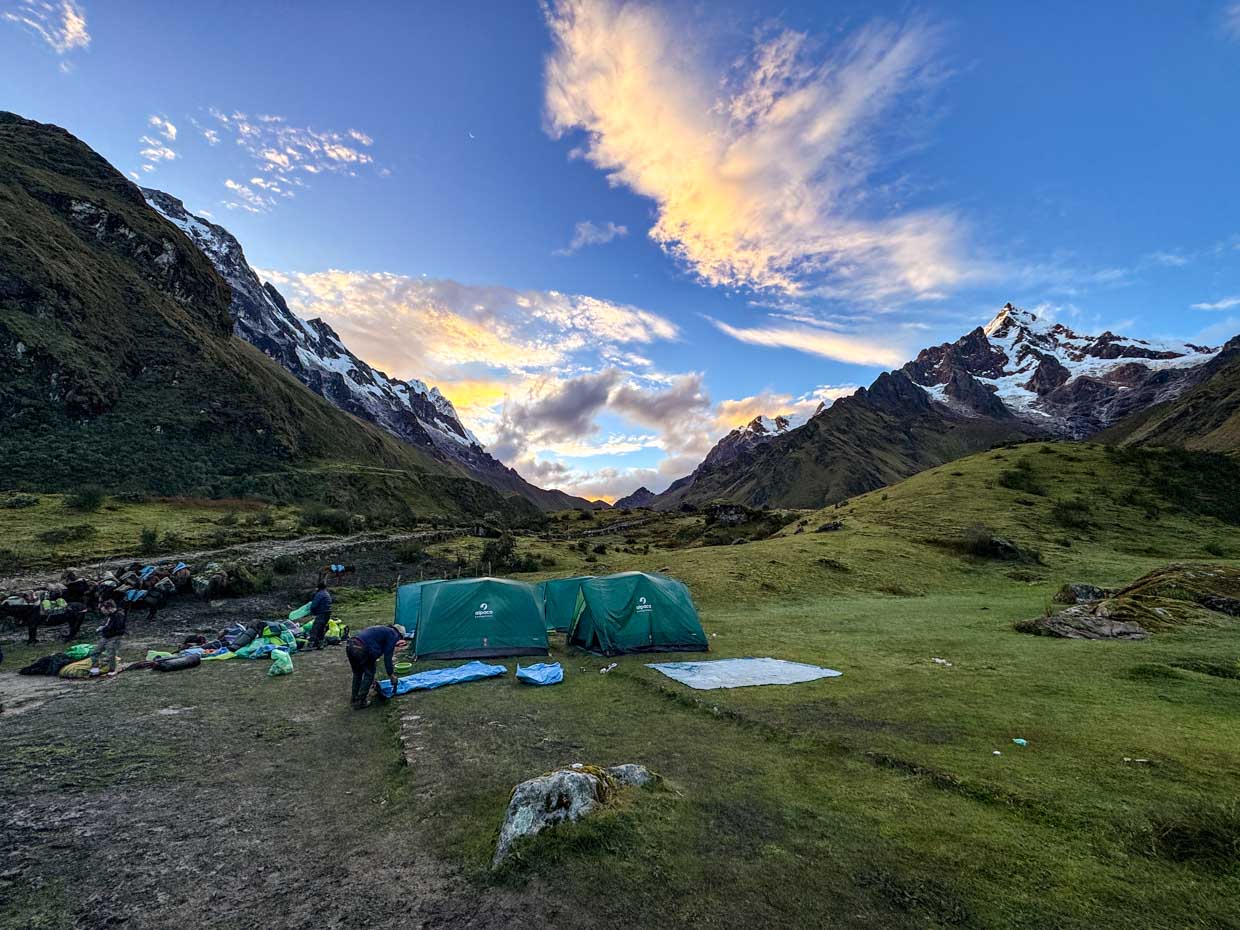
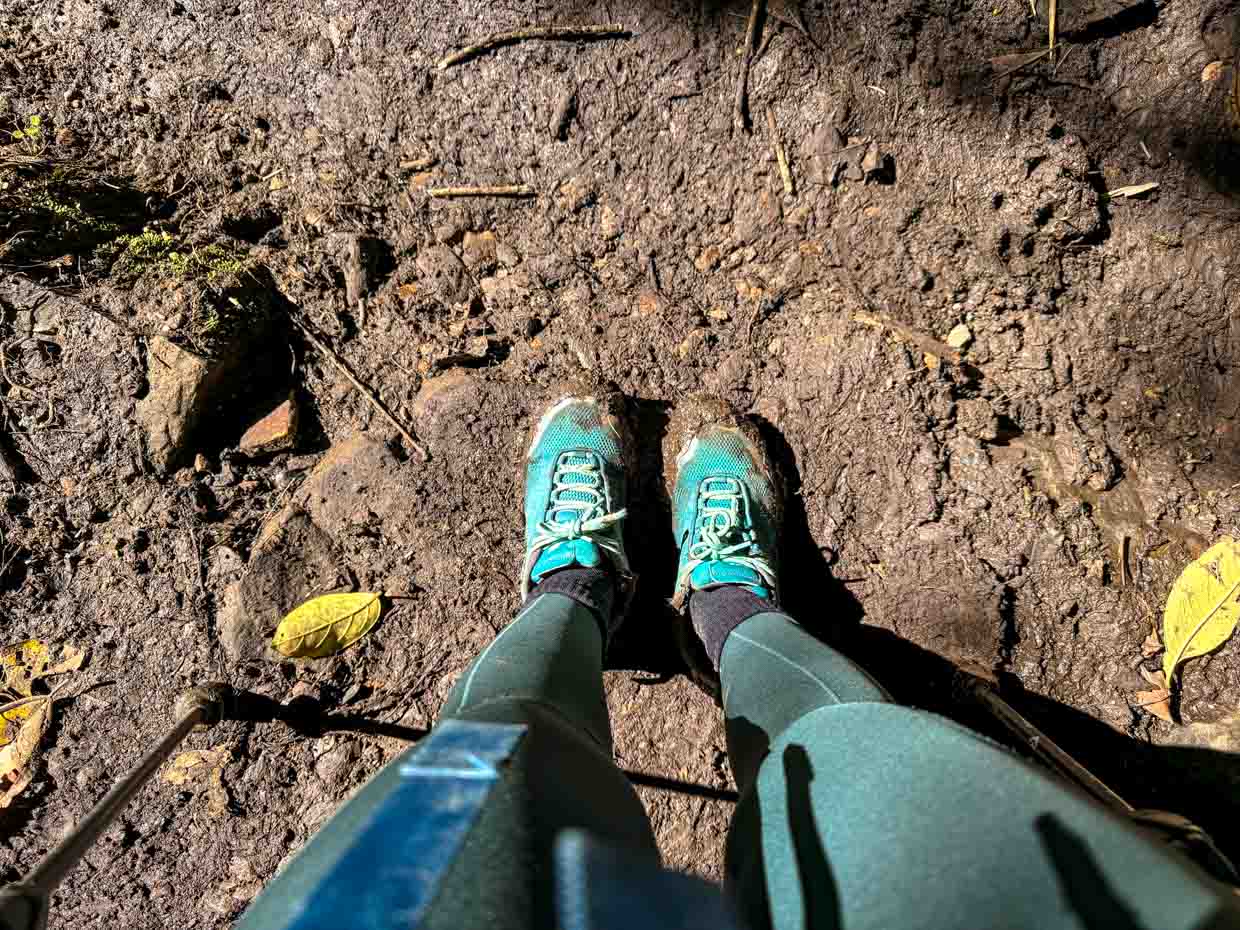
We arrived at around 5:12pm in pouring rain. Campsite is completely not good for rain and our shoes got extra muddy. Everyone’s shoes was wet except a few who had proper waterproof hiking boots.

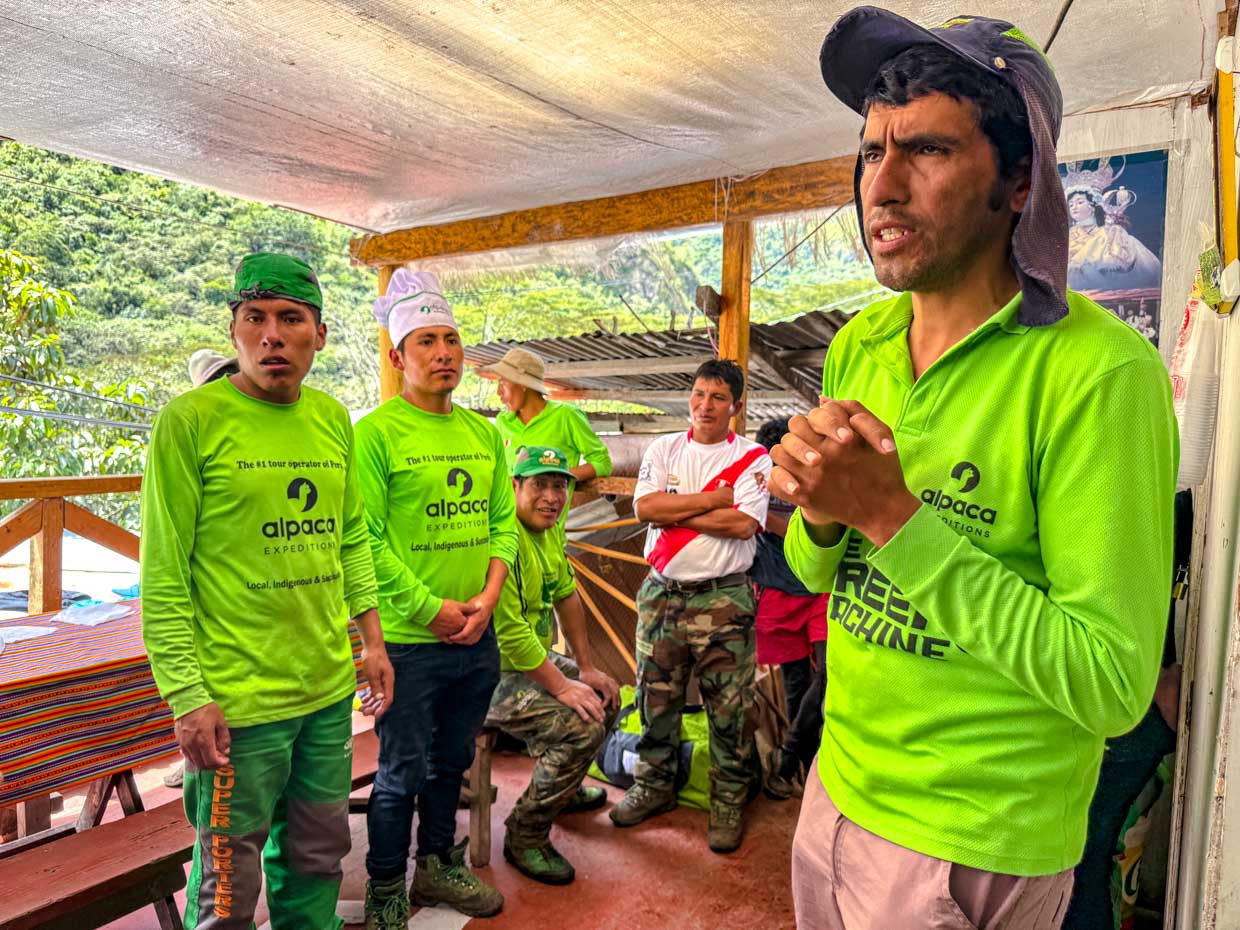
It was especially hard having to get to dinner back in wet shoes! So we skipped the happy hour at 5:35pm and went straight to dinner at 6:30pm. The team was introduced to us that night and gave us hot water bottle as this was the highest campsite and coldest night.

Since we cannot shower, we went to bed quite early by 8:30pm.
Hiking distance: 22km
Elevation gain: 850m
Elevation descended 850m
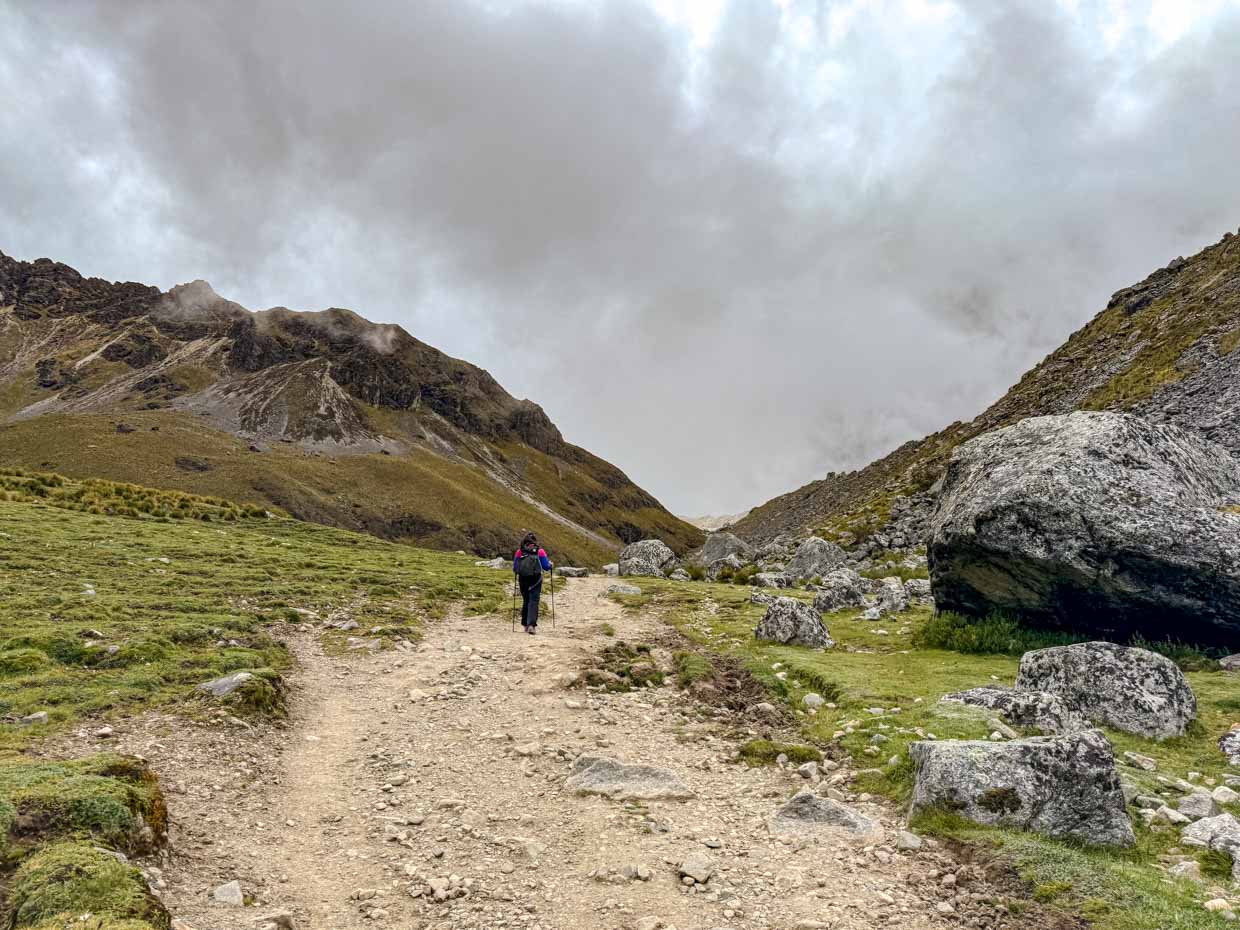
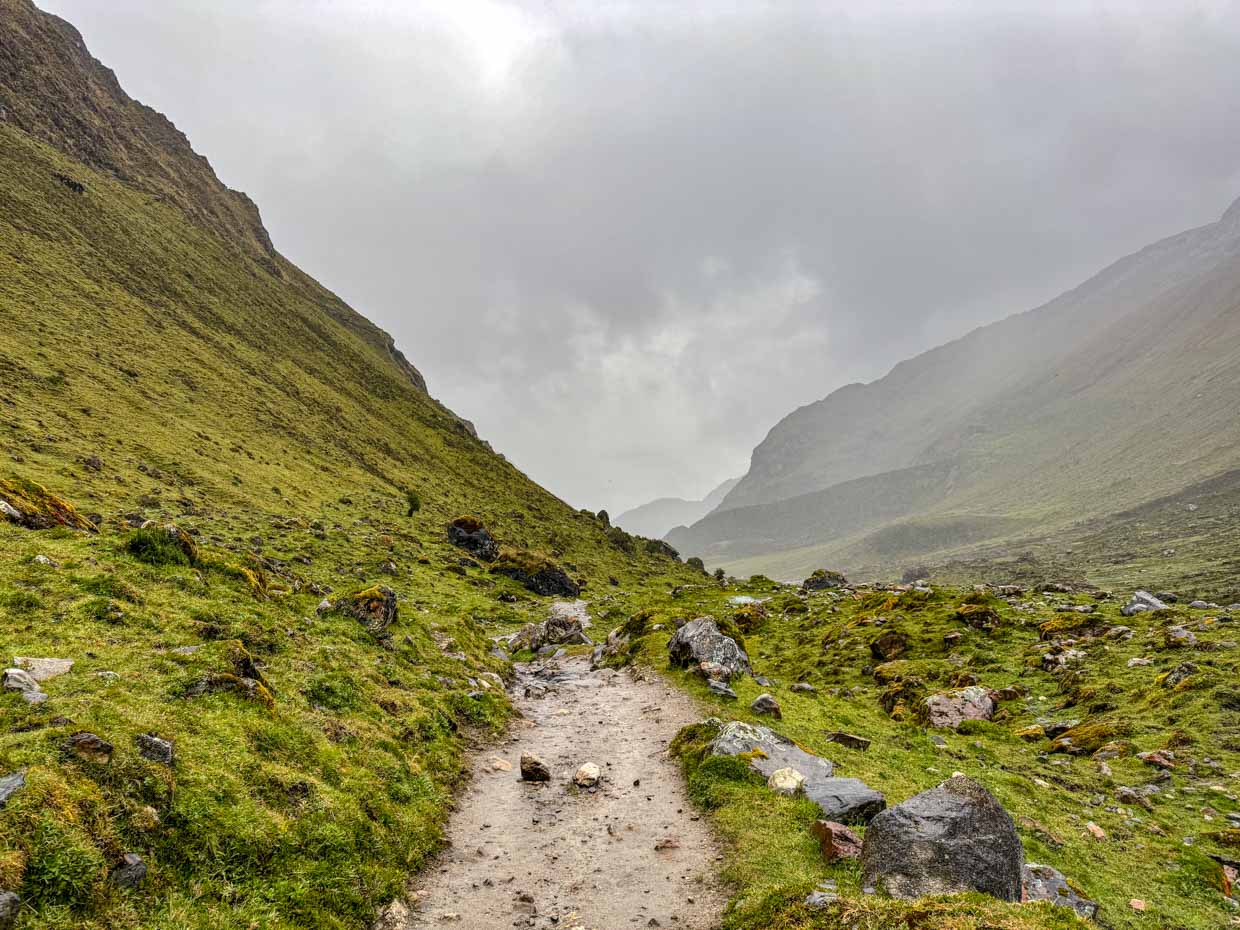
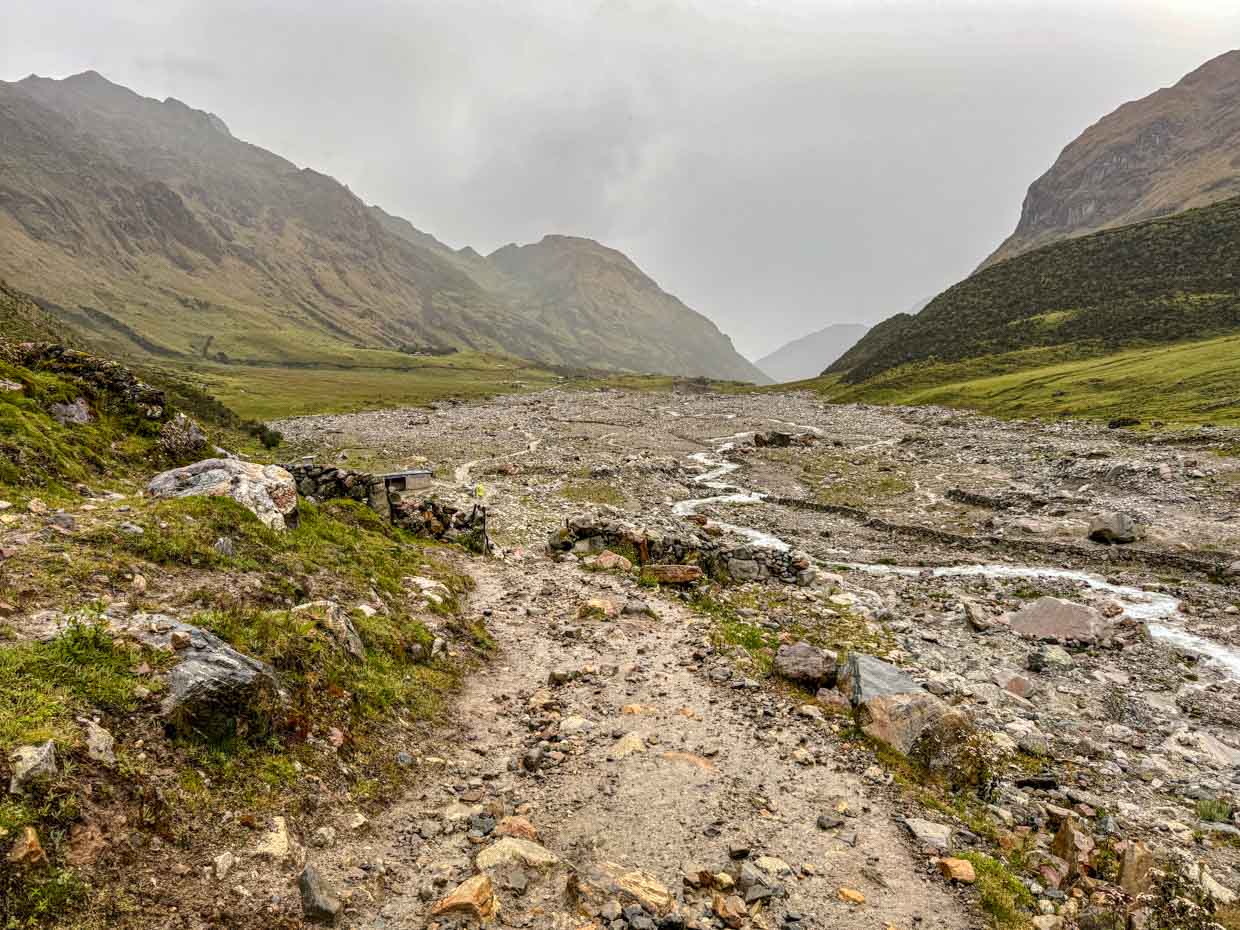
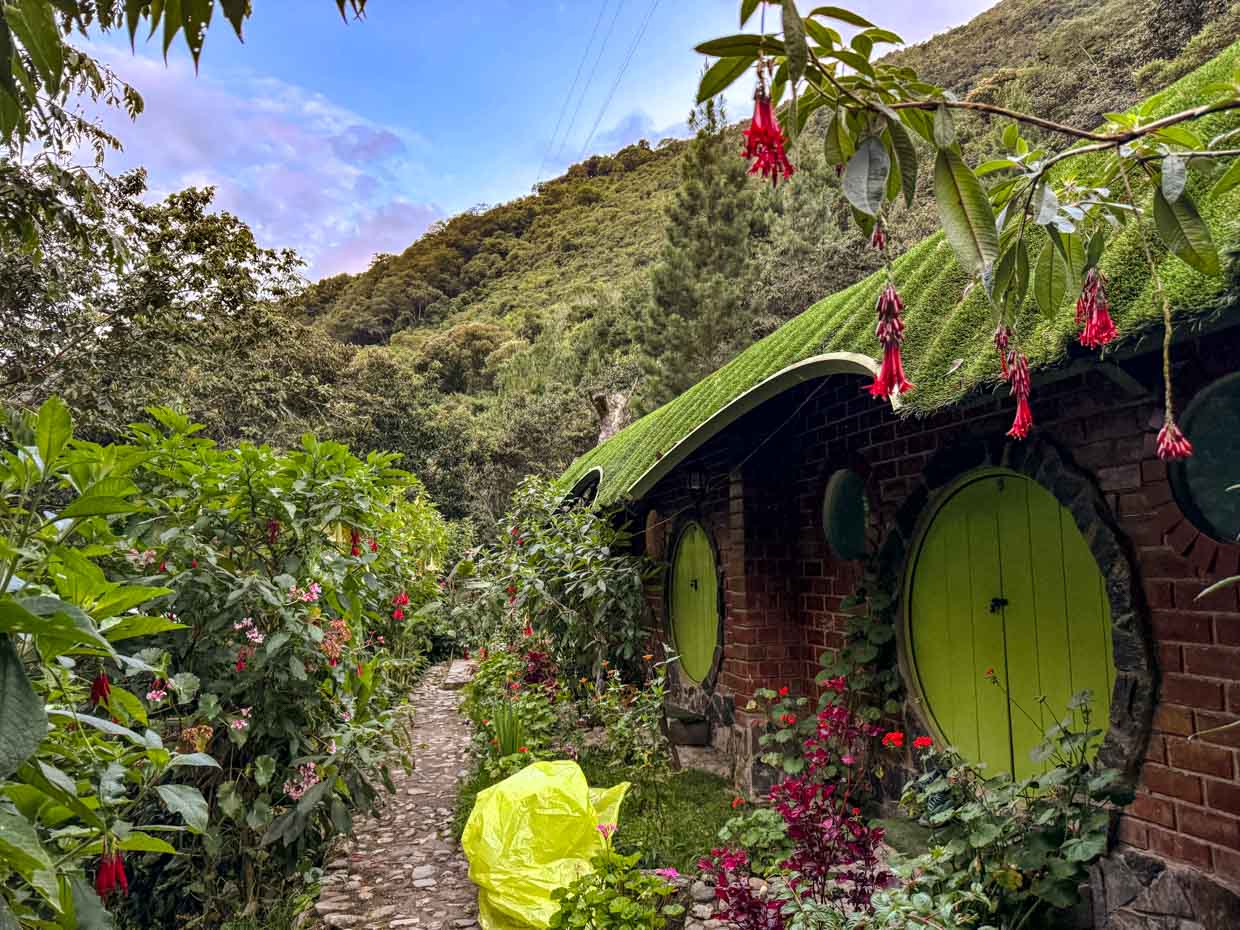
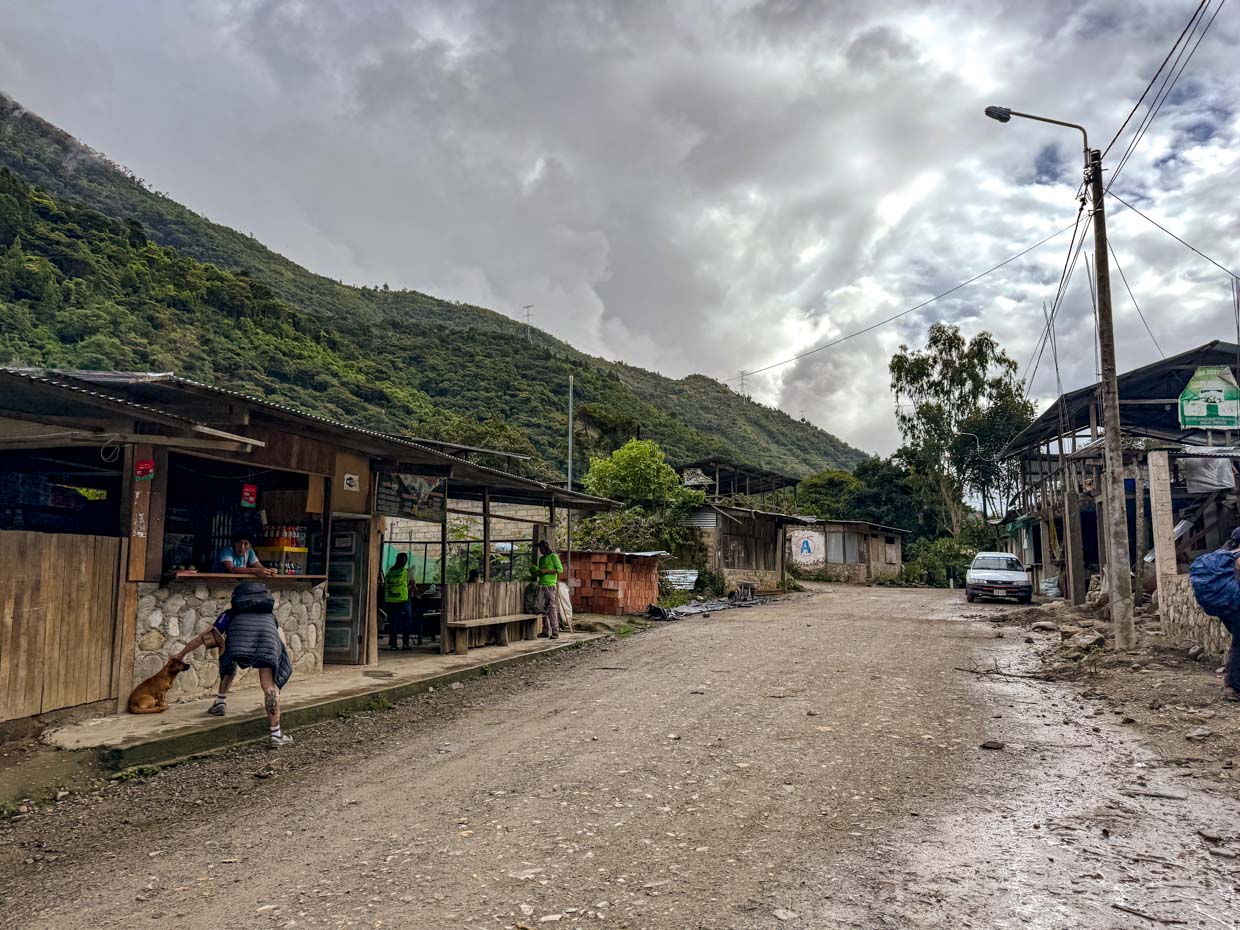
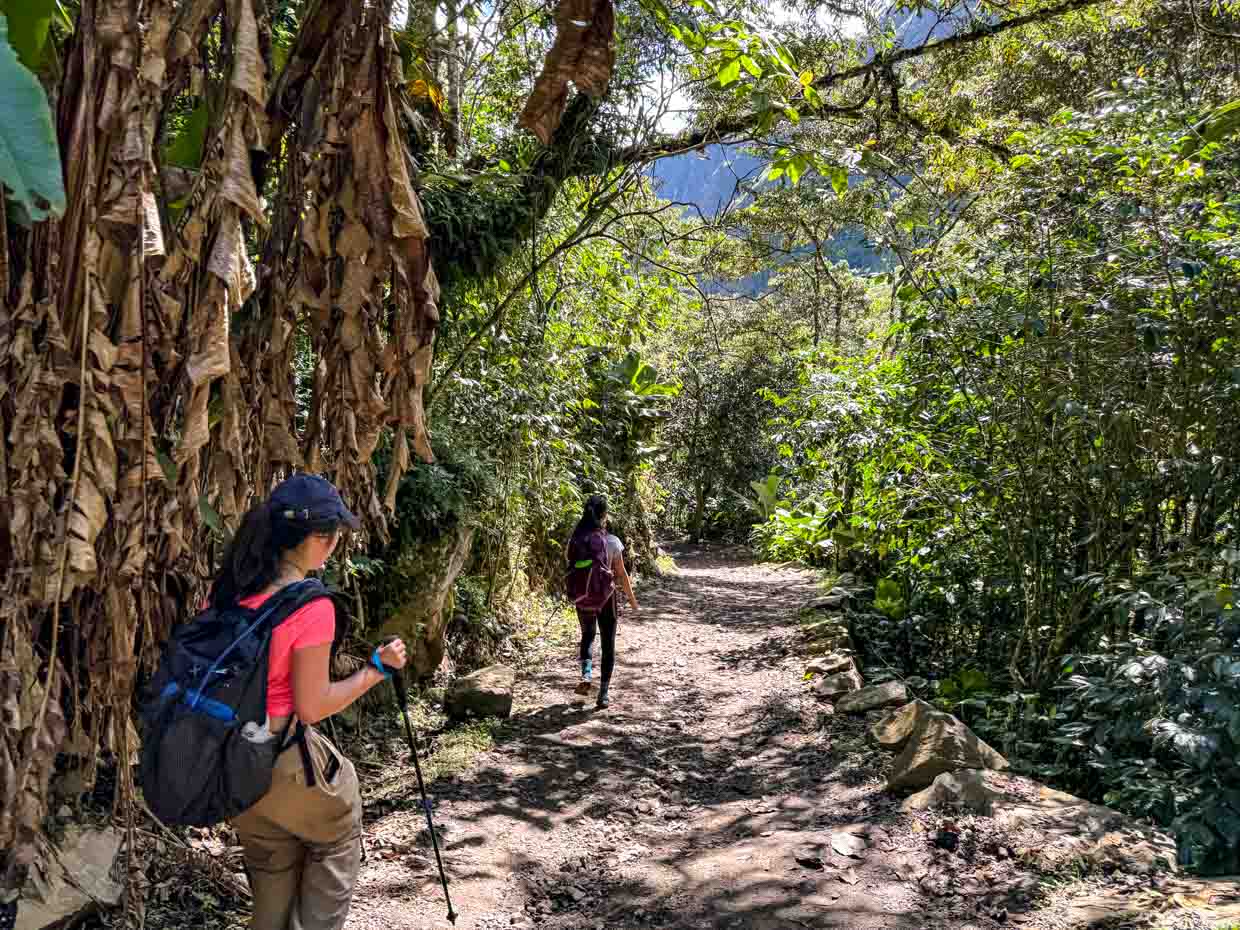
Day 2: Wayracmachay – Chawllay – Ccollpapampa Loreta (Hobbit House)
We woke up at 4:45 and left at 6:33am. The weather cleared up and it was a beautiful view back towards Salkantay.
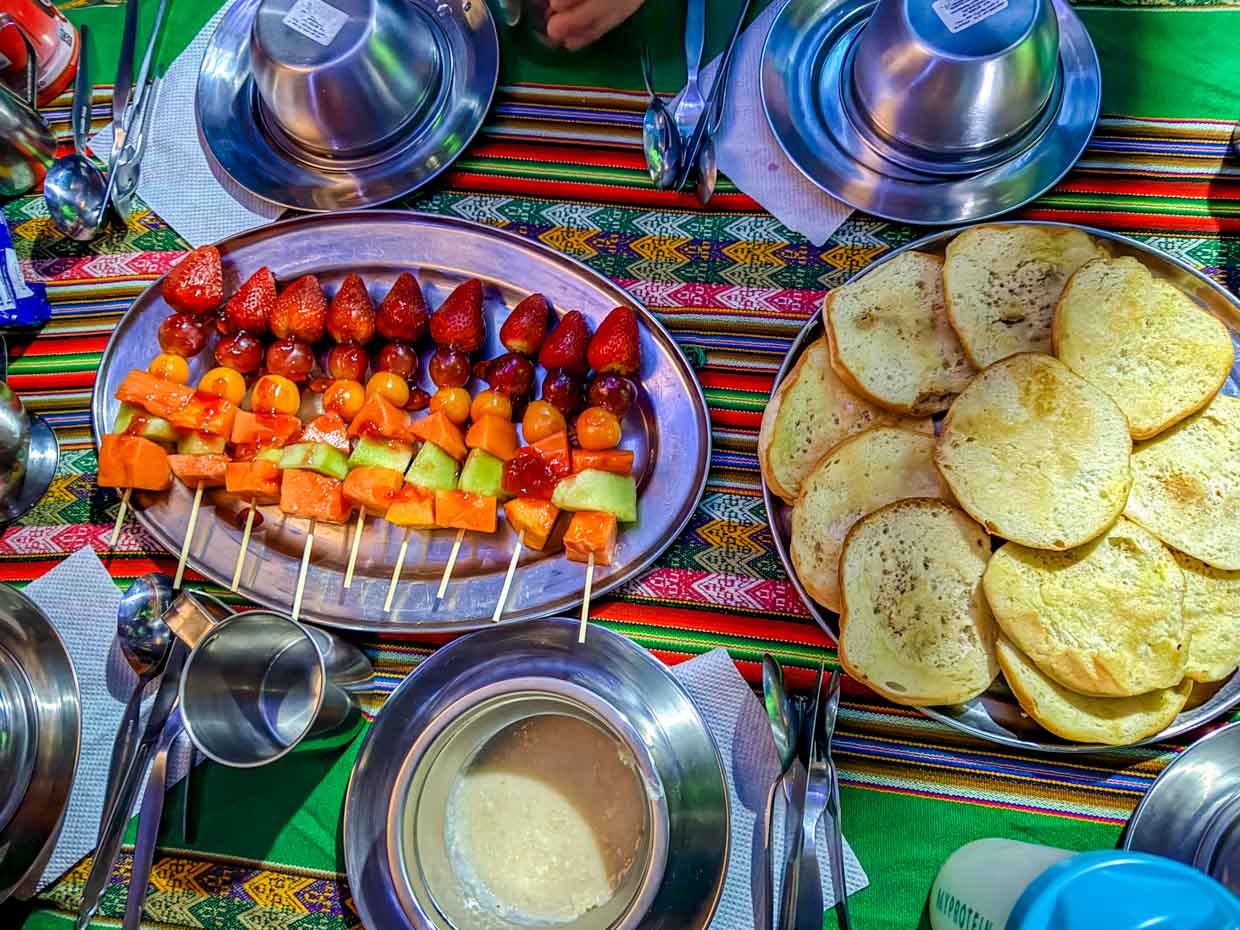
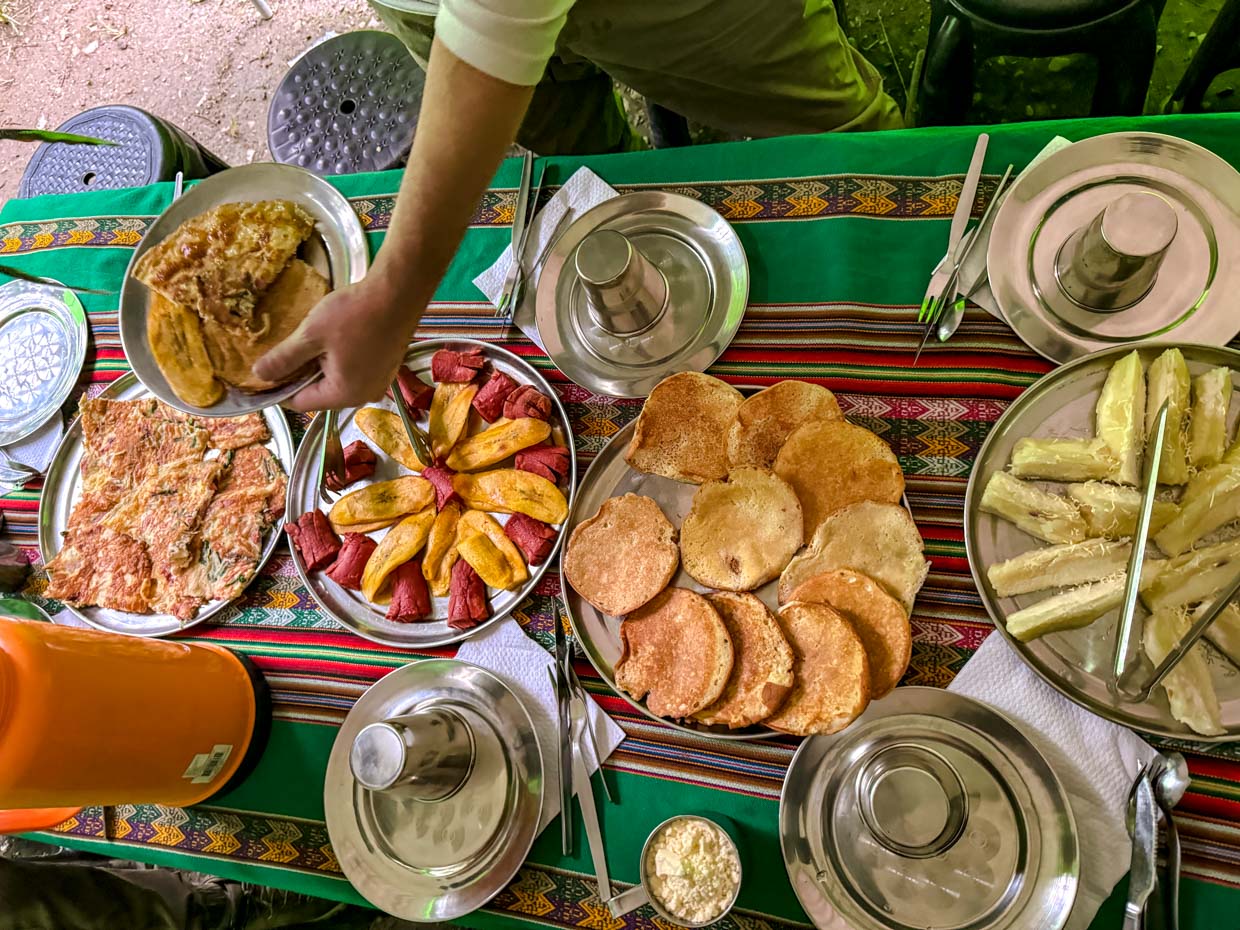
Breakfast was buttered bread, fruit skewers, oatmeal, and banana pancake.
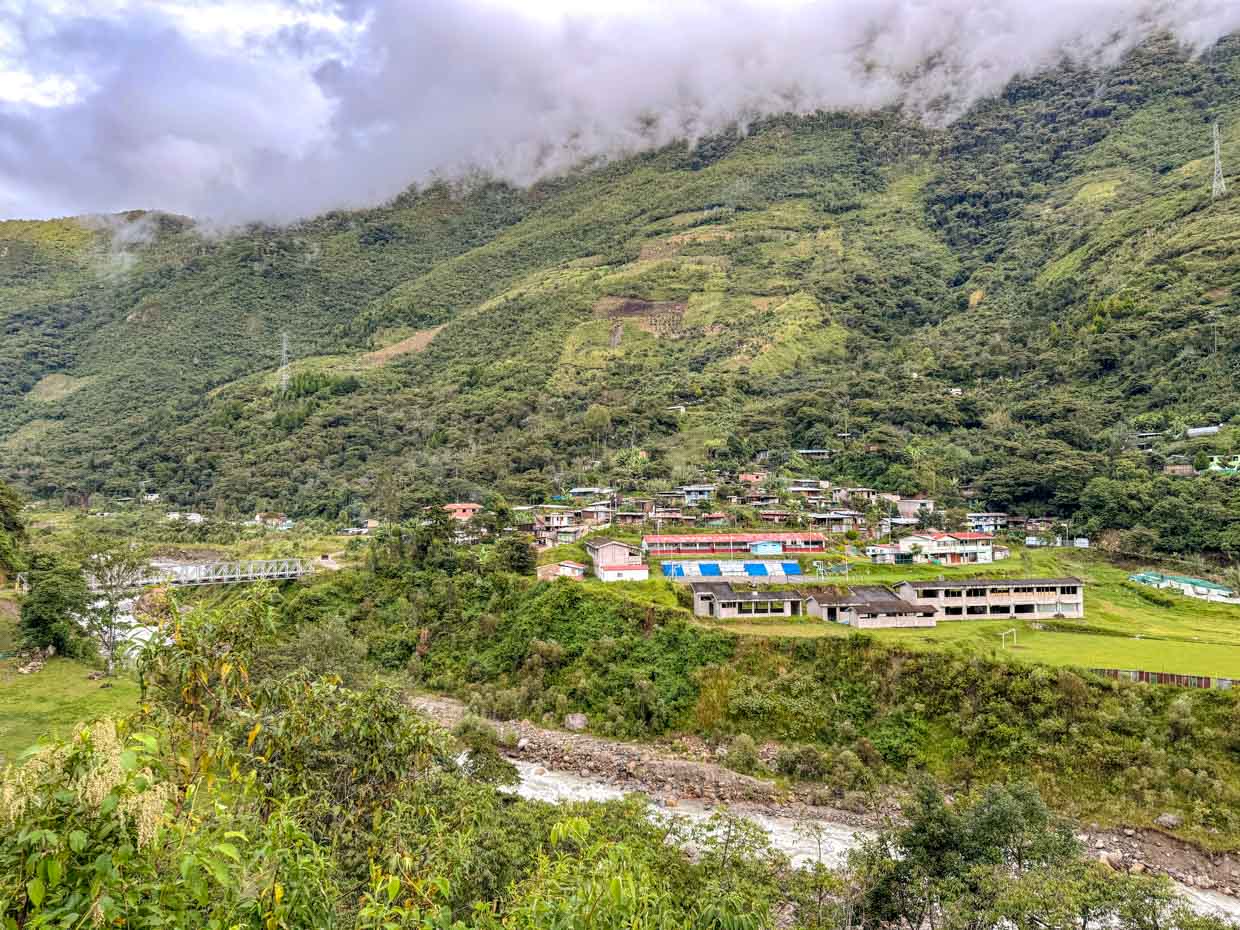
Ccollpapampa (2,770m)
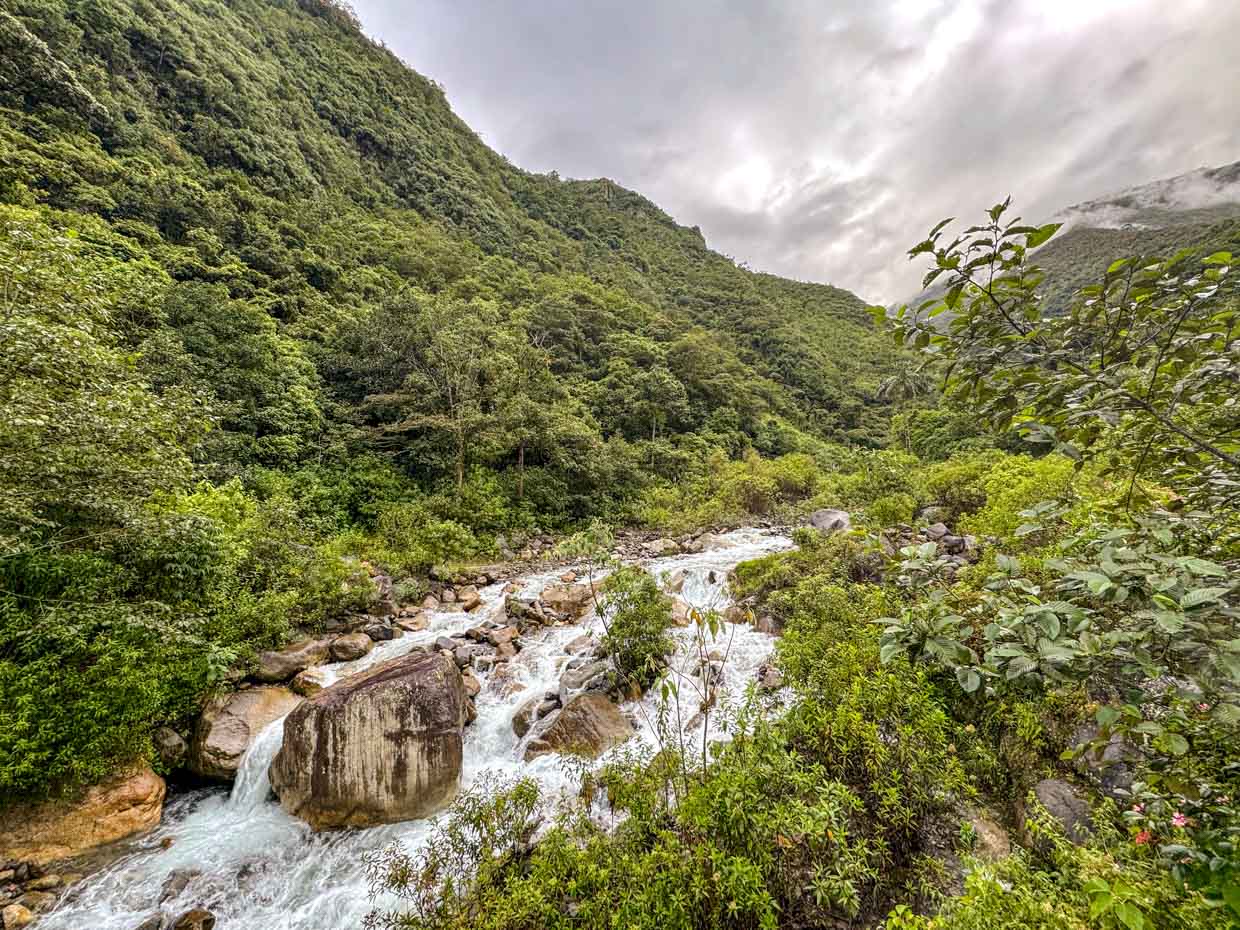
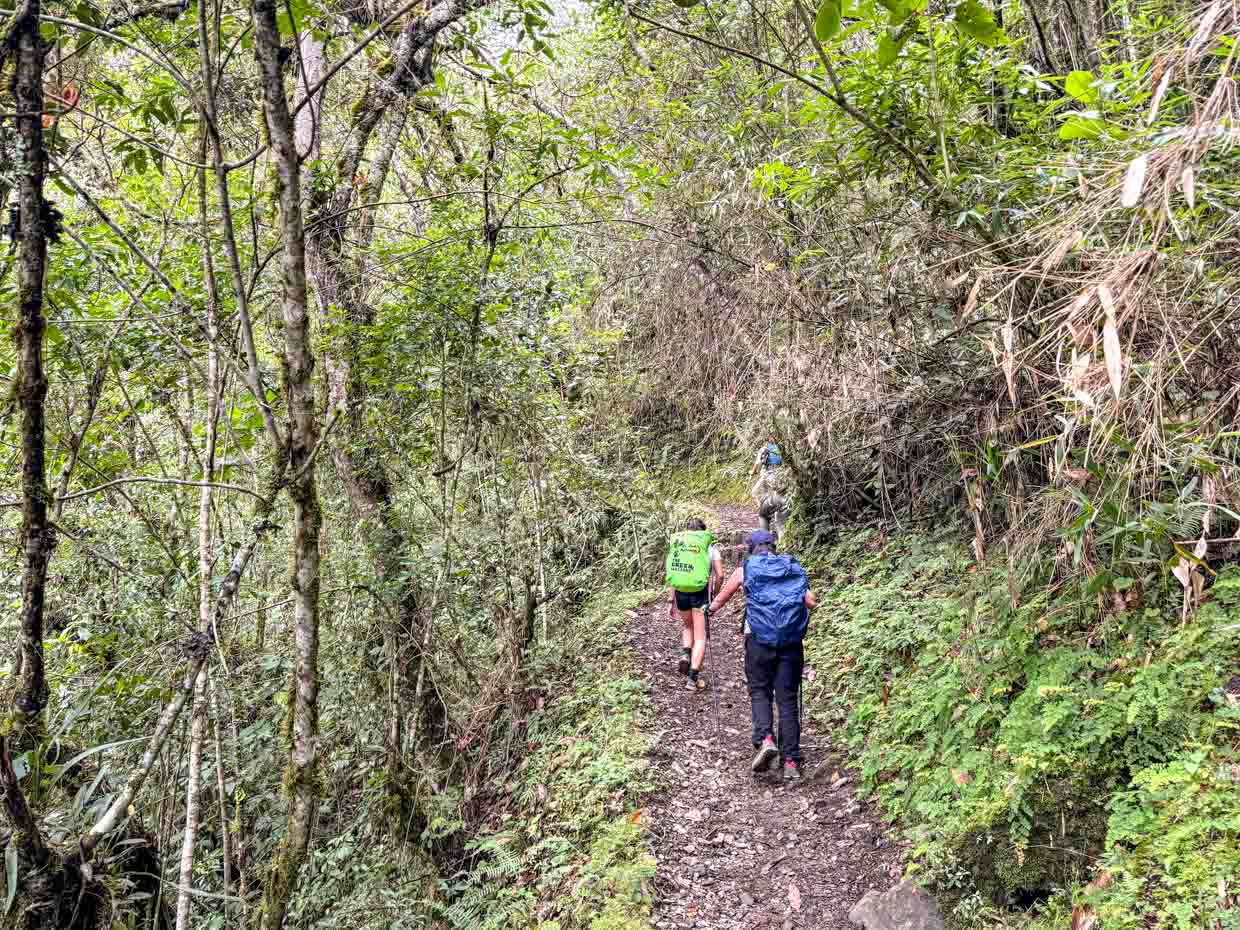
It’s a 4 hours downhill trek to the lunch spot with different microclimate, descending from glacier to jungle.
We made a few stops along the way. The first to talk about Mother Earth of Peru, the Prachamama, and how the natives and local would give them offering.

We stopped again at rest stop with toilet to talk about floral and fauna at the Peruvian Andes.
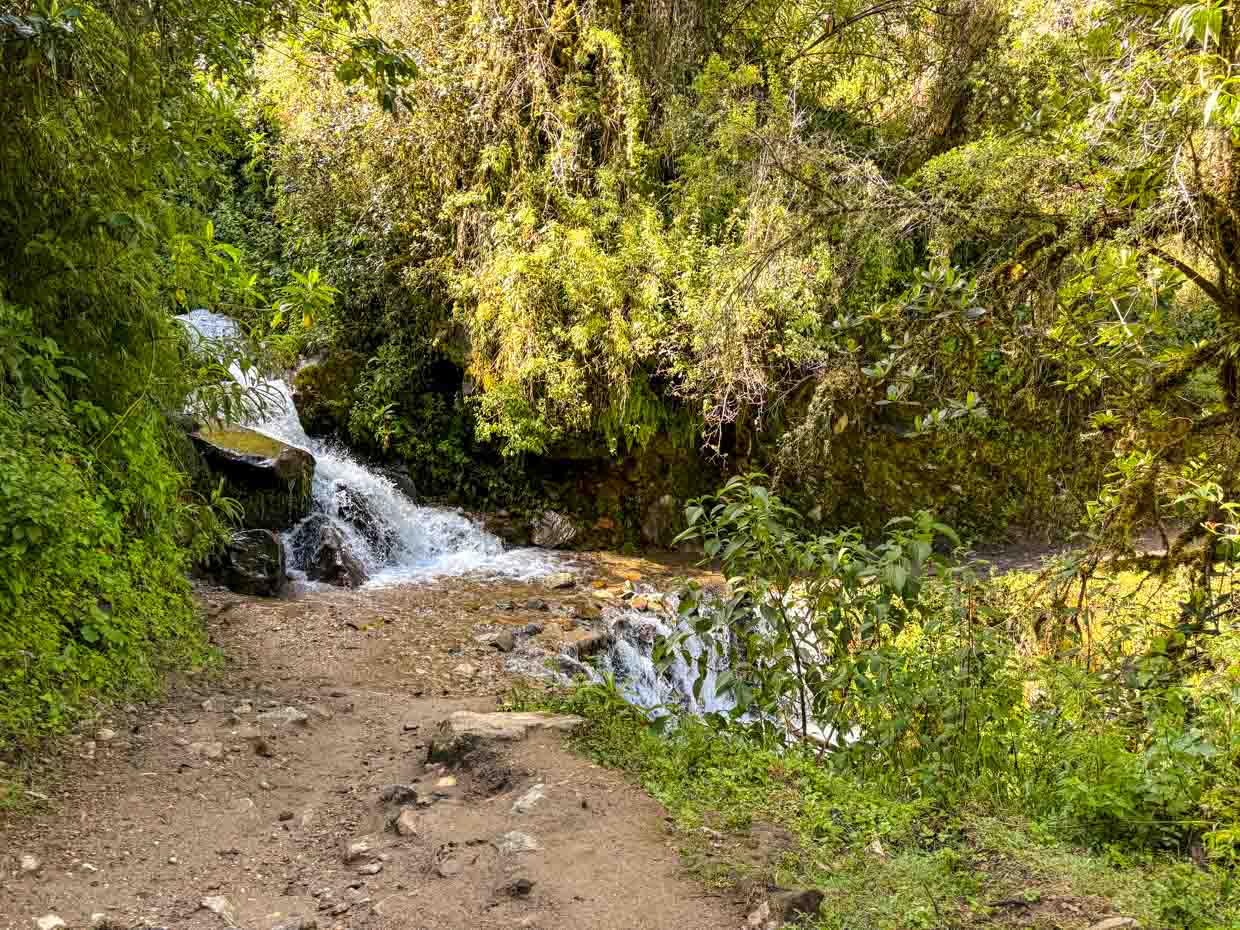
First 1.5 hours is chilly but then it’ll be hot as we descend 1000m with many florals and fauna
Need bug spray as there were a lot of mosquitoes.
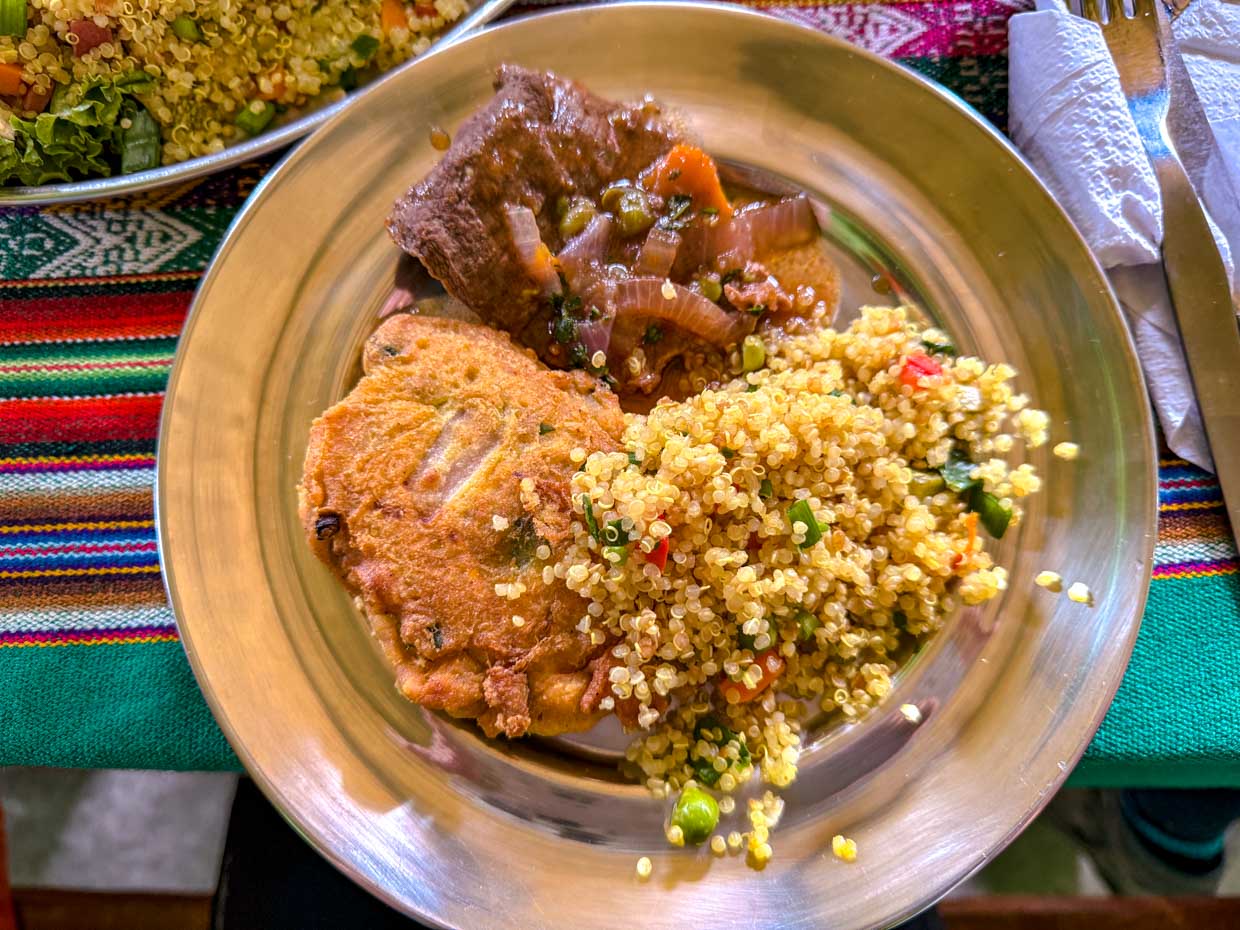
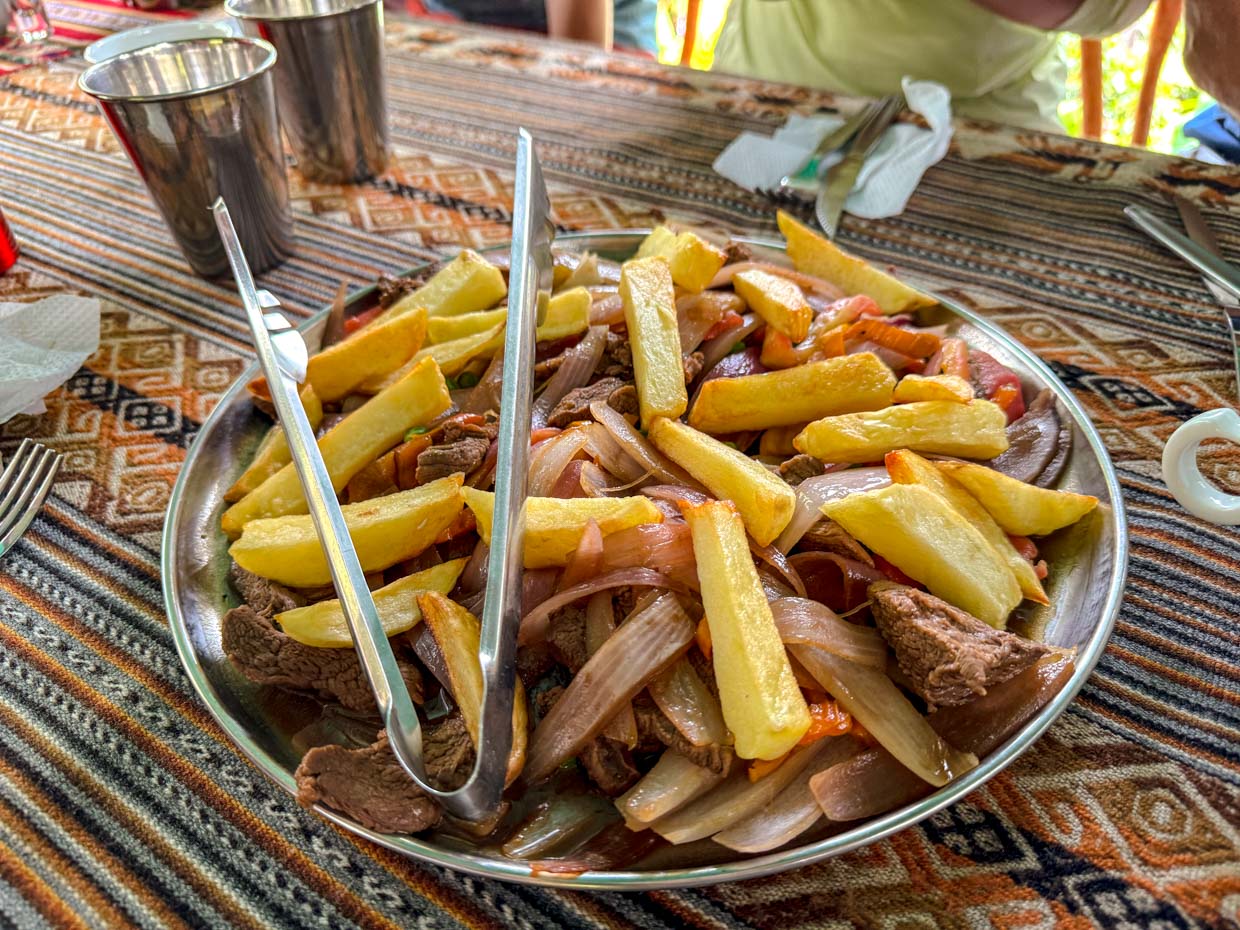
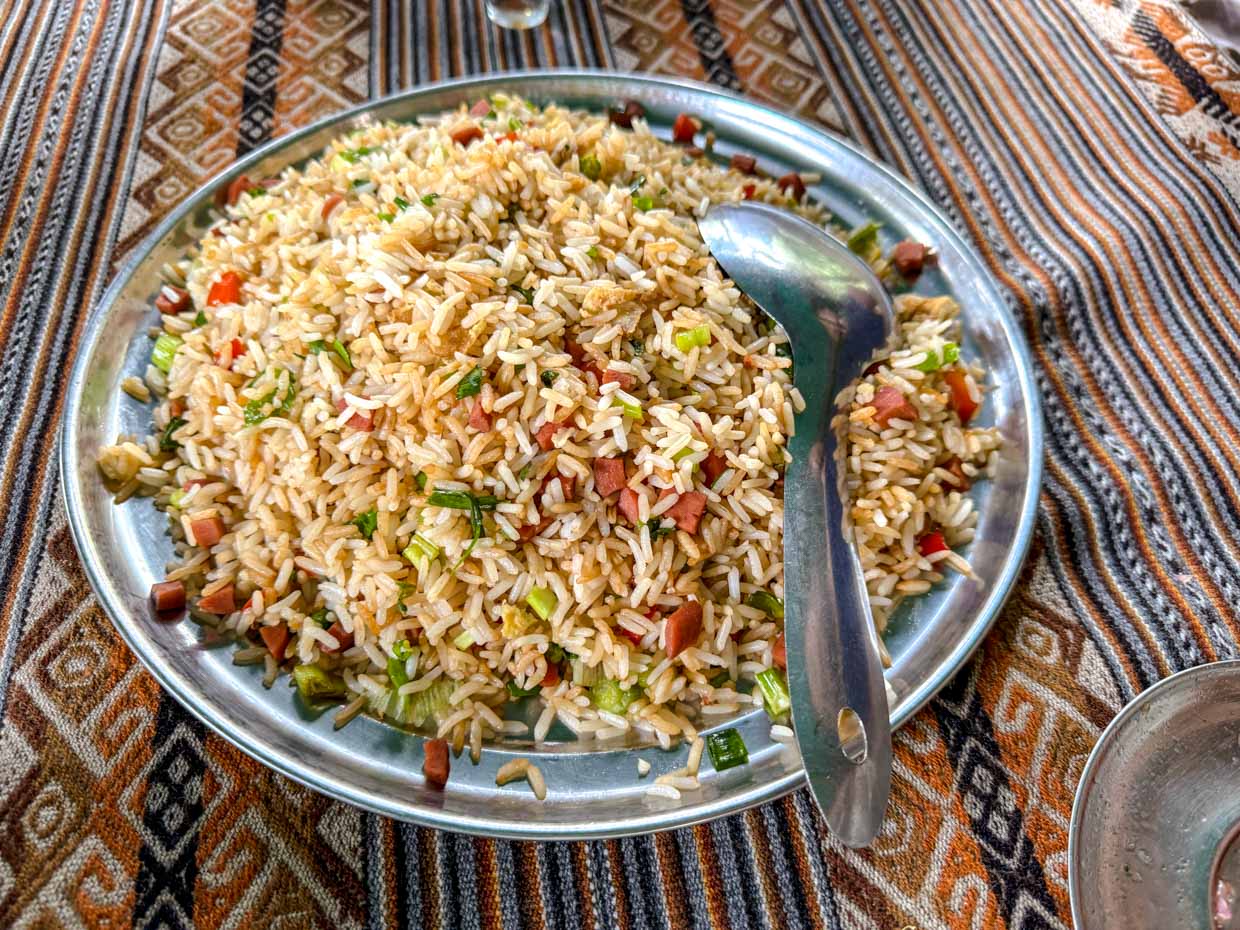
We stopped 3 times and got to our lunch spot at 10:48am and after a rest we were served quinoa fried rice, a beef dish and omlette as well as veggies.
Loreta (2,400m)
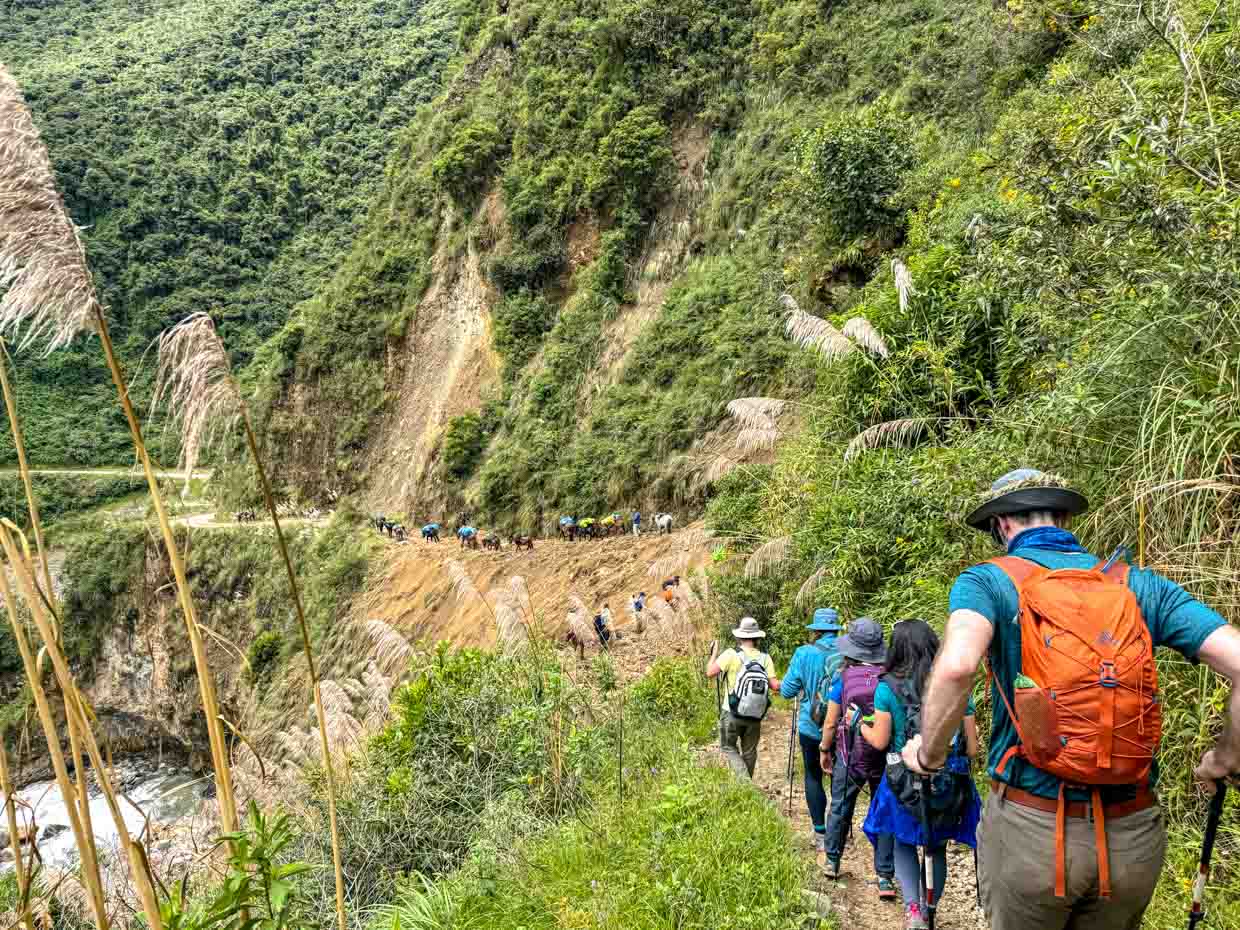
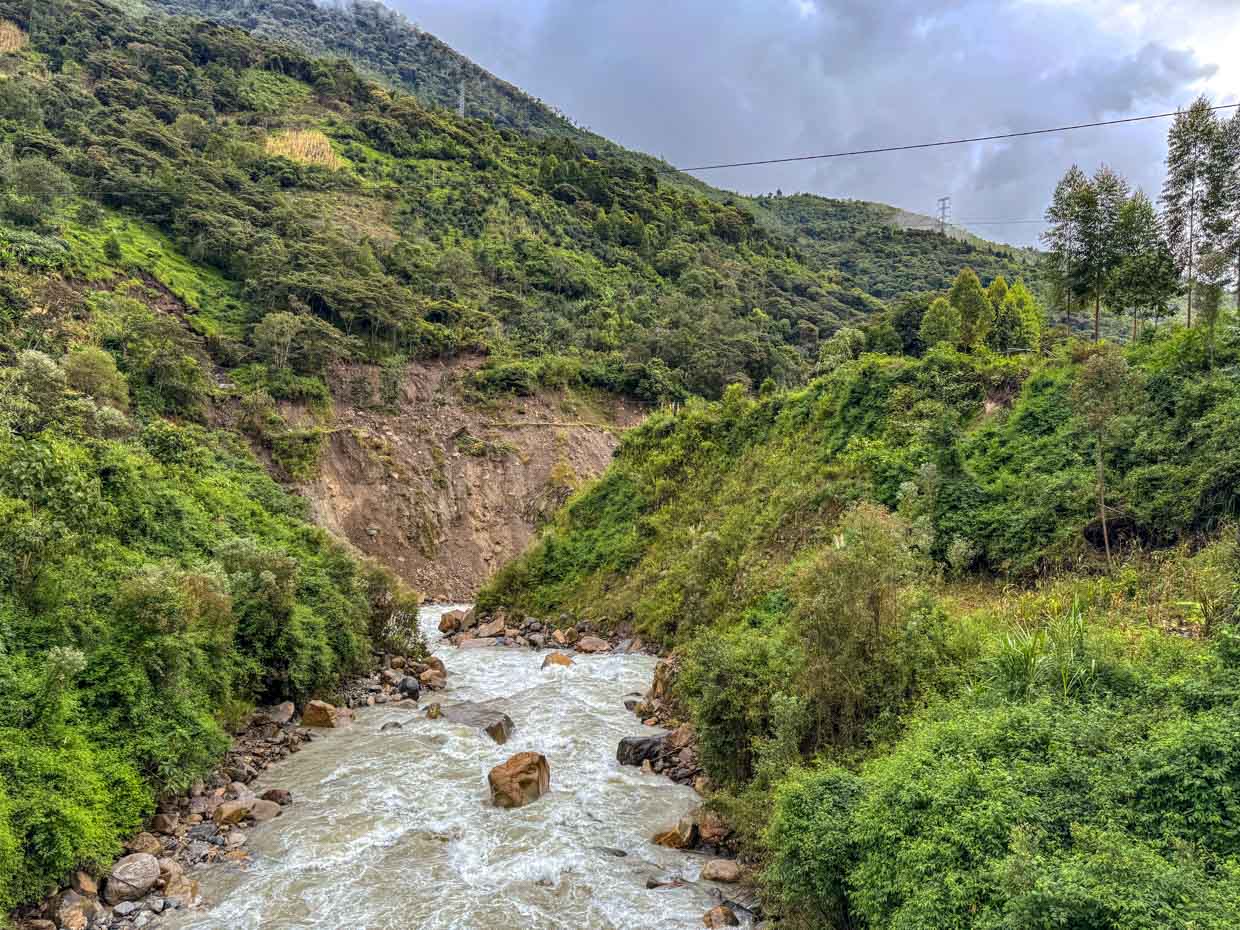
We left from our lunch spot at noon and it was not a hard hike but we did have to cross some river and go over some landslides.
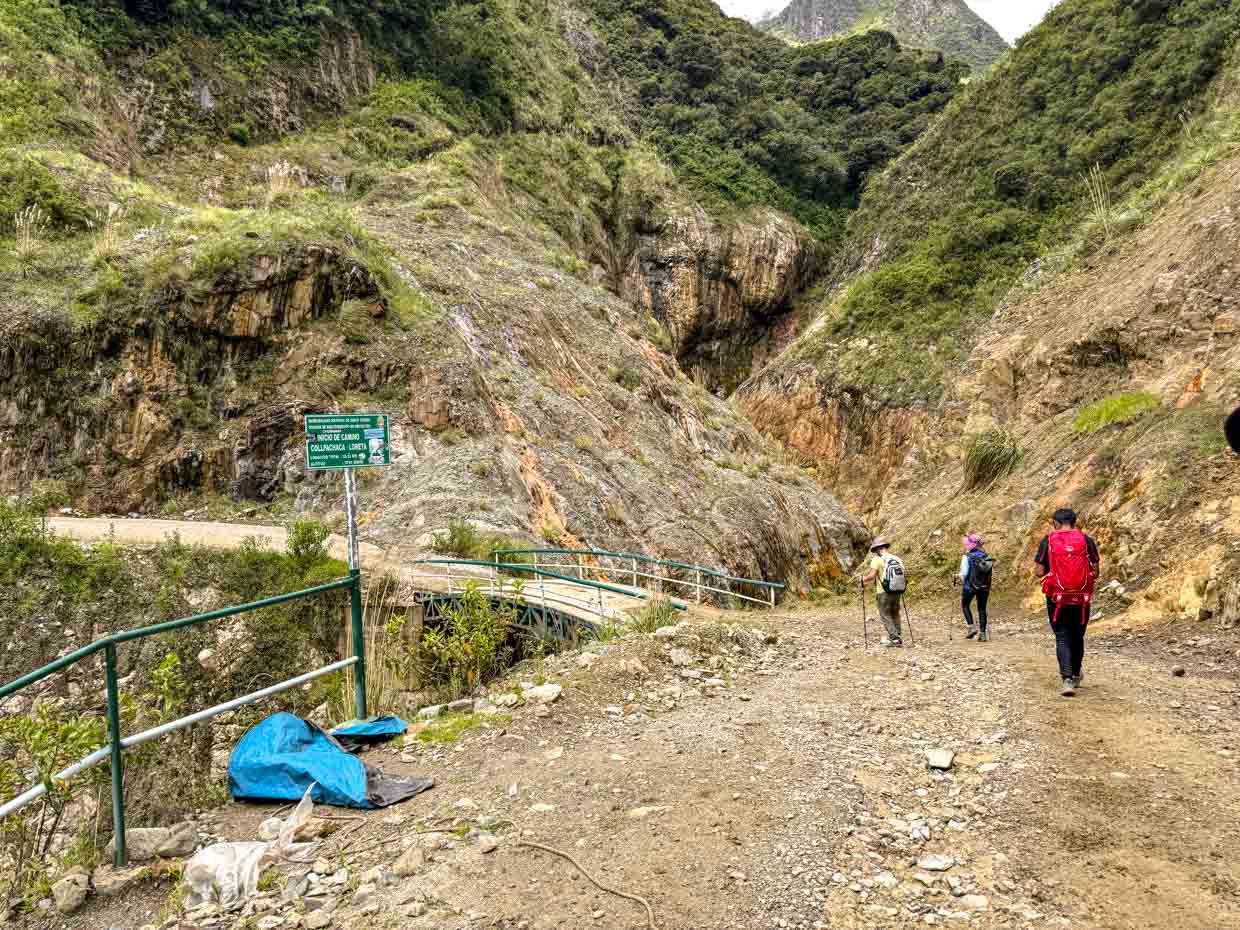
It took us about 3.5 hours to reach our overnight accommodation.
It was a hobbit house with proper bed, shower, and jacuzzi.
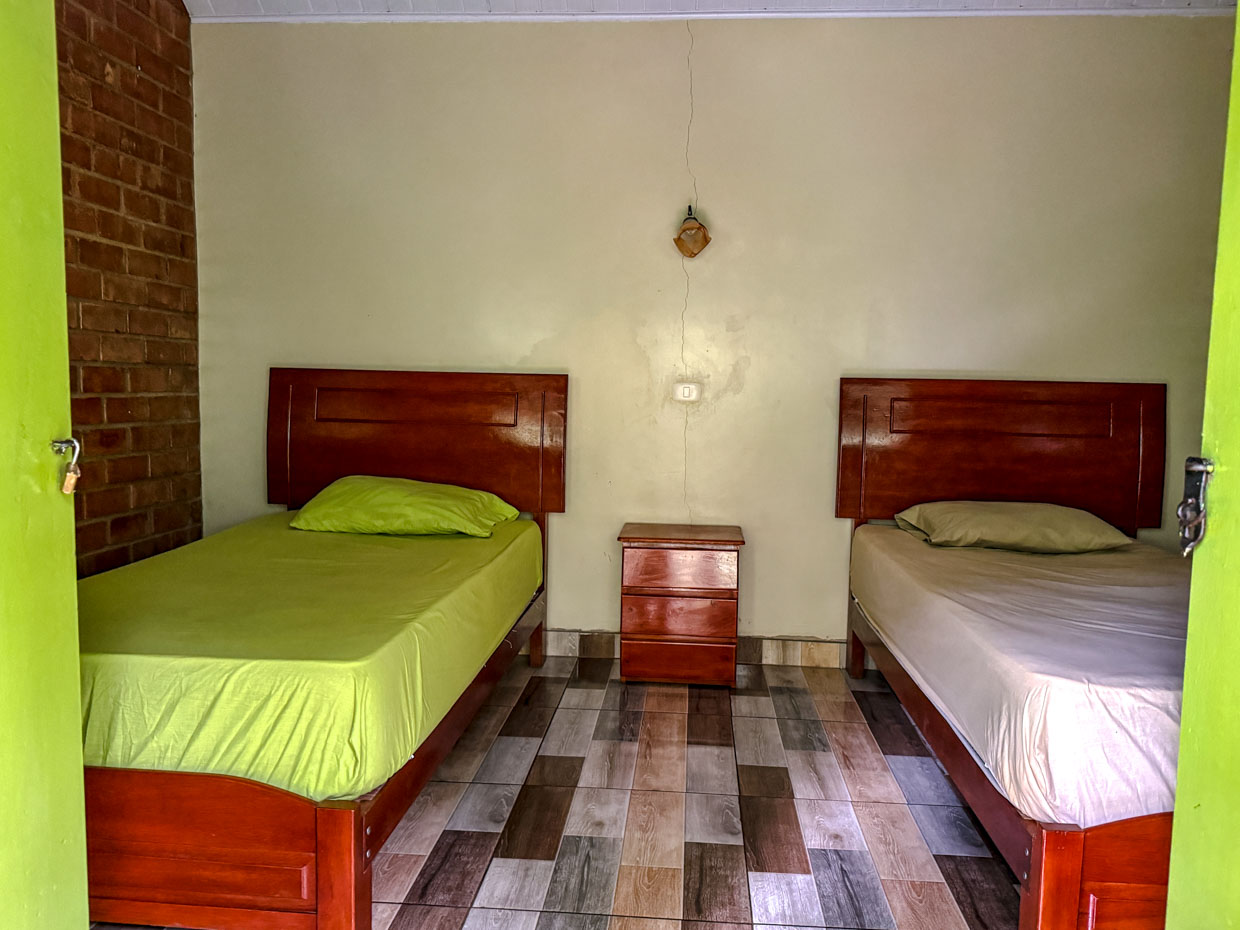

The shower is supposed to be hot but it was warm enough to shower. You can also rent a towel for 5 soles but it smelled a bit bad.
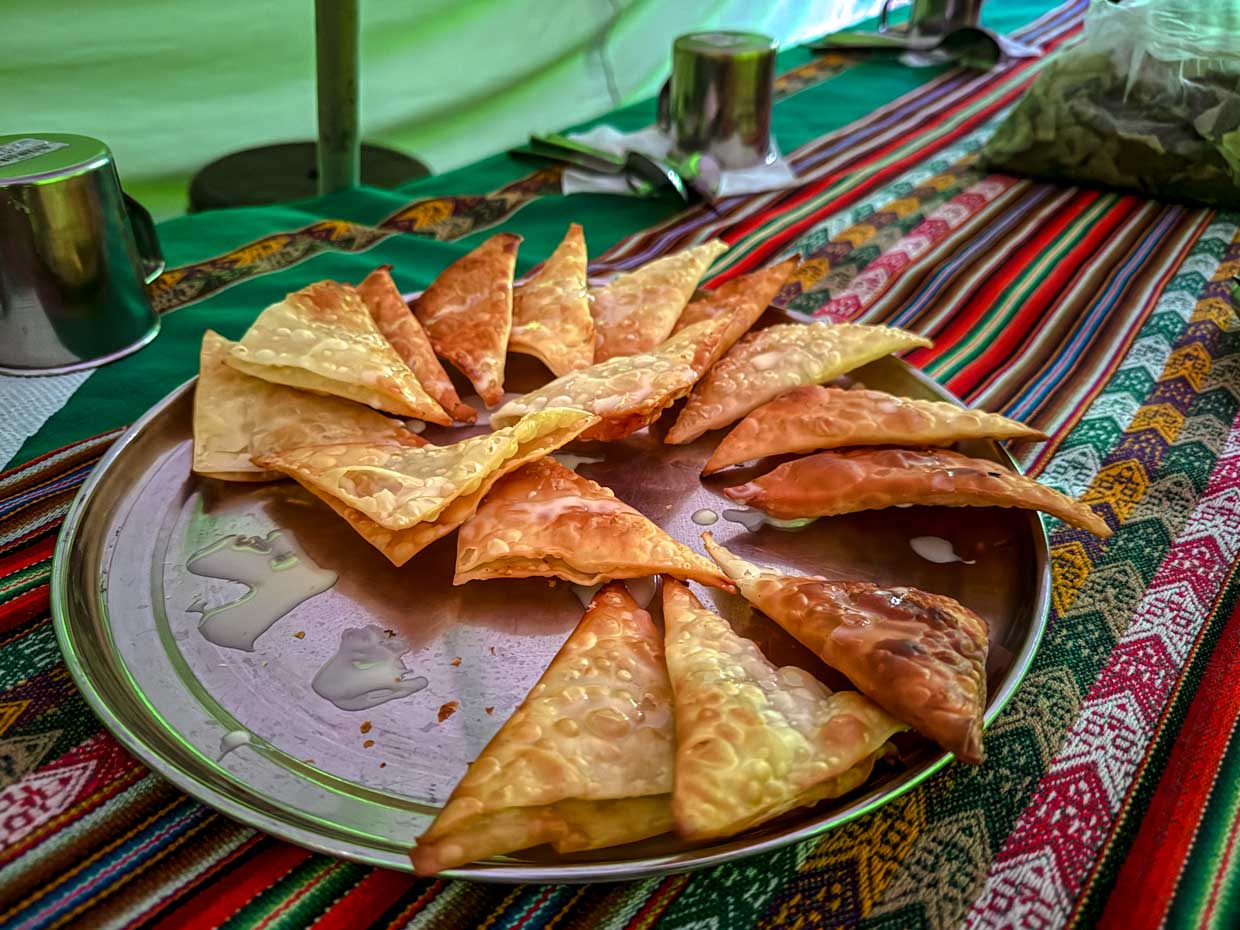
Since we were quite early, we had time to shower and rest before our tea time at 5:30pm. The banana wrapped in fried wanton skin was really good.
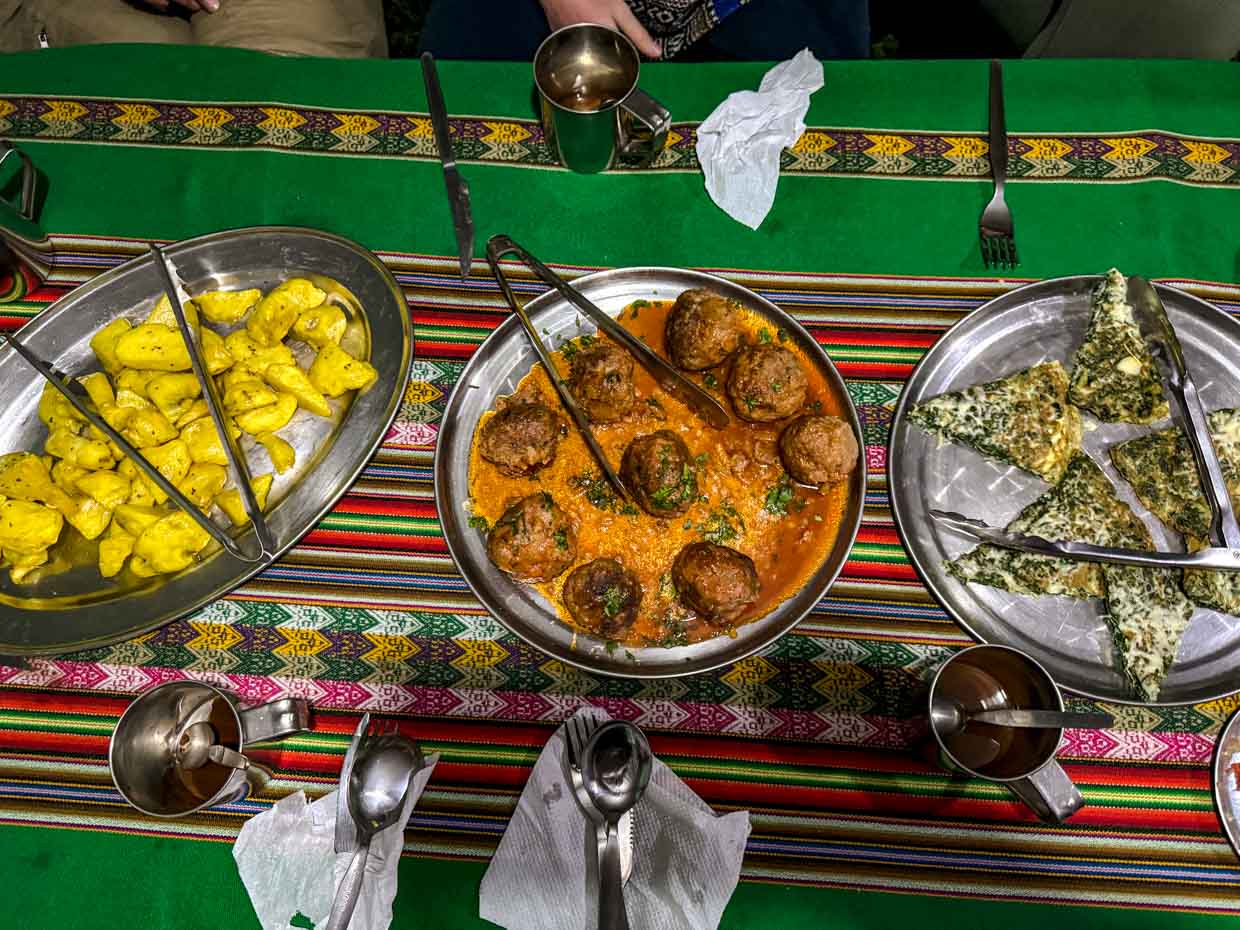
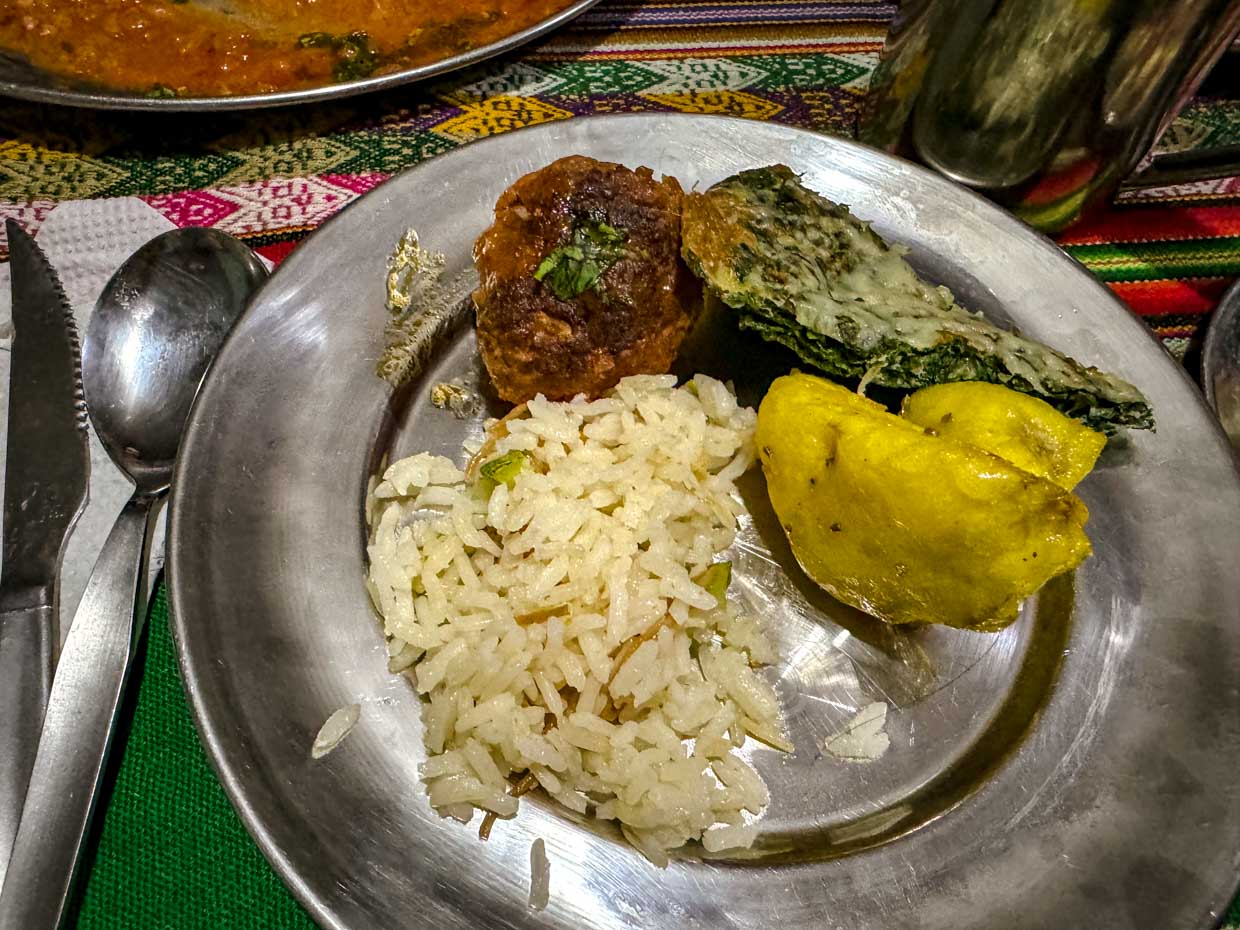
Dinner followed at 6:30pm with soup, meatball, rice, and frittata.
Note: it costs 40 soles for horse riding
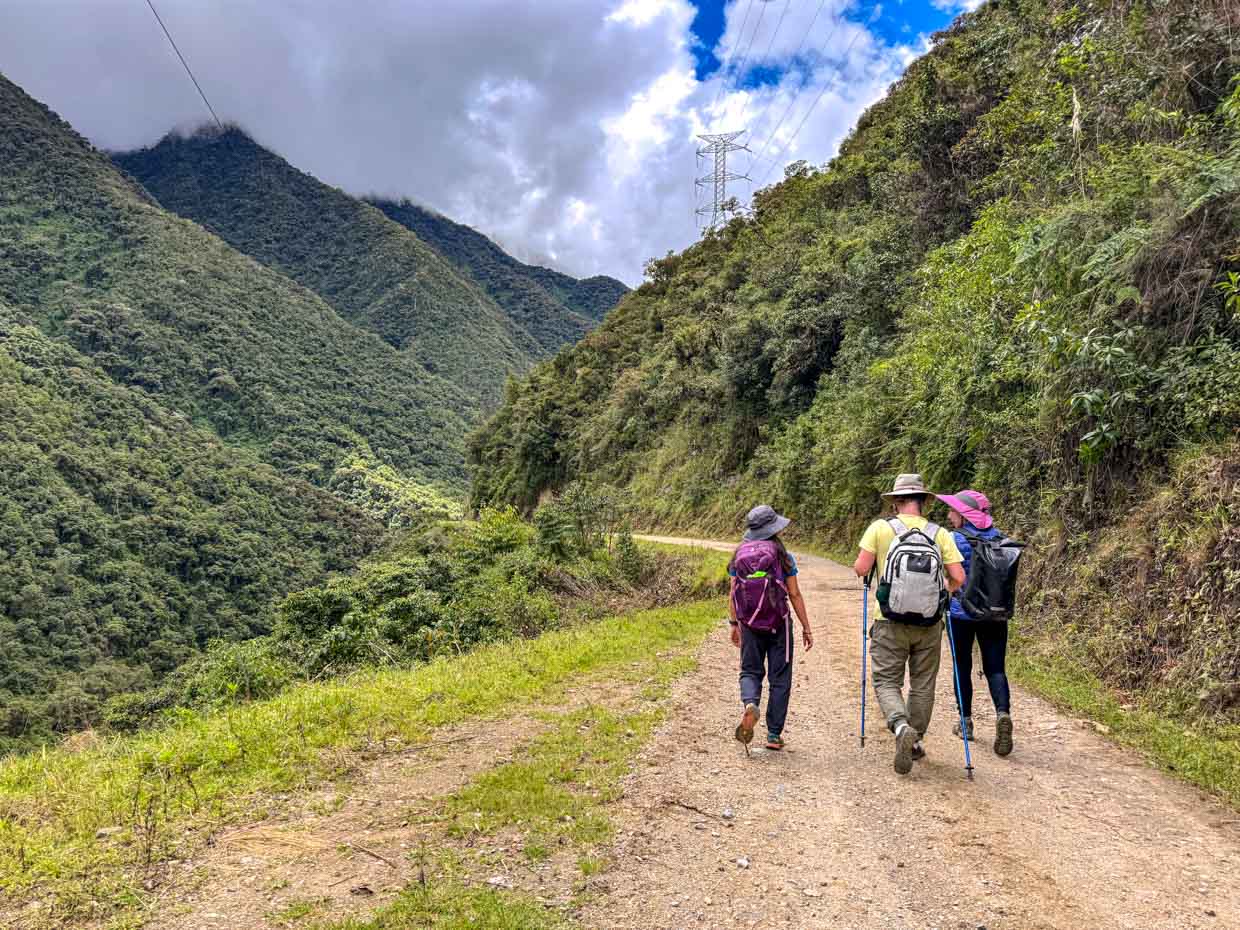
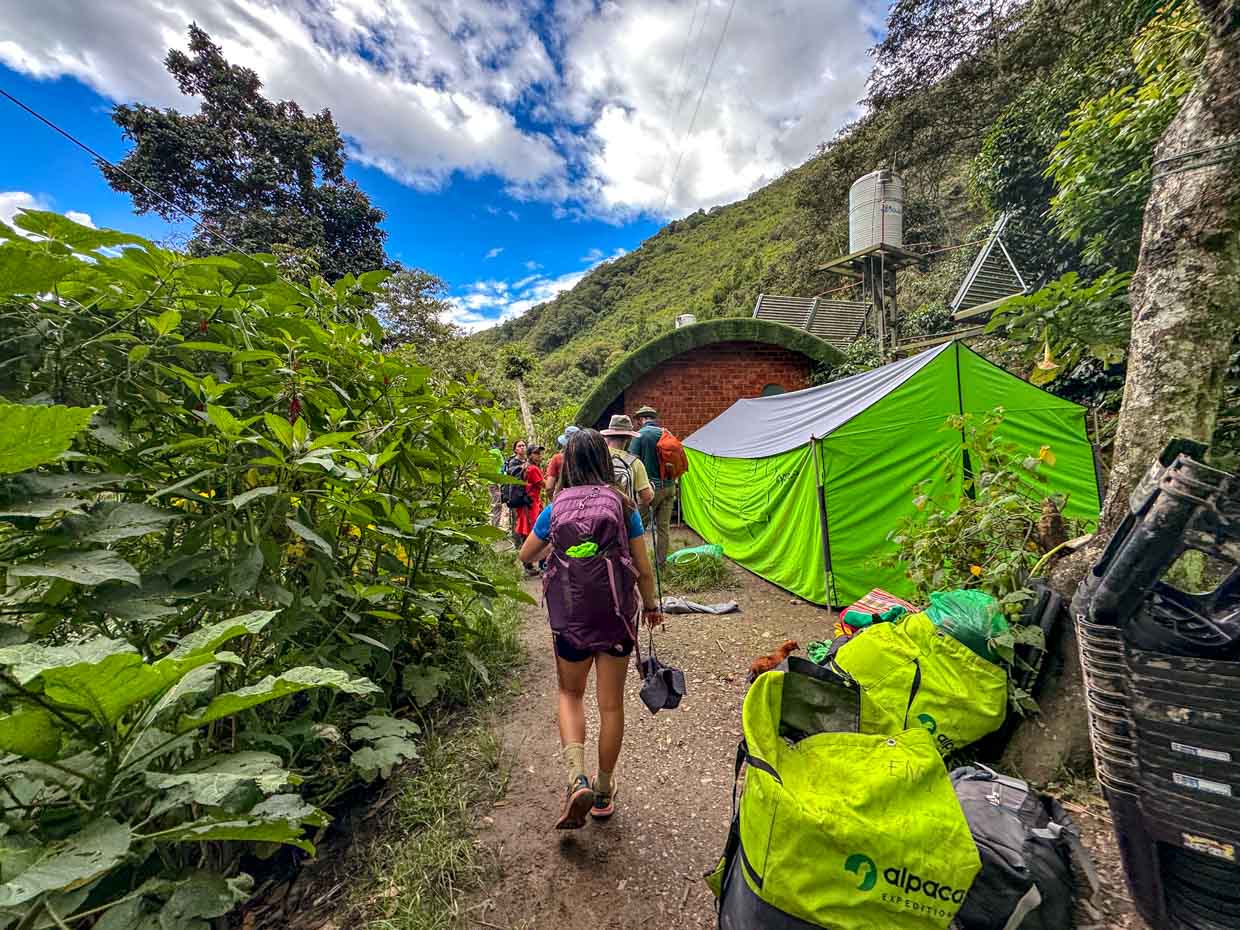
Day 3: Loreta – La Playa Sahuyaku – Lucmabamba coffee farm – Llactapata
This will be the shortest day with sighting of Machu Picchu! We woke up at 5:40am with the best breakfast so far, bread, omlette, sausage and banana.
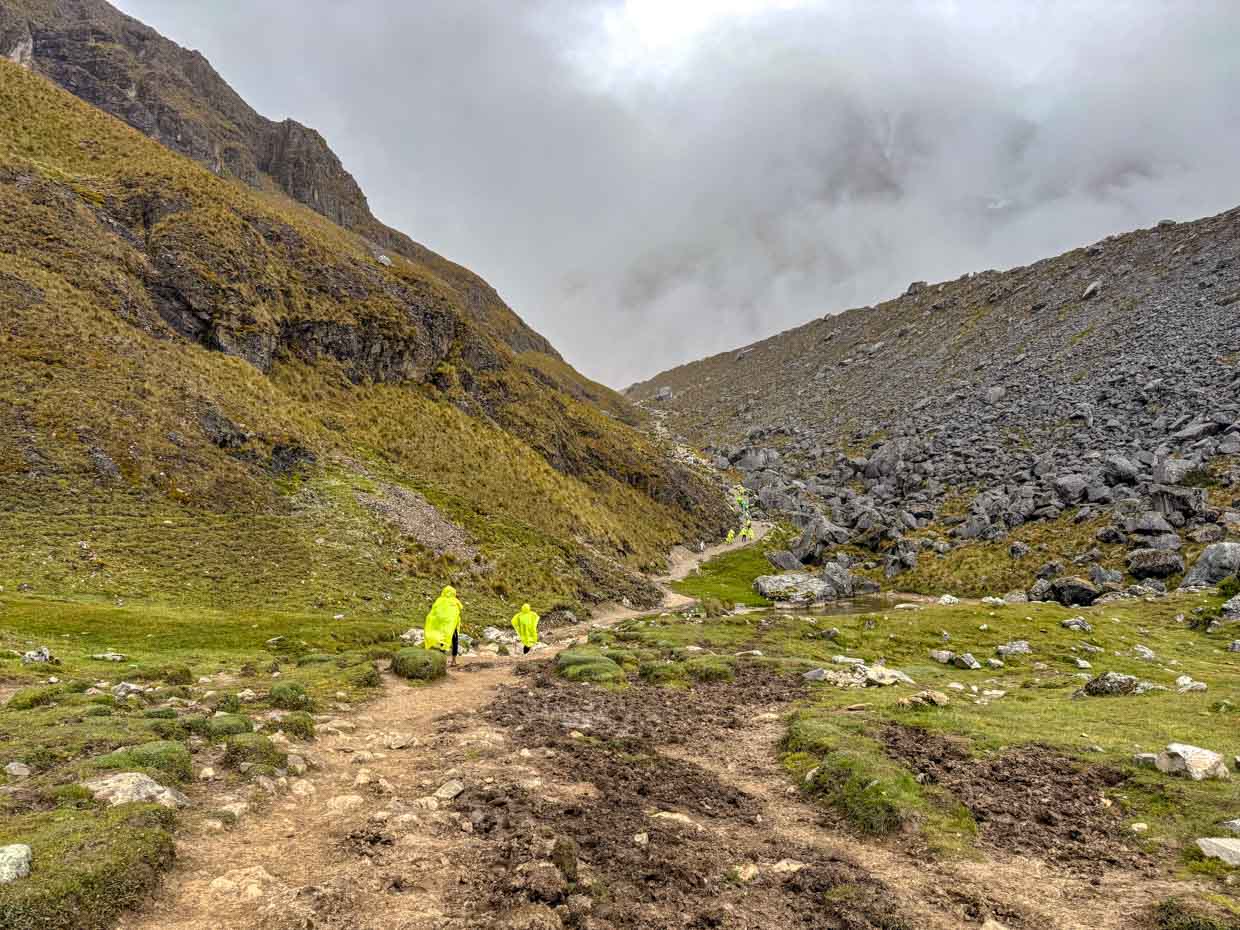
We left the campsite at 7:10am and it was already raining.
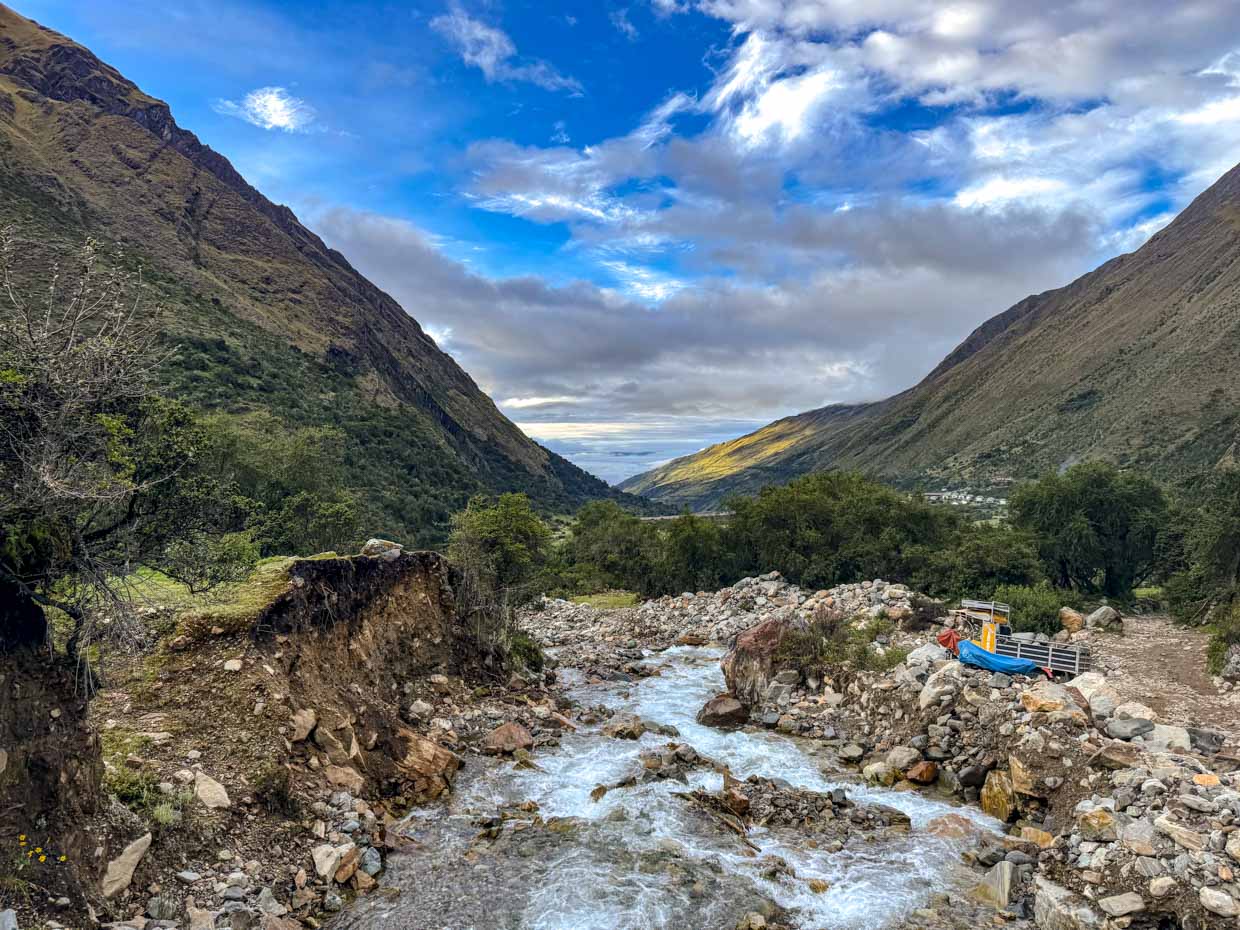
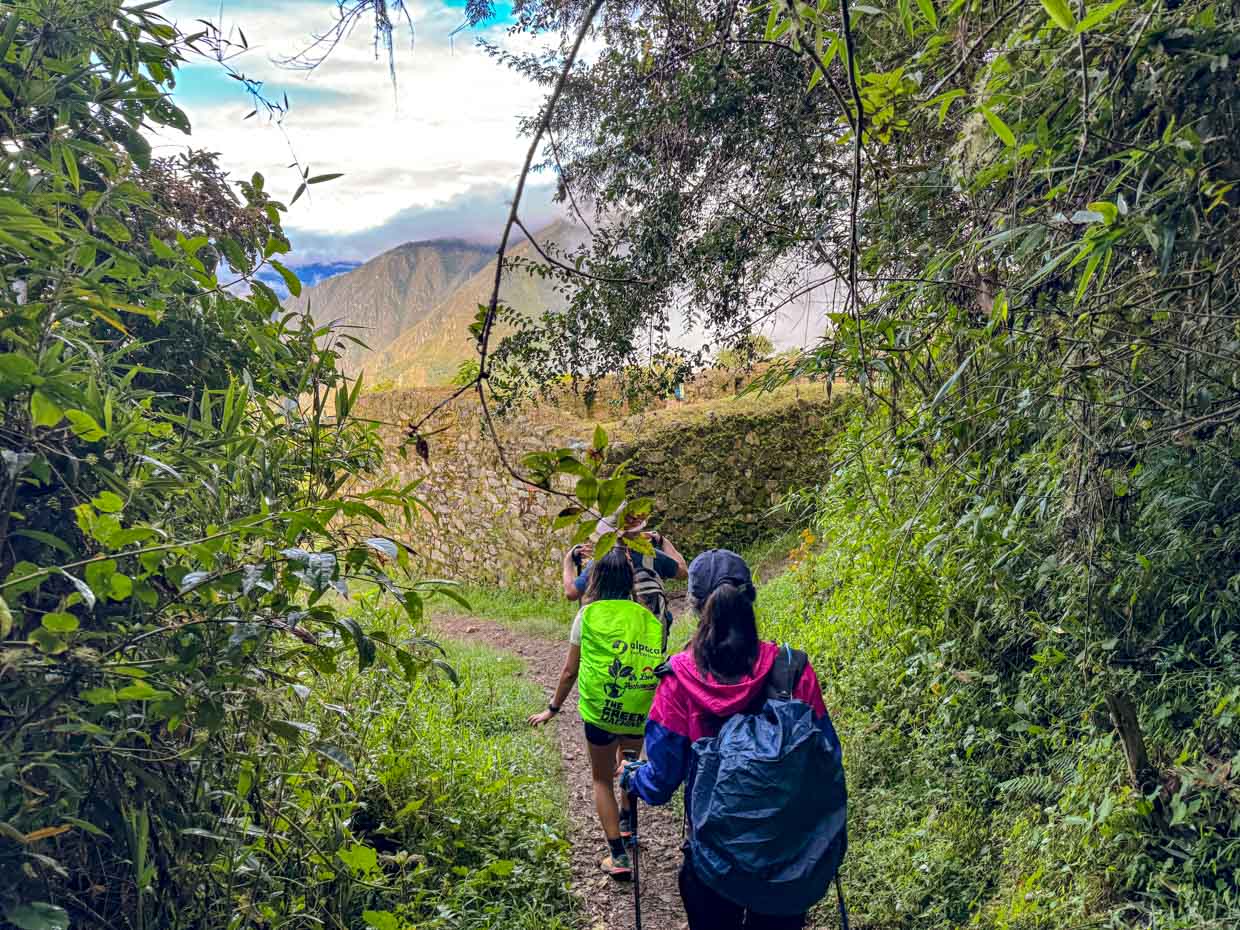
Lucmabamba (2100m)
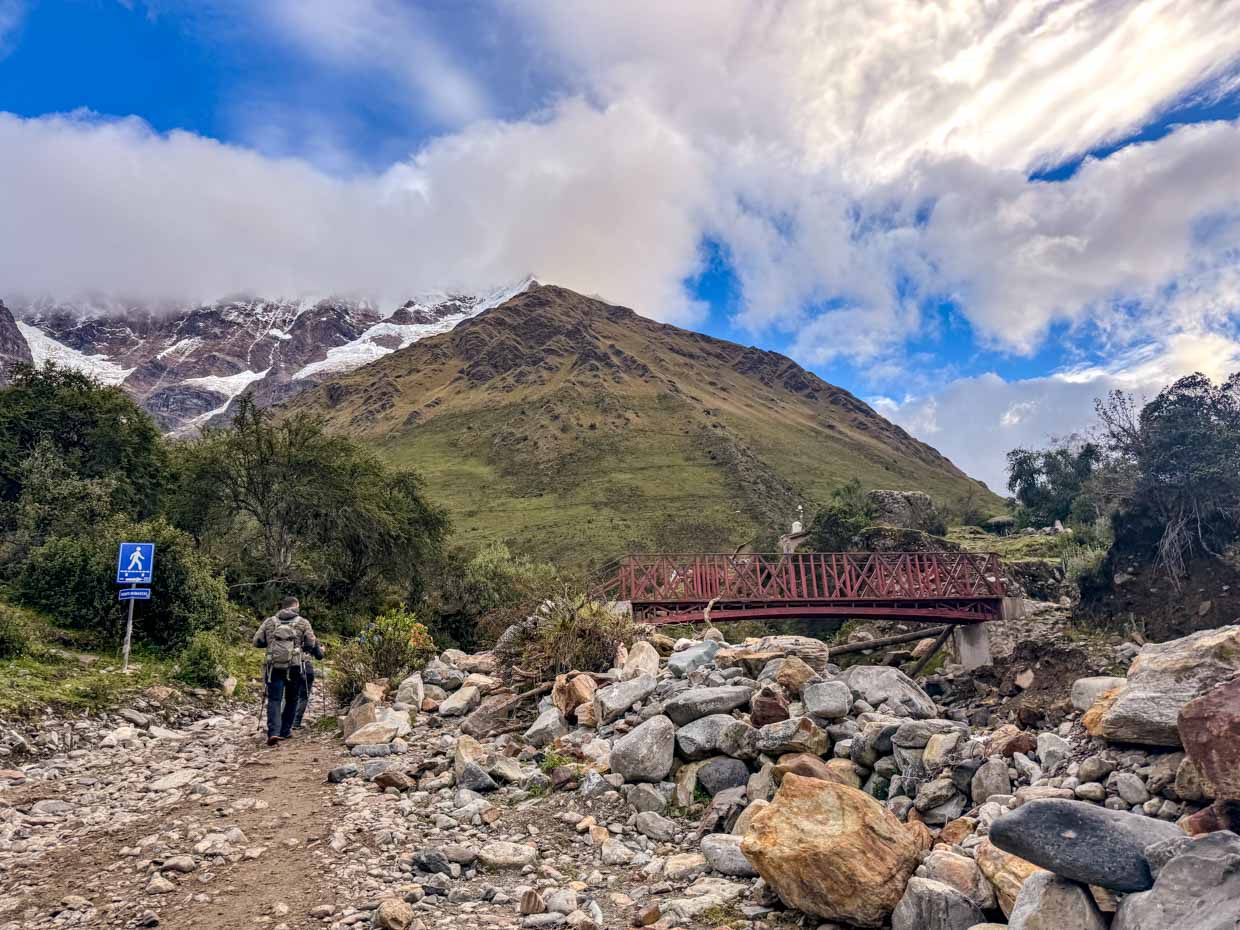
The start was easy and relatively flat and we reached the bridge crossing at 8:30am with view of the Santa Teresa valley.
We then started going up towards the Inca Trail.
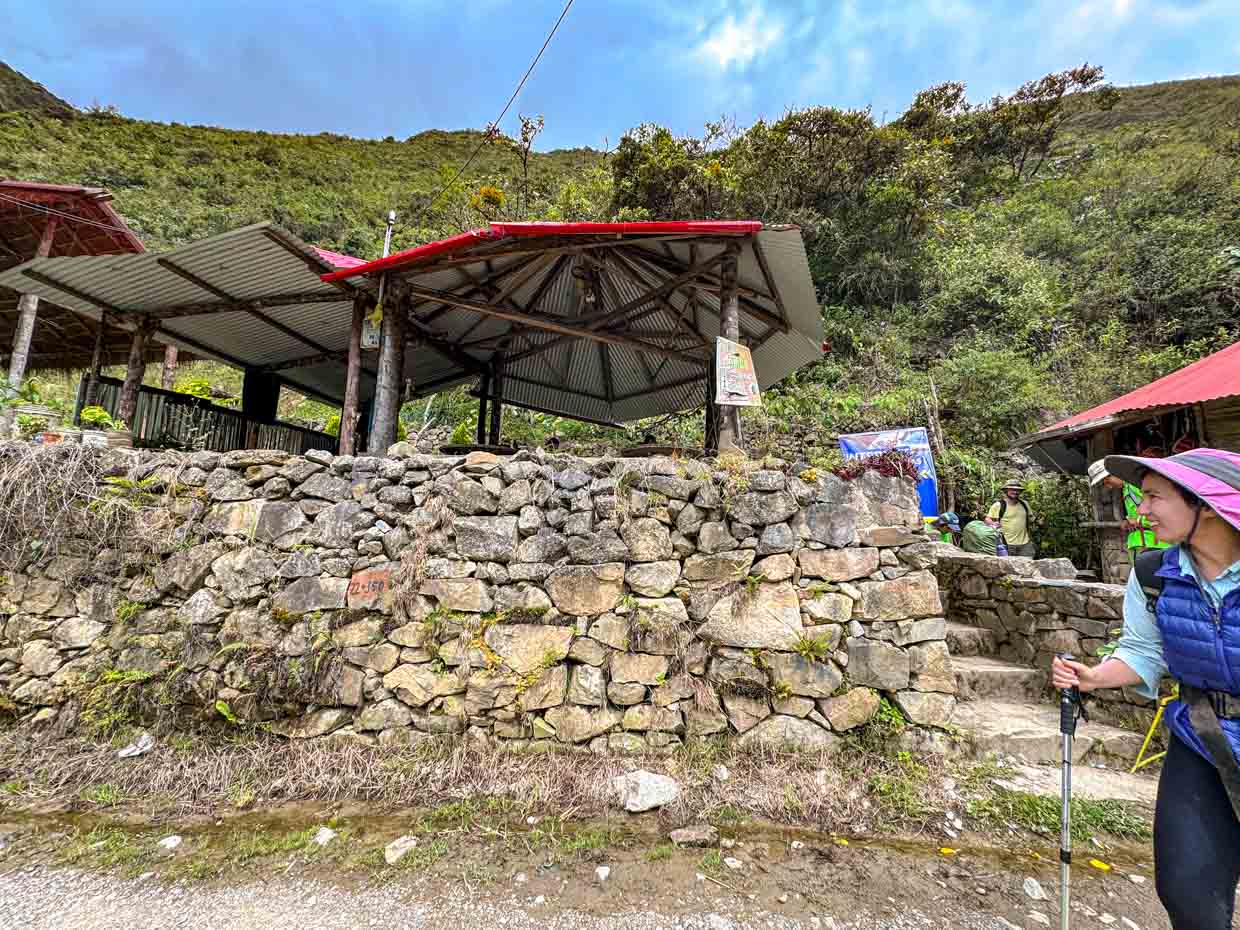
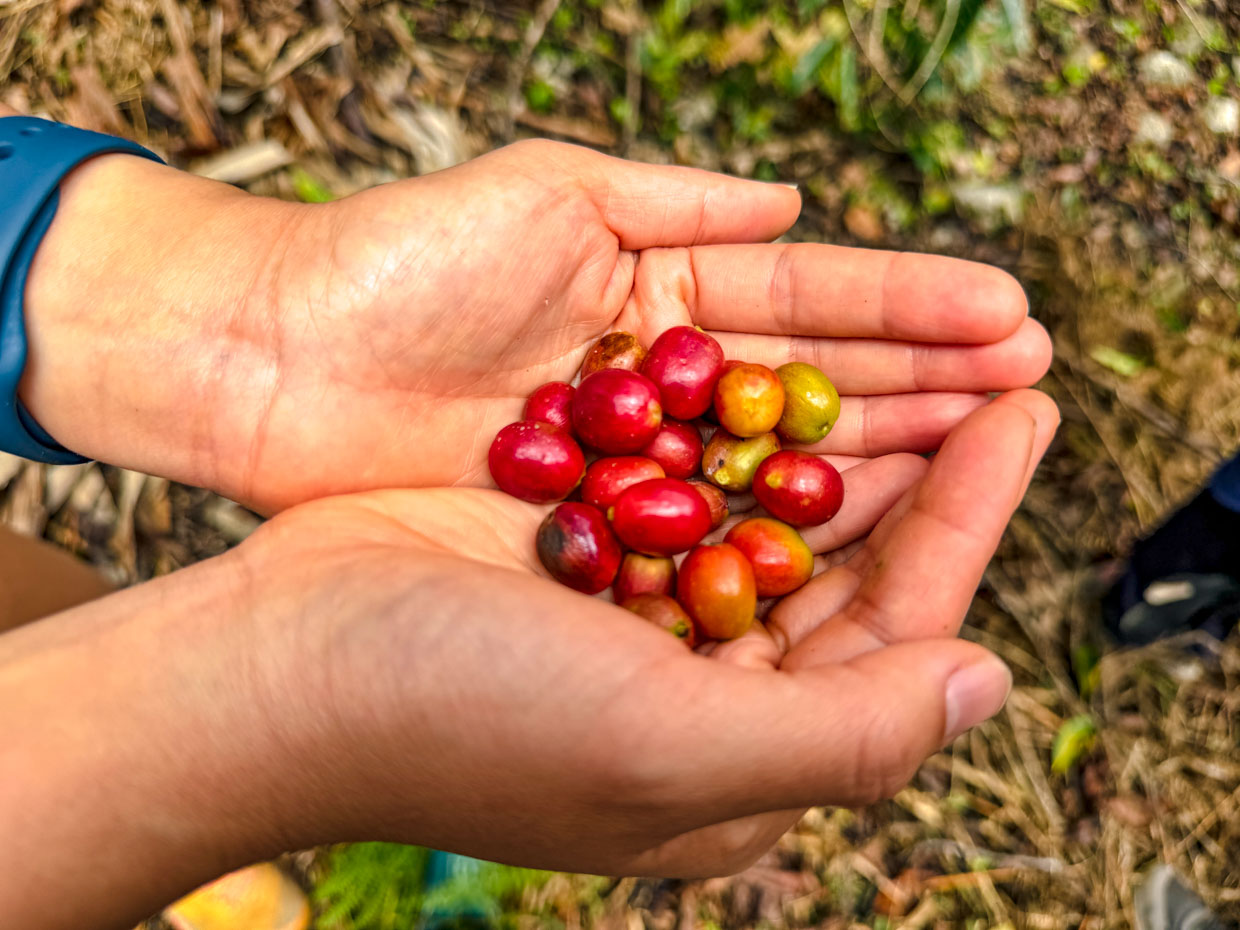
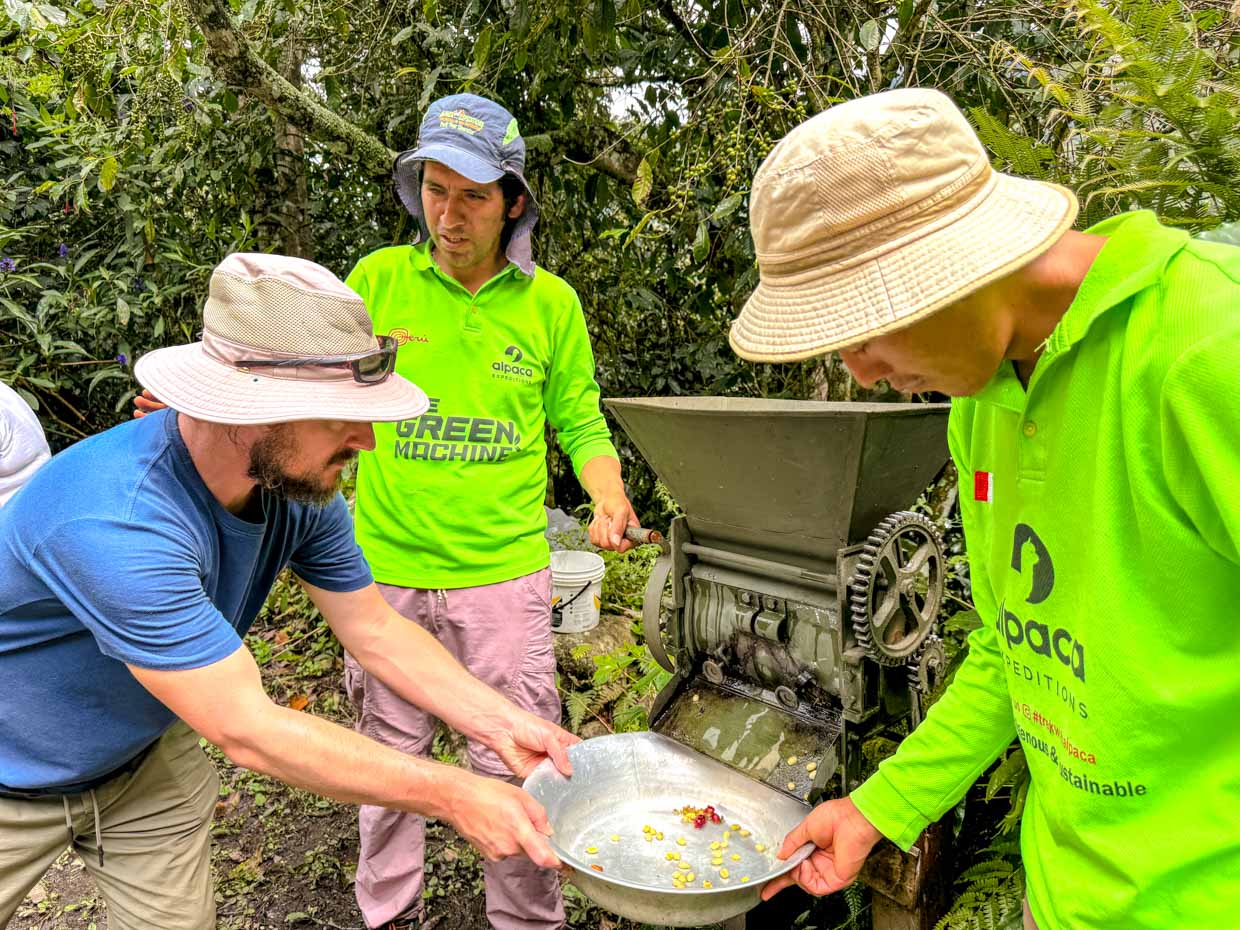
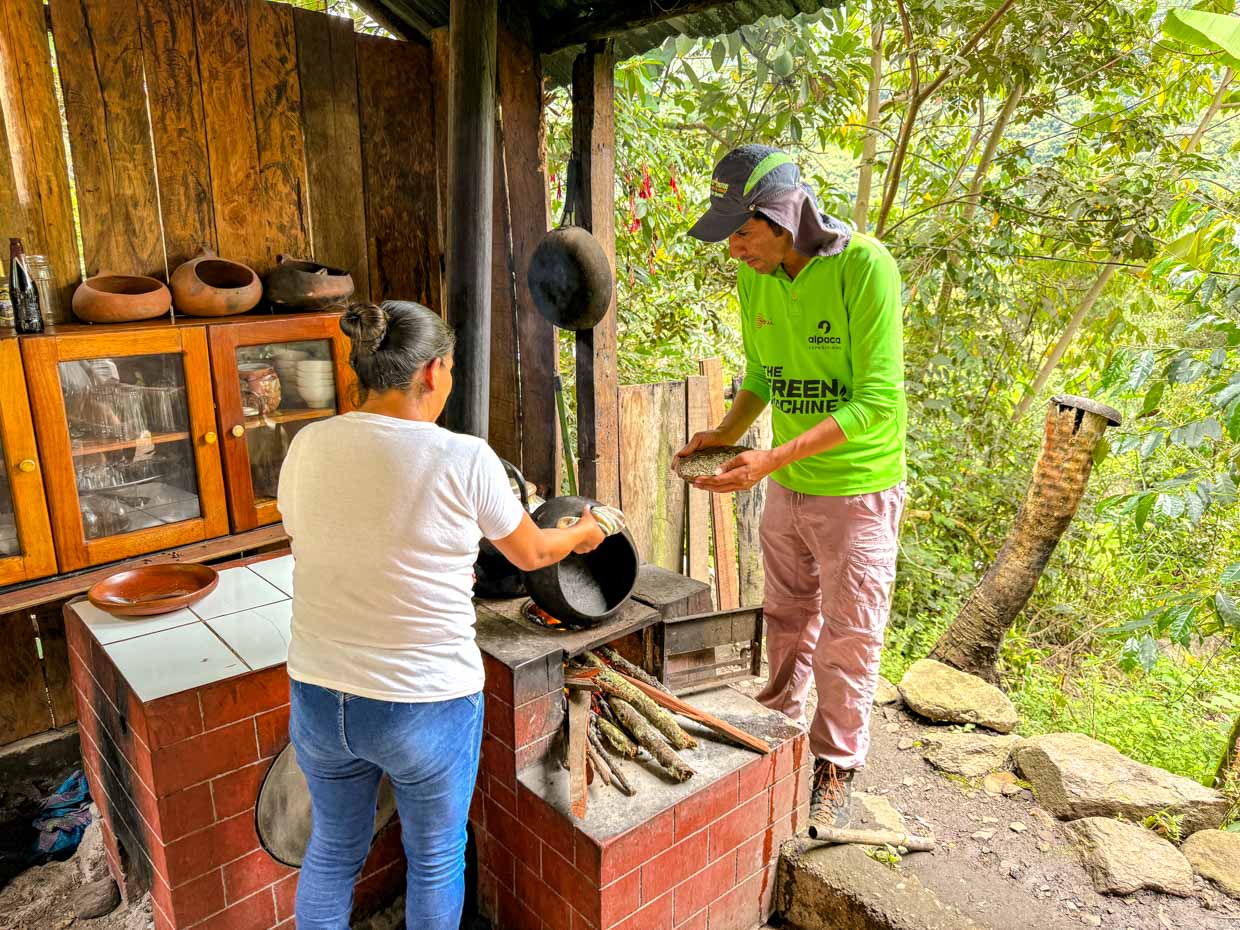
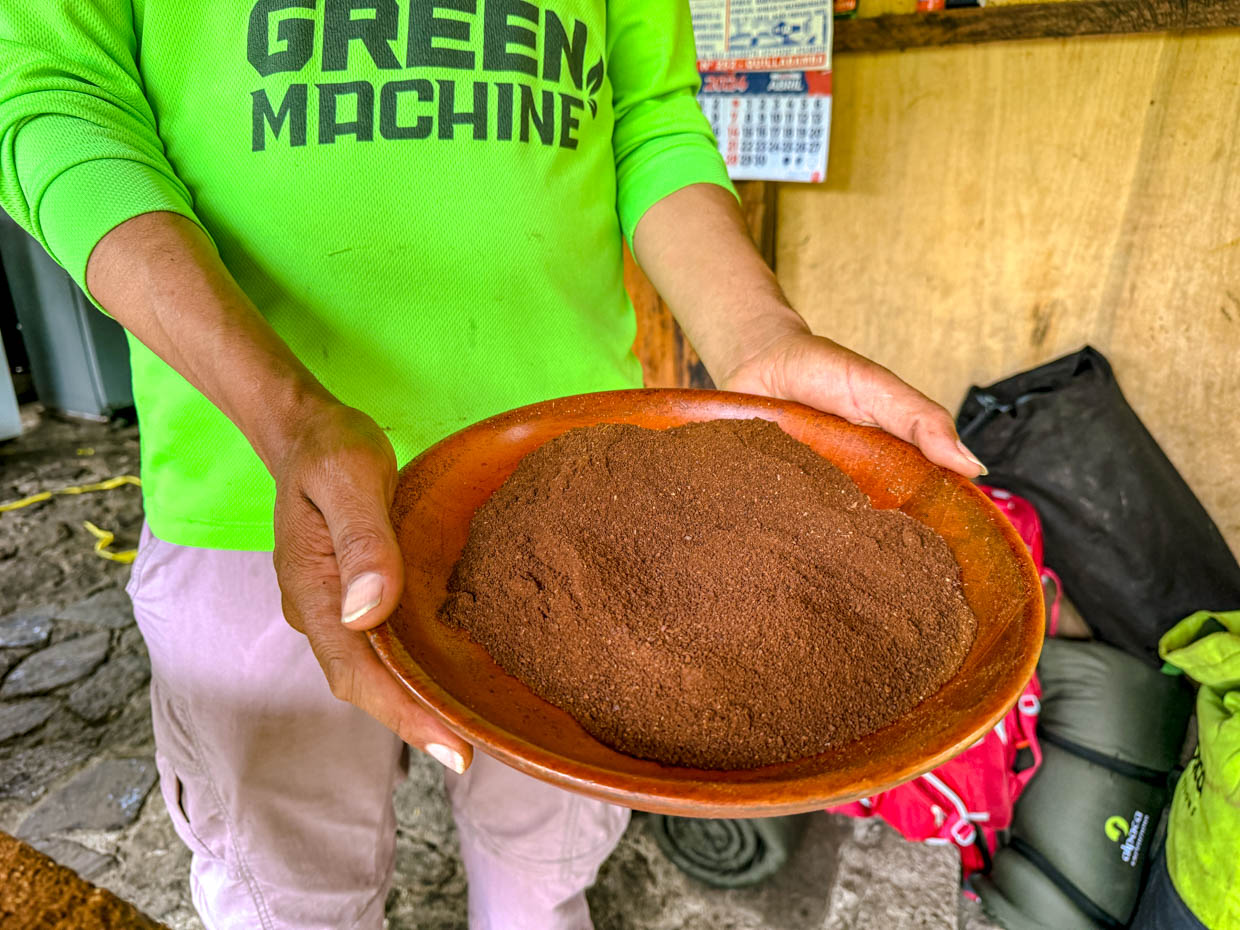
We got to the coffee plantation at 9:30 where we learn about coffee plantation and the processes of roasting coffee.
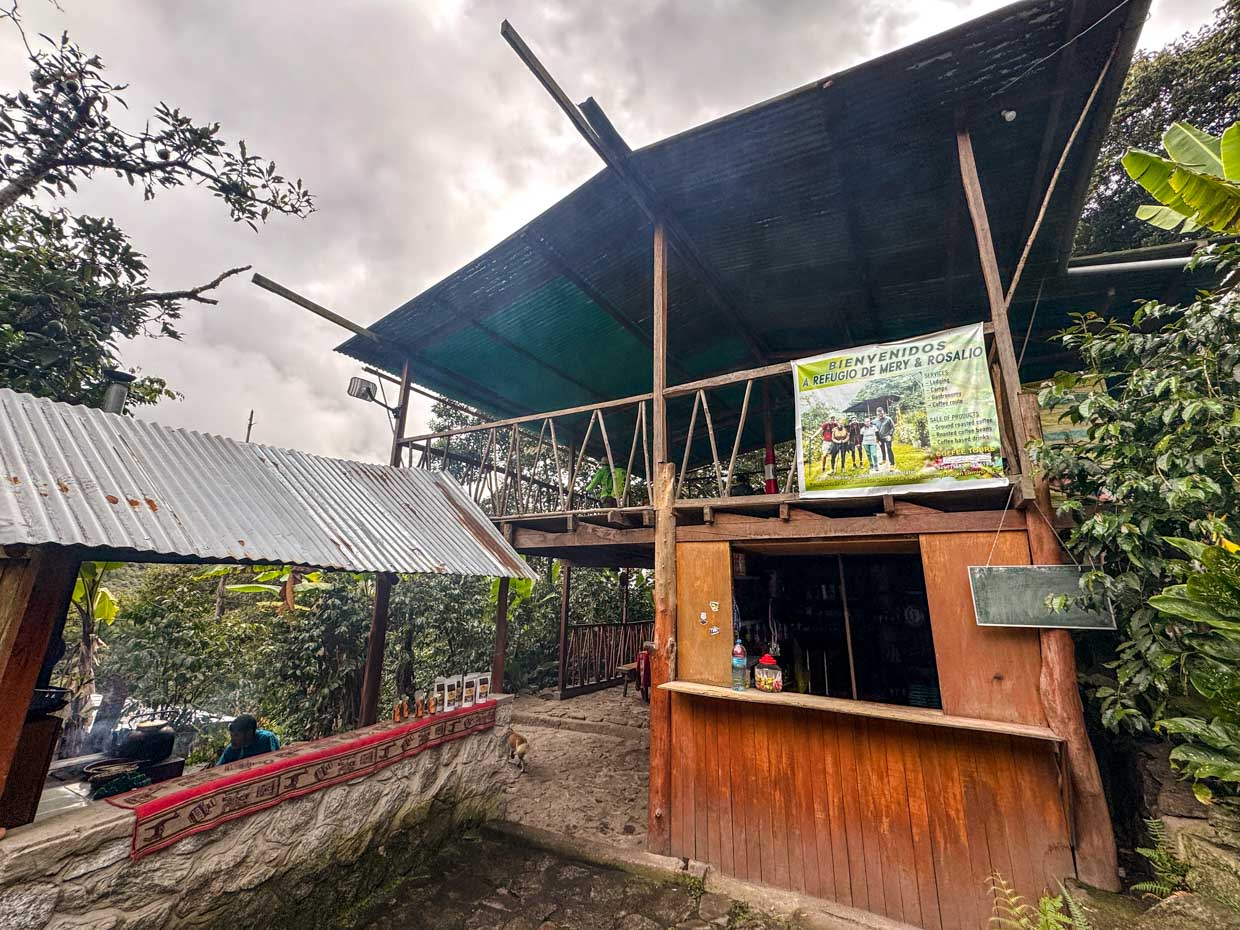
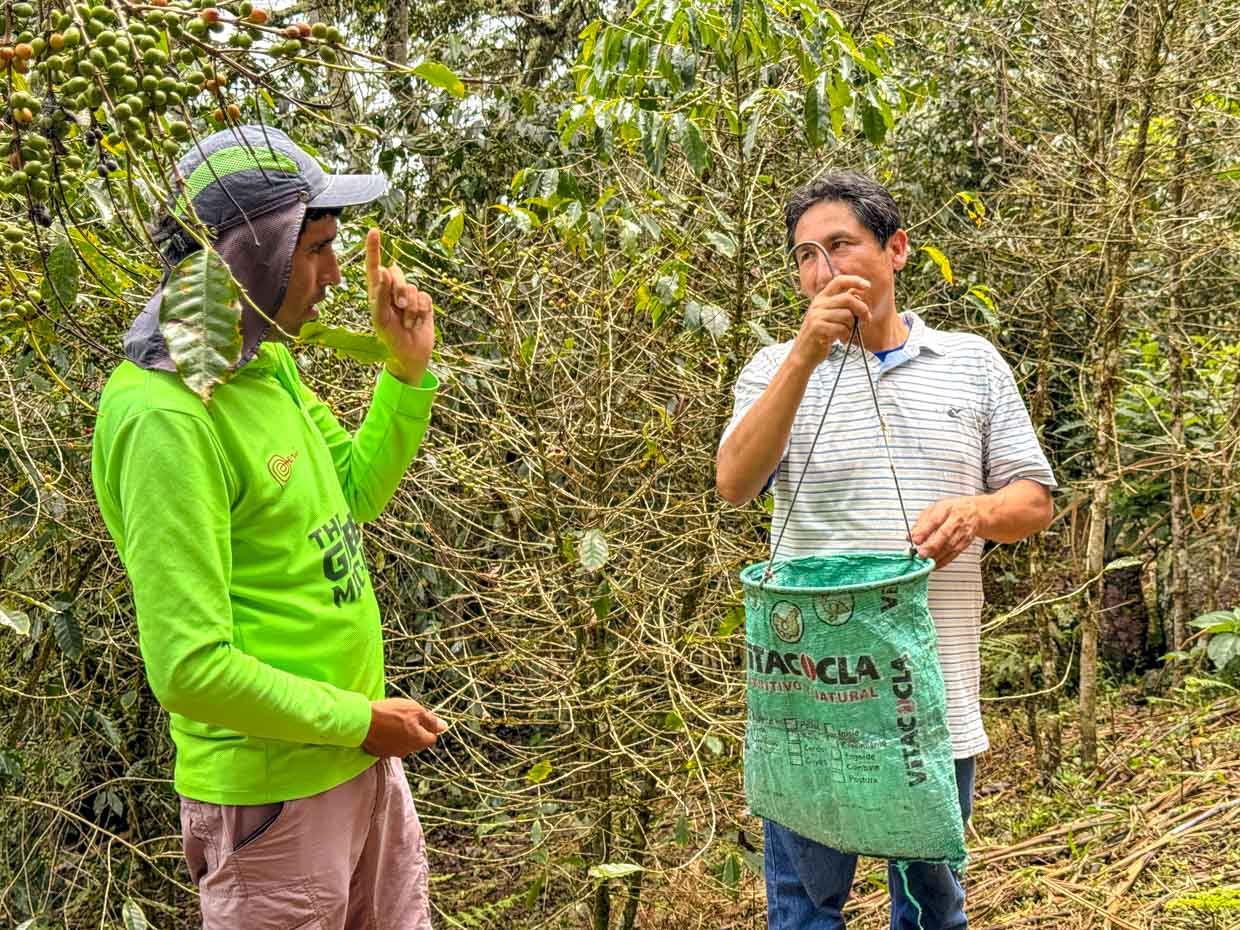
There’s wifi for 5 soles and since we were there for 3 hours, I paid for it.
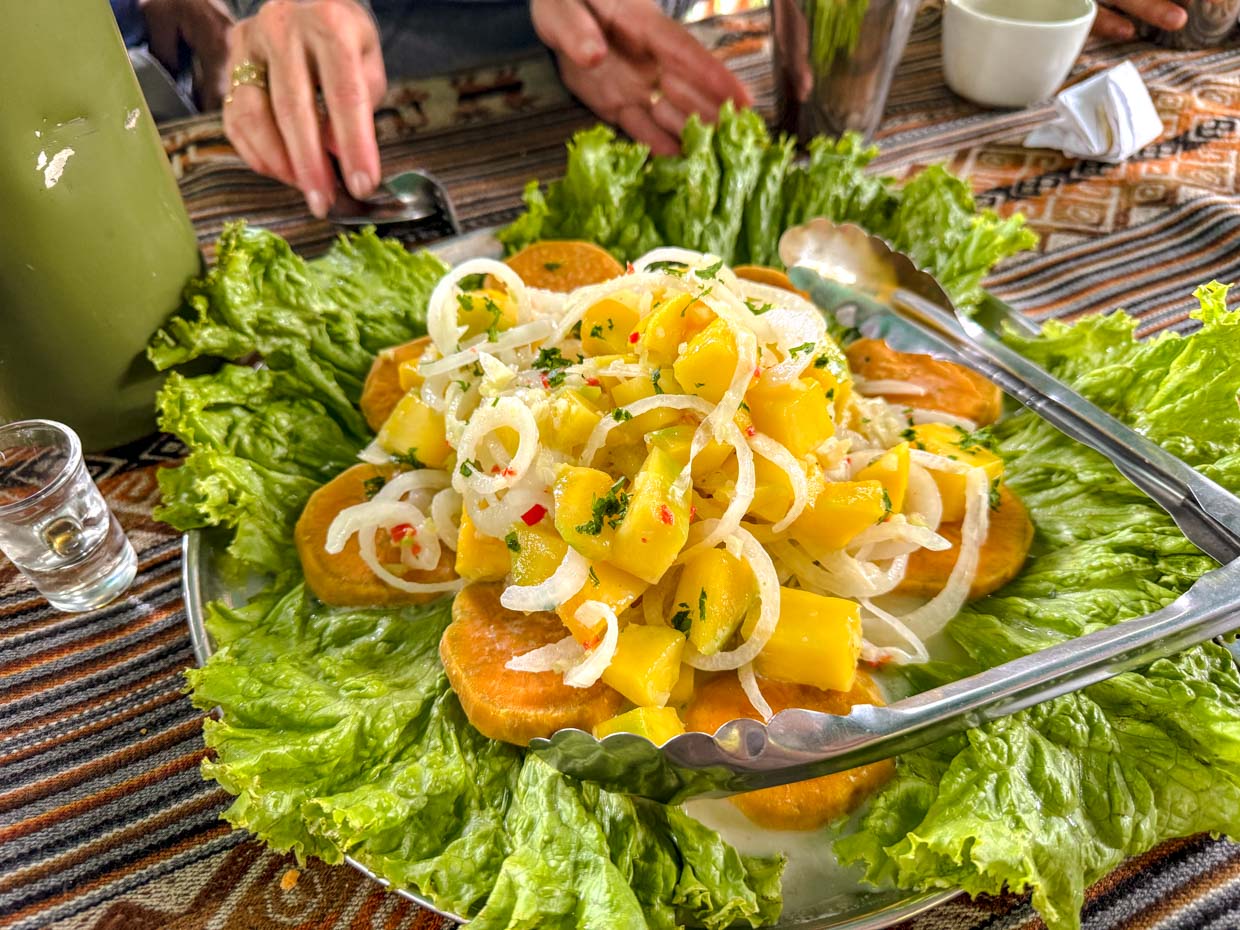
Lunch was also here and we had soup, fried rice, mango ceviche, and beef stir fry.
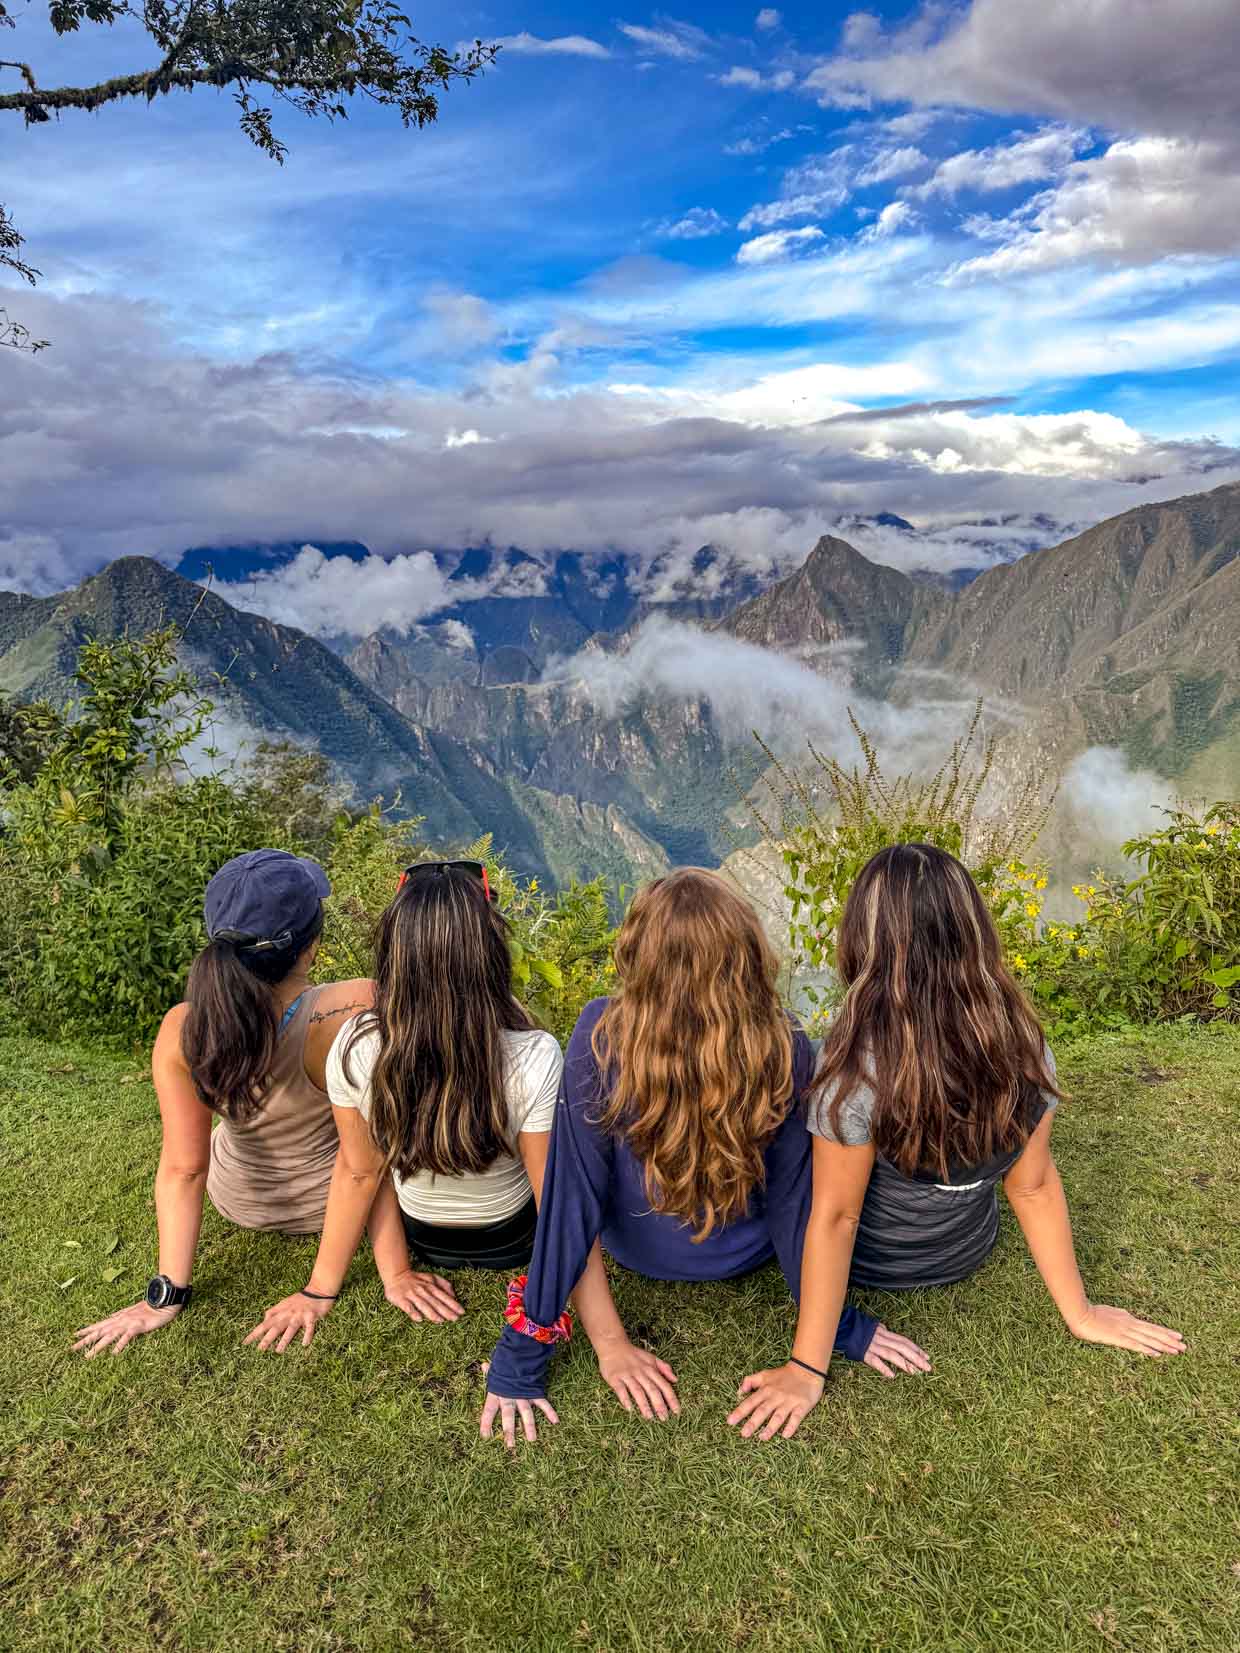
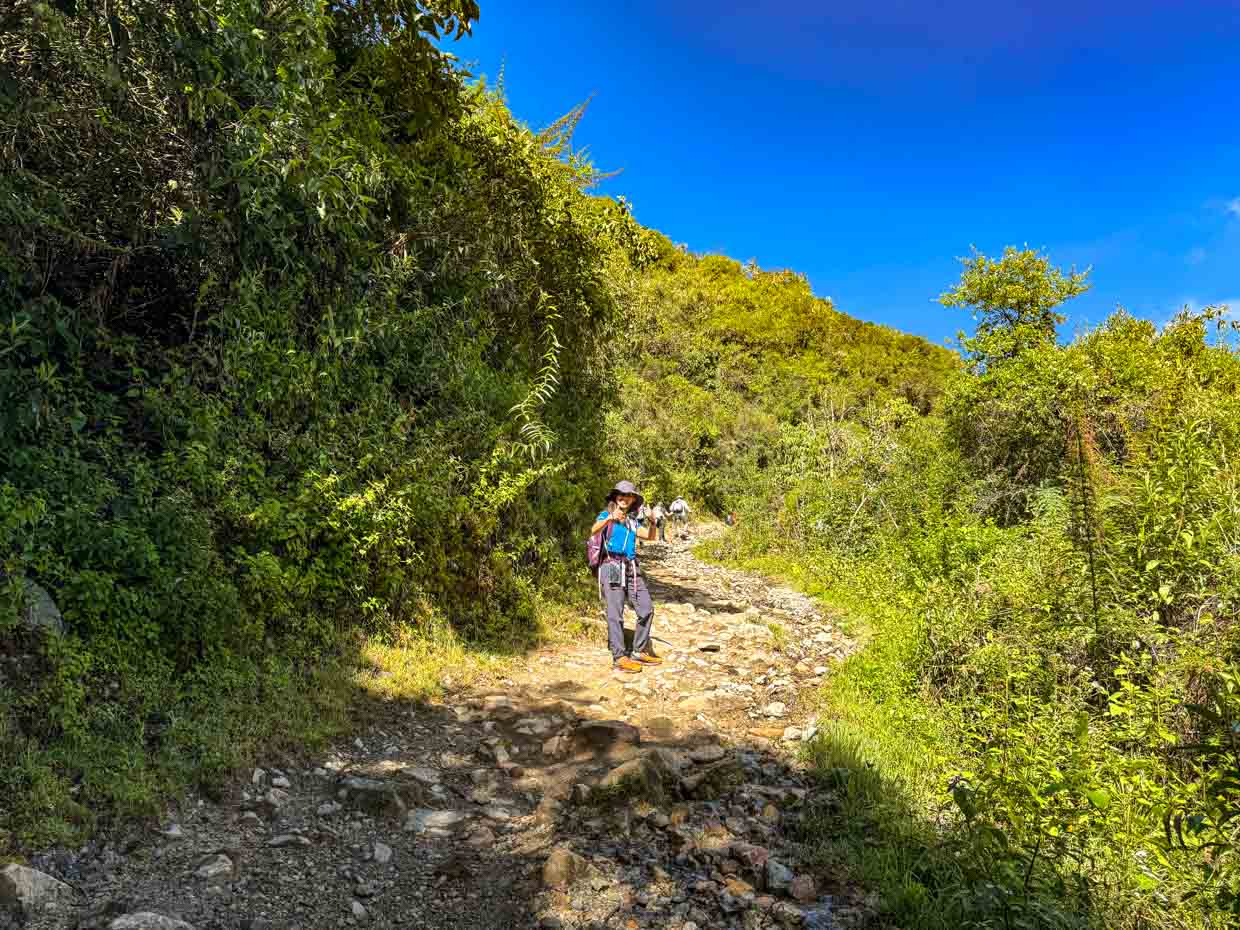
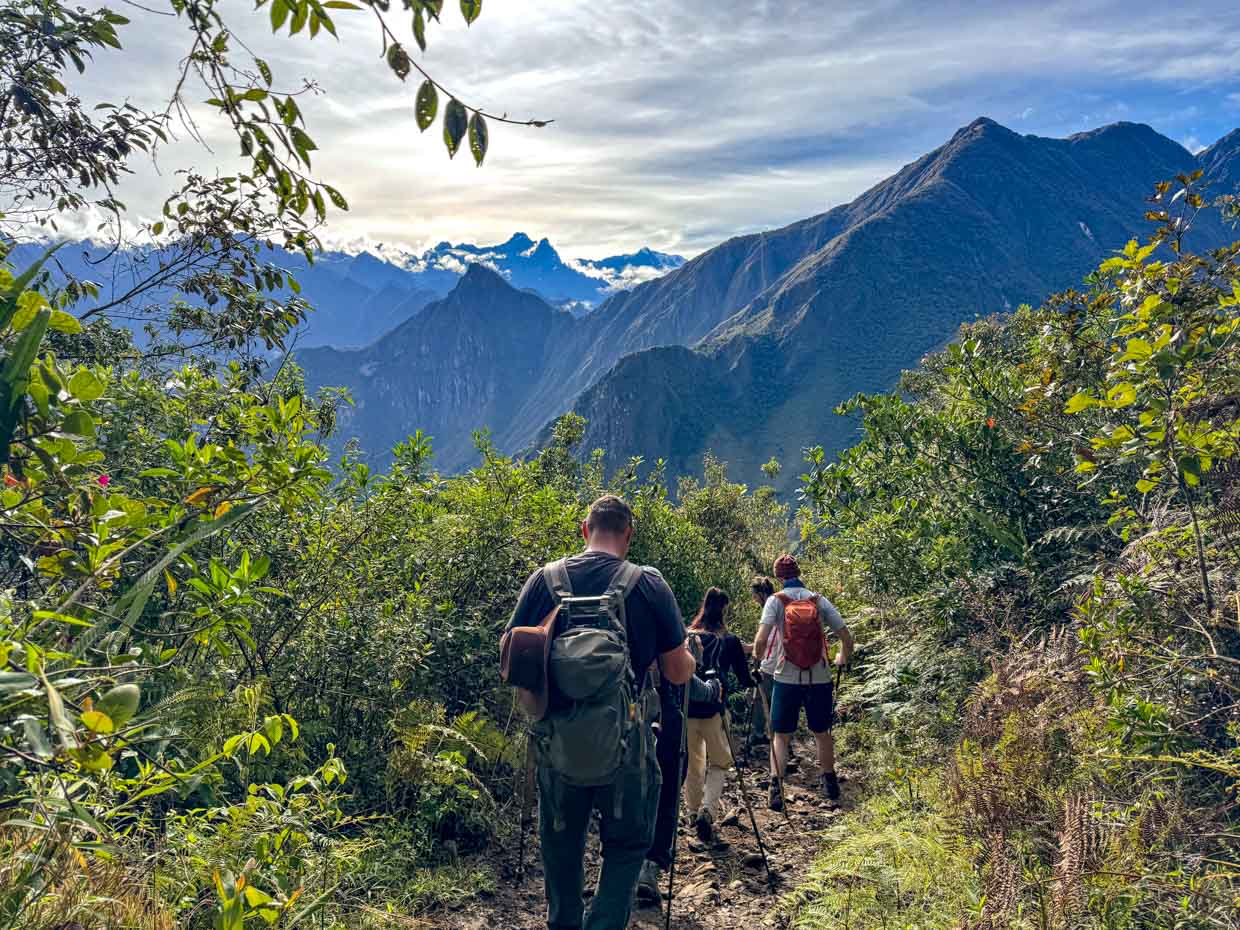
We set off at 1:35 finally and it was an uphill hike and reached the Machu Picchu viewpoint at 3:45pm.
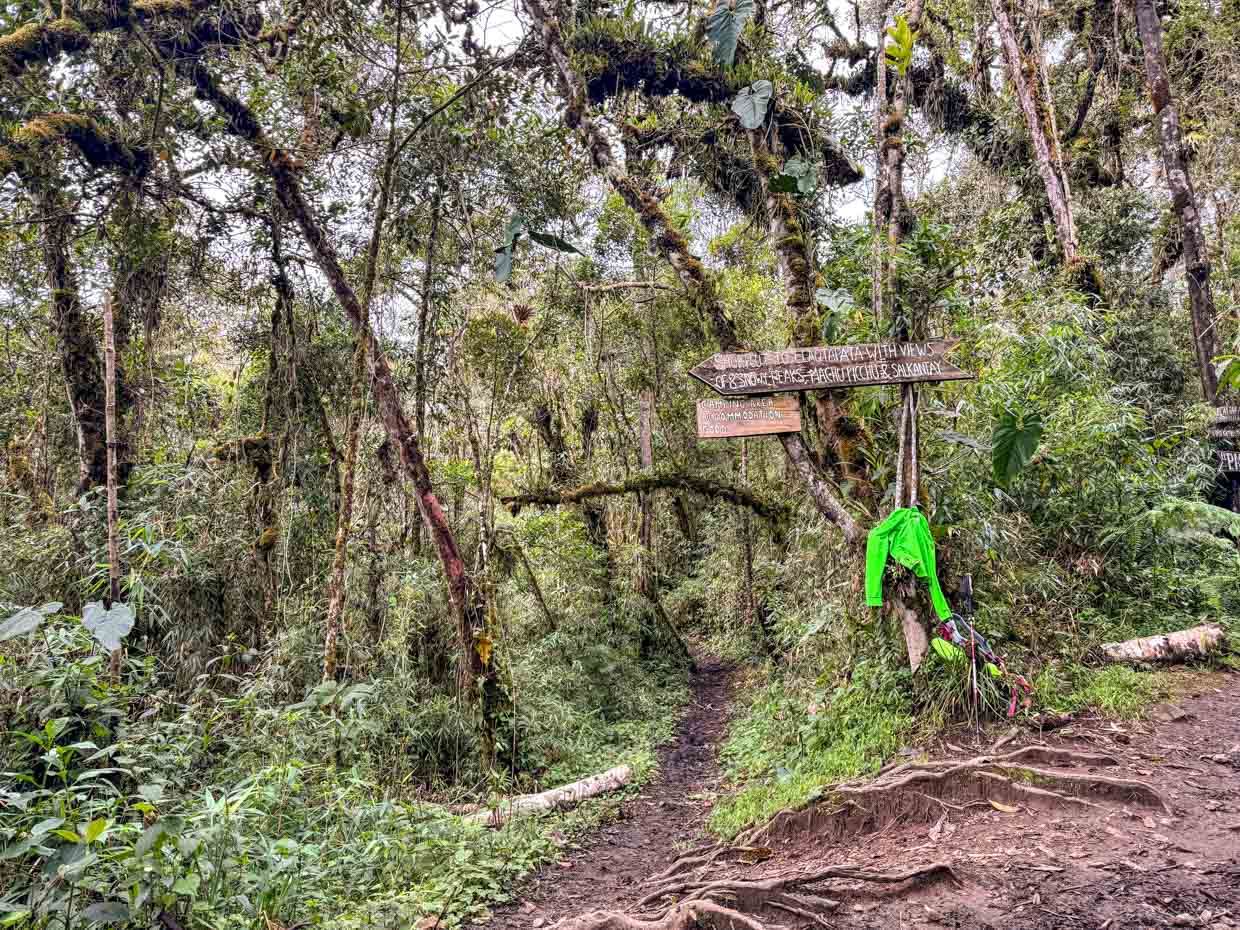
Note: if you like to DIY the trip, then this is a place you can stay.
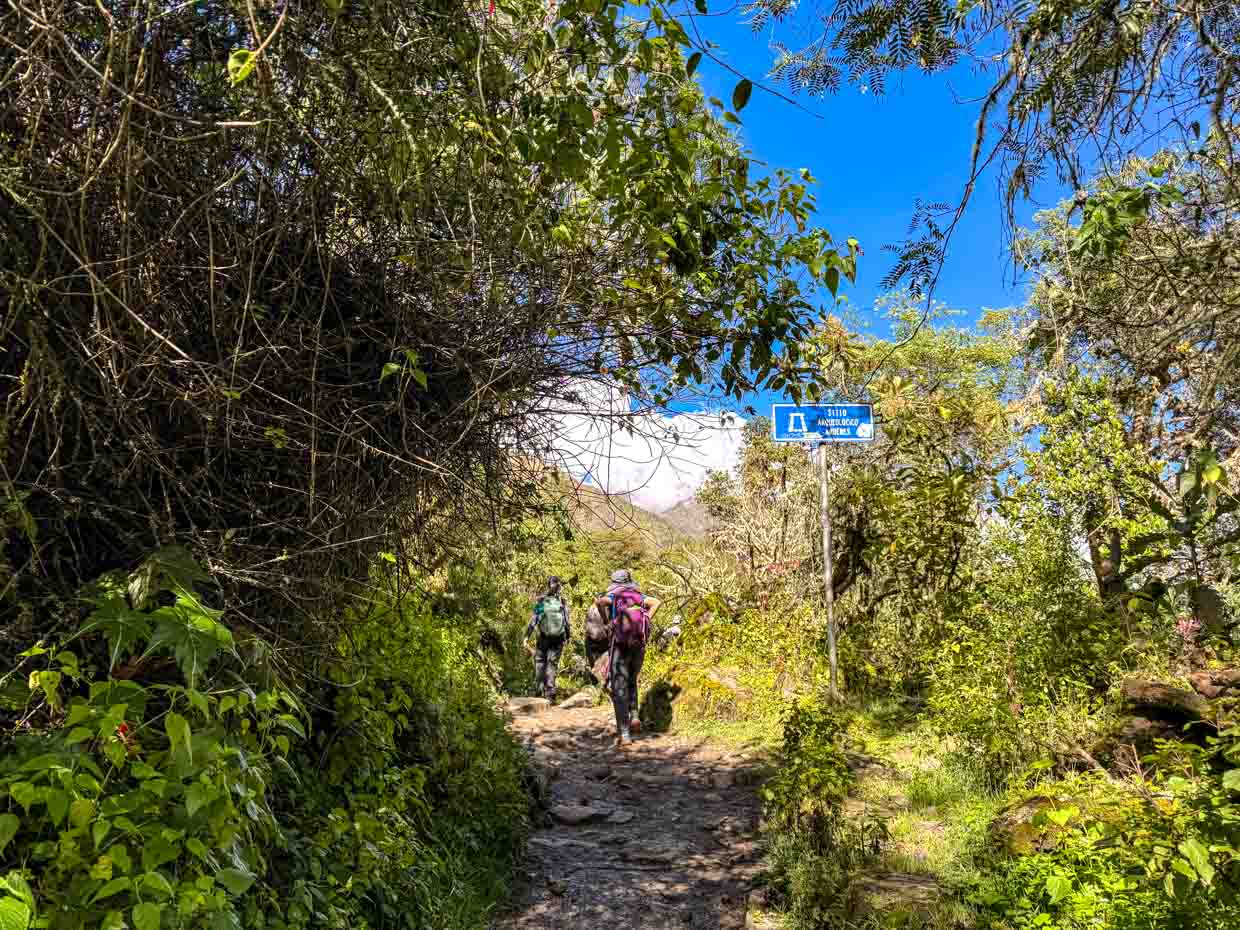
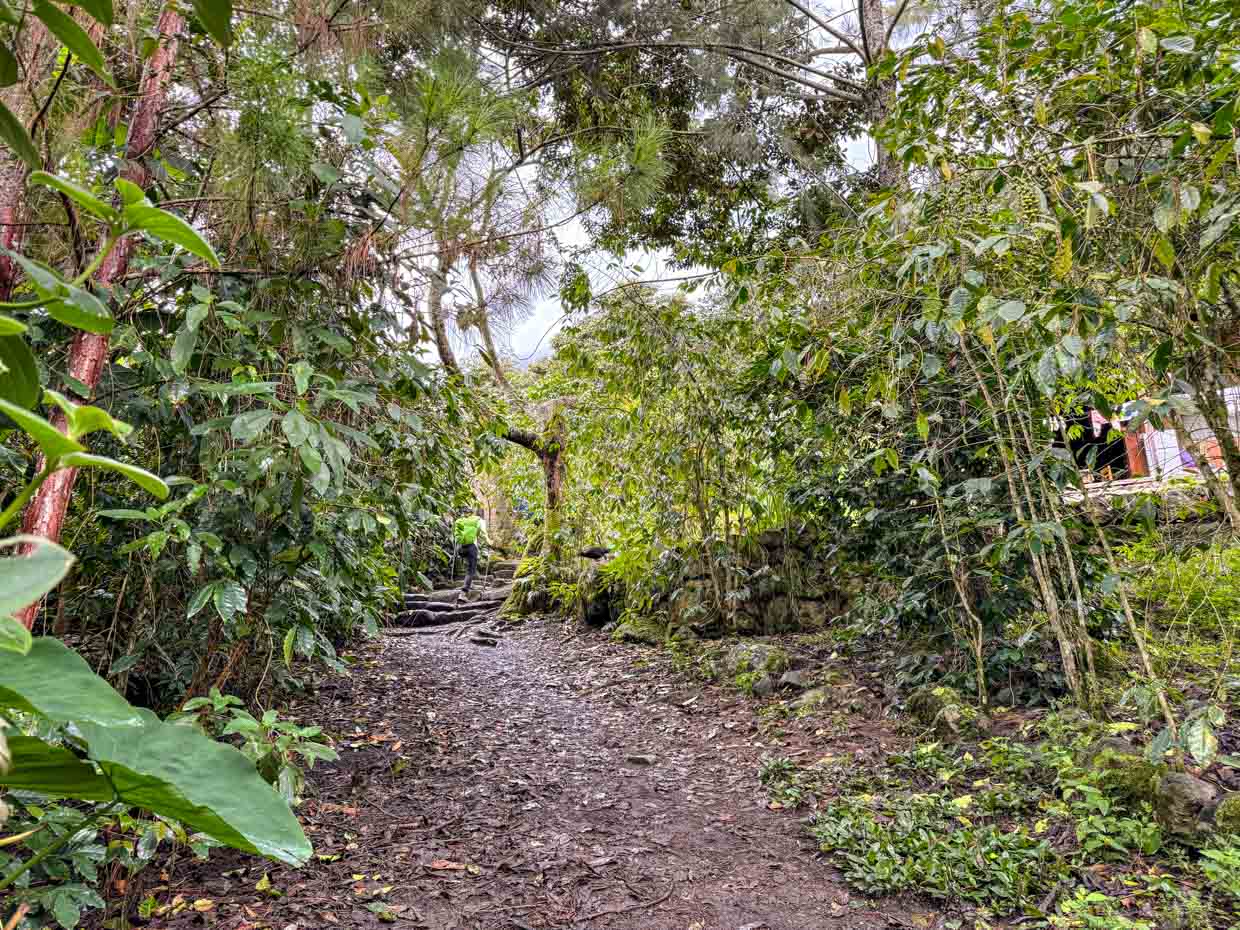
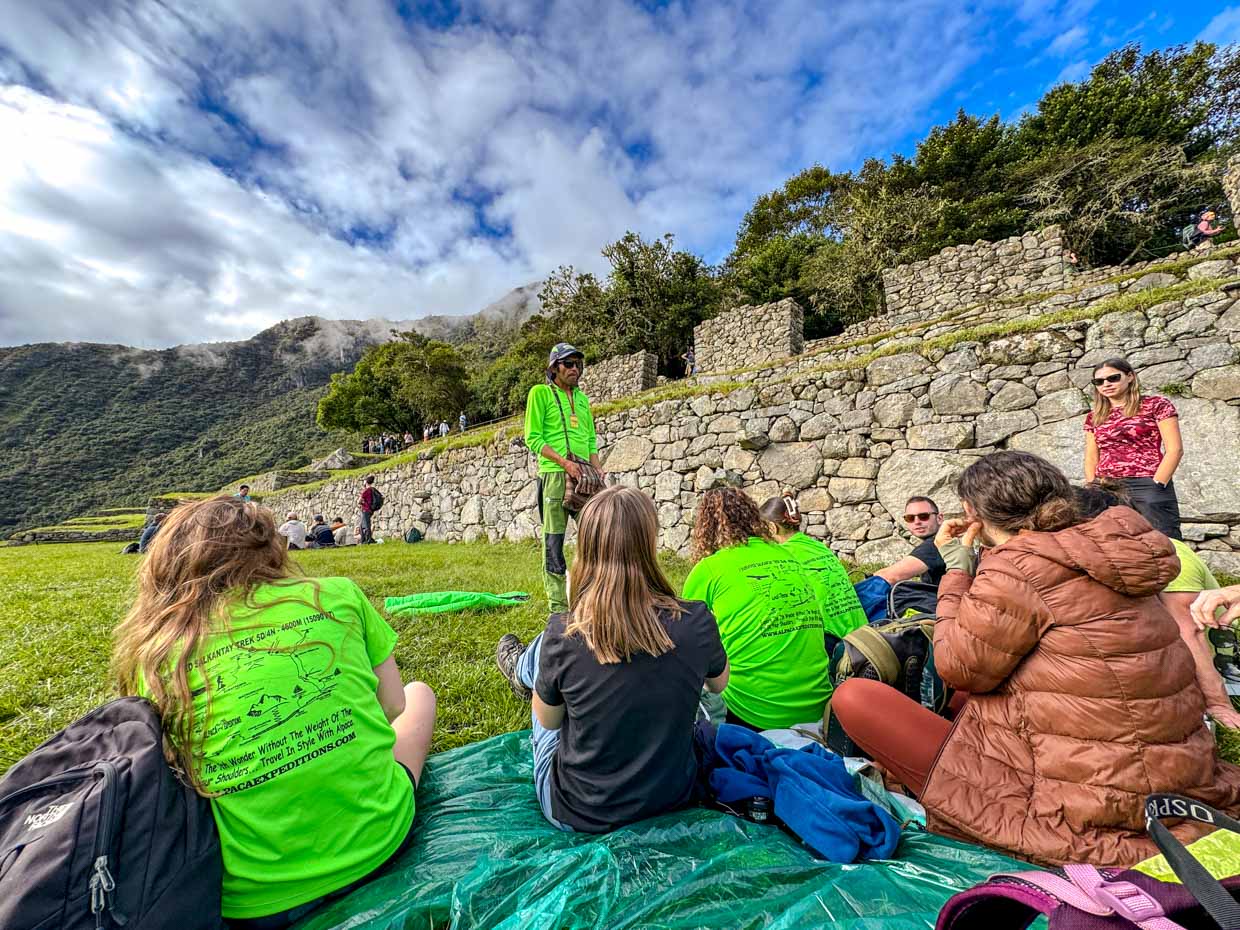
Llactapata Inca Ruins (2700m)

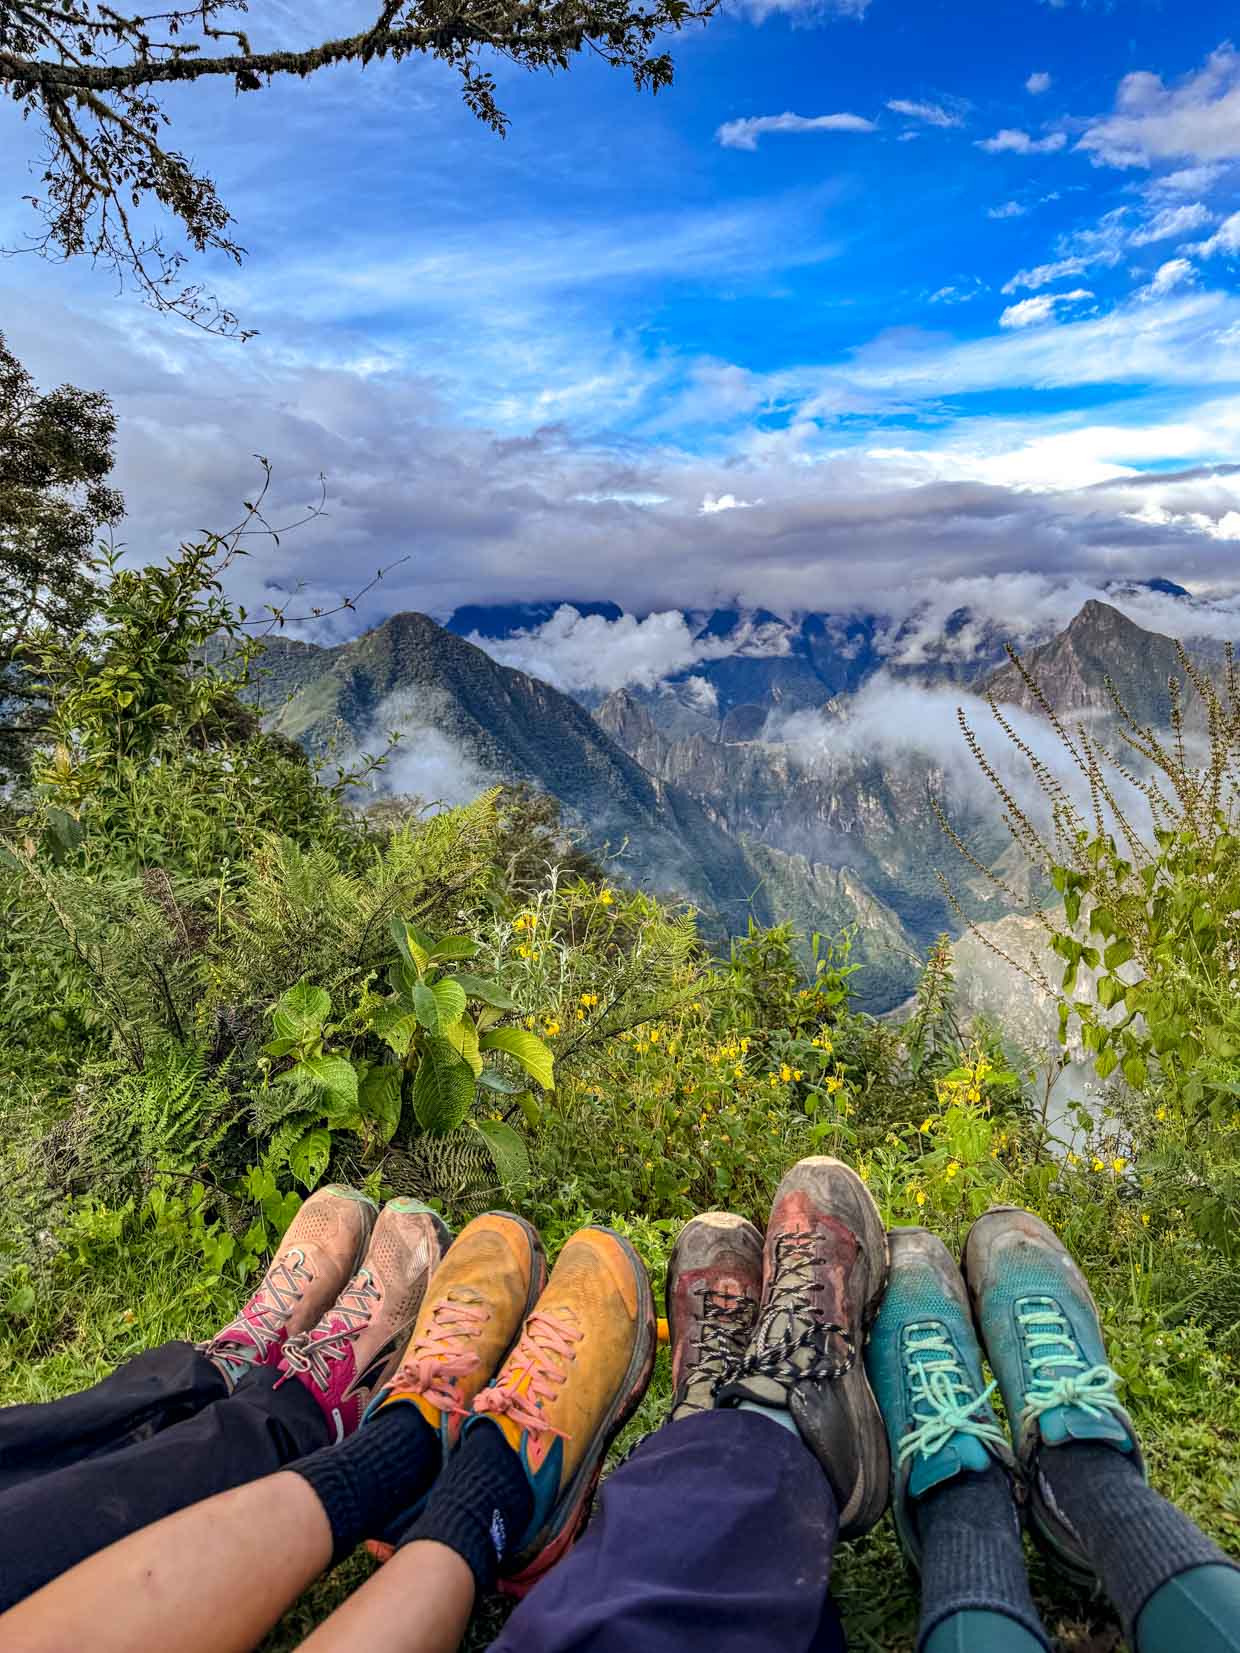
After admiring the view, we went down to the Llactapata Inca Ruins where our guide Jhymmy told us some history of the ruin and about the Inca.
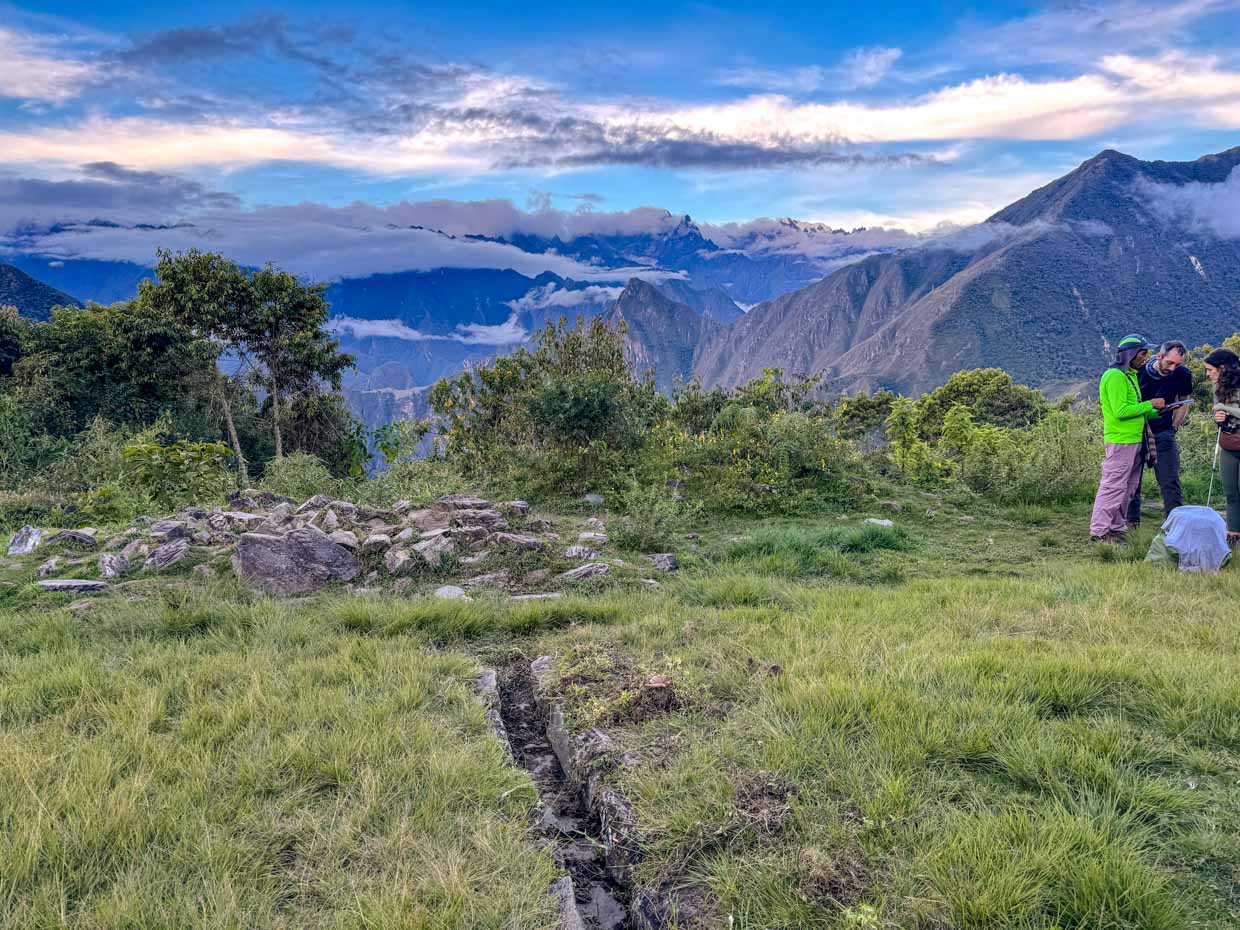
Our campsite is a short hike away and we got there at 5:41pm.
Campsite (2,700m)

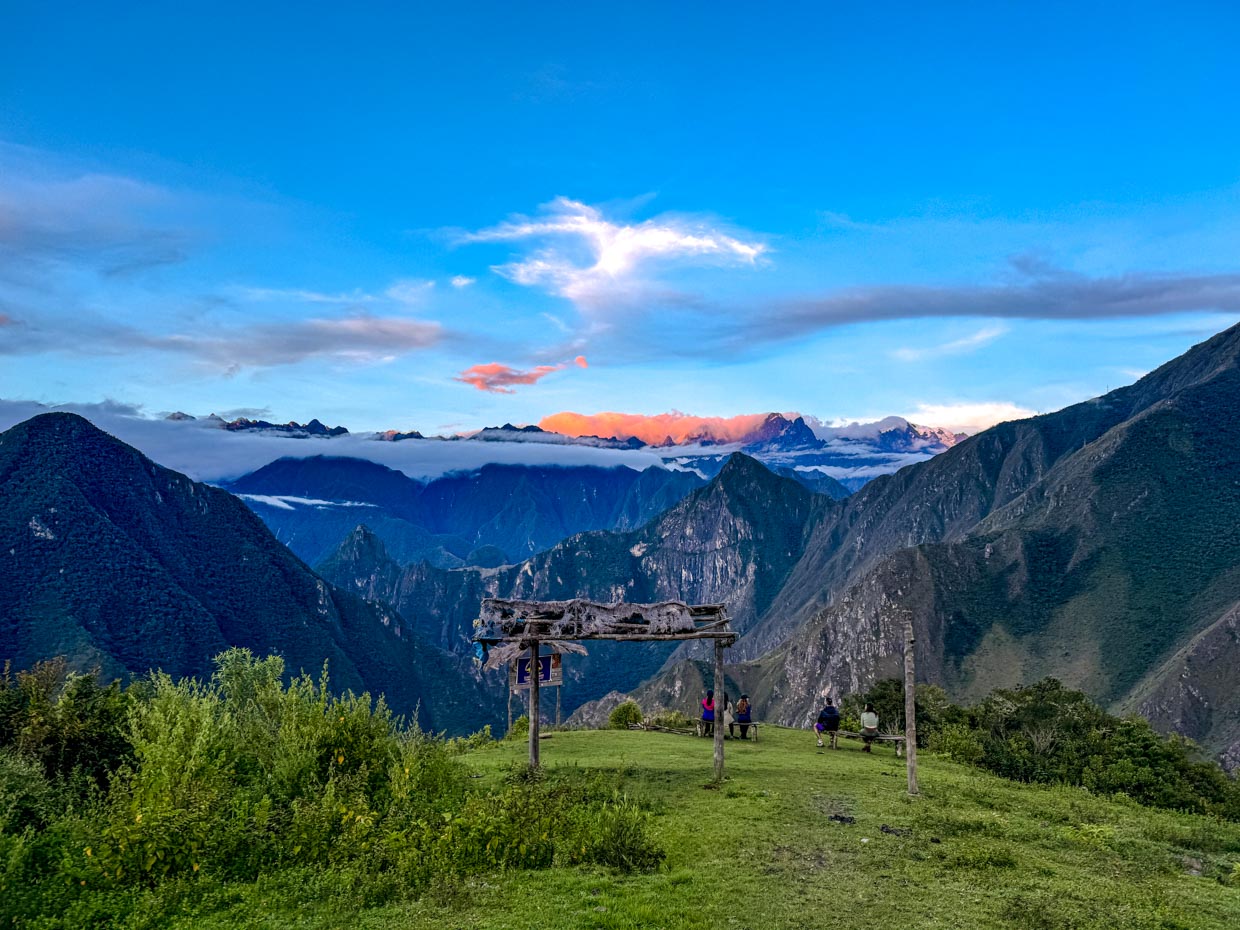
This is a private campsite only for Alpacca Expeditions. We can still see Machu Picchu and it was a great view of the surrounding mountain.
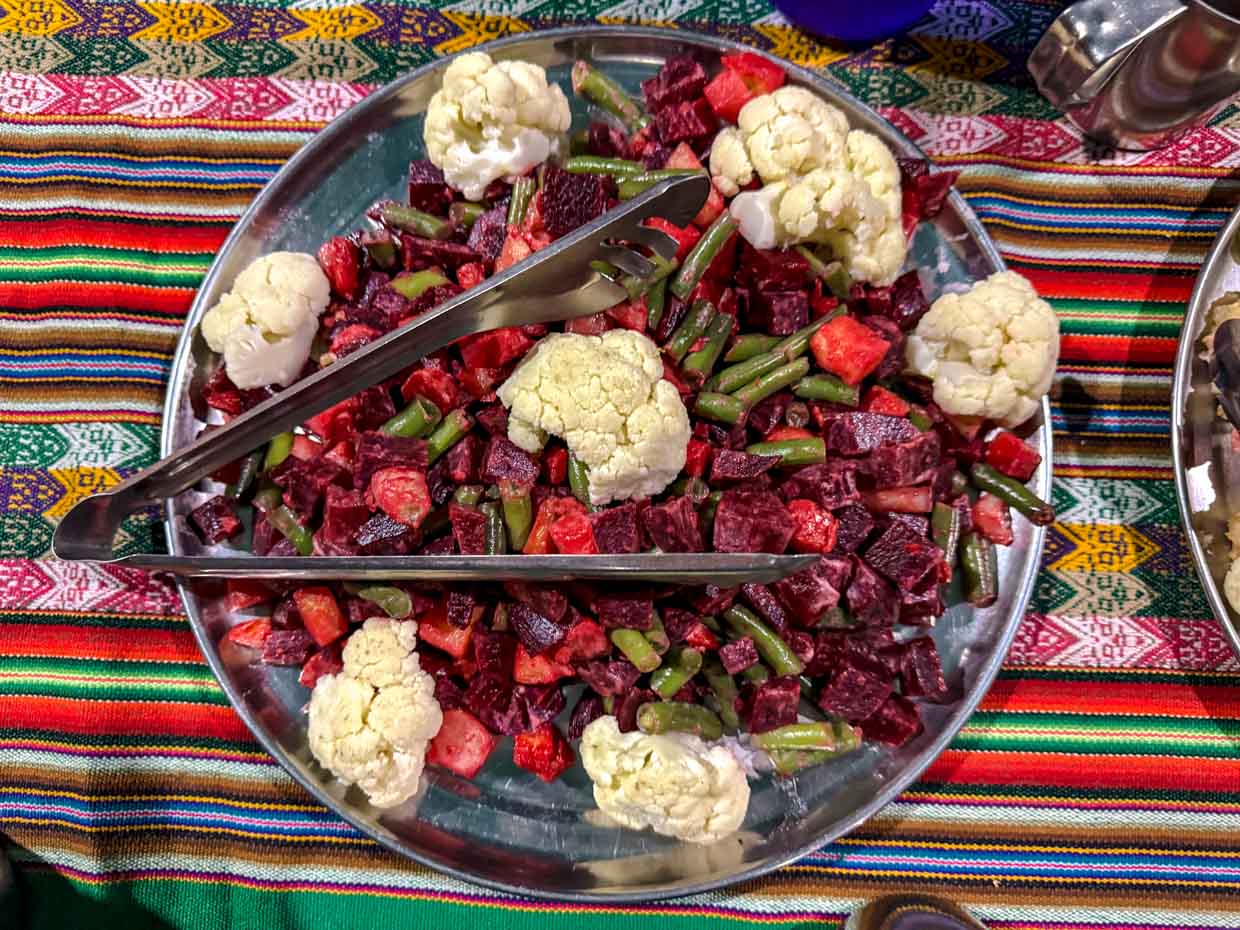
Afternoon snacks started at 6:30 and followed by dinner at 7:30 with soup, lemon chicken, beetroot salad, and rice.
There’s no shower and it started raining, so it was an early night.
Walking distance: 12km
Elevation gained: 400m
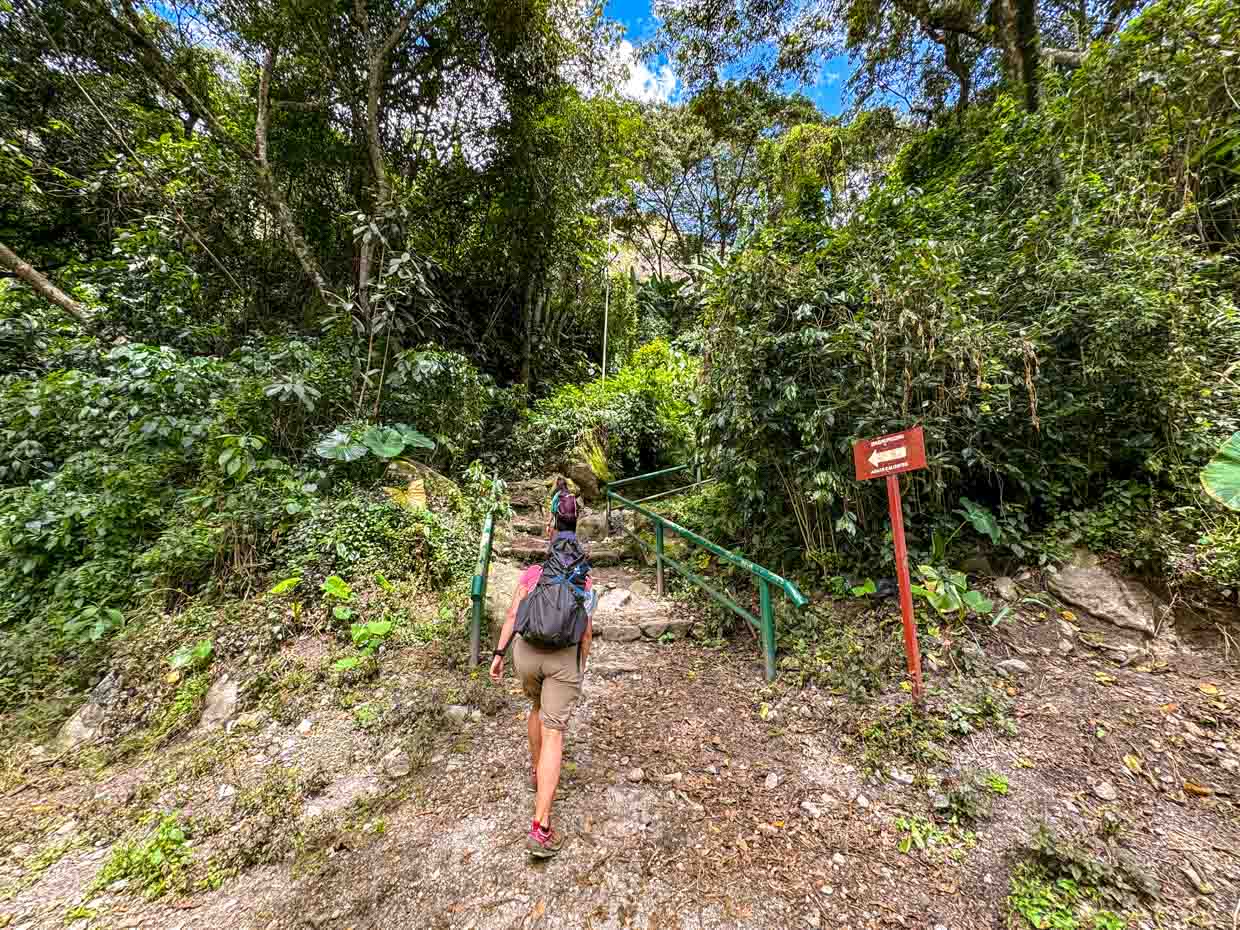
Day 4: Llactapata lookout – waterfalls at Hidroelectrica – Mandor Hiram Bingham farm – Aguas Calientes
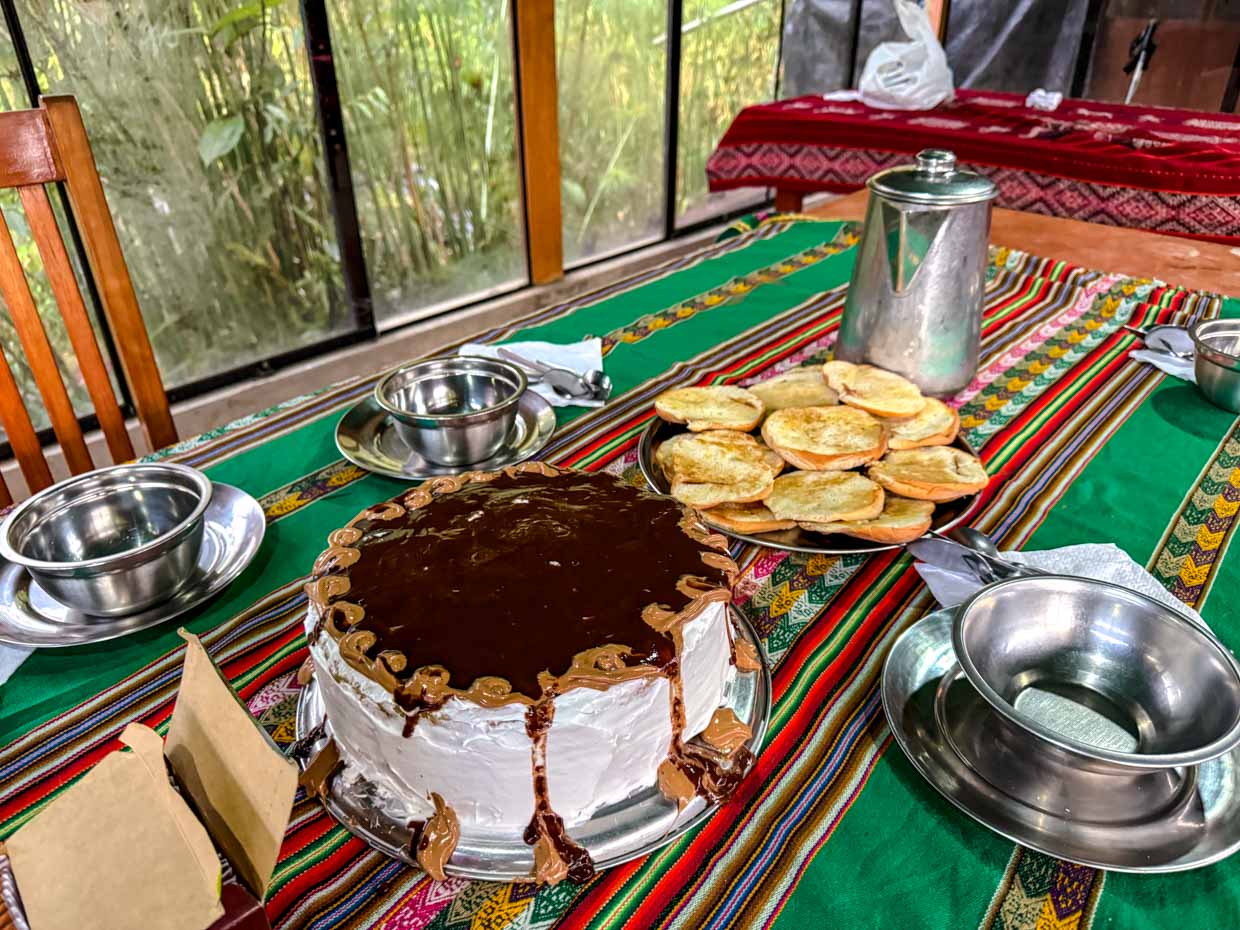
We woke up at 5:45 and since it was one of the hikers’ birthday and the chef managed to bake a cake for him!
We took our time, got some group photos and set off at 8am.
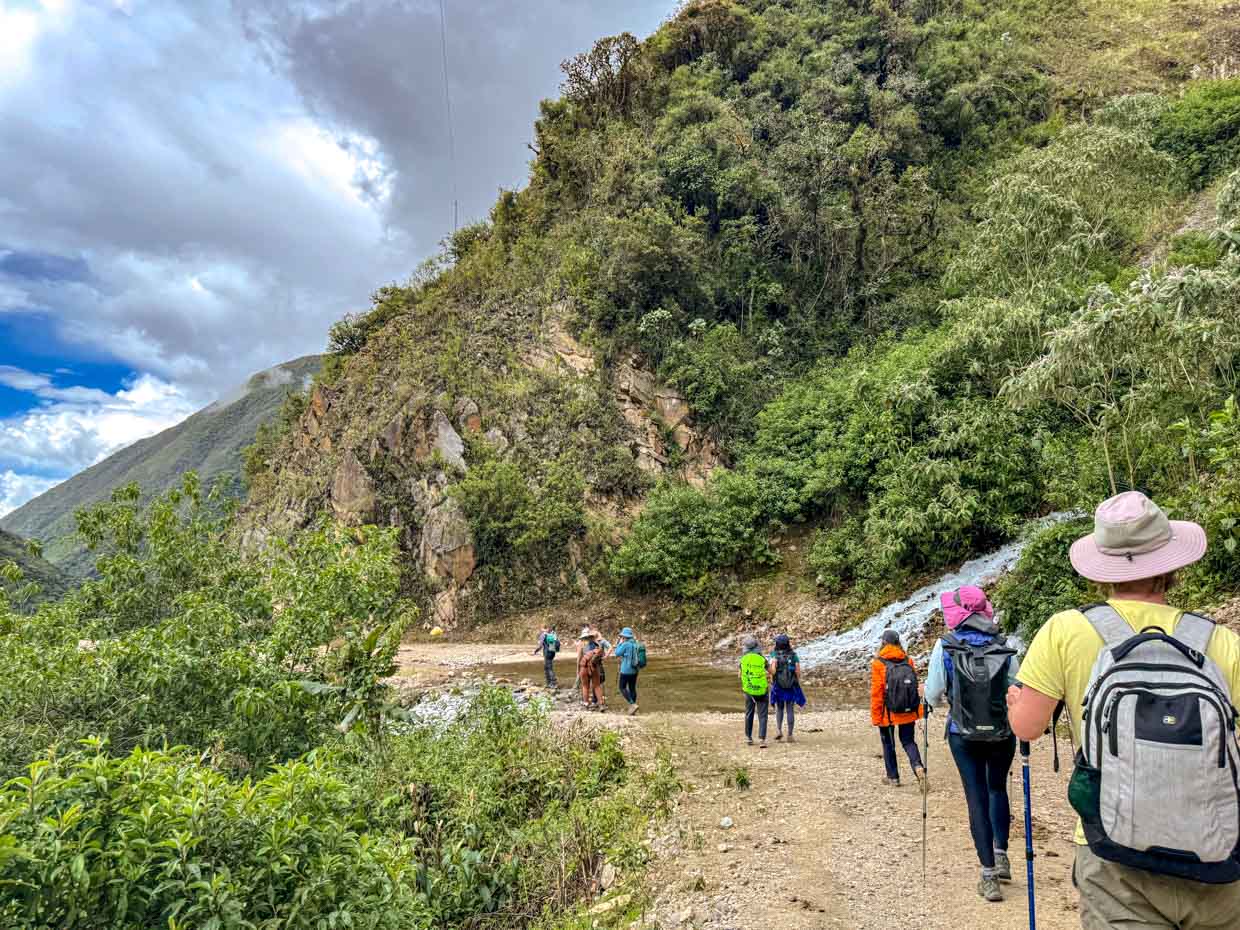
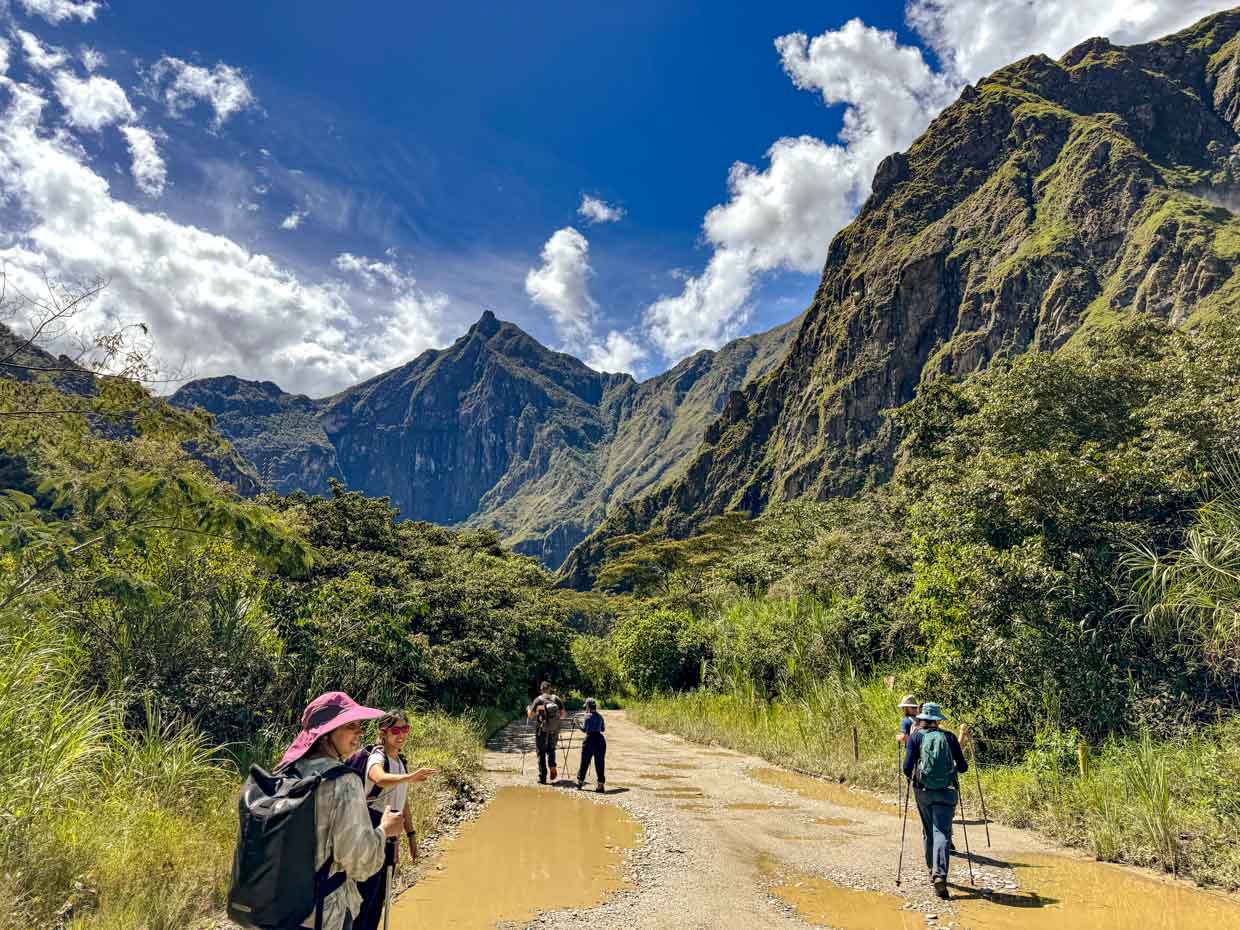
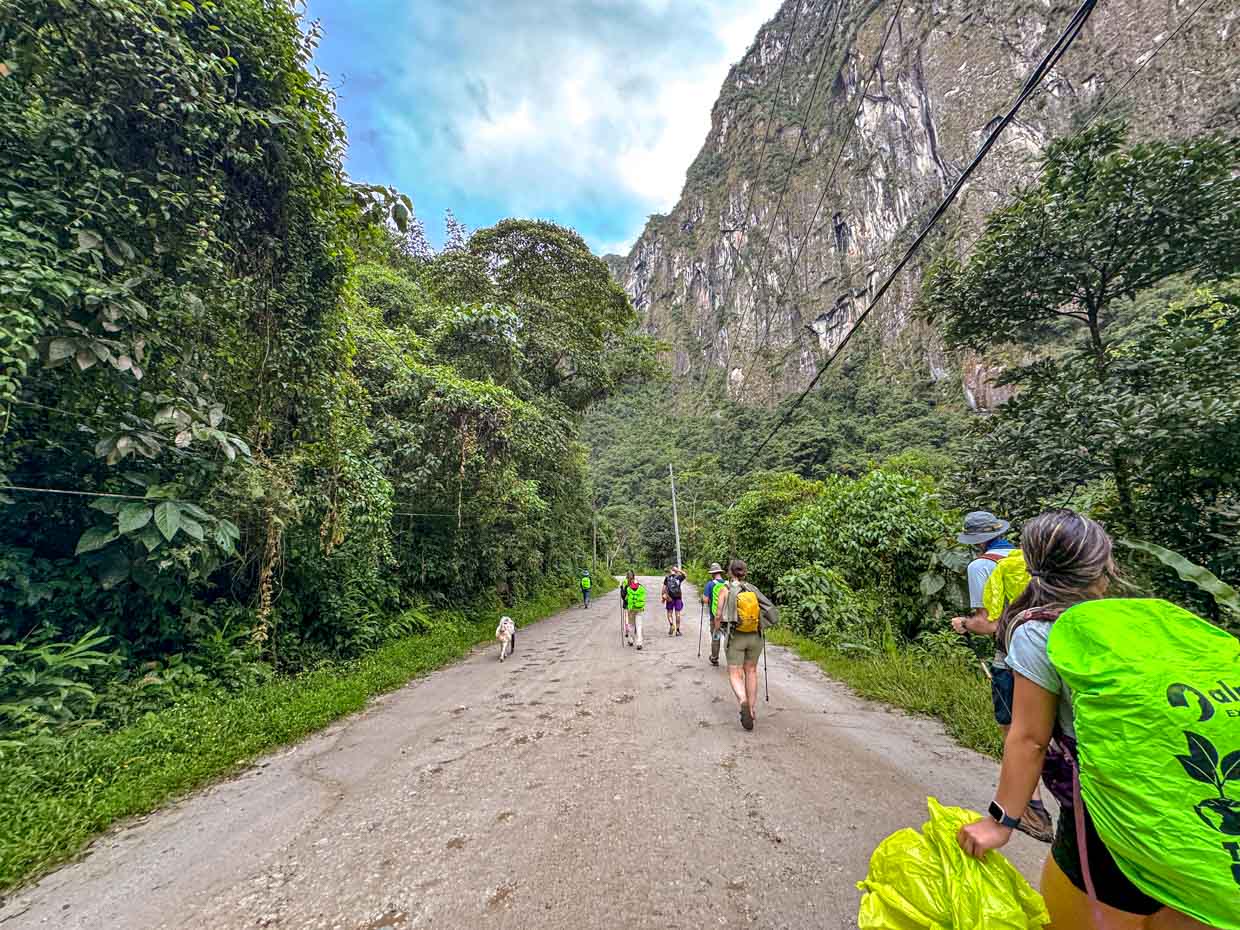
The downhill hike was extremely muddy but otherwise not too bad. We got to the bottom and crossed the river at 9:35am.
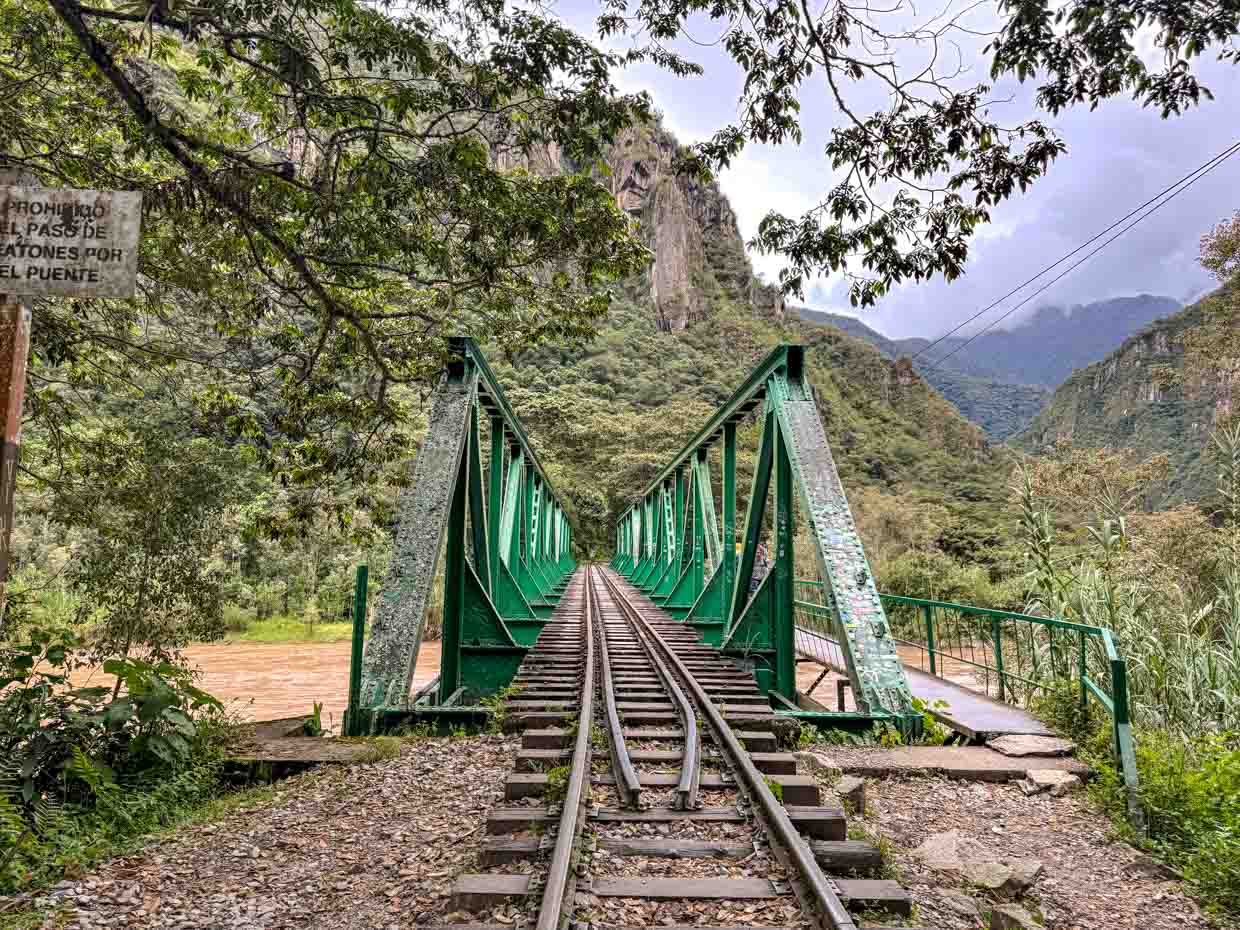
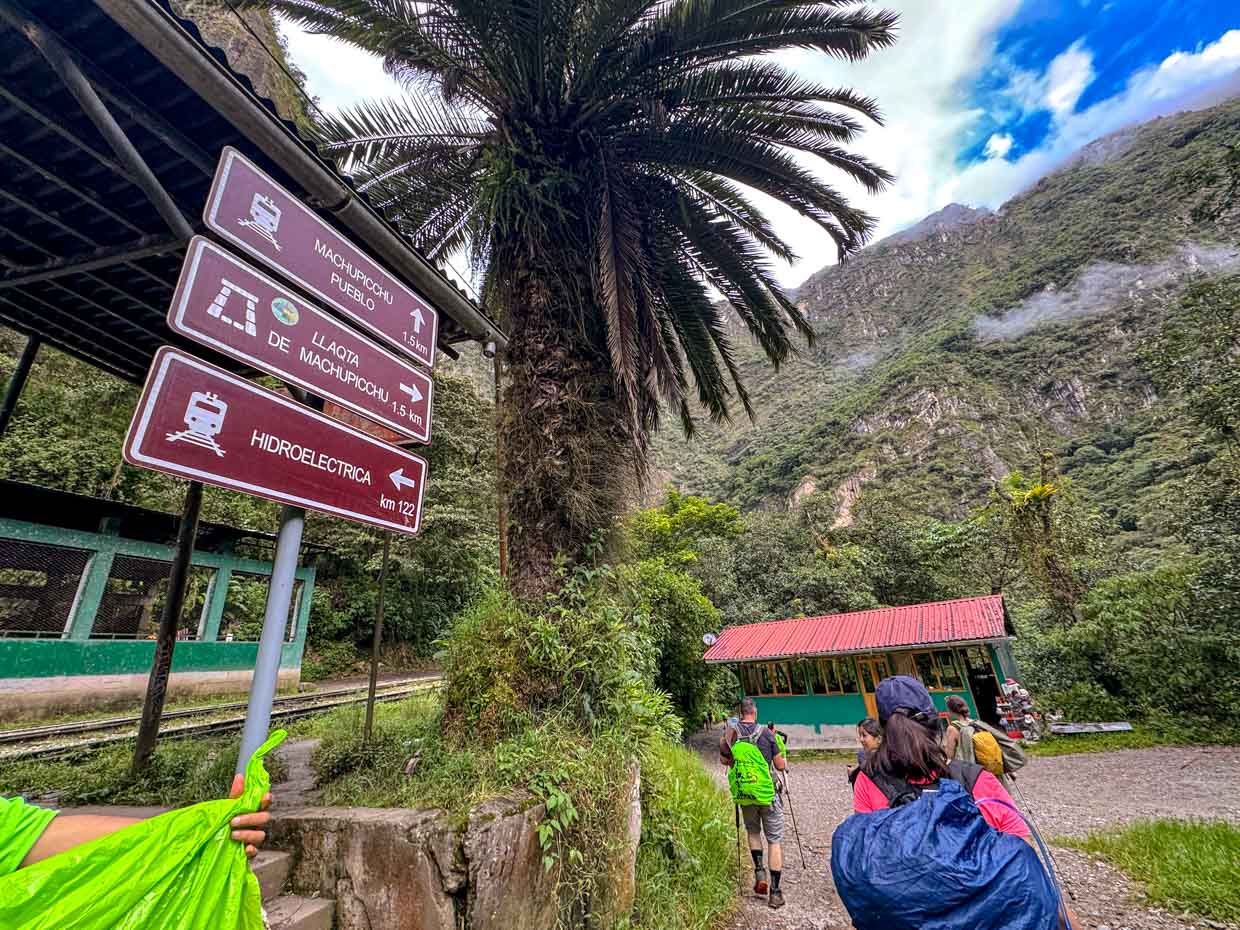
Hydroelectrical station (1820m)
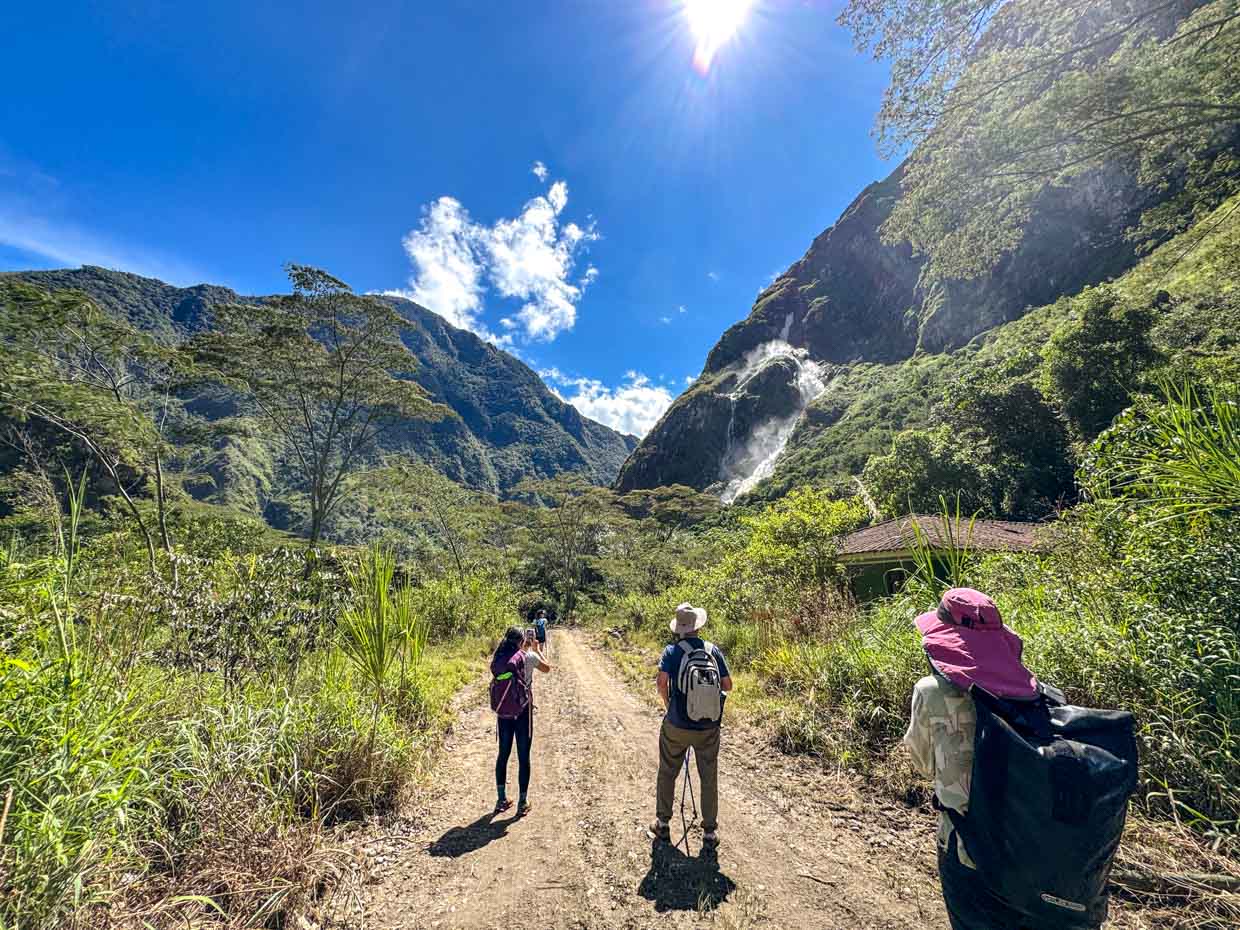
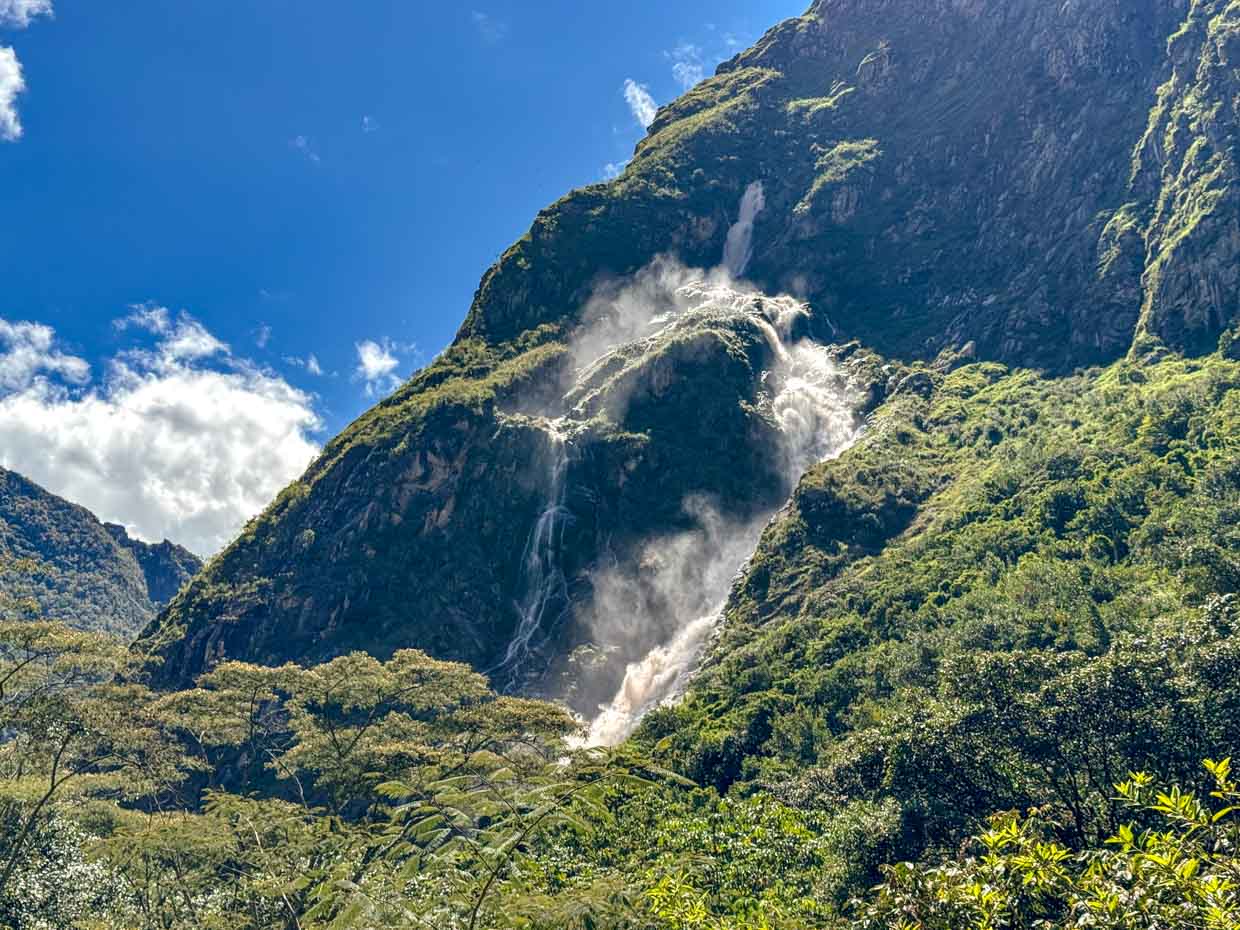
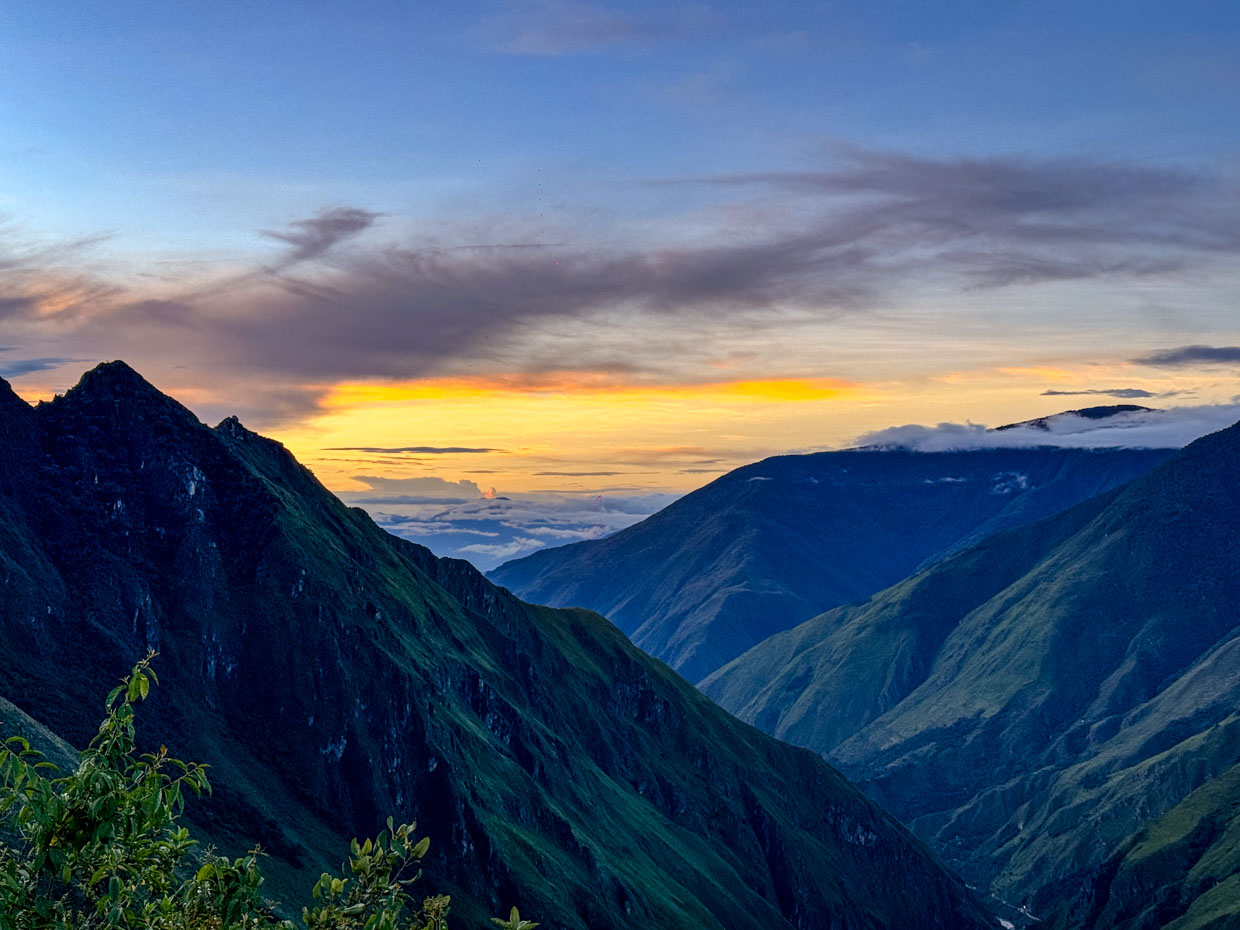
From there, we waited for the slower hikers and left again at 10am. The trail was mostly flat and we saw the 300m high waterfall, which was built to harnessed its power for electricity.
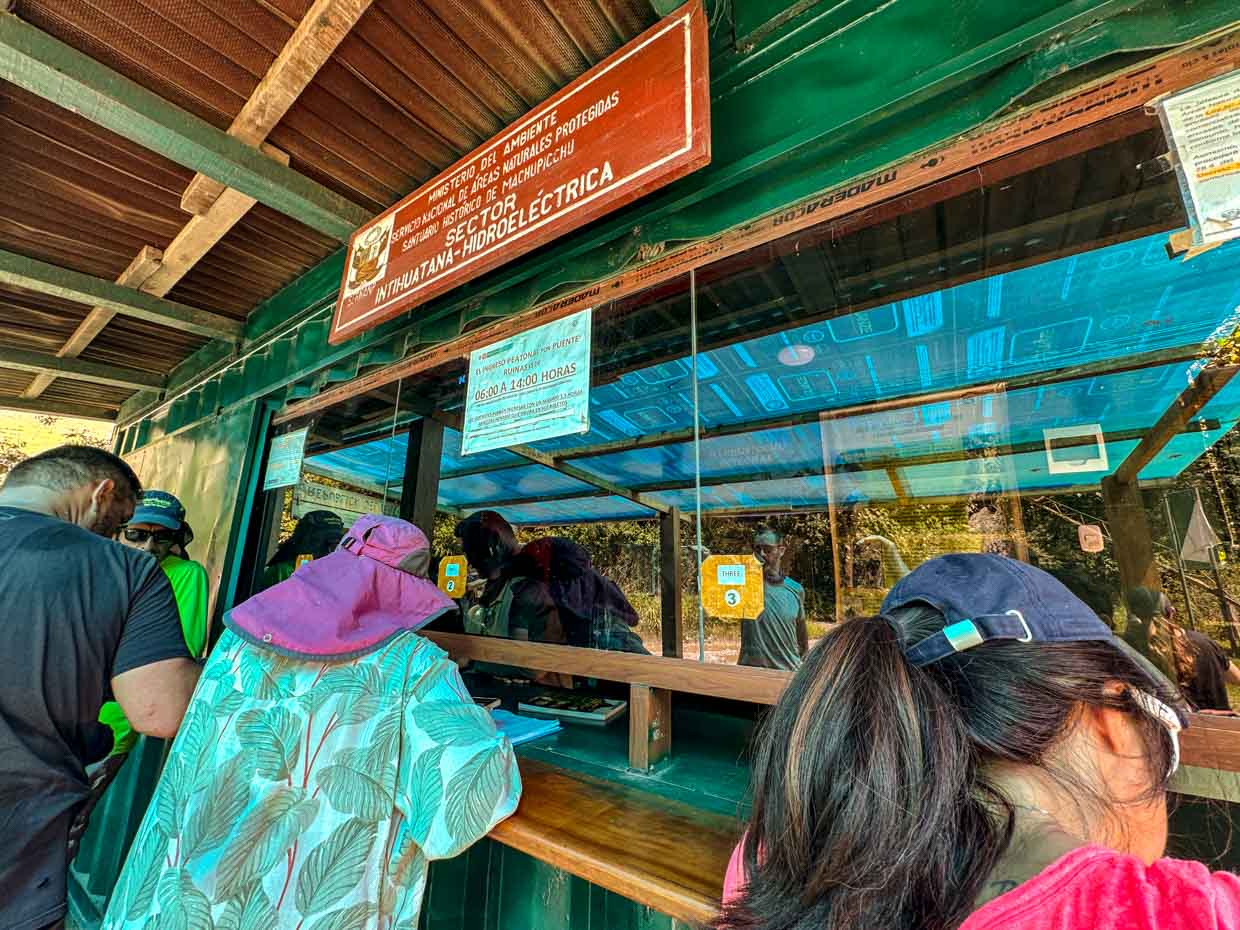
We had to sign in at a station enroute and reached the railway and our lunchspot at 10:45am.
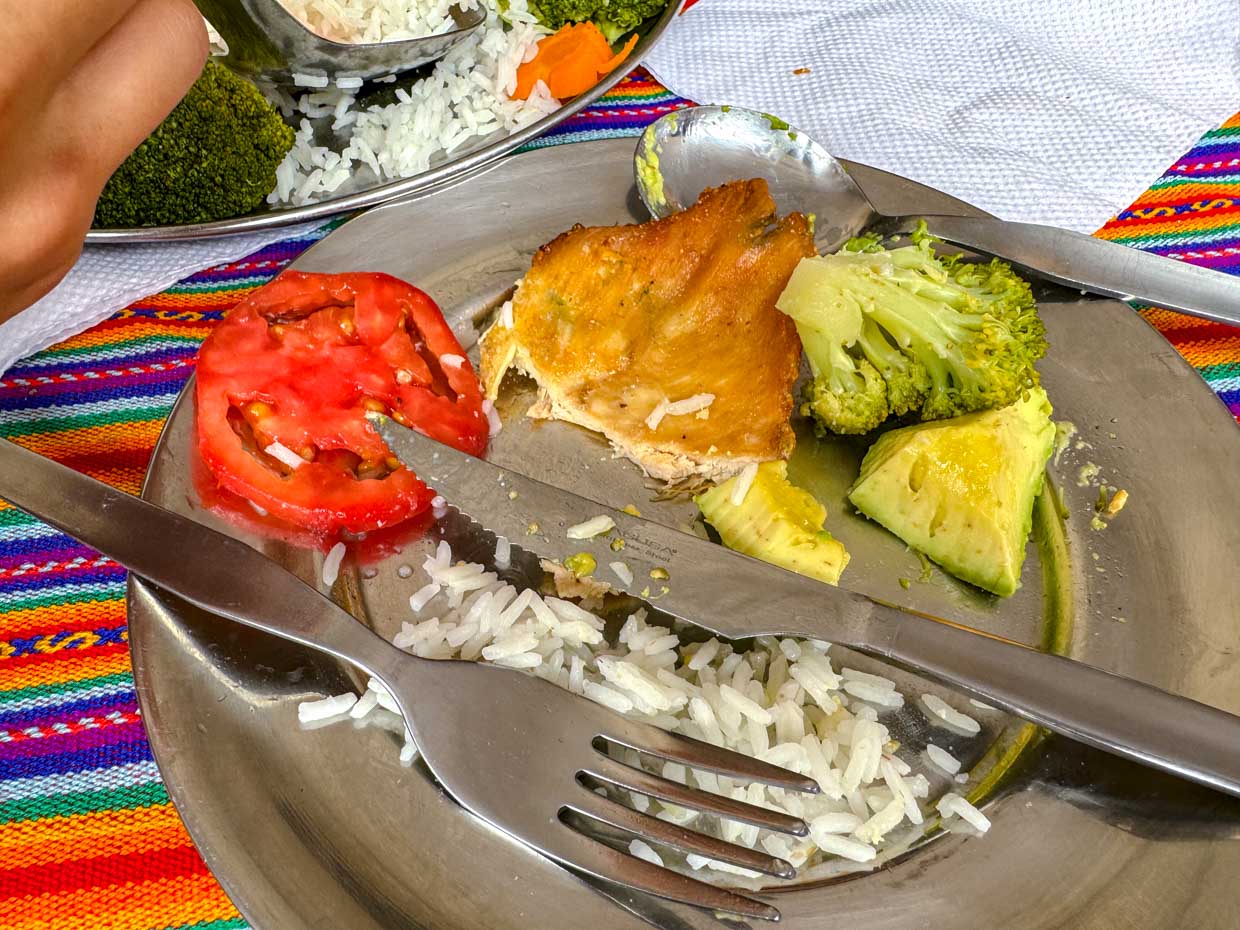
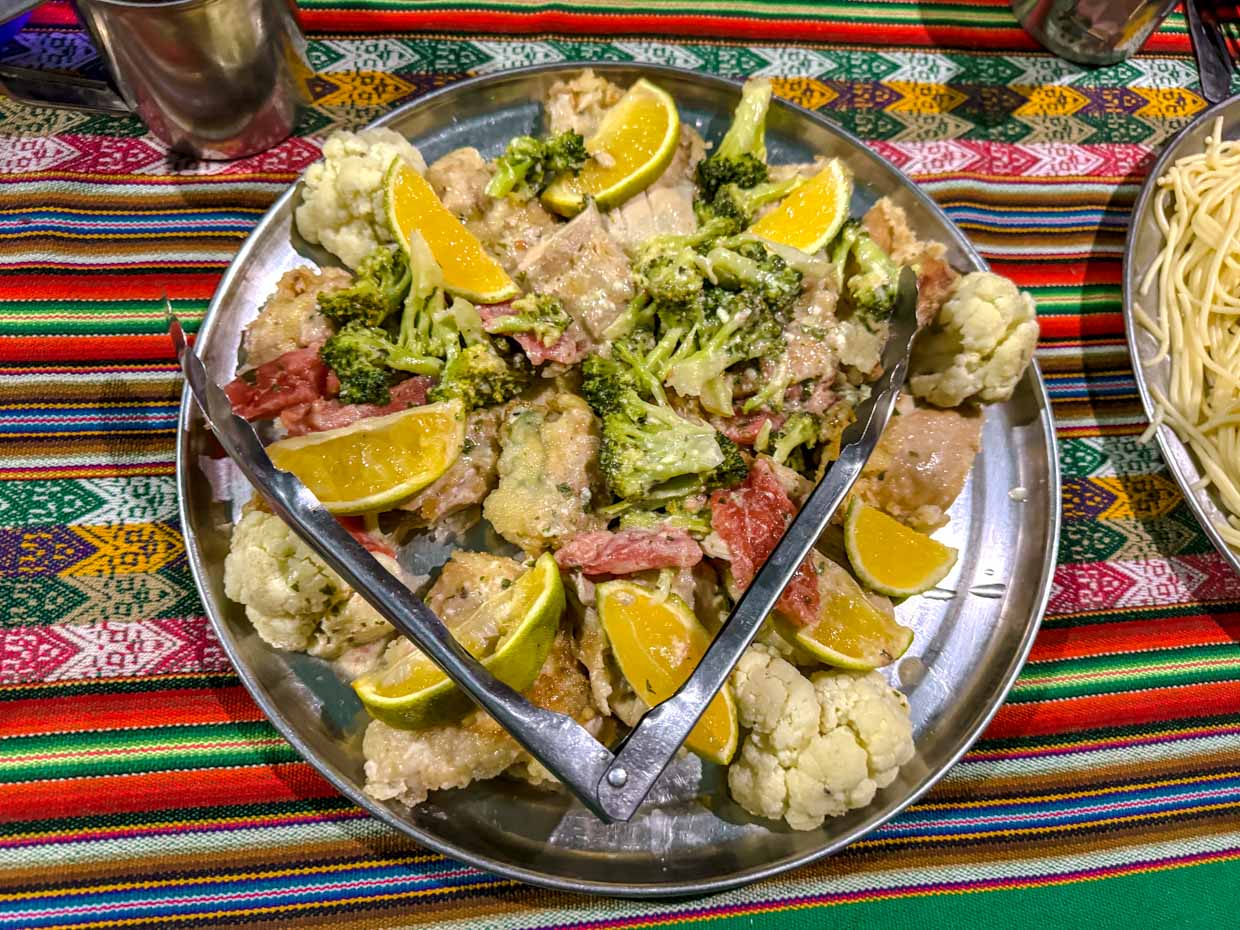
We had another amazing meal of chicken, broccoli, and rice. Then we said bye to chefs and porters and gave them our tips as this is where they go back to Cusco.
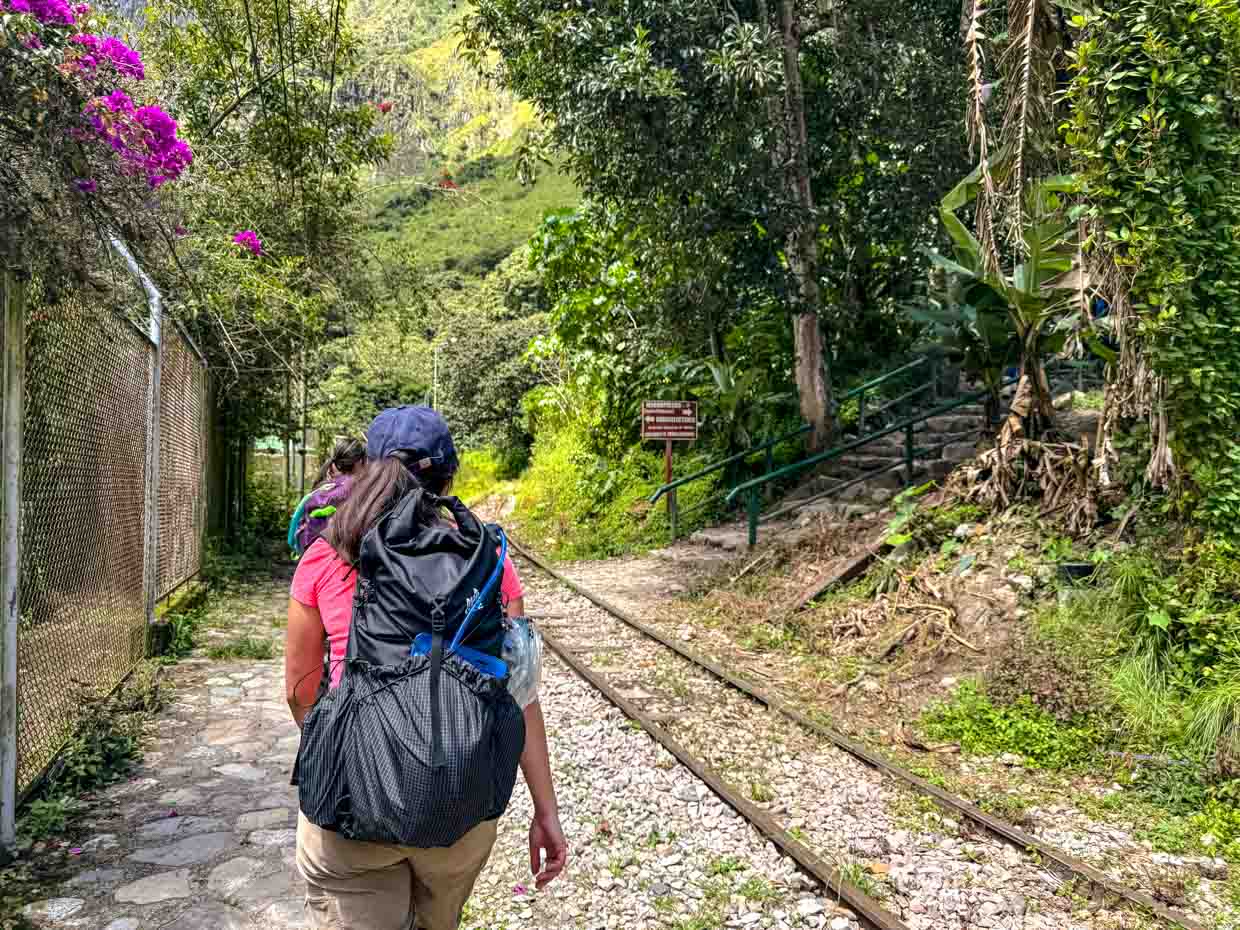
After lunch was arguably the toughest part of the hike as it was mostly just walking along the train trek and river. It was also quite rainy and difficult to chat with the roar of the river.
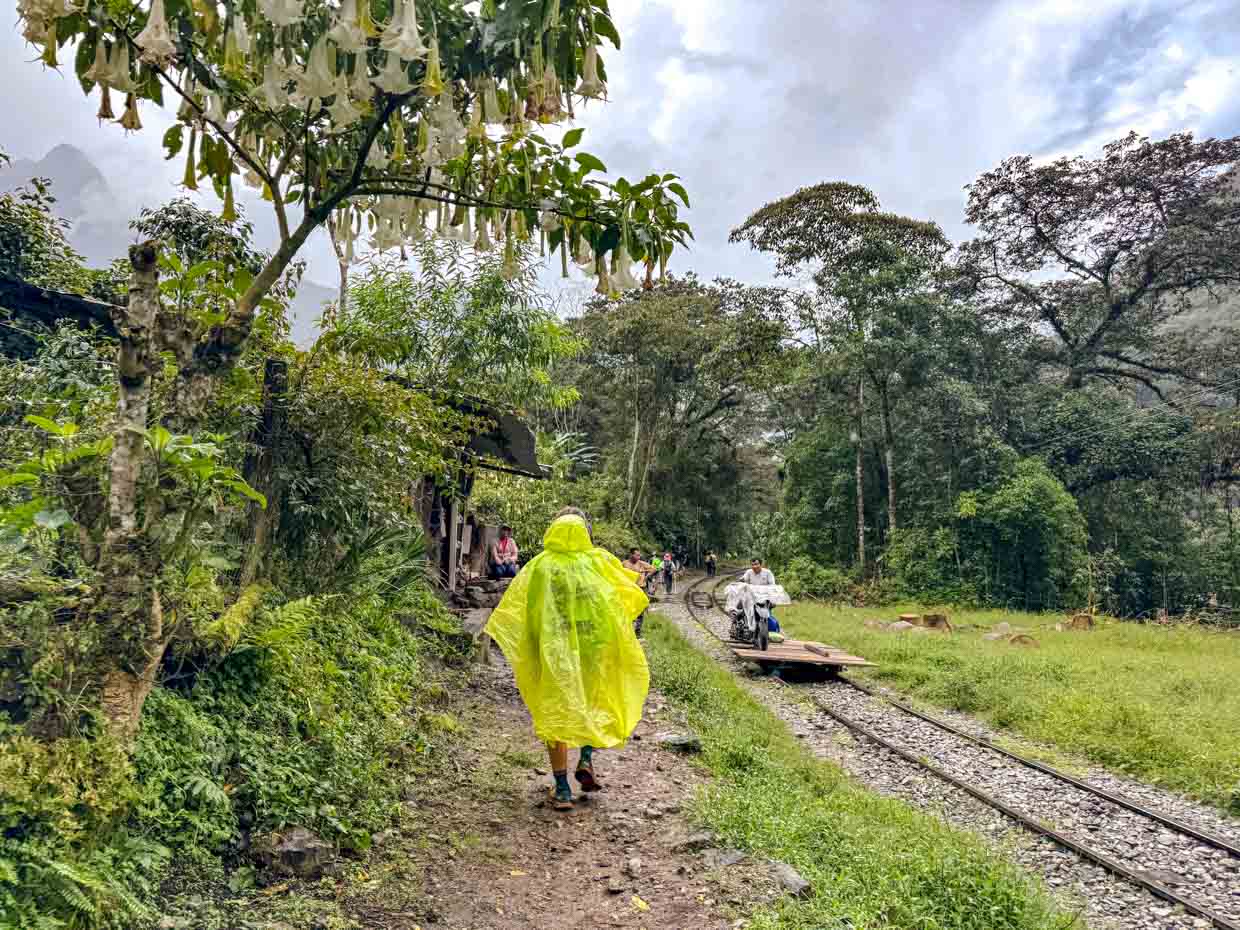
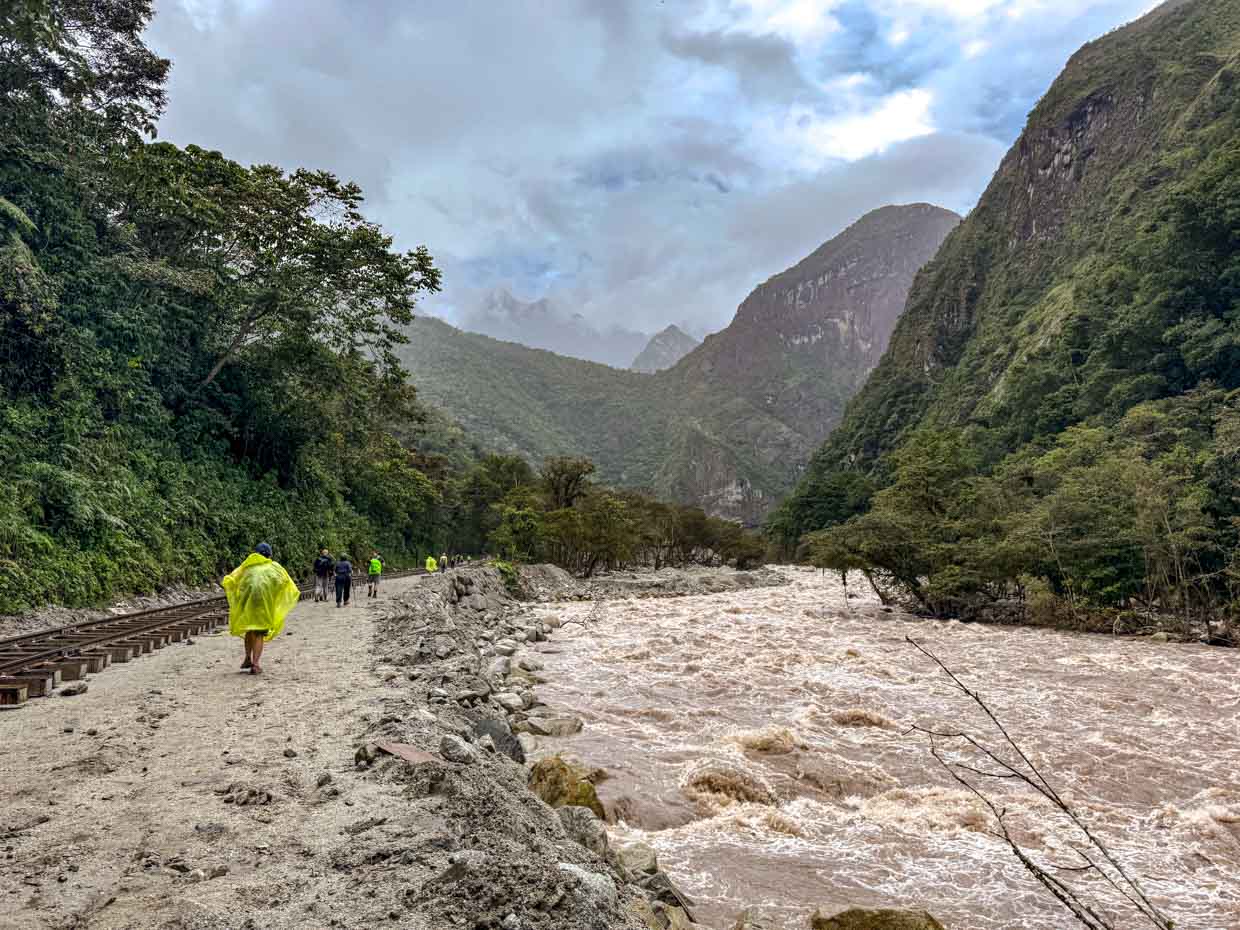
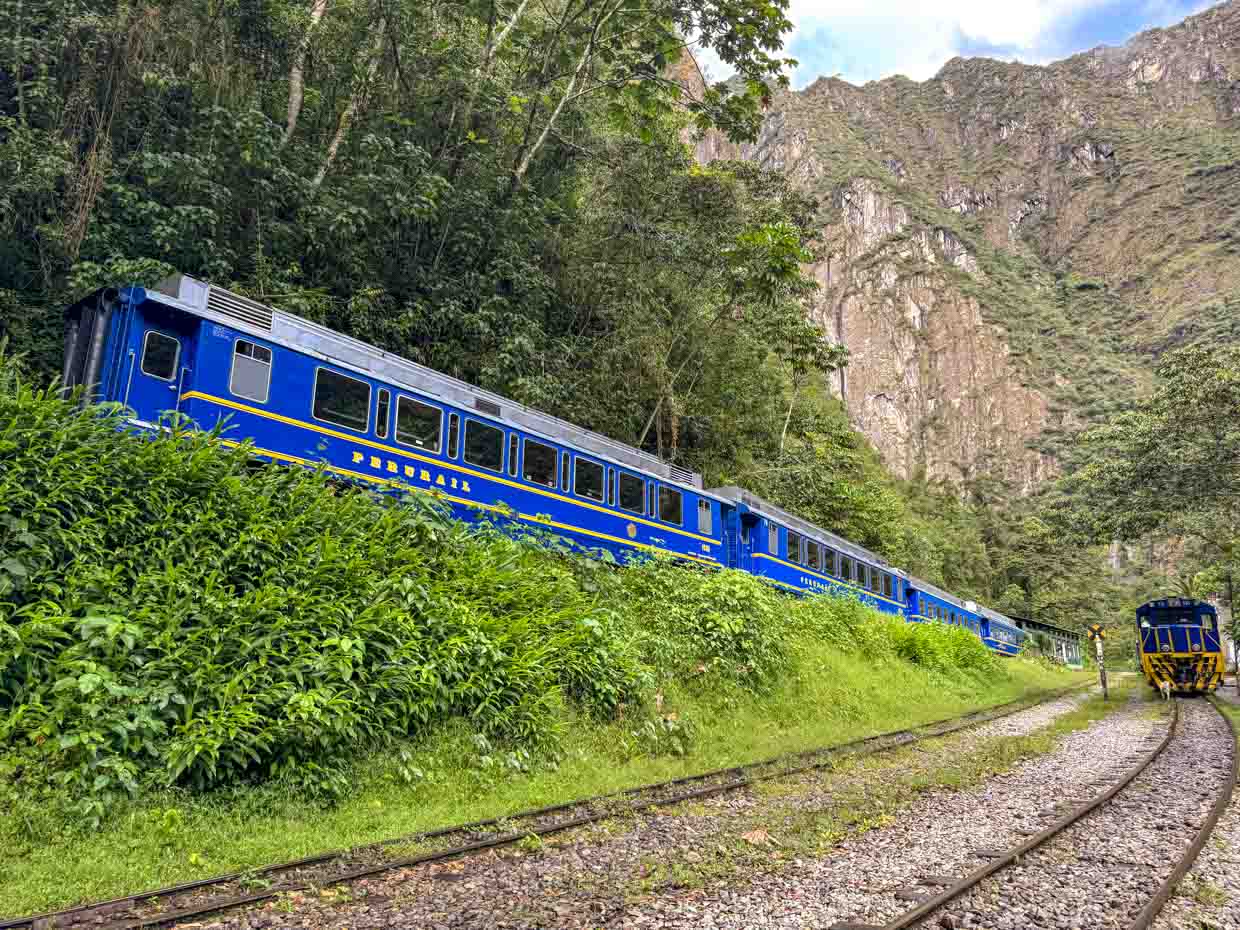
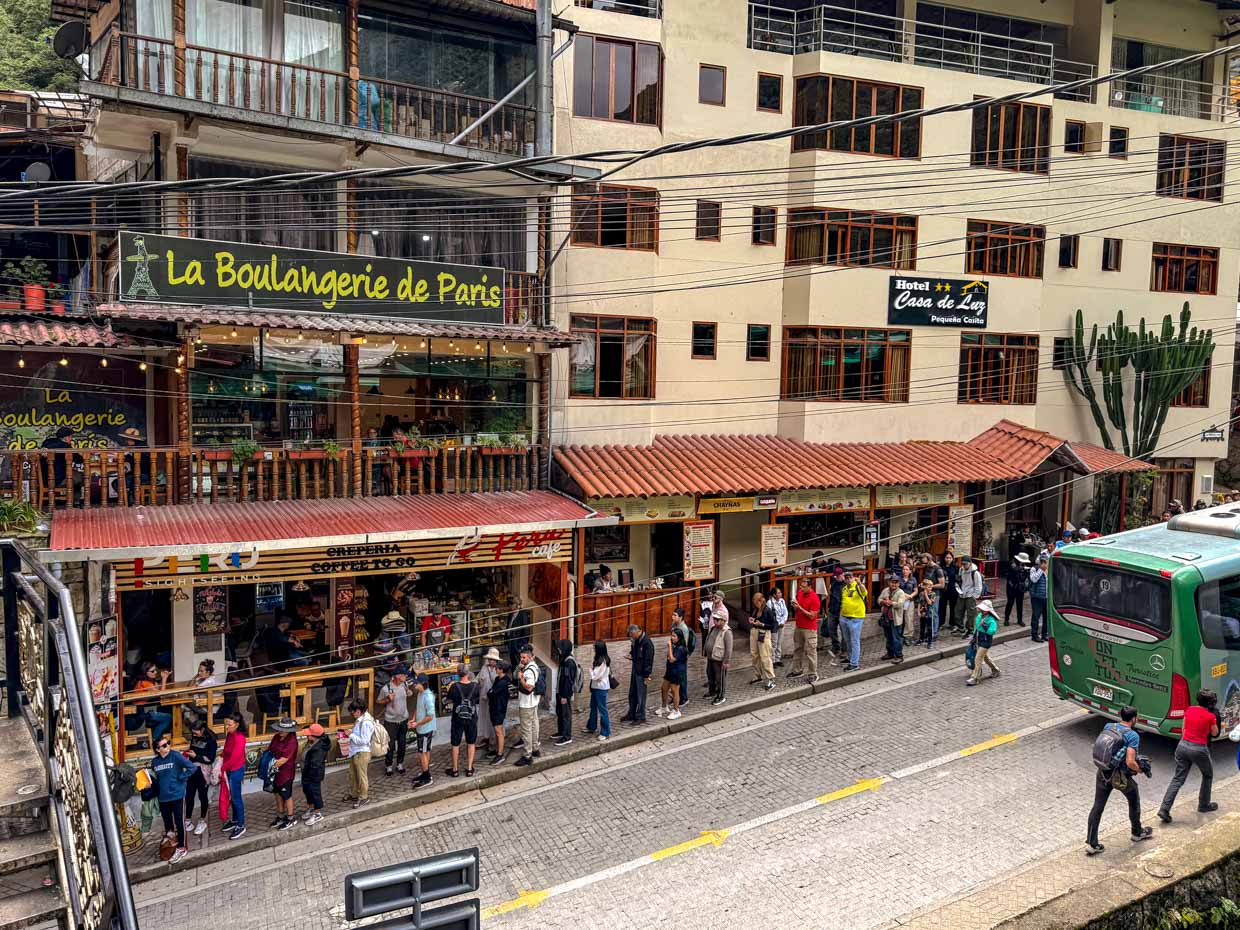
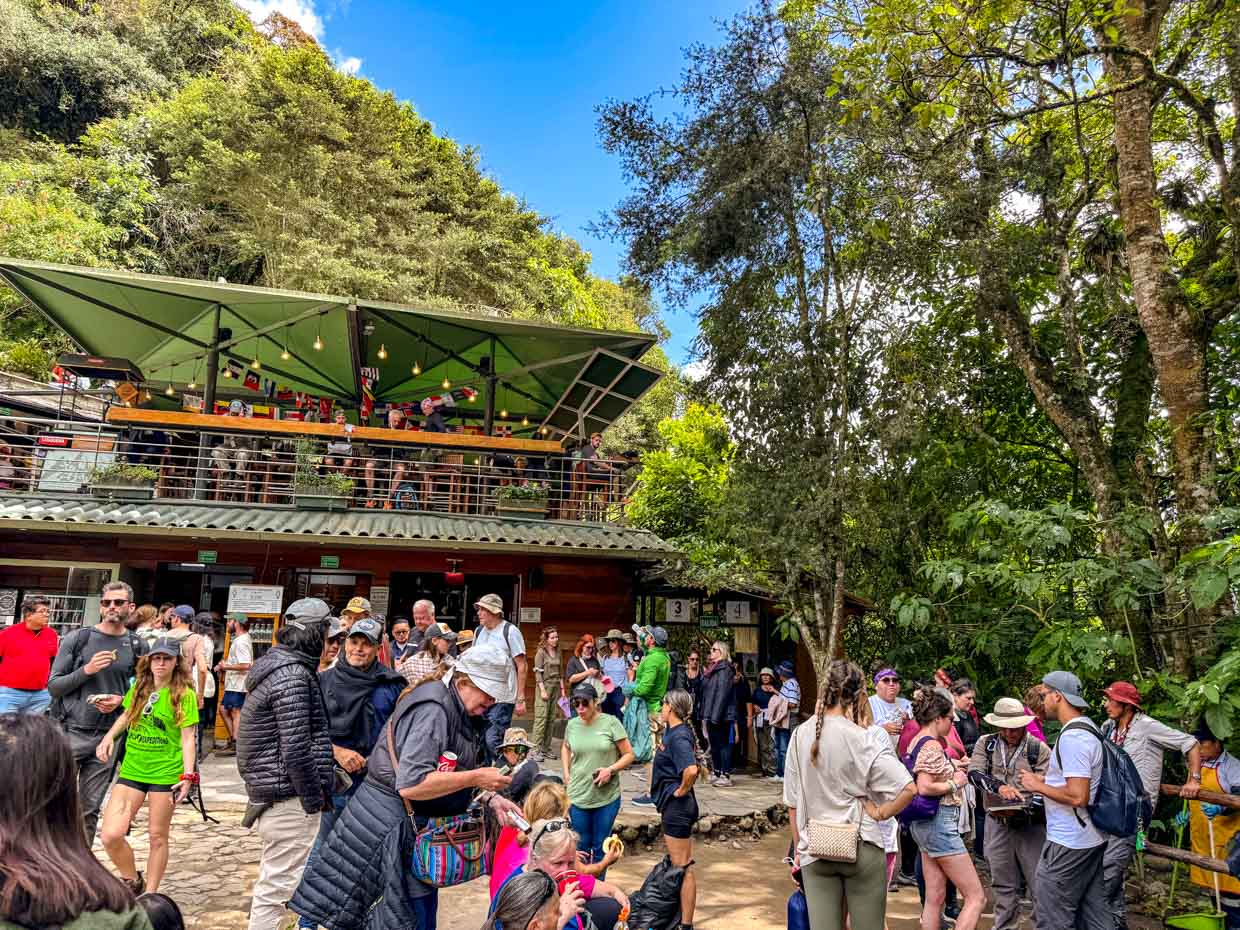
We saw the Hiram-Bingham train that runs between Cusco and Aguas Calientes and we finally got to the town itself at 3pm.
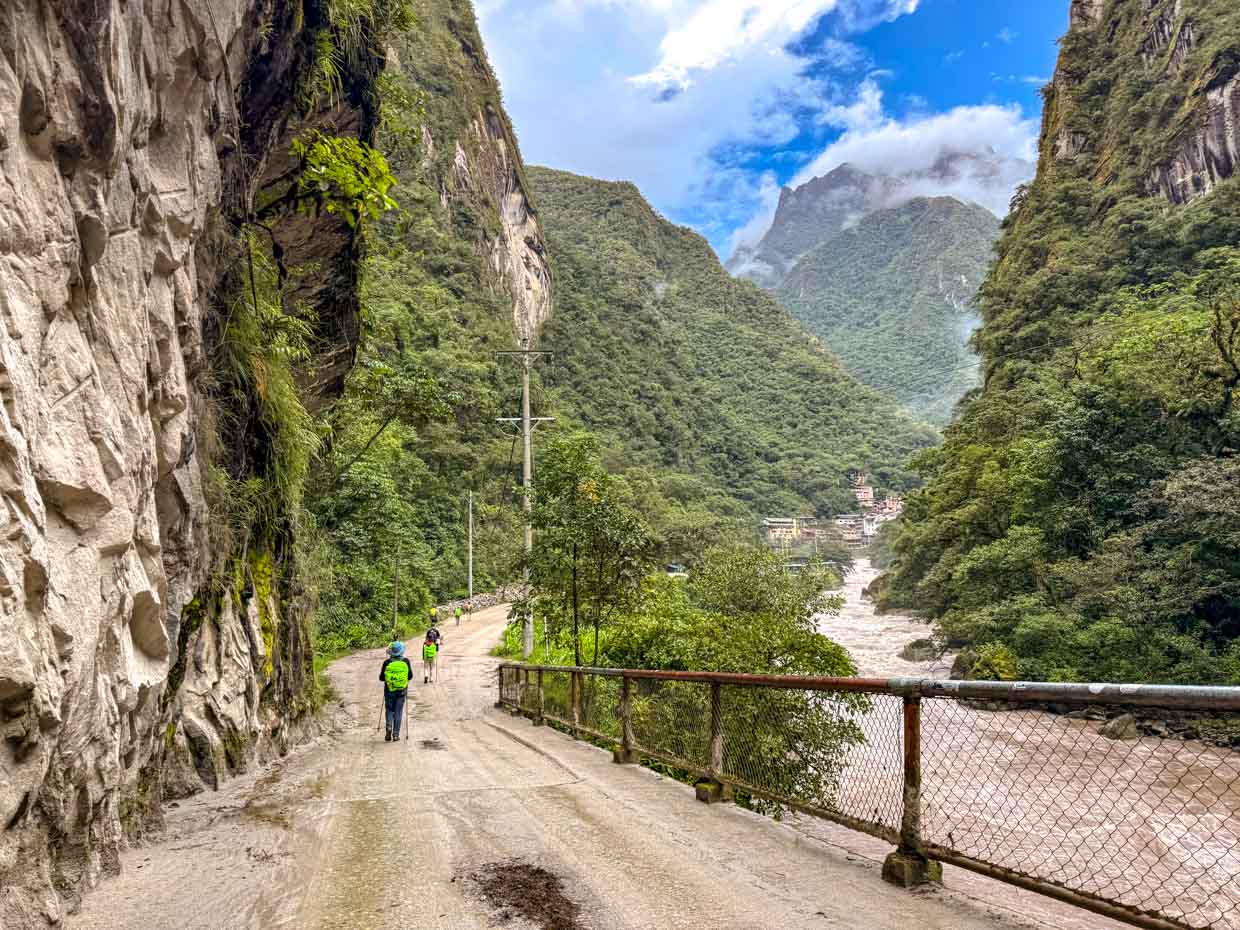
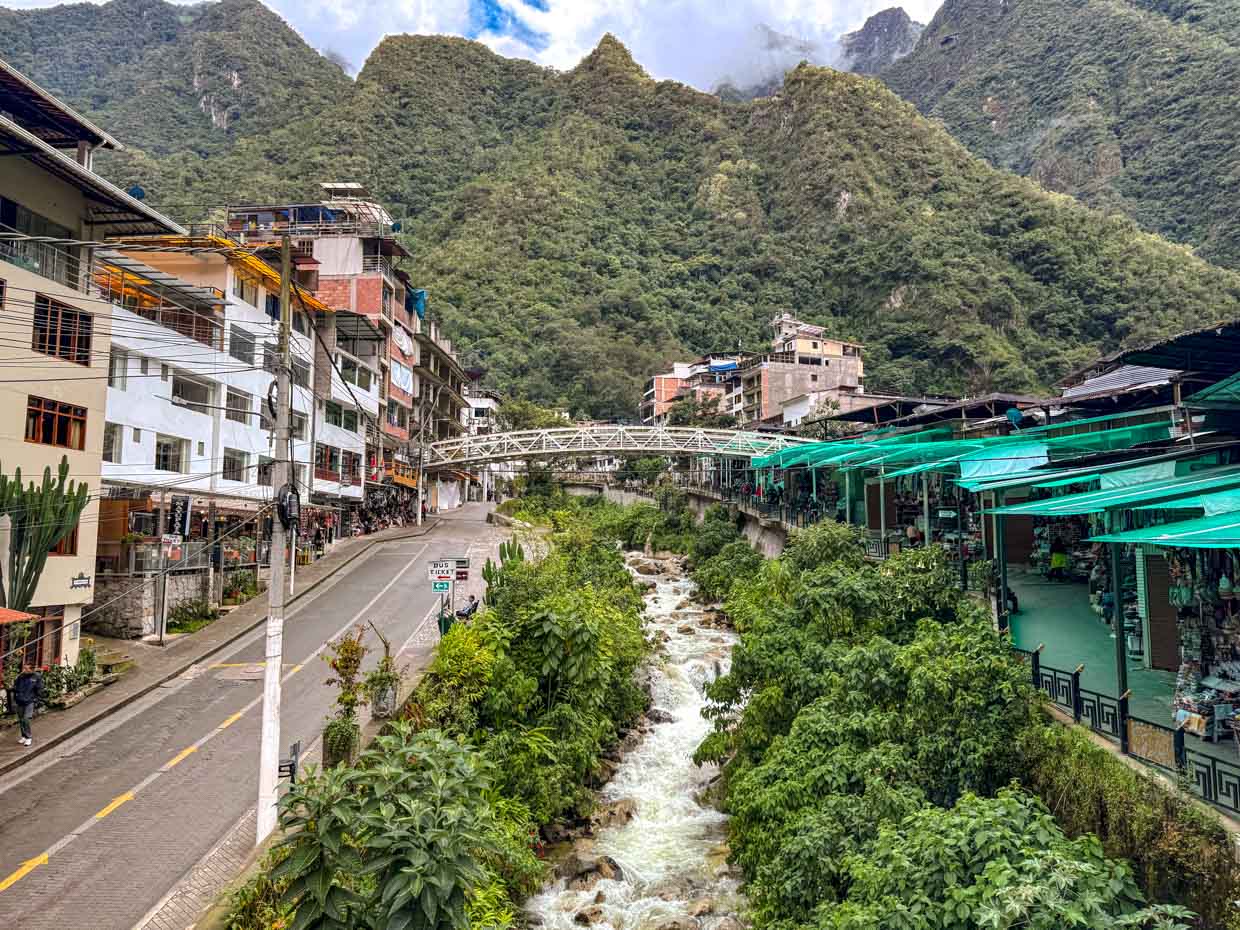
Aguas Calientes (2,000m)
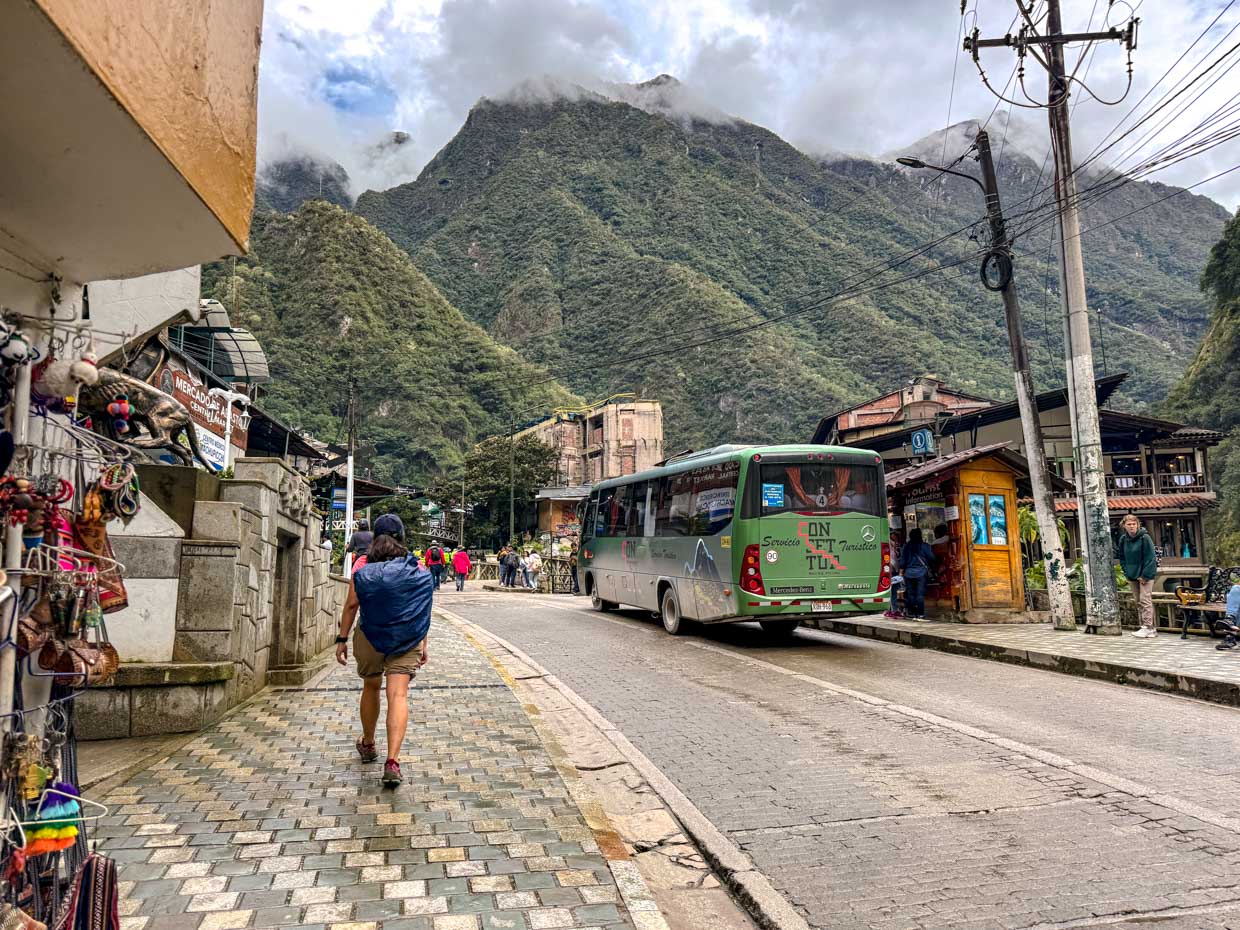

We got to our hotel at 3:20pm and we had free time before dinner at 6:30pm. There is a hot spring with 10 soles entry fee but we opt not to go and other hikers told us it wasn’t that good.
So we did some shopping, showered, and went to the restaurant to fetch our bag.
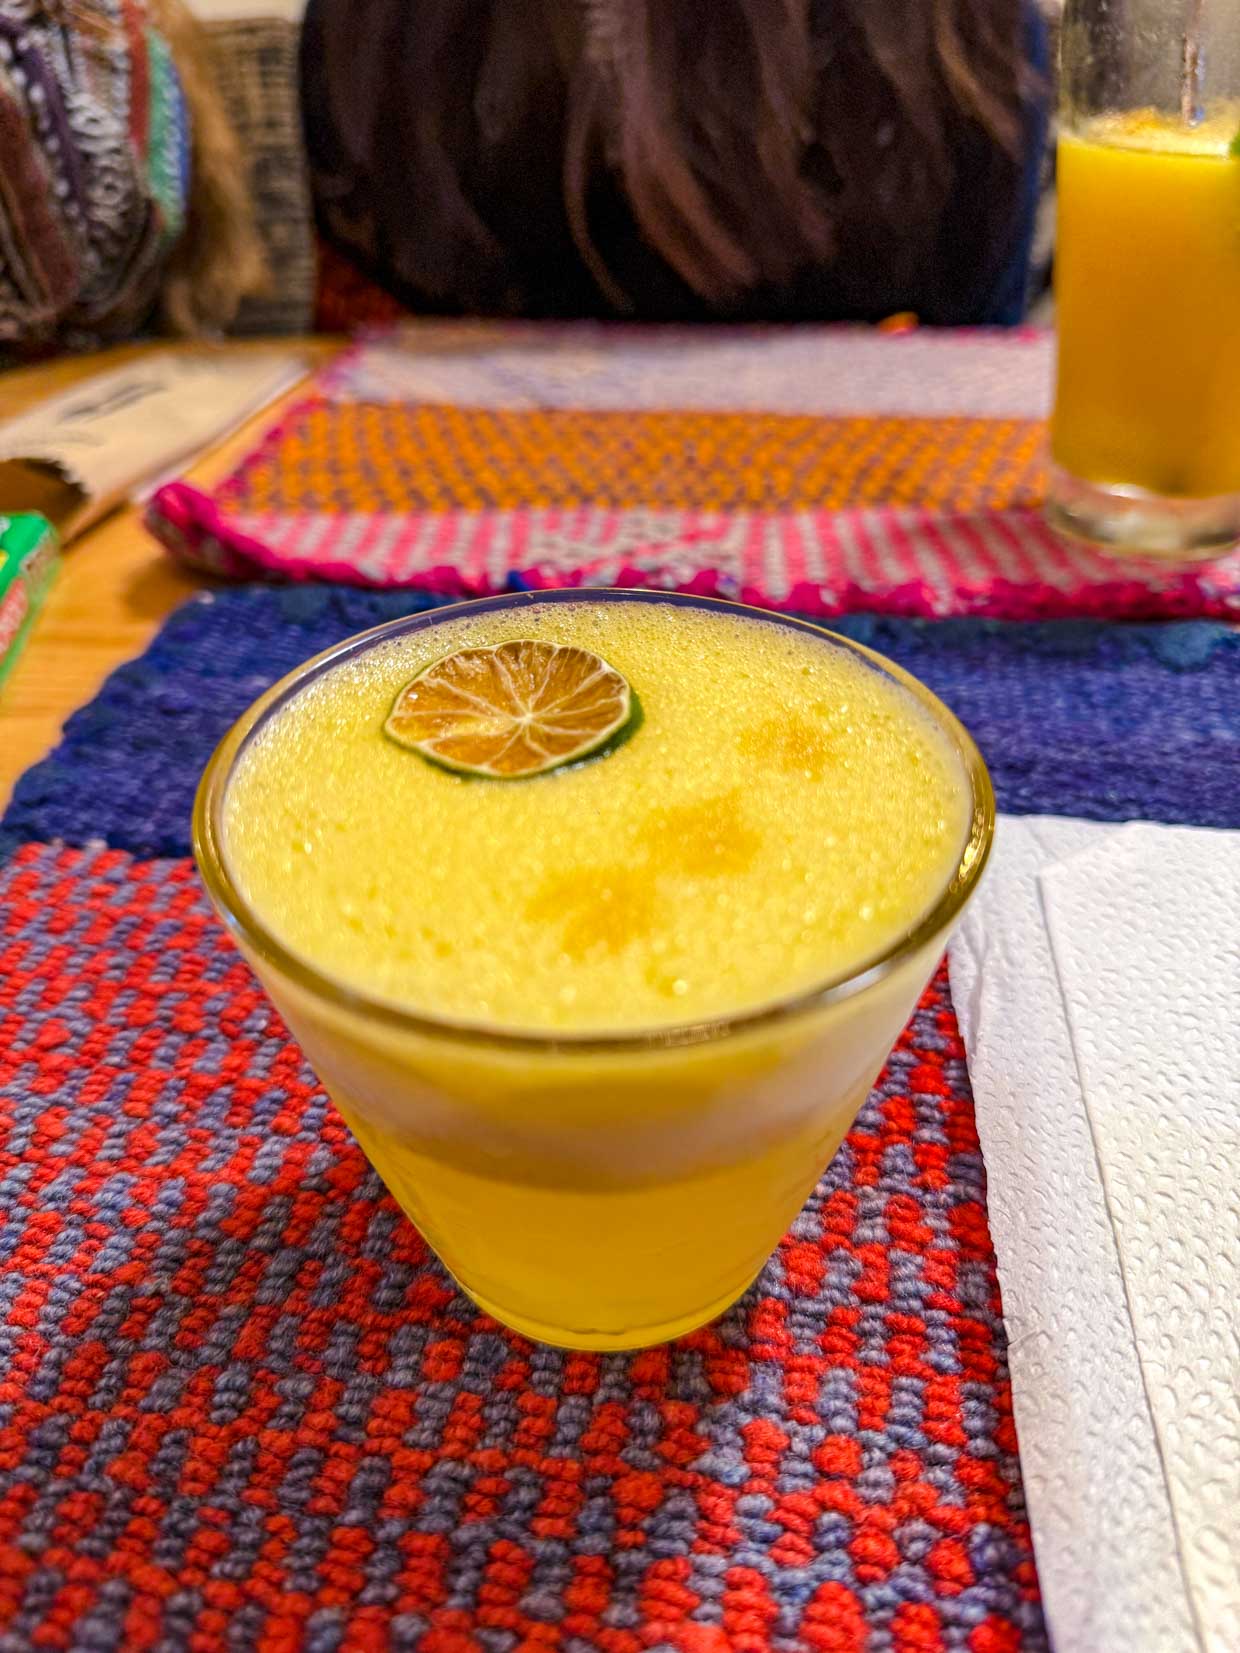
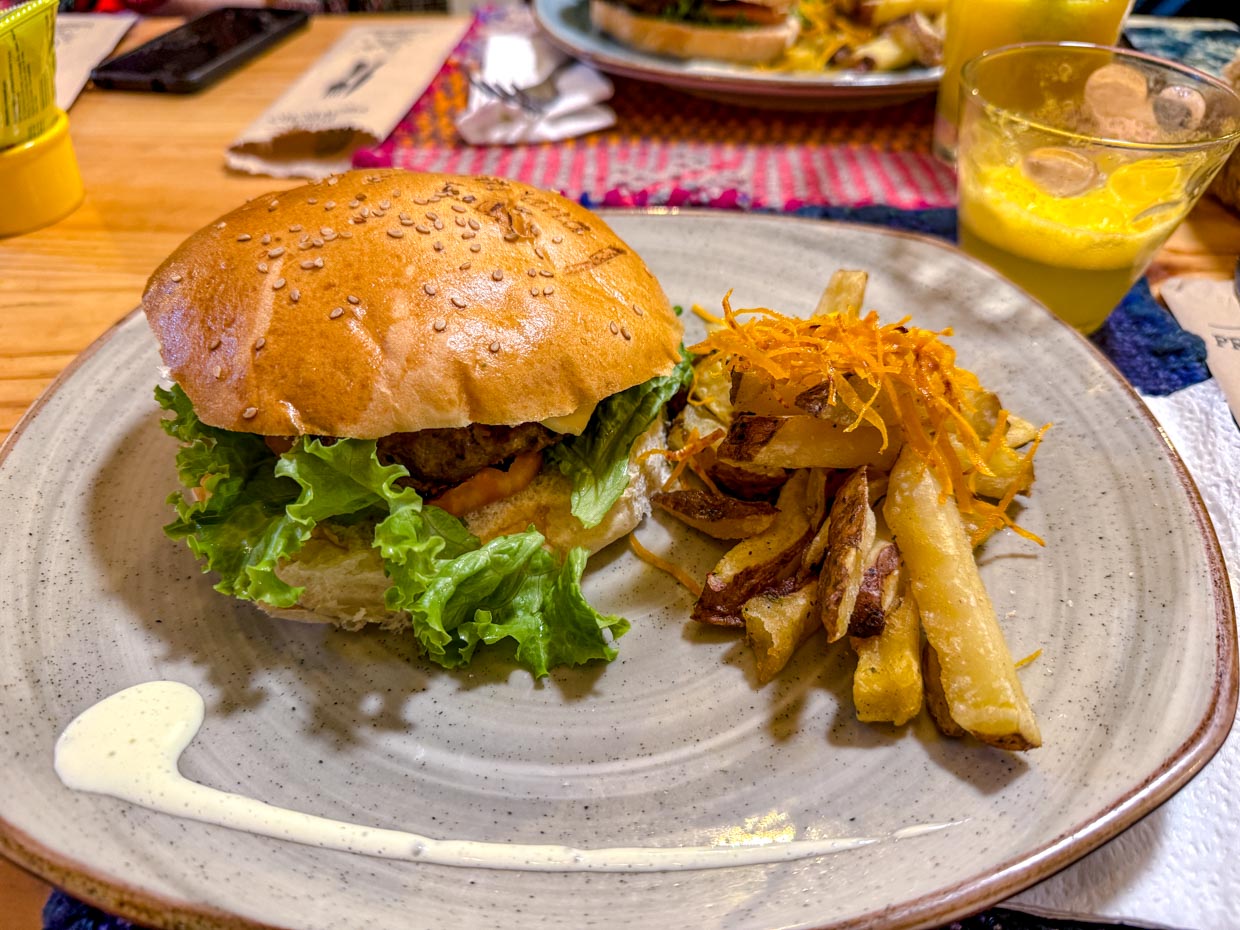
The food was actually quite good and I had a burger! We got cocktails on top as well and had an early night.
Walking distance: 14km
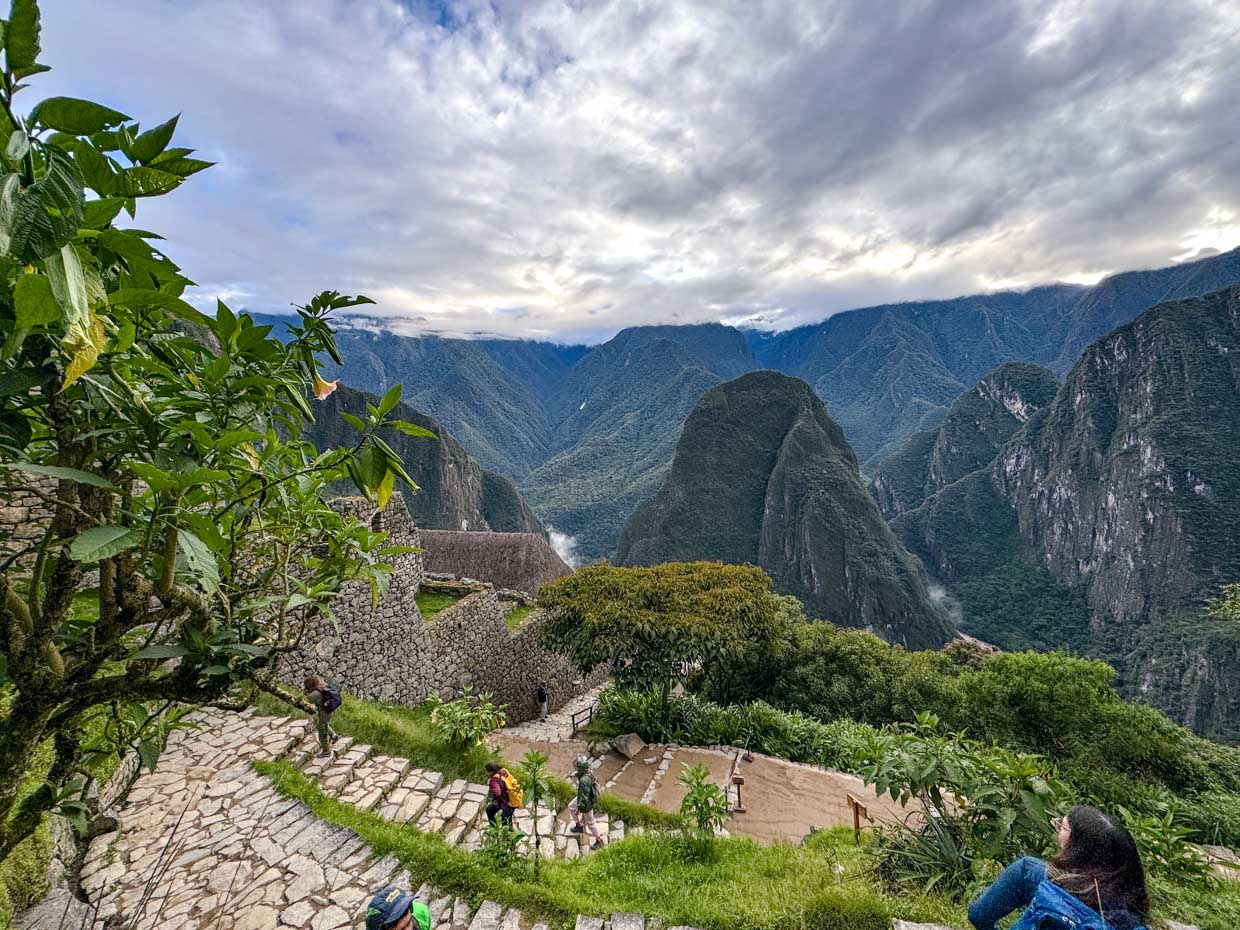
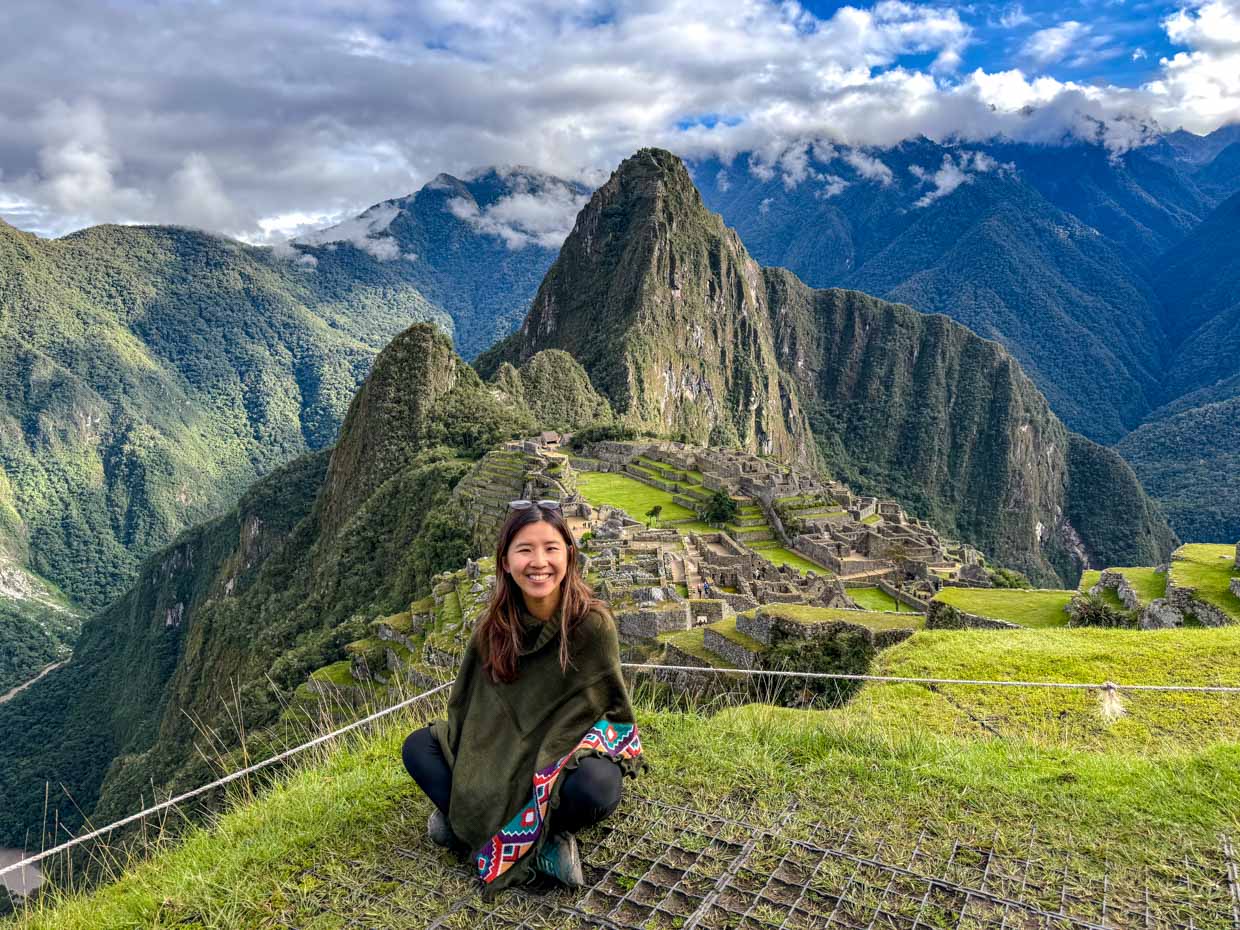
Day 5: Machu Picchu
Morning visit to Machu Picchu
Our ticket for the shuttle up was at 6am, so we woke up to have breakfast before our guide came to pick us up.
It was a short walk to the queue and the guide had our tickets and handed it out as we got on. The ride was 30 minutes and there is a bathroom outside and it’s best to go before entering.
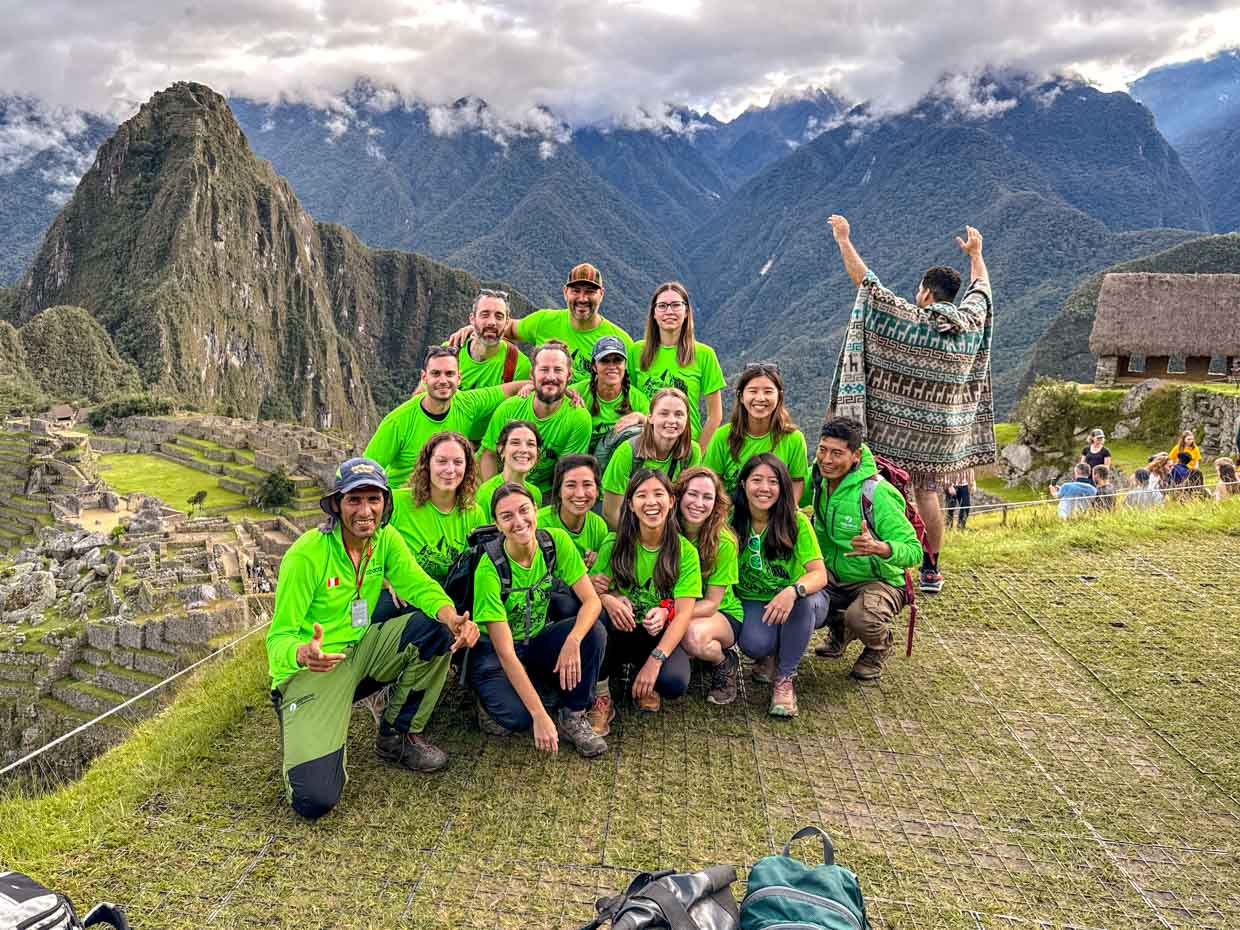
Our guide took us around for 3 hours and those who have a permit for the Huaya Pichu hike left at 10am to go up.

We took the shuttle back down and had 2 hours in Aguas Calientes and lunch was not included.
Chullos Craft Beer Restaurant
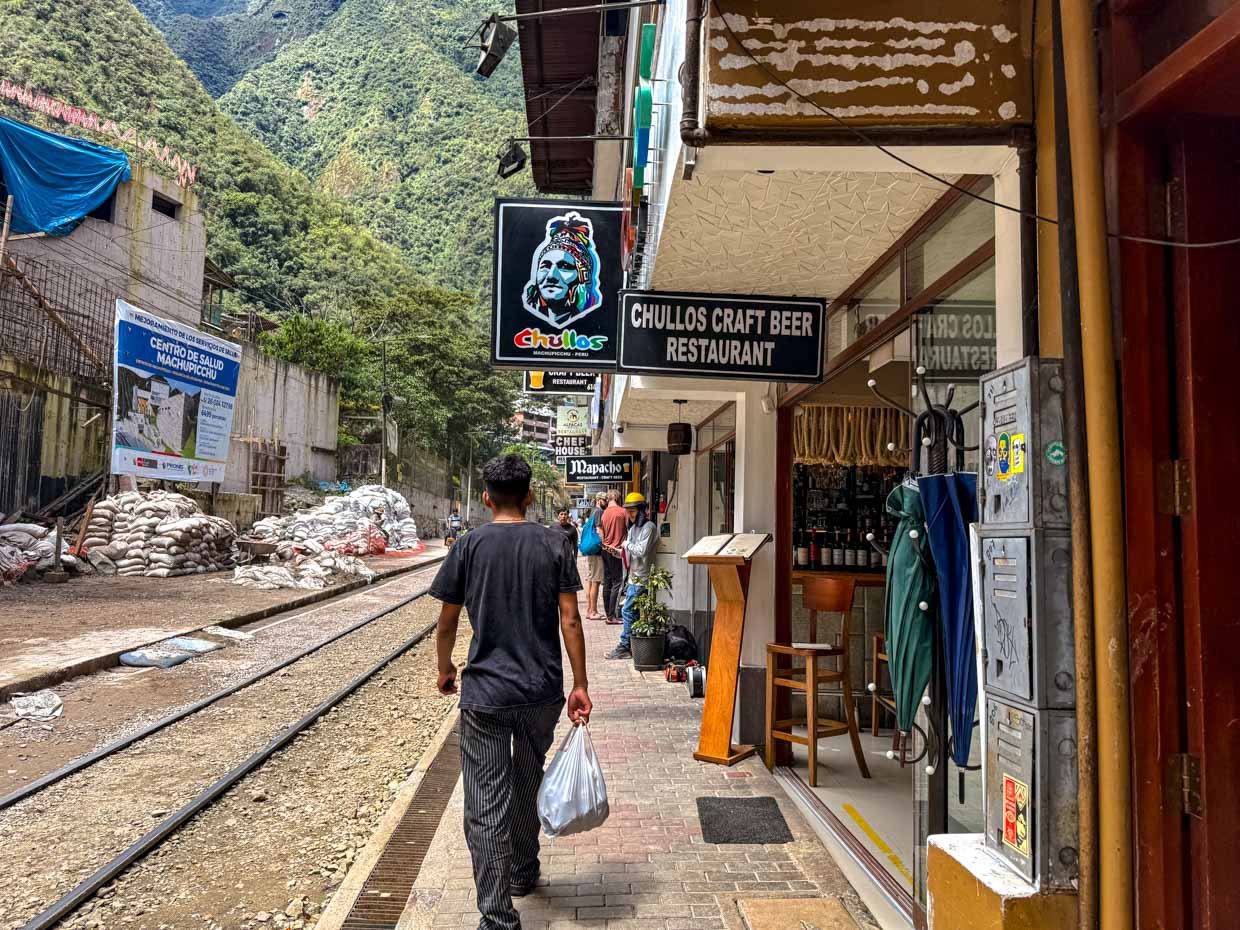
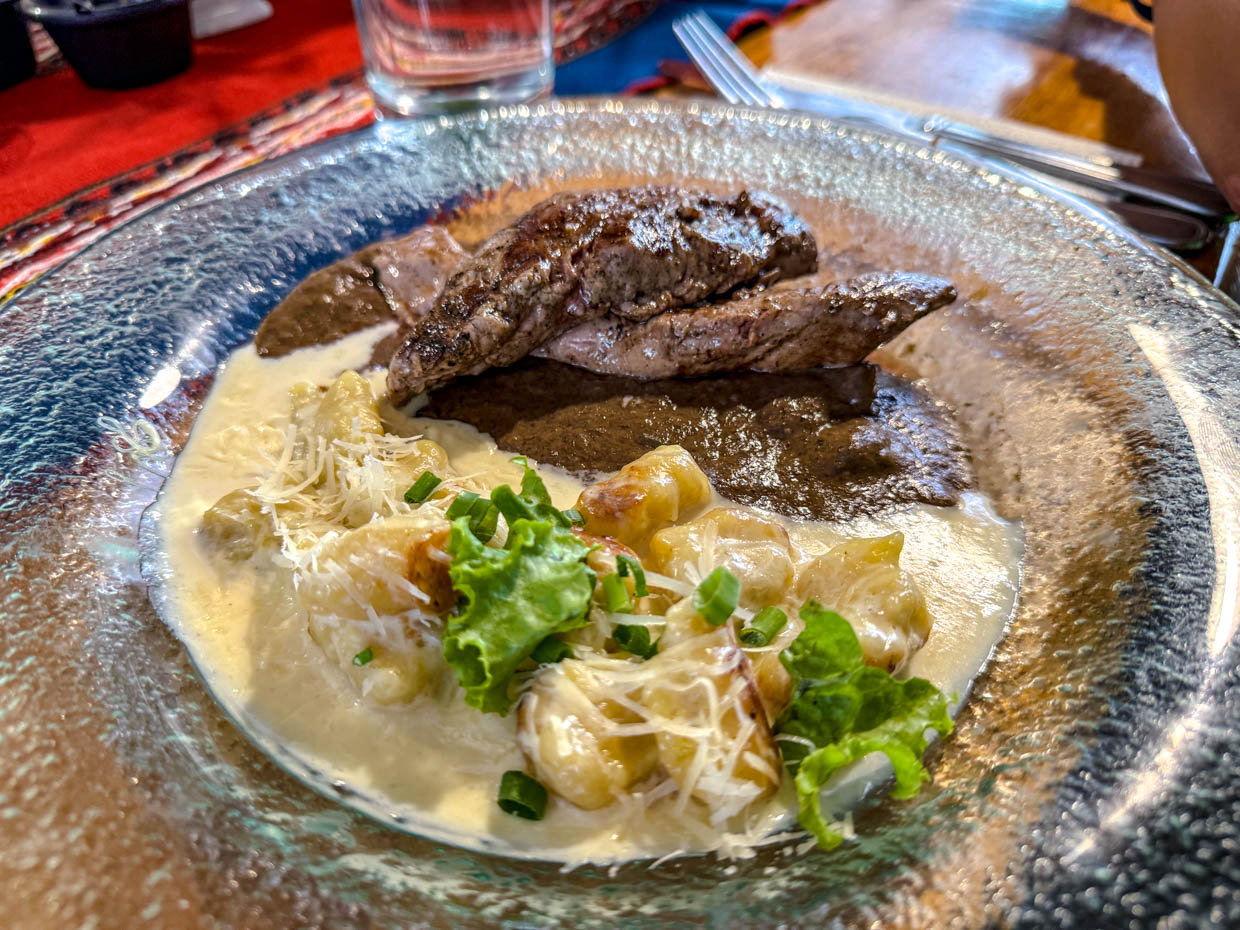
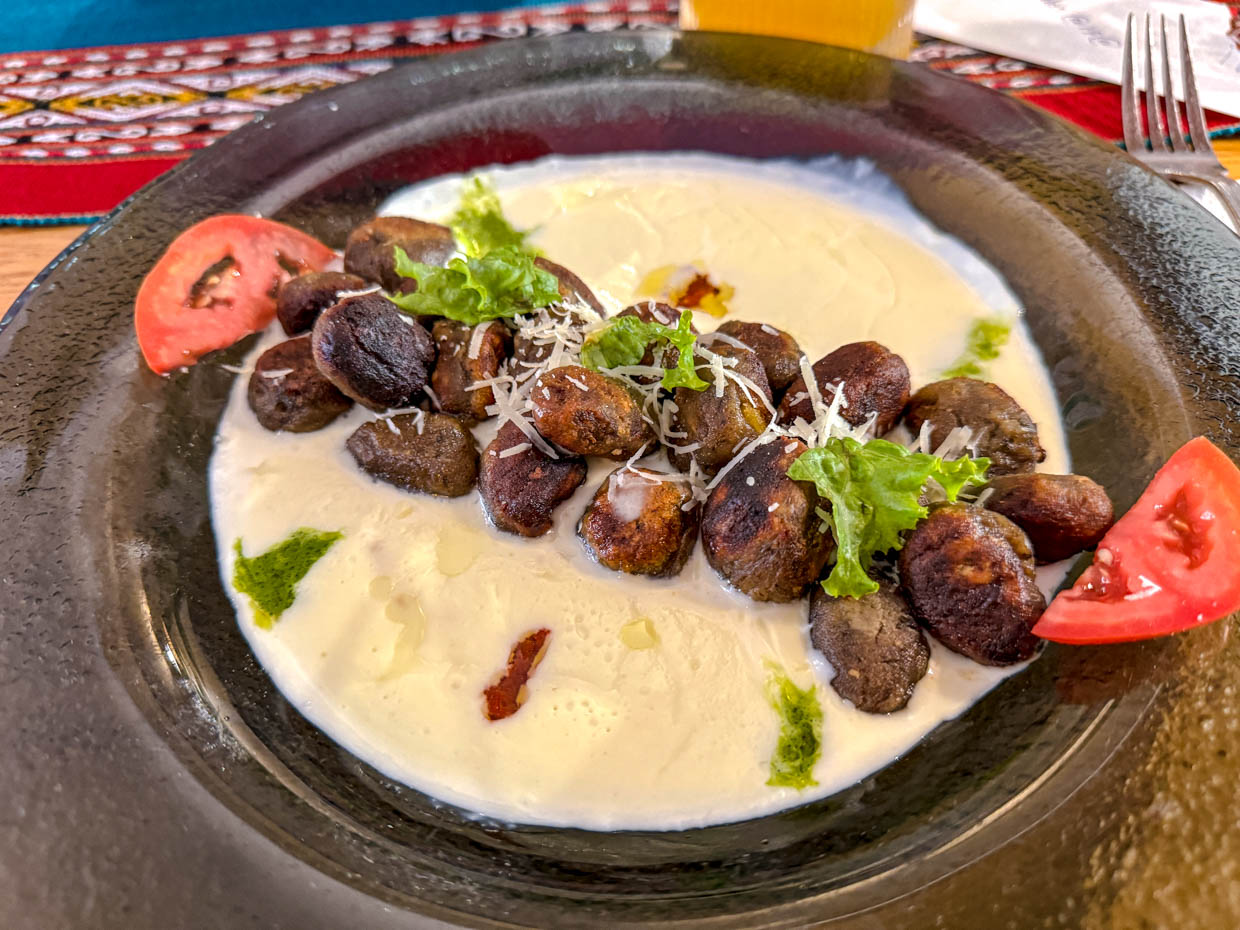
We had lunch at Chullos Craft Beer Restaurant – which had one of the best rating in Aguas Caliente.
My sister had the alpacca which was delicious, and so is their gnocchi.
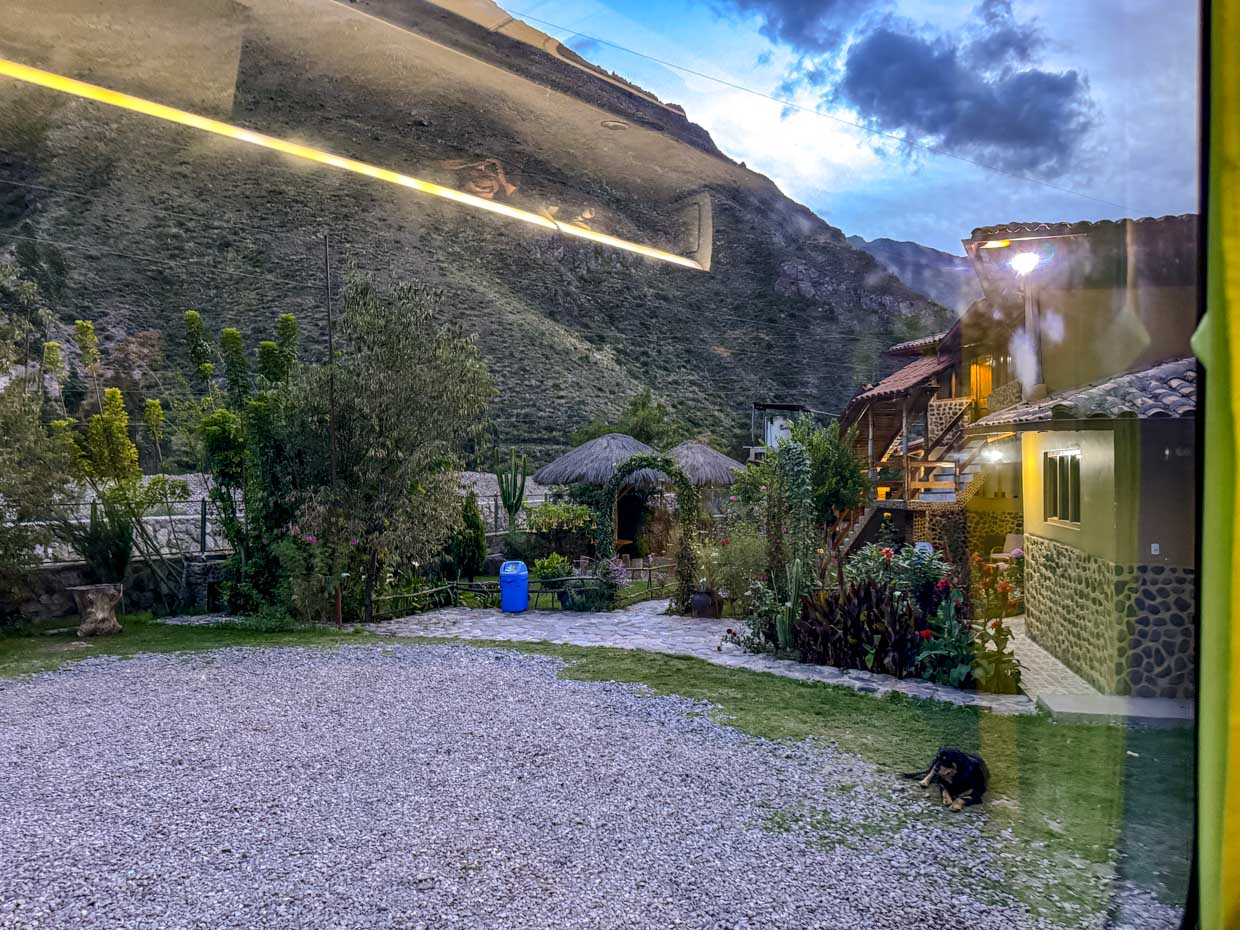
Train to Ollantaytambo
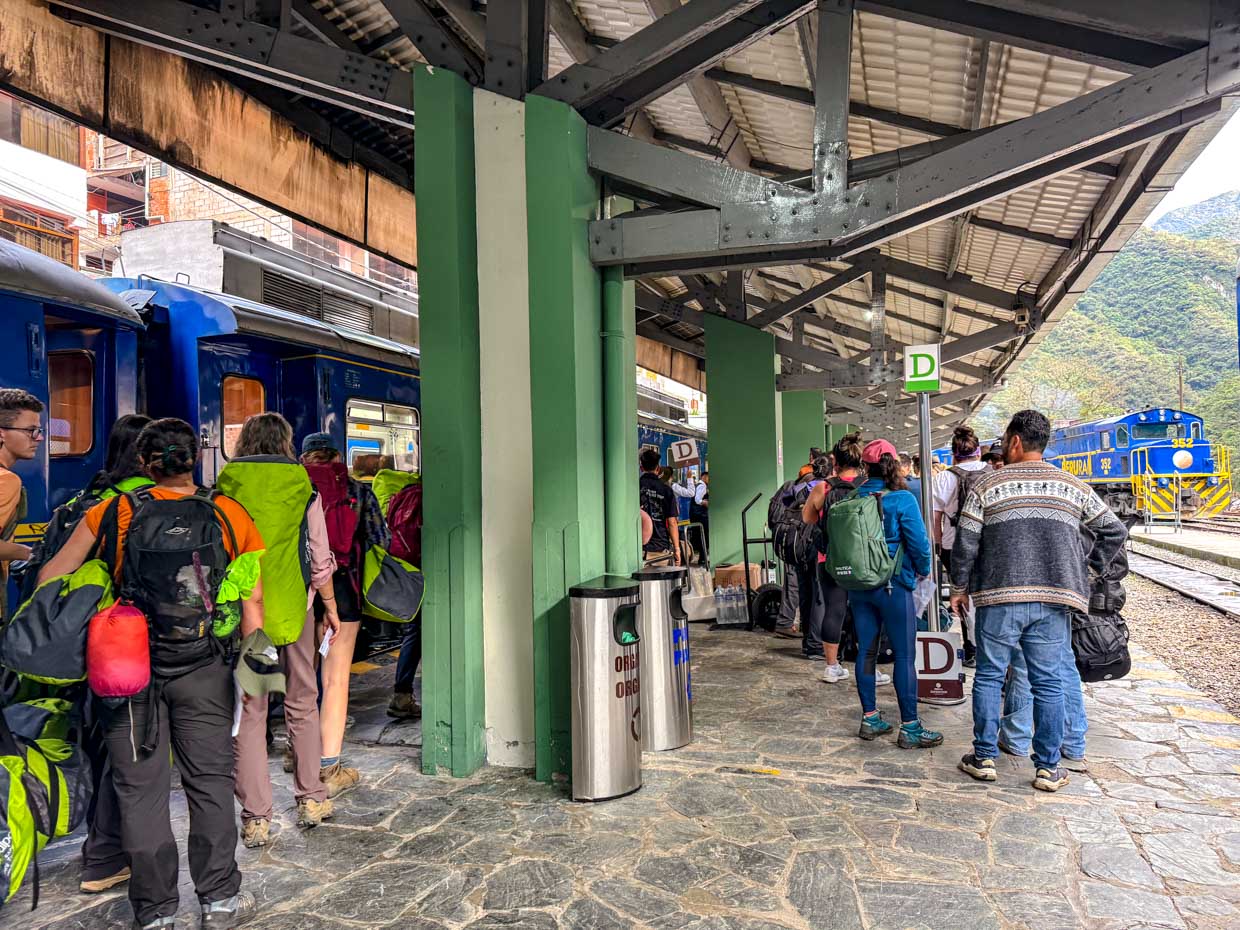
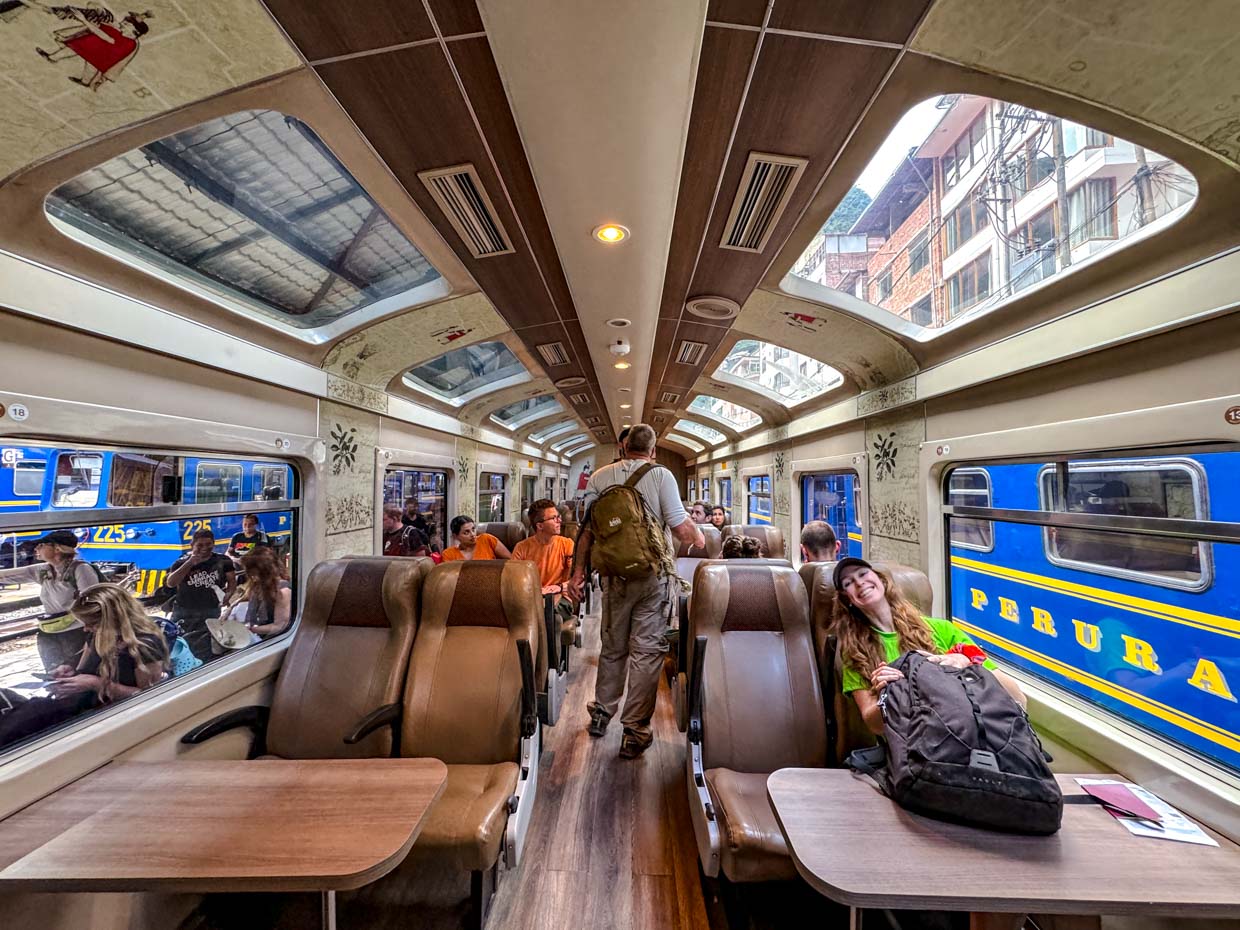
The train we were booked on was 2:50 pm and we were on a panoramic train with glass ceiling to Ollantaytambo. The train was 1 hour 45 minutes.
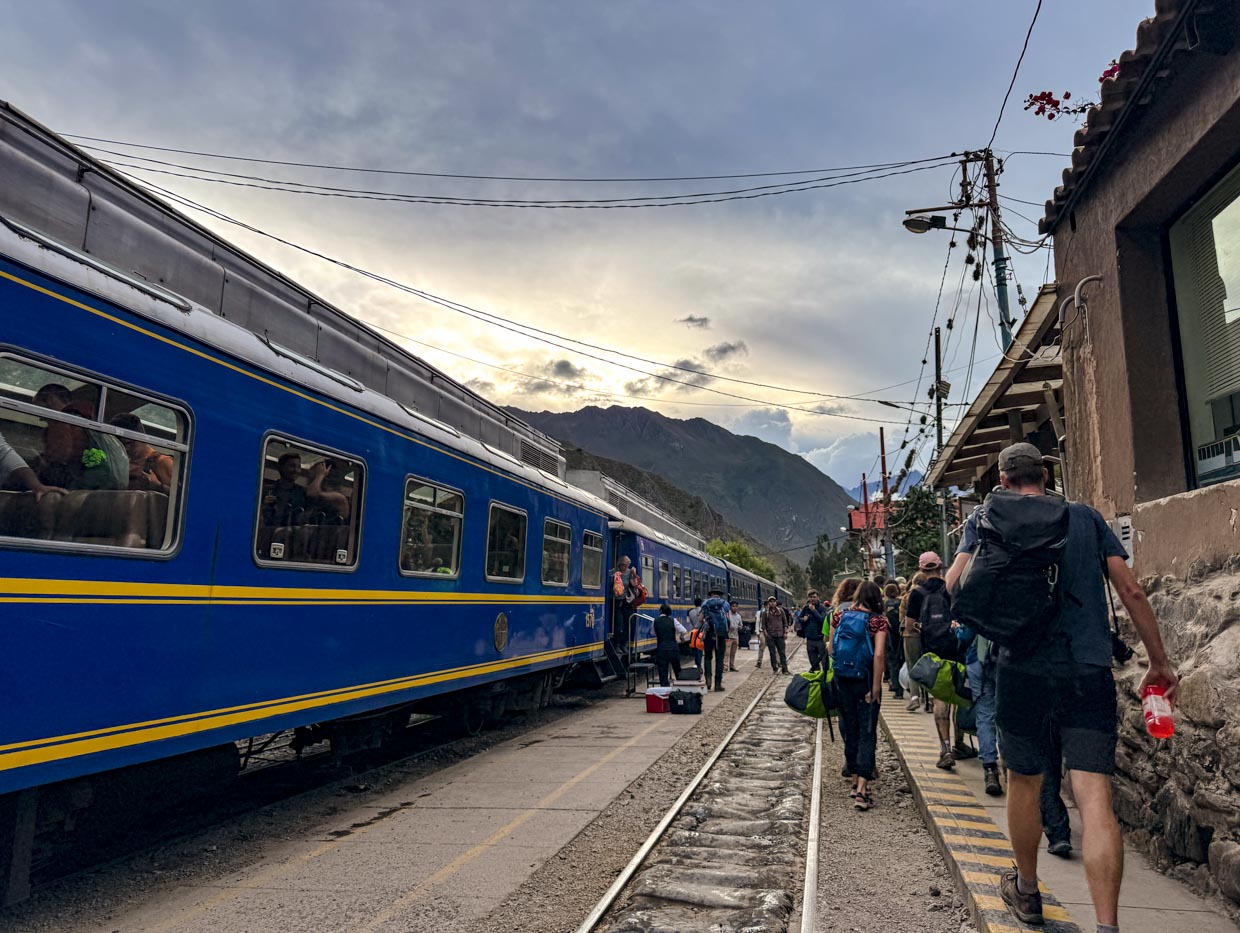
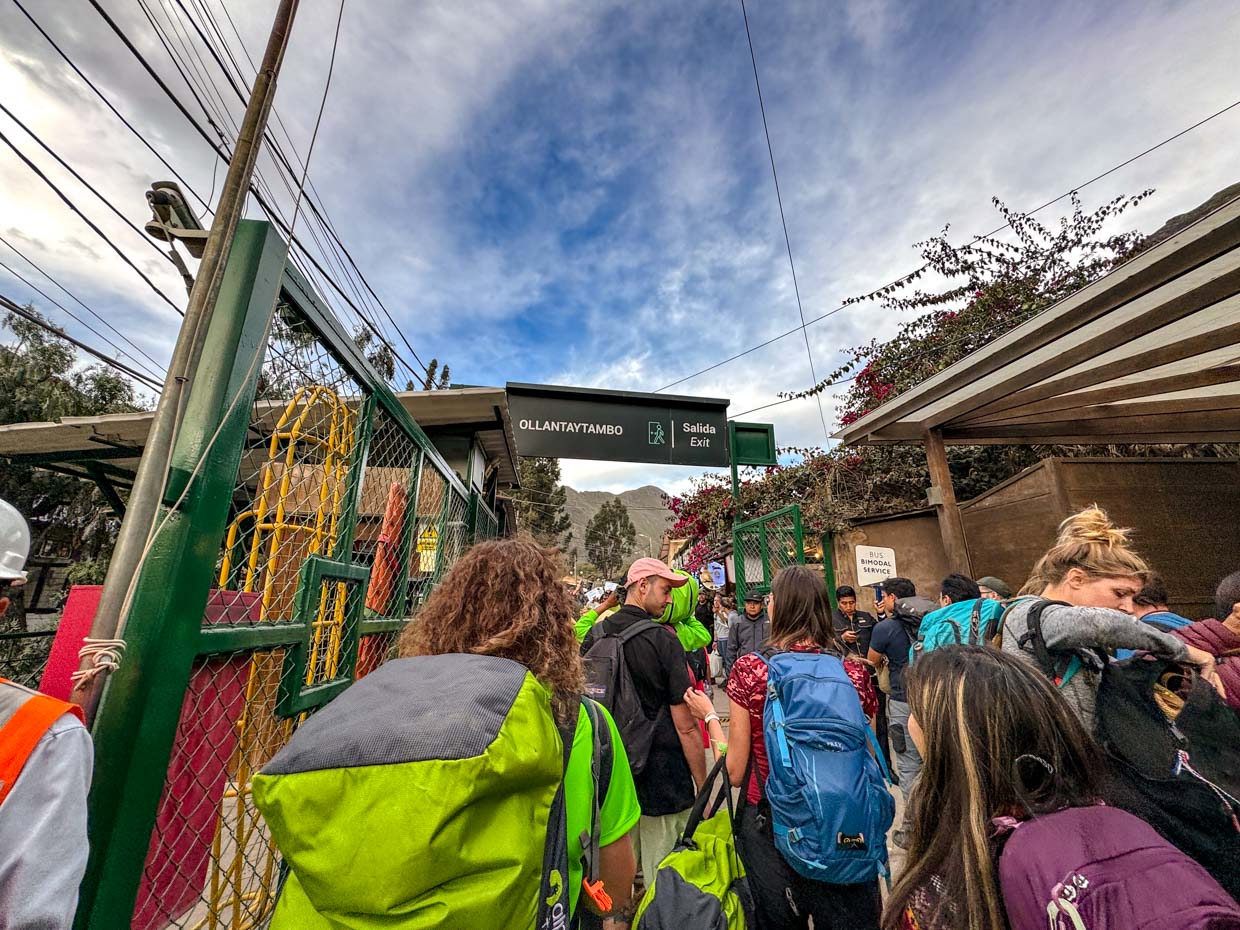
Bus to Cusco
and we changed to a bus, which got us back to Cusco at 7:30pm.
Alpaca has took our luggage and arranged for taxis to take us to our hotel. We had to quickly take out the items in the duffel bag that is ours and we got to our hotel in Cusco just before 8pm.
Tipping your guide for Salktantay Trek (Or other treks)
It is expected but not obligatory to tip your porters, chefs, and guides for any hike to Machu Picchu. How it works is that the tipping for the guide is personal and up to you, but for the porters and the chef, the money is pooled together from the entire group.
Alpaca had answered the general tipping amount that each ends up with, and you can calculate that amount based on the number of hikers in your group and the number of porters:
Salkantay Trek: 100-120 soles per porter, 200 soles for the Chef