Uncategorised
What I wish I knew when I started blogging: FAQ and tips
Sep
Starting a blog has never been so popular and easy, but starting it the right way isn’t. There are a ton of content out there on how to start a blog, there are a LOT of things that would make life so much easier should you know from the get-go, rather than later. While I might still have many things to learn, I’m now entering the intermediate stages where some of the things I didn’t do affects me. Since I get asked about how to start a travel blog now and then, I decided to put together a little guide covering the basics as well as what I wish I knew:
Contents
Self-hosted WordPress is the way to go
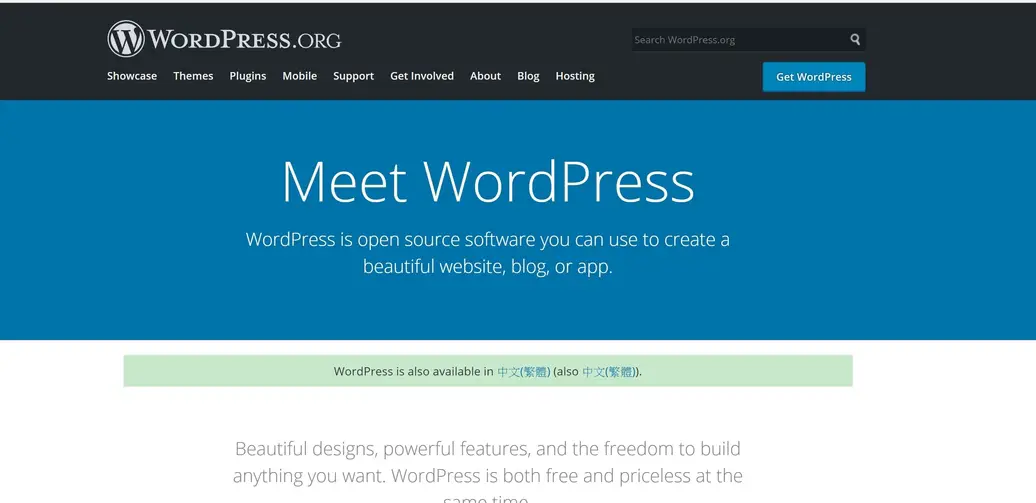
One of my biggest regrets is starting my blog on Wix. there’s nothing wrong with Wix, but it’s not the ideal platform for blogging, which involves publishing content regularly as blog posts and promoting them. However, they are easy to use and customise interface does make it ideal for static (such as a portfolio) website.
What is self-hosted? There are a lot of free platforms out there you can use, but you can’t monetise your blog on them and you also can’t have your own domain name e.g. myownblog.com, but rather myownblog.wordpress.com. This leads to another thing, wordpress.com and wordpress.org are different, consider it like renting a house and buying it.
Note: a lot of people start on wordpress.com or a free blogger account, but migrating can be a hassle especially if you have the site for a while and it has a lot of content.
I had to manually move everything from Wix to WordPress.com and practically start over again after a year and it was NOT pretty.
Domain name
Now even with self-hosting, domain name – your address – doesn’t come with the house. You can purchase your domain along with your hosting, but you can also do it individually. It’d be far easier if you buy your domain and hosting in the same place to link them together, though there are detailed instruction for how to do it either way. A domain name should cost around 10 USD per year.
Note: remember to renew it yearly or else your website won’t show up properly
Choosing hosting
This is another big choice to make! There are a lot of hosting companies, but after m Wix incident and another nightmare with an independent hosting agent, I can’t recommend SiteGround enough.
With several packages on offer depending on your needs, it starts as low as 3.95 USD per month. Below are what they offer:
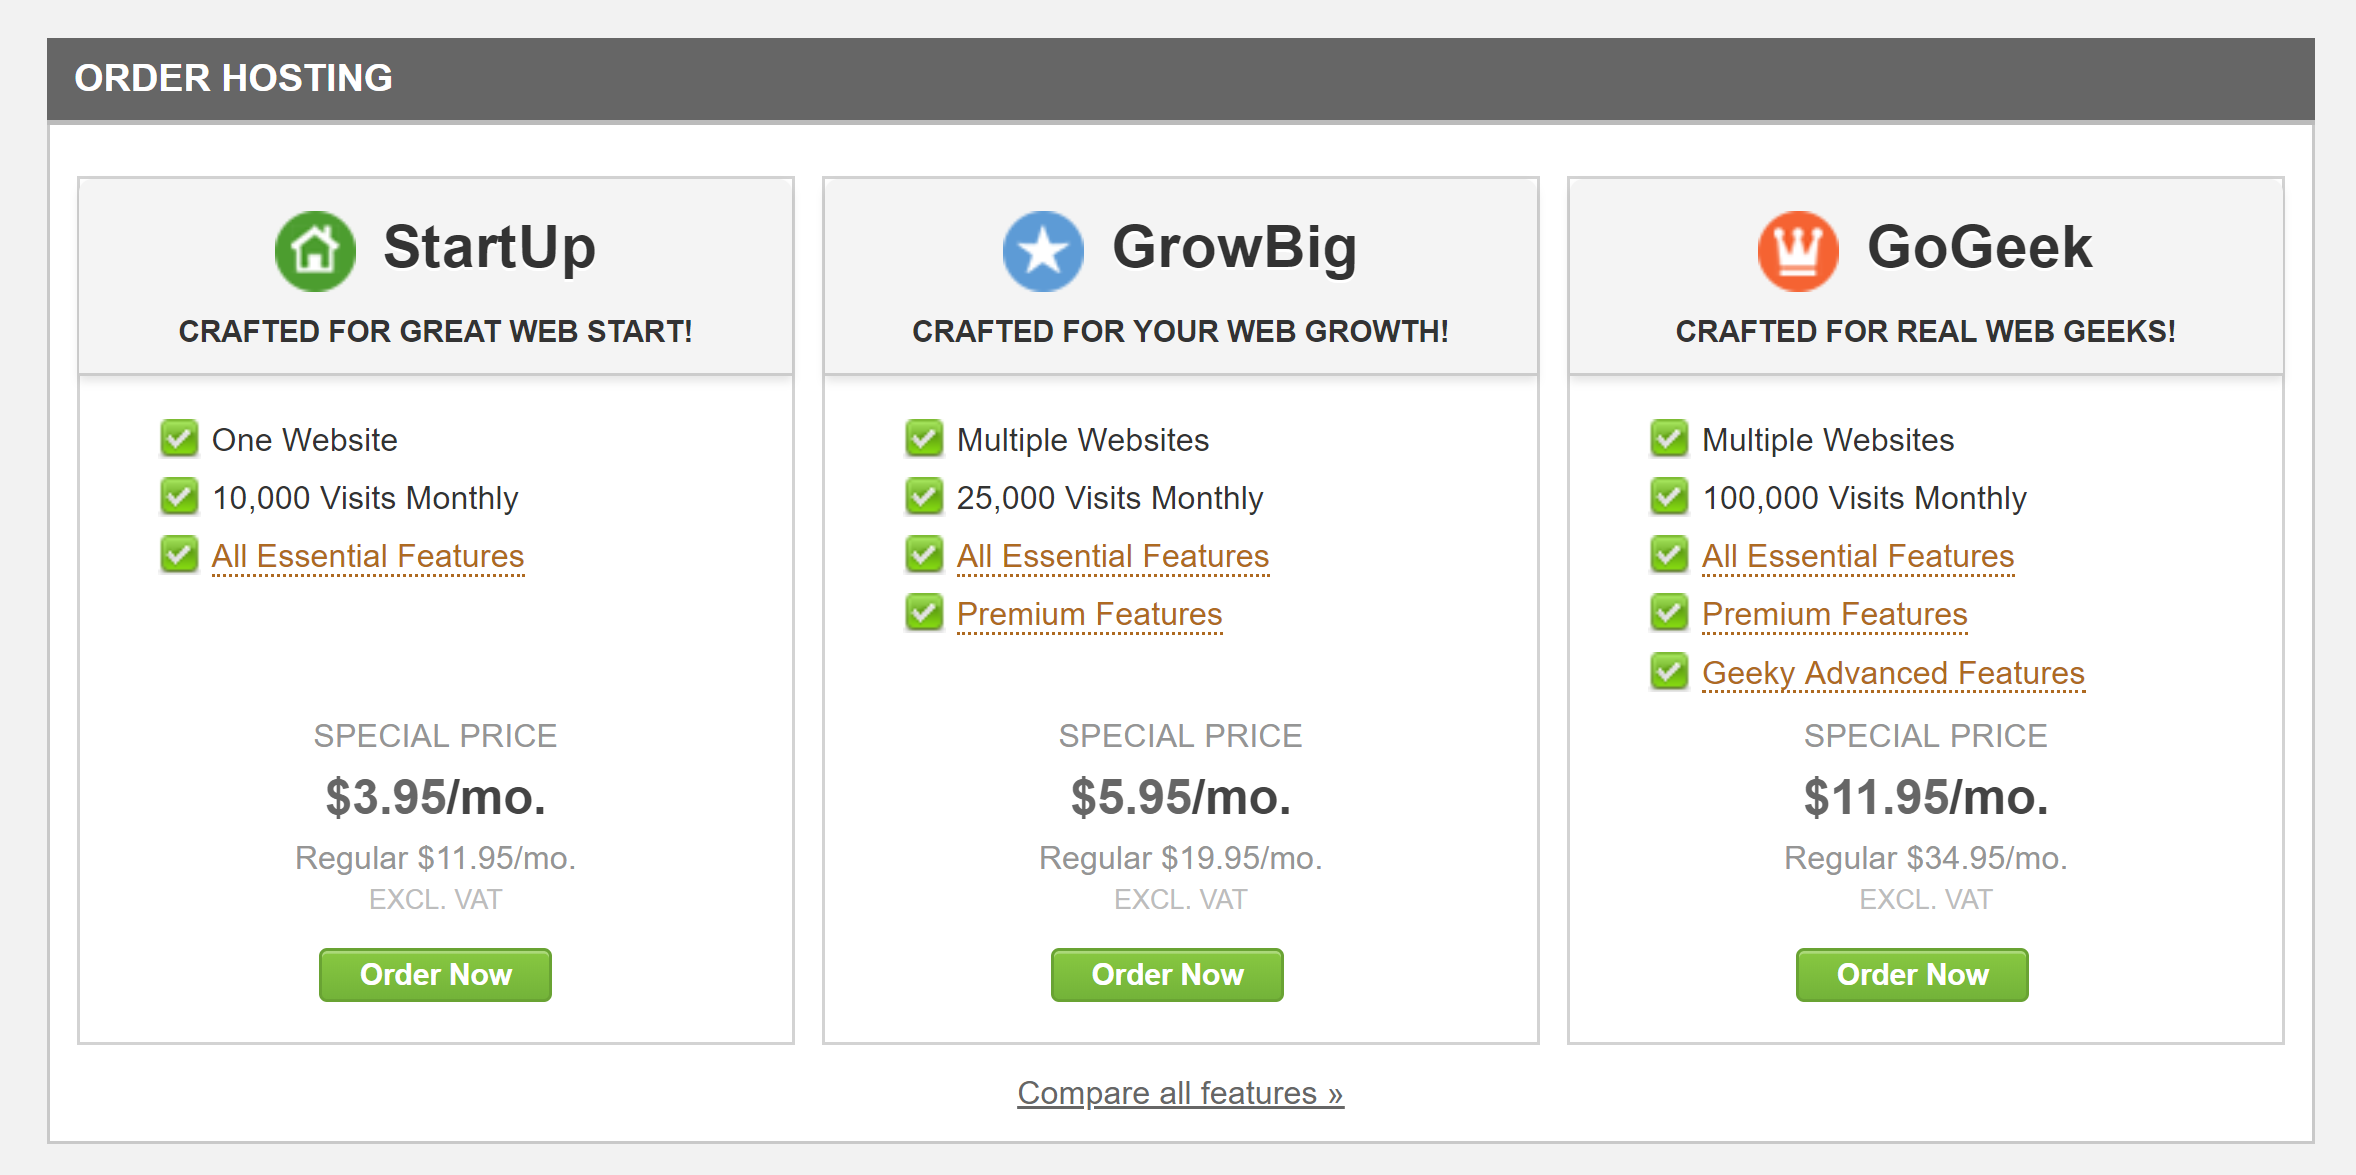
They have 24 hours 7 support – available in chat and ticket, and I never failed to find someone to help me sort out my issues immediately. Even when they can’t answer my problem, which does happen once or twice, simply keep going back with new information on why it hadn’t work and it’ll be sorted.
You can upgrade easily and quickly as your traffic and bandwidth exceed your current plan. Although once I started exceeding their CPU capacity, I switched to BigScoots.
Install WordPress
Siteground offer one-click WordPress installation, and if you can’t figure it out, you can also ask support to help. For those who might have an existing account, they also offer a free migration service.
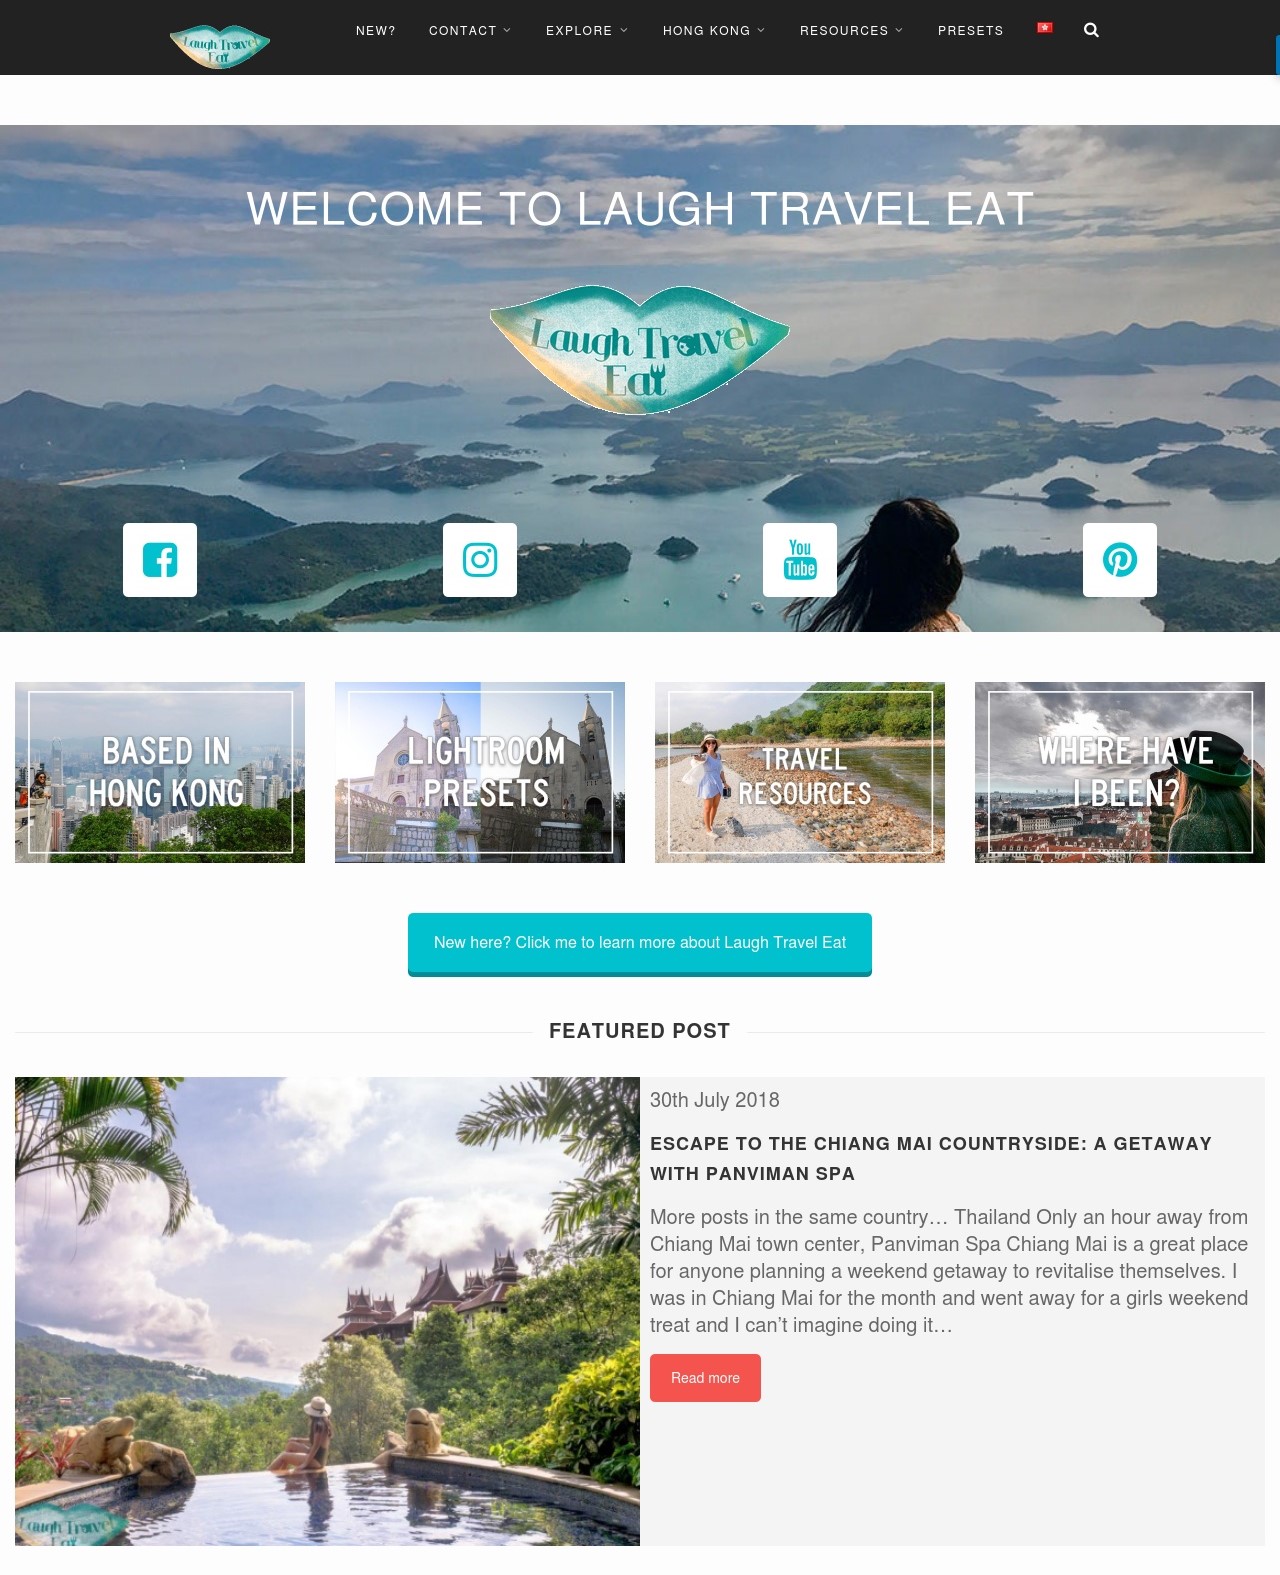
WordPress theme
Now that you have installed WordPress and connect it to your domain. If you buy your domain with your hosting, then you can just do it in one click. Then it’s time to choose a theme. There are plenty of free themes on offer, look around and choose one that you like. My theme is a paid one from Envato – WP Voyager – with integrated google map to show location. Take your time to find one that you like! You can also change it later.
Plugins
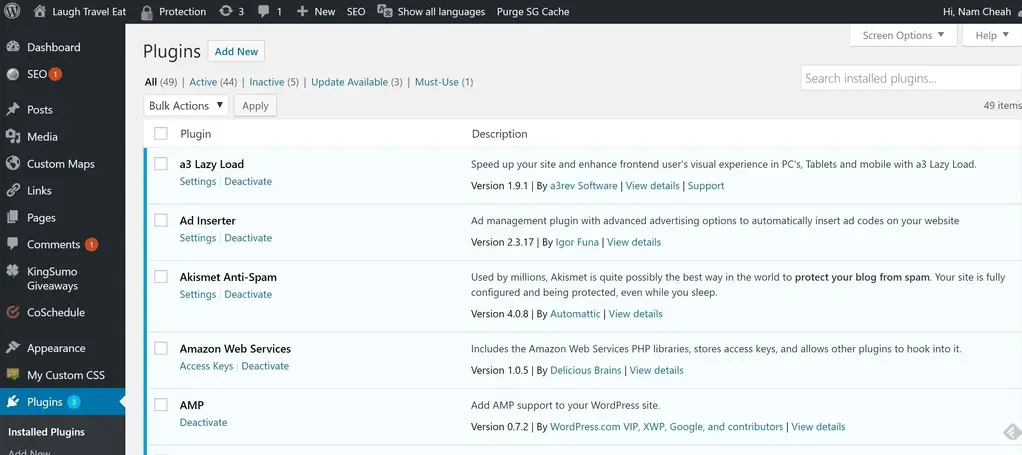
Once you have installed everything, it’s time to install some plugin to help you run your blog. Here are some of the ones that I use and love (* means it’s paid):
- SEO Ultimate – SEO optimisation plugin
- WP Ceber Security – for security, though Siteground does a good job of keeping your website safe already
- A3 Lazy Load – adjust image loading time to increase site speed
- Askimet Anti-Spam – filter out spammy comment
- Polylang – if you want to make your website multi-lang, then Polylang is a great choice
- Pretty Link – for making pretty short links with your domain name and redirecting it to another address
- SiteOrigin Widgets Bundle – a great bundle of widgets for all your website need
- Table of Contents Plus – to create a table of contents like Wikipedia
- WP Post Series – create a post series of your posts
- WPBakery Page Builder* – a great drag and drop page builder for your static page e.g. about me
Site identity logo
I realized that a lot of people don’t change their site identity logo. It is the icon that would show up on the top left of the tab, and most of the time it remains as the hosting website’s logo instead of a unique one by the blogger themselves. You are unlikely to be able to fit your logo in since space is tiny, but a circle or something that reflects your website’s colour palette would work great.
Photo sizes
One of the biggest culprits of a slow site is photo sizes, and it’s the number 1 thing that I wish someone had told me when I started! The optimal size for photos depends on your theme, but the width should be around 1280-1024 px, and the size should be under 200 kb, 100 kb ideal for site speed.
If you don’t know how to resize the photo, use Insanity or some image resizer website or plugin to downsize your photos.
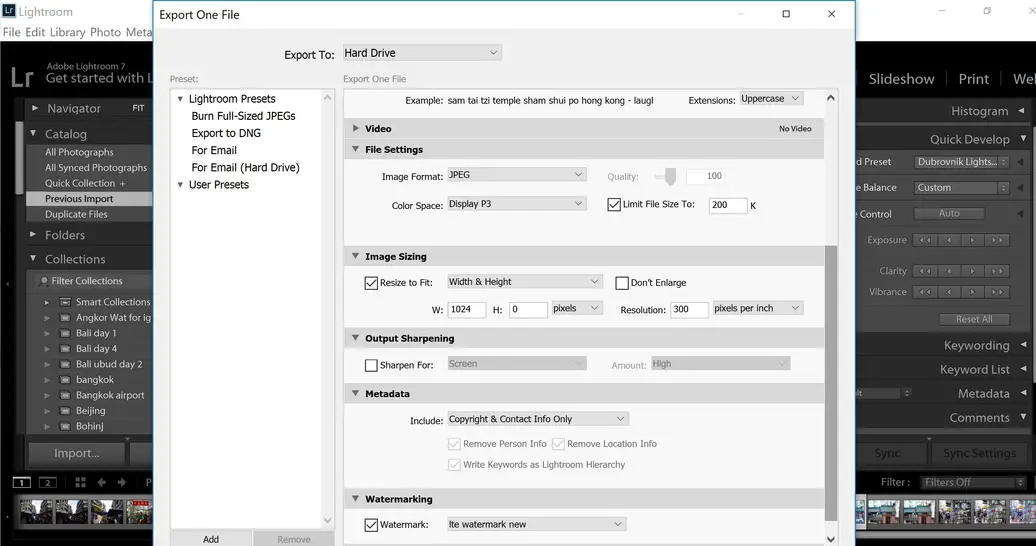
I use Lightroom to resize my photos and also add a watermark. More on how to edit and resize photos here.
Keyword search is key, even before you SEO
SEO – search engine optimisation – is one of the most important things to do for your blog. It’s how you get your website/blog on Google’s radar. And it starts with researching words and phrases that people search for.
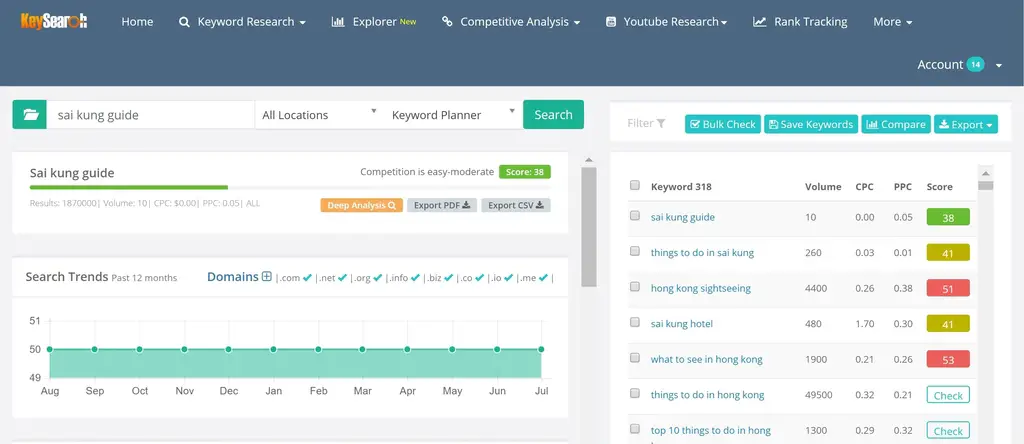
Before you can use google keyword planner for free, now, you’d need to have a paying Google Adwords account to see it clearly. I’m now using Keysearch.io – which is a paid service but it’s worth the investment if you want to increase your page views. I share it with another blogger to save cost, but it’s honestly the best investment I’ve done for the blog.
Make sure your keyword appears in:
- Title
- URL
- headings
- bodies (organically)
Make sure images alt text are filled in, for both your sake and for the search engine. Make sure content is valuable – your opinion is important too, but it ain’t all about that keyword stuffing, it’s about writing something valuable and useful.
Setting up a blog structure
You know how you need a map when you visit a place? Well, the same can be said for your blog.
Having a clearly labelled, well-structured menu and categories is important for visitors who will go to your blog and wanting to find information. Some suggestions are:
- countries/cities
- travel tips
- travel inspiration
- travel style
Pages you should have:
- about me
- work with me (and press page)
Start here page is important because it is a great point for first-times visitors to go and get to know your blog. You should include a short about me, the purpose of your blog, focus and
Having a content calendar and posting schedule
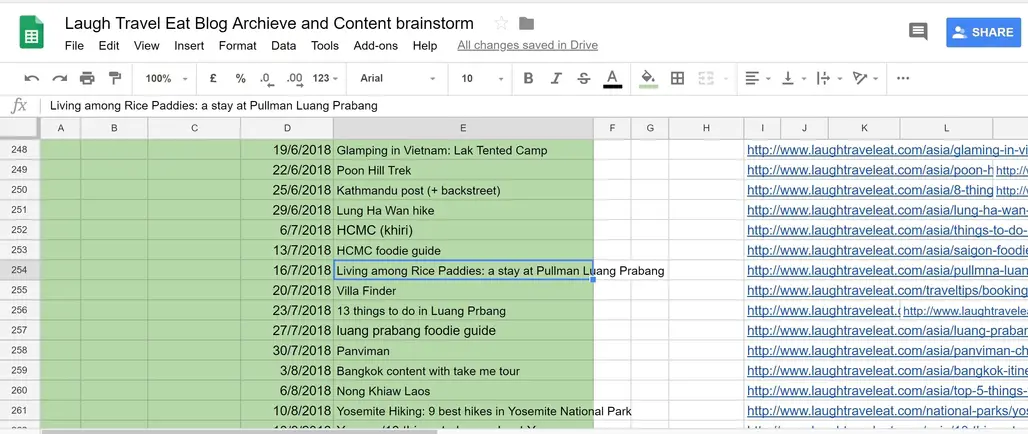
Not every blogger does this, but I like to keep a posting schedule for accountability and structure. I post every Friday at least, and sometimes on Mondays too if I have time. I also keep everything in a Google Sheet to keep it organized and tidy and make it easy to look up an old post.
Social Media Rules
Golden rule: Be active, not spammy.
We should all be supportive of each other, but not forcefully so. Do go and like other bloggers’ page and share their content, but do refrain from leaving them a message or comment for a like or follow back. It’s spammy, tasteless and does not give you a good impression.
Instead – be active and genuine and people will follow you. Don’t be disappointed if they don’t – and don’t take it personally. It’s just how life works.
Another rule is to create the best possible content – only upload the best photos and check your content before you publish!
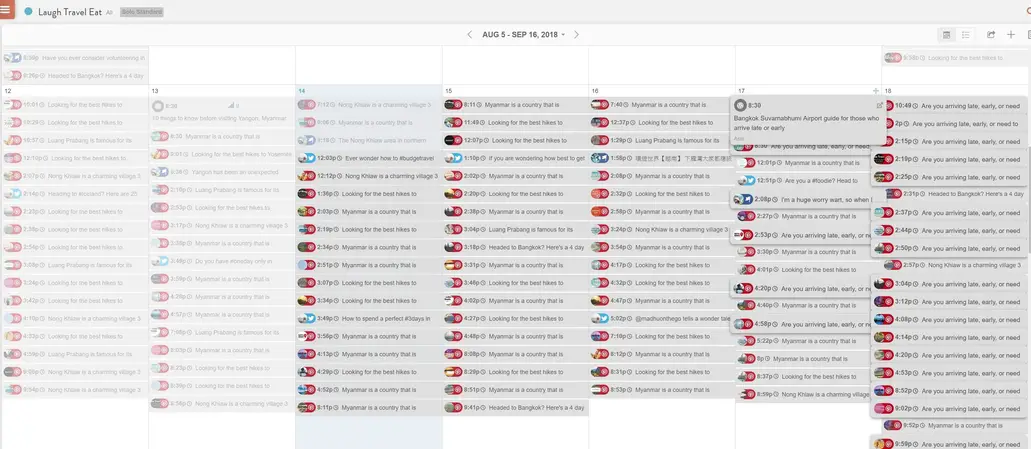
Try to get everything as automated as possible, use scheduling programs so this doesn’t take over your life.
e.g. Twitter – revive old post or hootsuite/coschedule, facebook – hootsuite/coschedule, Instagram – latergram, pinterest – Tailwind
I personally use Coschedule, check it out here
Instagram is a completely different ball game, which I won’t go into except that you should post daily, use relevant hashtags, and only post the best photos.
One of the biggest traffic driver outside of google as it is a search engine itself.
A few key rules:
1) Best pins are vertical
2) Overlay words must be done tastefully
3) Best photos are the one with bright colours, mix of nature and old buildings/castle, restaurant with views, water bodies and no people (or small/unfocused on)
4) Pinterest is all about SEO too, so make sure you have a detailed, relevant and useful description. I usually use the first paragraph of my blog post
5) Put your logo on – it’s about branding
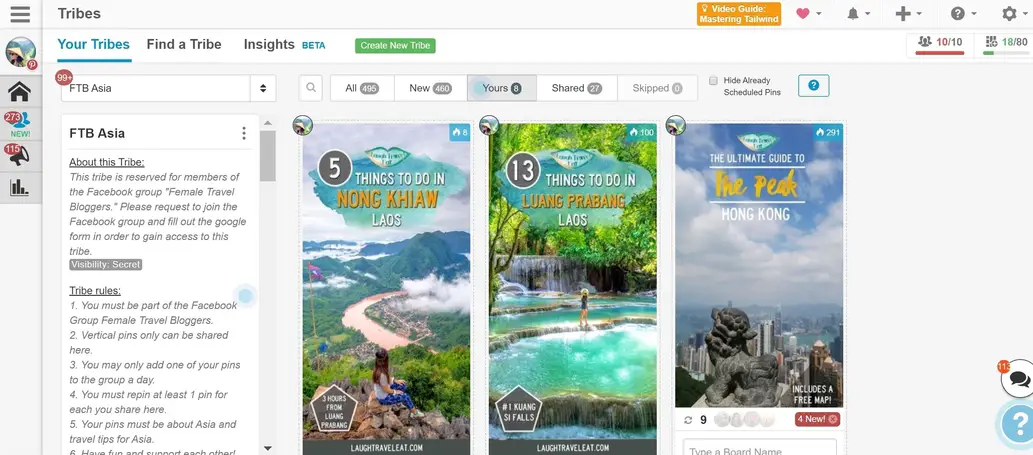
Joining group boards help, but to gain initial traction – join a Pinterest group to repin others and let them repin yours
Use a scheduling service, Tailwind is a Pinterest Partner, therefore their service is safe and trusted. You can join different Tribe to promote your own pins and schedule other’s, which is a great help.
Get started with Tailwind for free
Actively pin and curate your boards, remove any that doesn’t match etc (only pin legitimately beautiful images)
Schedule pins to group boards
I use coschedule to do this and it’s a timesaver! You want to pin all your vertical images in your blog posts to relevant group board at different times. And coschedule allow you to do that by simply drag and drop
Guest posts
Identify what you want to get out of it and how before you decide. Preferably allows you to link to a VERY relevant blog post.
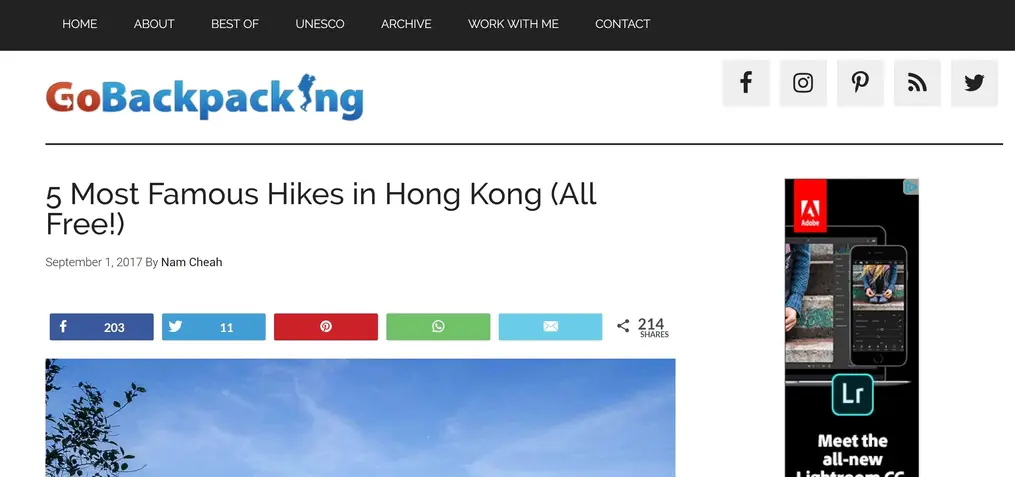
If you are not being paid, you MUST at least get an author’s post linking to your blog and minimum one link to your own blog – otherwise, it’s pointless.
Make sure you know the purpose of your guest post: is it to drive traffic to your blog only, or is it to attract them to a blog post where they can sign up for your mailing list?
Mailing list
The most important thing to build if you are hoping to turn your blog into a business and sell something down the line (less so if you want to focus on organic traffic only).
MailChimp is free up to 2000 subscribers and they host sign up forms with links you can add as a button on your FB page.
Start with MailChimp for free!
The sign-up form is hosted by MailChimp so you don’t need a website to start collecting emails!
The key to getting sign up is to offer a freebie:
- Email course
- Ebook
- Checklist
- Exclusive membership content and portal
Recommend to use a landing page, click trigger -> email, psychologically better
I use layered pop-up + blank landing page (by live composer) for a good user experience and an automated subscriber cycle with the least cost. It’s good to be clear with mailing schedule, and have your opt in visible on menu bar or near the top.