Asia
Rinjani trekking: a complete guide to Mount Rinjani hike
Jan
Are you planning to go Mount Rinjani trekking? A Mount Rinjani hike is a must when you visit Lombok, not to mention it’s only a short flight away from the ever-popular Bali. There are many Rinjani trekking packages online and from tour operators all over Bali and Gili Islands, and most of the time you don’t get all the information you want. I know that I certainly could do with more info before I go up!

So this is where I – a veteran hiker in Southeast Asia – come in with my super informative guide on hiking Mount Rinjani for you:
- If you are interested in more cool hikes, see my epic hikes page
- For something easier, check out Mount Batur in Bali, and Bromo and Ijen in Java
- Heading to Bali before or after? Check out my Bali guides.
Table of Contents
Trekking Rinjani Essential Information

Do you want to hike Mount Rinjani? A lot of the blog posts, articles, and vlogs I find online don’t give me enough information on what trekking Mount Rinjani is like. This is where I come in! If you want to know all about hiking Rinjani, keep on reading:
Geology of Mount Rinjani
Mount Rinjani is the active volcano that has given rise to the island of Lombok. It lies on the divergent (moving apart) boundary of Indo and Australia plates which give rise to many other volcanoes in Indonesia and around.

It is a relatively young volcano compared to others in its region, with rocks dating back to the Mesozoic era. The caldera, which is the depression that allows the crater lake to form, happened in 1257.
When was the last Rinjani eruption?
Mount Rinjani last erupted in 2010, although other types of volcanic activities were more recent. The earthquake in 2018 changed the hiking route and some of the landscape. If you find information pre-2018, chances are that things look quite different now.
What is Mount Rinjani known for?
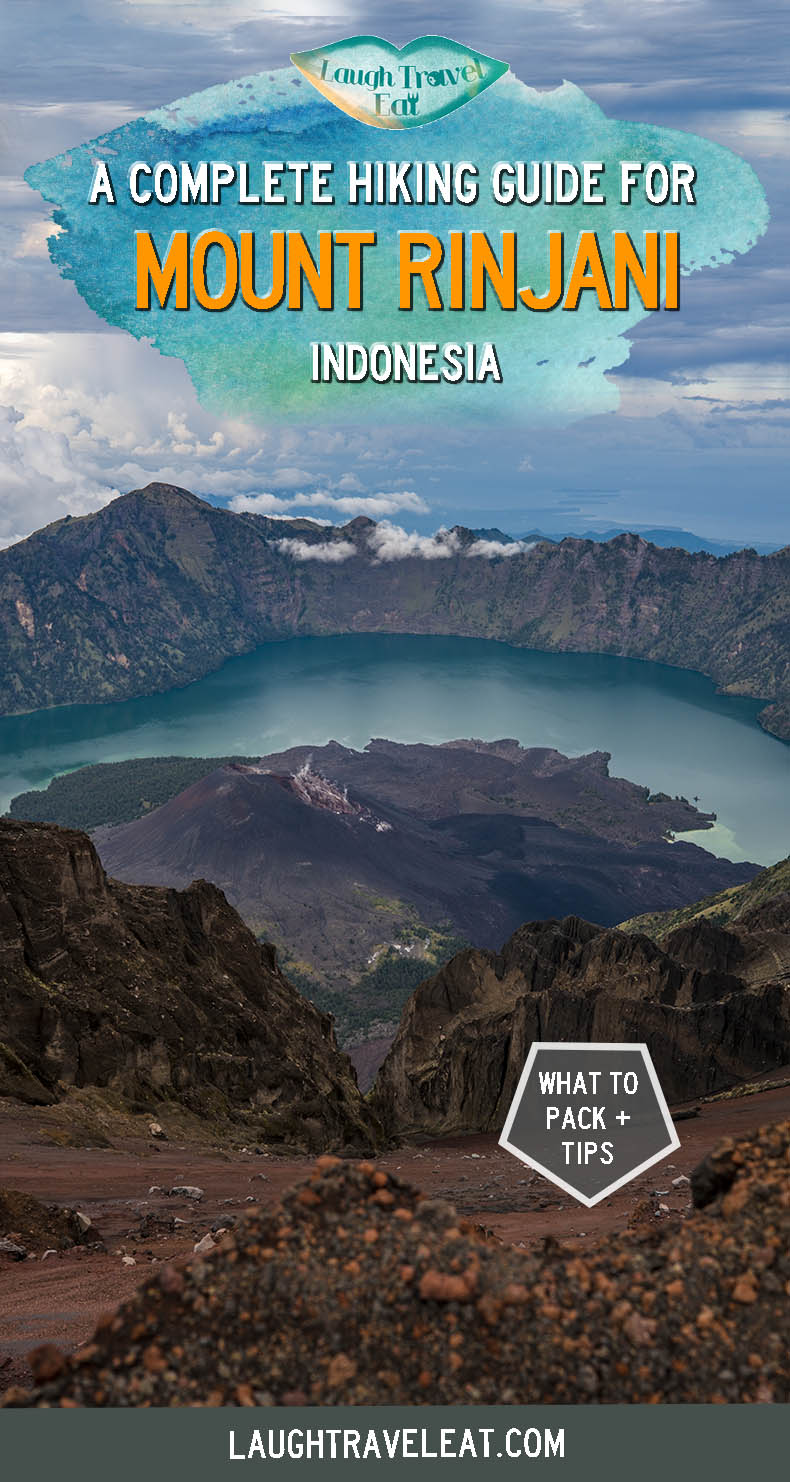
Mount Rinjani is known for being the second-highest and most active volcano in Indonesia. Its highest point stands at 3762 m above sea level and the crater lake and rim are also beautiful.
Is Mount Rinjani worth it?

While Mount Rinjani isn’t as easy as Mount Bromo or Kawah Ijen, it is a more challenging and off-the-beaten path hike with amazing crater lake views. I enjoyed the hike, but it is not for those who had not prepared physically and mentally, even with the help of the porters and guides!
I’d recommend doing the 2D1N route if you’re not sure if you can complete it as day 2 for the 3D2N tour is brutal!
How to prepare for Mount Rinjani?
Most people with a good level of fitness should be able to make it to the crater rim campsite, providing they have a pair of good trainers. However, if you are doing 3D2N and want to make sure that you won’t be struggling every step of the way, here are some suggestions:
- Hike more in your home country/town before your trip. If you’re in Hong Kong, I’ve many hiking recommendations.
- Try a less difficult mountain before. Here is how I rank some of my big treks: Mount Olympus, Greece -> Mount Fuji, Japan (very similar terrain) -> Mount Kinabalu, Malaysia.
- Make sure you have hiking poles and the right shoes!
When to hike Rinjani?
Mount Rinjani is generally open from April until the end of December, with January being the month that would definitely be closed. This is due to the rainfall from the rainy season, making the trails slippery and unstable.

It is best to hike Mount Rinjani from June – August when visibility would be good. However, these are also the hottest months, which makes climbing harder.
How long does it take to hike Mount Rinjani?
Mount Rinjani National Park covers a huge area, and it depends on the route you take. You need to do an overnight tour in order to summit Rinjani, although you can hike to the crater rim and back down in one day.
Those who are very fit can likely do the trek in one day. However, no one-day tours are available, and given that this is an active volcano and in the tropics on a less-developed island, it’s best to take a tour.
Mount Rinjani Routes explained
There used to be only one route to hike Mount Rinjani, but nowadays, there are two starting points. This means you no longer have to do a loop trail and the 3D2N hike would take you from Sembalun to Senaru.

Senaru was the only official starting point but now there’s the addition of Sembalun which goes to the base camp for the summit faster. That is now the default route for all summit hikes.
There are 2 routes down with a new middle route that opened in 2021 that serves as a pilgrimage route for locals. Now it’s open to foreign tourists as a backup for coming down during bad weather or late descent option. It has many waterfalls, but given that it requires additional transport arrangements and is a similar time span to reach the Senaru crater rim. It is not something that most people take up unless absolutely necessary.
Can you swim in Mount Rinjani?

If you take the 3 day 2 night tour, you will have lunch at the crater lake on day 2. There is a hot spring nearby but you can also swim in the crater lake if you want.
However, this is a crater lake of an active volcano rich in sulfur. I would recommend not swimming there but going to the hot spring instead.
Can You Fly a Drone on Mount Rinjani
Yes, at least in Dec 2022 it is still allowed for us to fly our drone. That said, please exercise caution as the area can be busy and the signal weak on the summit.
There are risks associated with flying at high altitudes.
Mount Rinjani Trekking Tour
There is no shortage of Mount Rinjani trekking tours online and also from local tour agencies in Bali, Gili Islands, and Lombok. In general, they offer more or less the same packages with very little price difference:
- 2D1N or 3D2N tours
- A guide and porters who will lead you, cook, and make a tent for you

Extra info: tour companies are allowed to bring two groups up per week, so it’s important to book in advance if you have a tour company you want to go with.
Hajar Trekking
We went with Hajar Trekking for our Mount Rinjani Trekking Tour. It is one of the best-rated in Lombok and runs by the Lombok native Hajar.

Hajar himself started as a hiking guide in 2000, but trekking up Rinjani didn’t become popular until 2006. It really became something to do in 2010, but with the earthquake in 2018 and then the pandemic in 2020, things have slowed down a lot.
For the two of us, we have one guide and two porters: here’s our team photo

Our guide is Adi, who is really funny. He started as a porter in 2008. The porters are Adi 2 the bodybuilder and Anton the sprinter.
How much does it cost to climb Mount Rinjani?
Considering that we have our camping gear taken up and all our meals cooked, it is surprisingly cheap. With Hajar Trekking, the cost for 2 people trekking 3D2N is 255 USD. But if you have 10+ people, it’s 215 USD.
You can see the full price list here. The cheapest option is a 2D1N hike up to the crater rim from the Senaru route, which is 215 USD for 2 people.
The tour is probably cheaper if you book locally, but it’s hard to vet the tour companies you would end up with.
Can you climb Mount Rinjani without a guide?
From what I understand, you can technically hike Mount Rinjani without a guide. However, it is difficult to do so as a foreign tourist and is not recommended. While the trail is relatively established and hiked, there are still parts that are still not the safest. The tropical climate means there are bugs, plants, and wildlife that aren’t the friendliest.
Besides, without the porters, it would be difficult to carry everything up and also cook all your meals!
How much do you tip Rinjani?

You are expected to tip the porters and guide at the end of the trip. This hugely depends on your experience but the minimum suggested amount is 100k per person. We tipped more especially since it was 3D2N and we had a great time with our tour company.
Getting to Lombok and Mount Rinjani
For packaged tours, generally includes pick up and drop off at the port or airport. Here is how to get to Lombok and Senaru:
Flying to Lombok

Lombok has an international airport. You can get a flight from Singapore, Jakarta, or Bali fairly easily.
We made our way over from Bali, where the domestic airport is next to the international airport. It’s about 10 mins walk on the nicely paved ground if you ended up getting dropped off on the international side.

We flew with Citilink, a budget airline with a propeller jet which was fine. Although we could only purchase 15kg of luggage instead of 20.

The Hajar Trekking tour driver picked us up at the exit by the taxi and Grab Lounge and it was a roughly 3 hours drive to Senaru. You will be swamped by drivers trying to get your attention and business. But just hold your ground and refuse firmly.
Boat to Lombok
Alternatively, you can take the boat from Bali to Lombok. However, crossing can get quite tough during the rainy season. Most boats stop by Gili Islands as well, so it’s much easier to get a flight if you can.
Note: your tour company should keep your luggage for you and return it to you at Senaru on departure day.
Mount Rinjani Trekking Packing List
This is my packing list for 3D2N, with all the camping need taken care of by the tour company we went with:

- Hiking poles – they are an absolute lifesaver. Mine are Lafuma’s but these are similar.
- Hydration bladder – seriously useful because you can drink water without having to open your bag. I generally had 1.5 L of water on me for the day.
- 25-35L backpack, preferably with back ventilation. My sister used the Osprey 24L but the 30 L is also great. I carried a 28L Lafuma backpack.
- Heat tech thermal layers for sleeping. Mine are from Uniqlo, but something like this works perfectly too.
- Fleece
- Waterproof jacket. Mine is Lafuma, and my sisters was Black Diamond’s. I also saw people with ponchos so that works too!
- 1 pair of shorts and 1 pair of leggings (I wish I had another pair of leggings but it was difficult to pack!)
- 2 t-shirts and one long-sleeves
- 4 pairs of socks
- Flip flop
- Hat and cap
- Sunglasses
- Wet wipes and toilet roll
- Sunscreen
- Knee brace – due to knee injury
- Head torch for ascent and at night. And a tent light if you have the room.
- Hiking shoes – it’s better to have ankle support
- Volcanic
I also brought my camera gear up:
- Dji Mini 3 Pro Drone – flying it around both campsites is amazing
- Fuji X100V Camera – best travel camera and super compact
- GoPro – for timelapse and action shot
This would be difficult with a 25-30L bag, so you either need someone to help you carry some of it, or have a 40-45L backpack.
What should I wear to Mount Rinjani?

Mount Rinjani isn’t as cold as other hikes. I felt much colder in Mount Kinabalu and Mount Fuji. Day 1 and Day 3 are doable in shorts, but I do recommend having thermal layers for sleeping, and also fleece for the summit.
I ended up wearing too much on the summit hike as I expected it to be super cold, but even in December it was okay since we were moving. However, it is still cold at night!
Mount Rinjani Trekking Experience
Now that we have covered the essential information, it’s time to share my experience of hiking the second most active volcano in Indonesia.
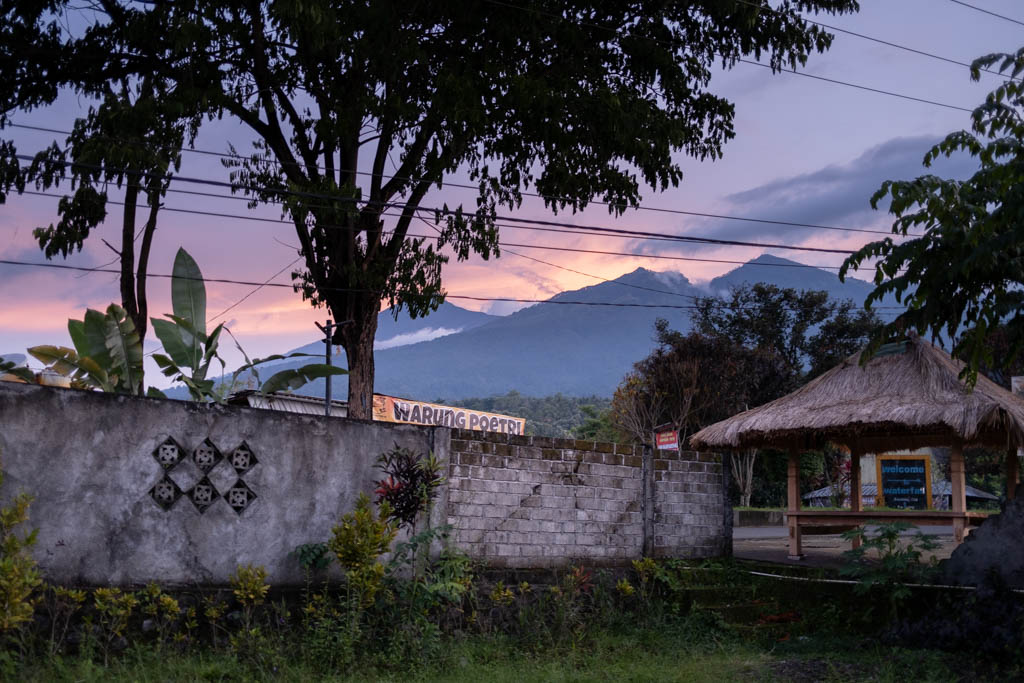
Day 0: Arrival in Lombok and Senaru
Yes, the Mount Rinjani trip starts with day 0 – aka the arrival day. We landed in Lombok in the early afternoon and were able to find our driver, who had our name on a sign.
From the airport, it’s a 2.5-3 hour drive to Senaru. There is signal all of the way and we saw some lovely views of the sea and rice paddies.
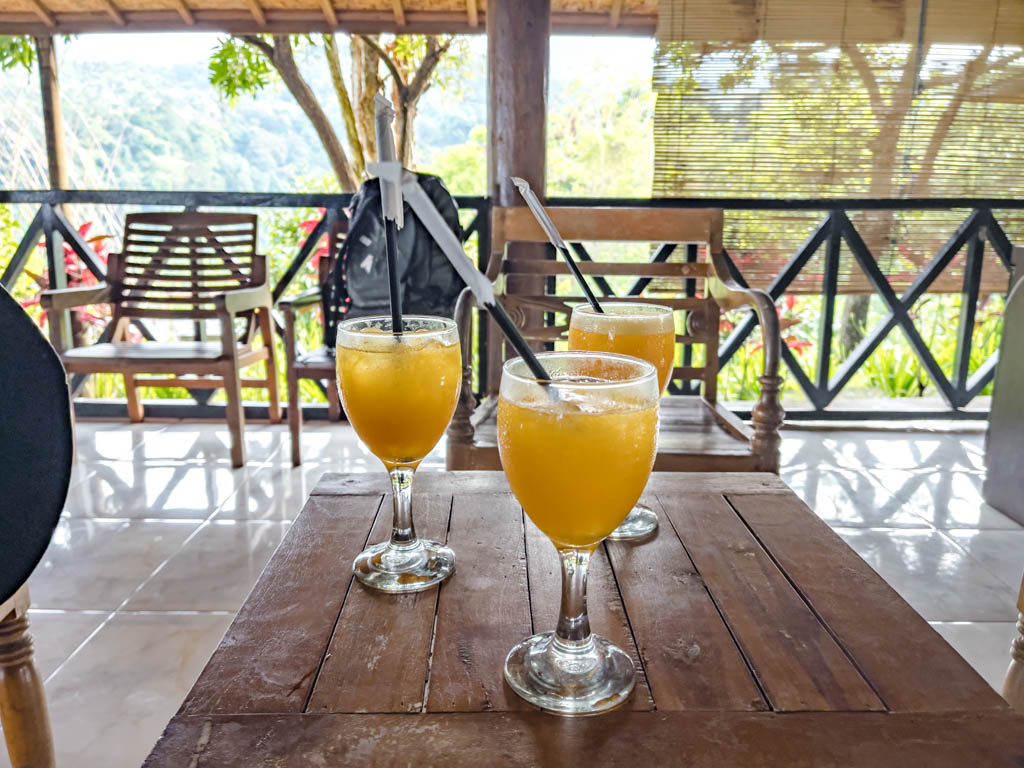
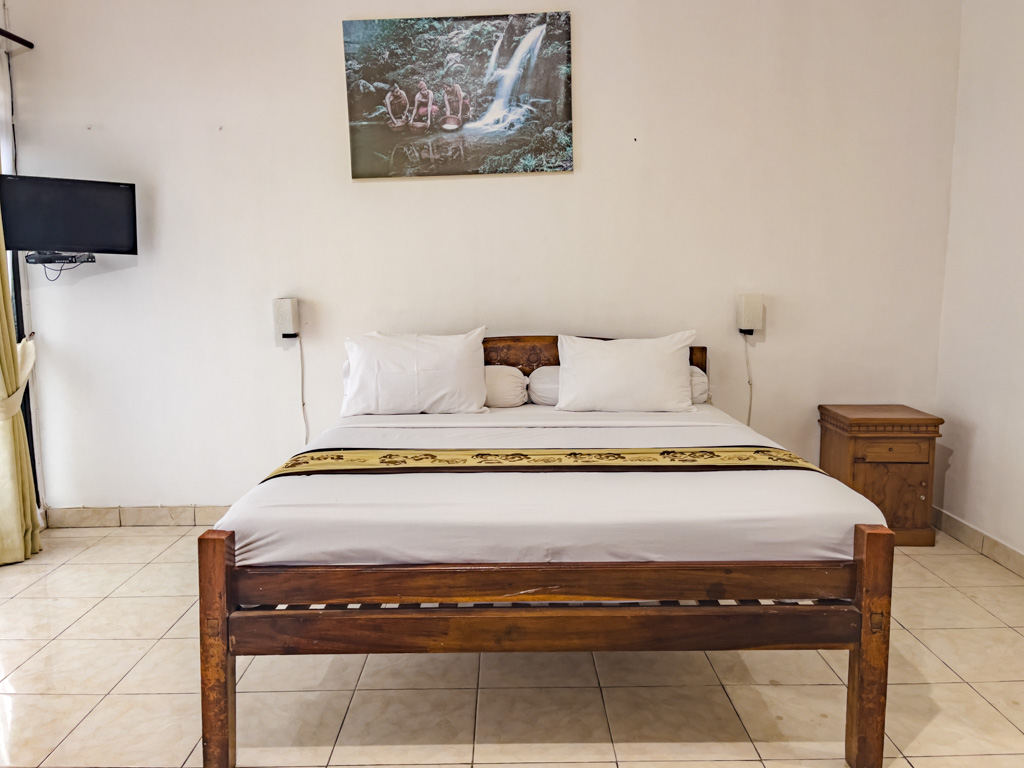
Hajar himself was waiting for us in Senaru, specifically Pondok Senaru Cottages where we would stay the night. There is no Wi-Fi, but it is a nice basic simple room with a great view and places to charge our devices.
He gave us a briefing on what to expect, although there is no elevation information… I’ll be giving you those!
After a welcome drink and settling in, we went out for dinner, which is not included in the tour package.
Dinner at Cafe Rifka
Cafe Rifka is just across the road from the cottage and one of the highest-rated places to eat in Senaru. The prices were around 20-50 000 rupiah with Indonesia and international food choices.
We spent 140k for two, getting a large bottle of water for 8k.
We went to bed at 9 pm after packing our bags.
Day 1: Sembalun to Rim
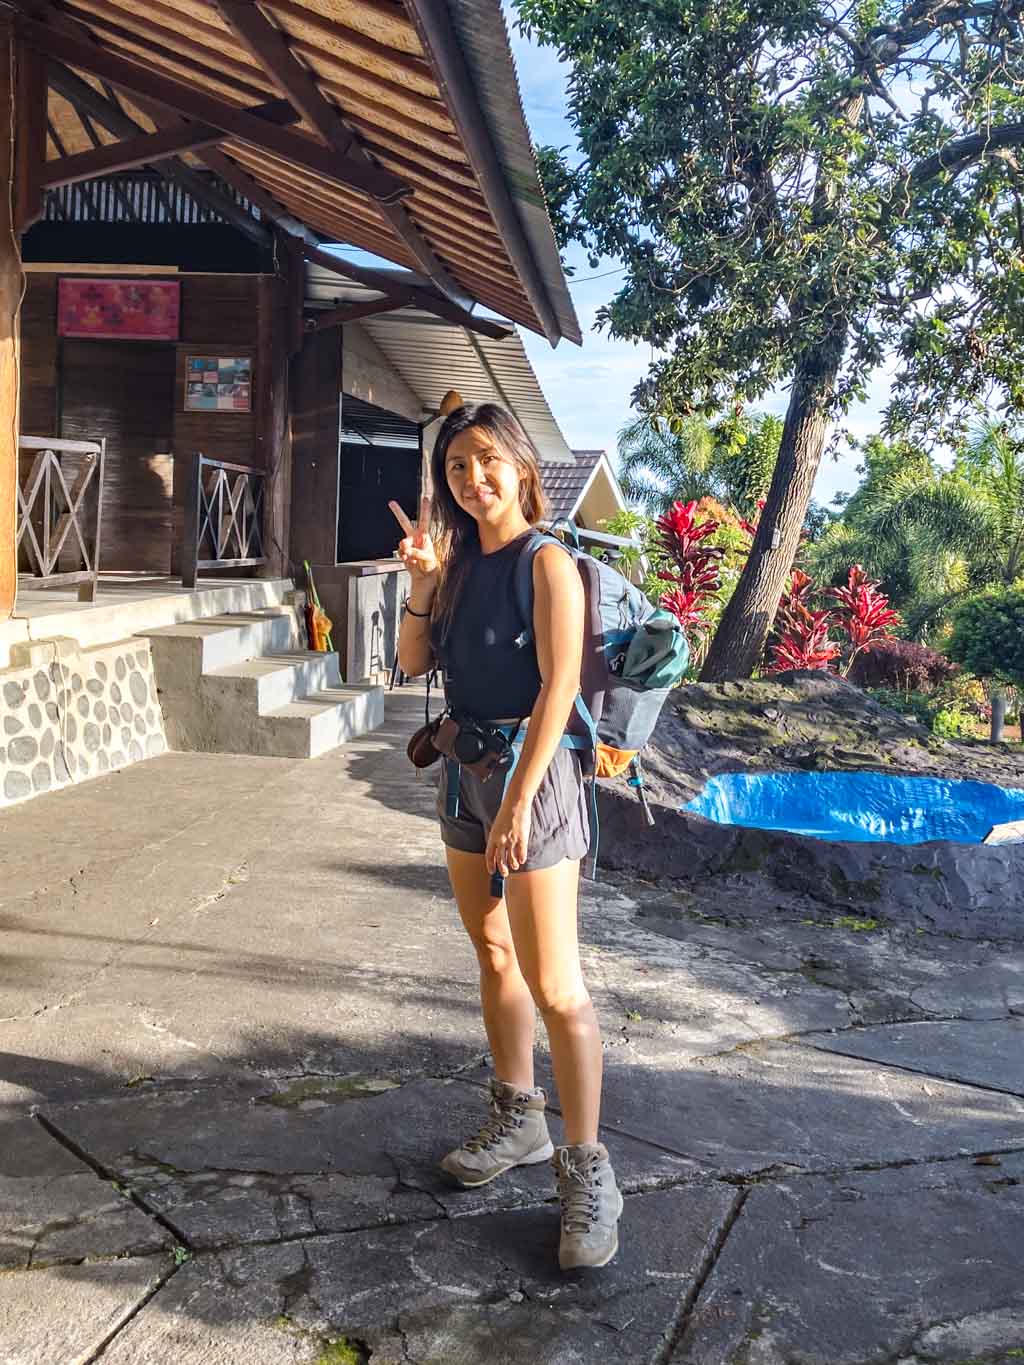
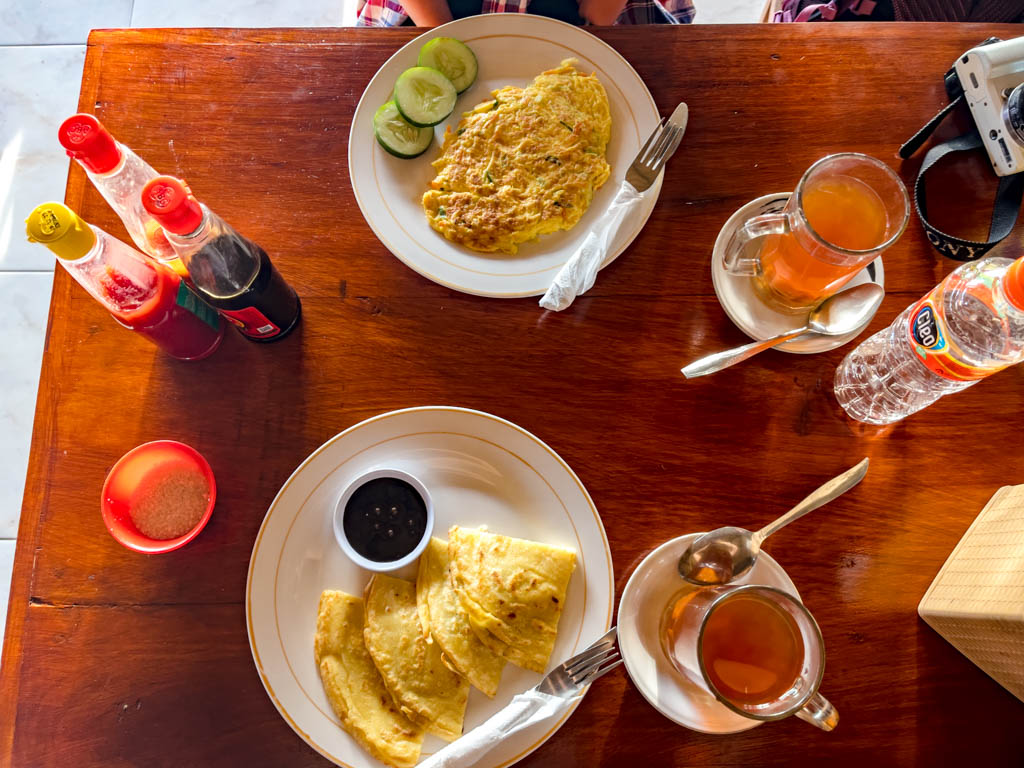
We woke up at 6 am to finish packing and went up to get breakfast at the cottage. They had a good selection of food and we ordered banana pancakes and omelets respectively. There was also ginger tea!
Our guide Adi arrived while we were having breakfast and introduced himself. We made sure to use the bathroom before leaving our luggage and hopping on the open back trunk.
Set off to Sembalun

It takes an hour to get from Senaru to Sembalun, so it’s best to settle in for the ride with a shirt or jacket. Adi had already proven to be hilarious and we got to know the porters as well on the ride.
Sembalun ascent route takes us much closer to the summit and the village itself is higher in elevation.
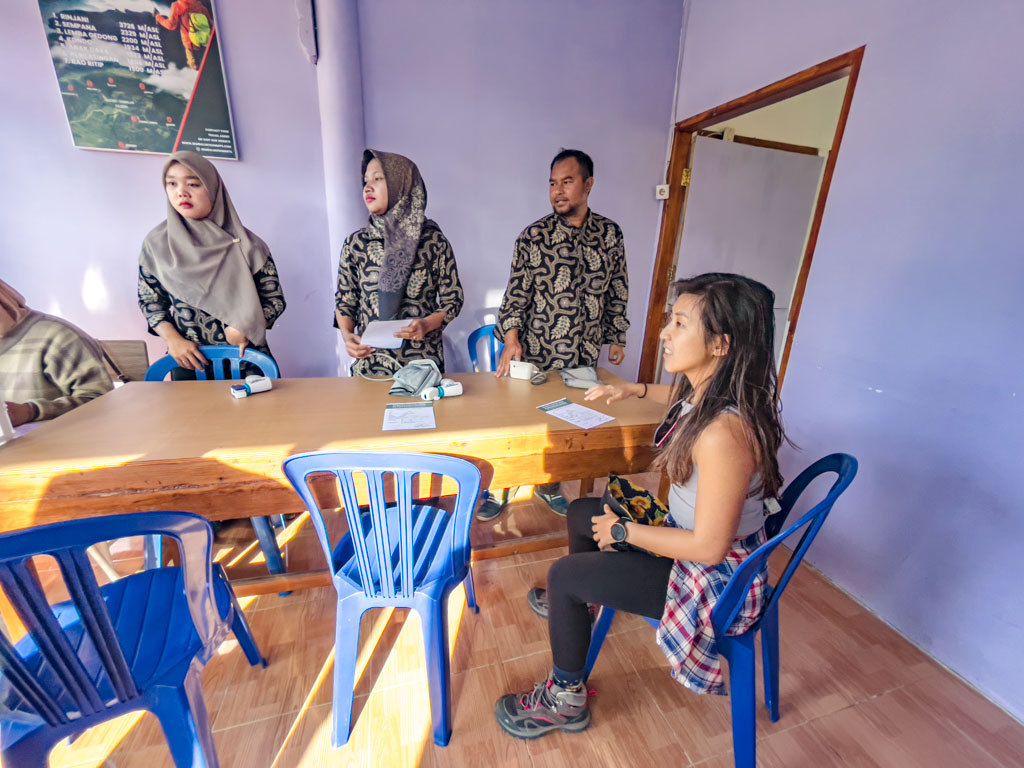
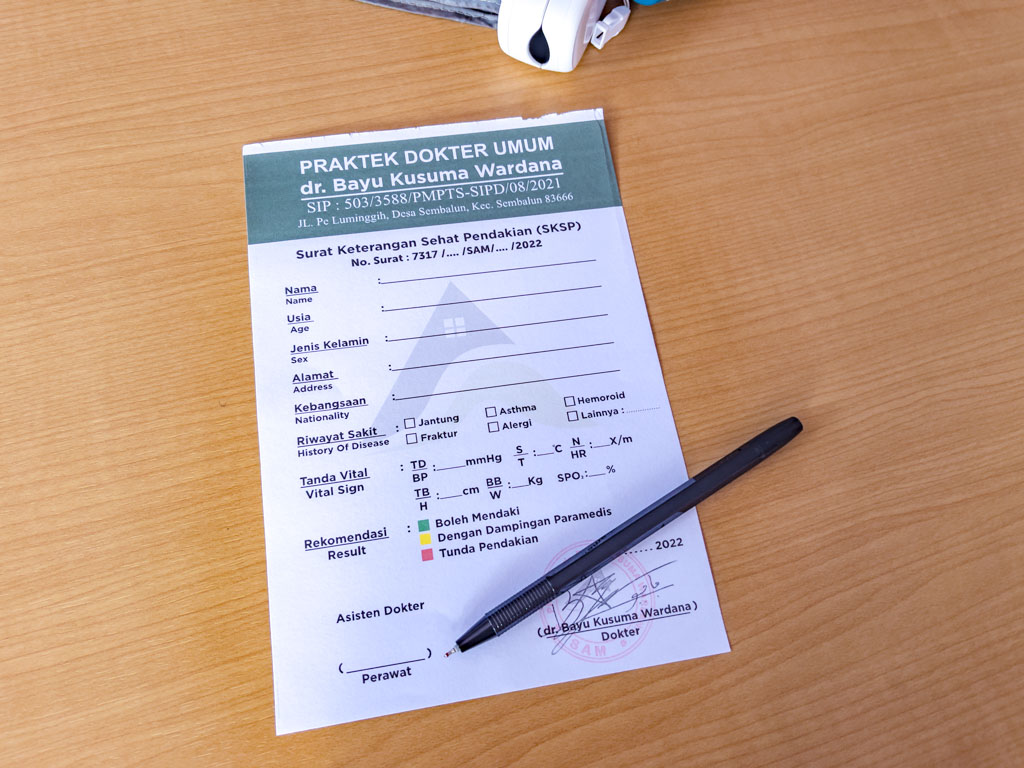
You need to get a medical check and then sign in at the geopark office before heading to the official starting point. Our guide did all the registration and check-in for us. And we managed to use the bathroom at the medical check location.
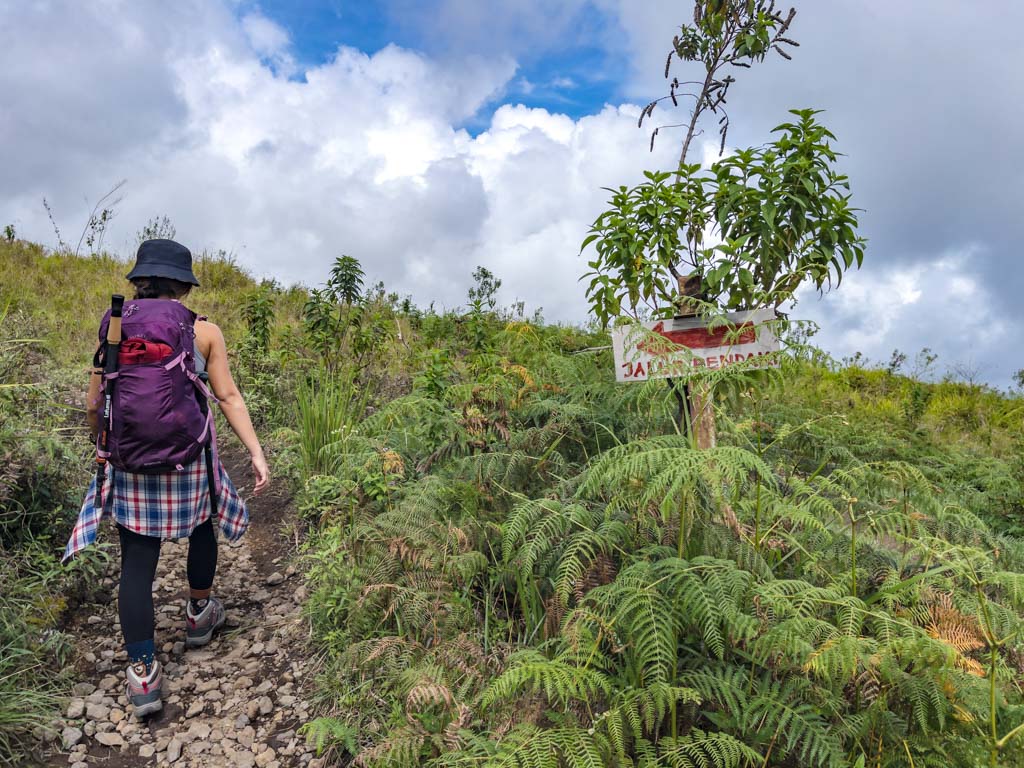
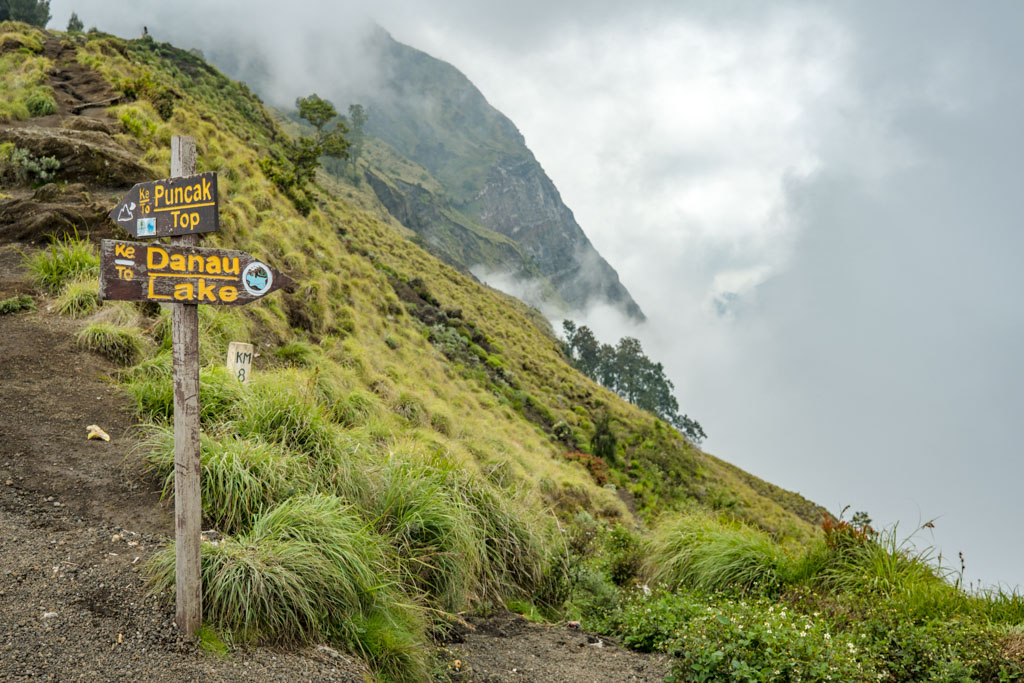
Sembalun Trail Start

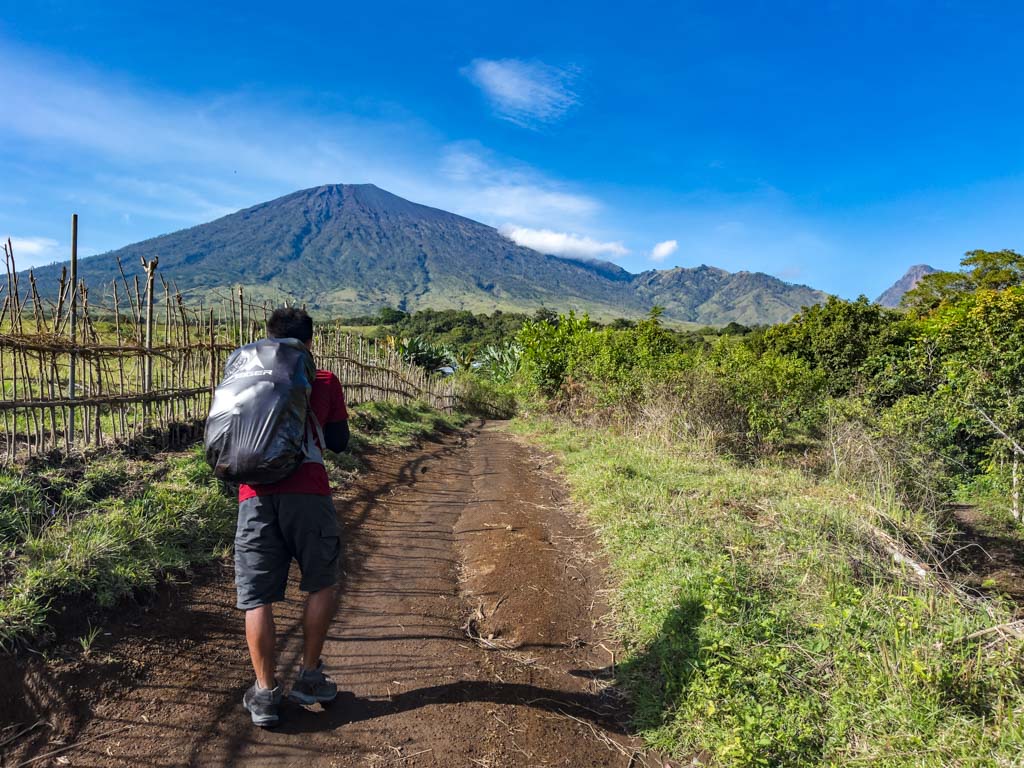
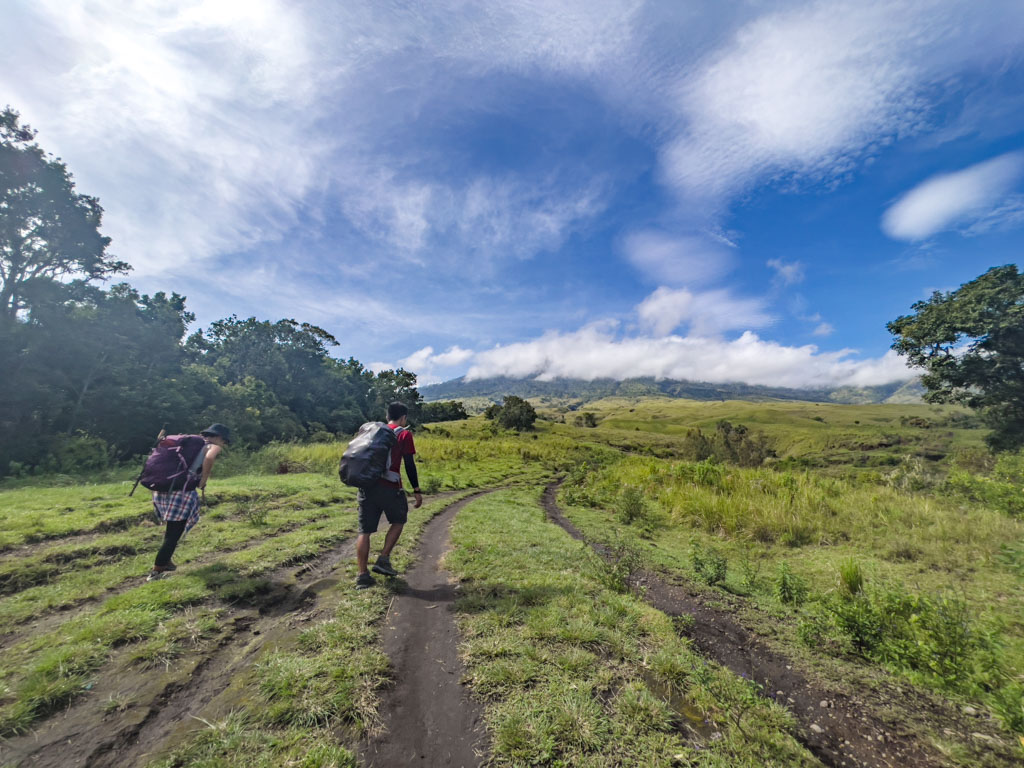
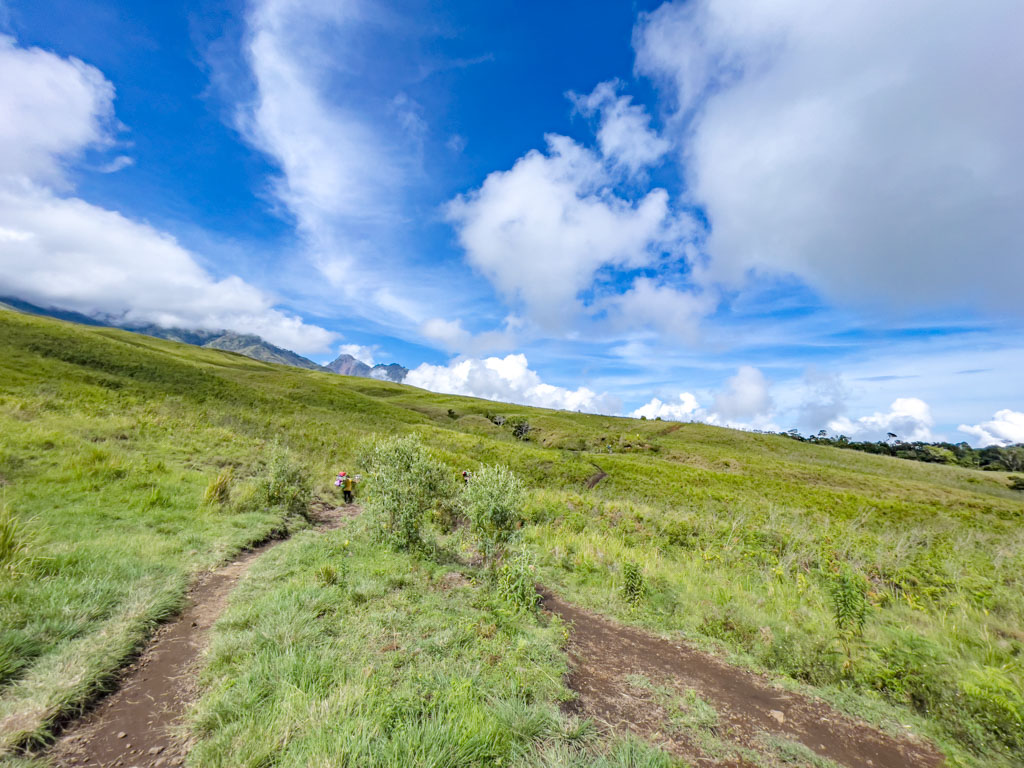
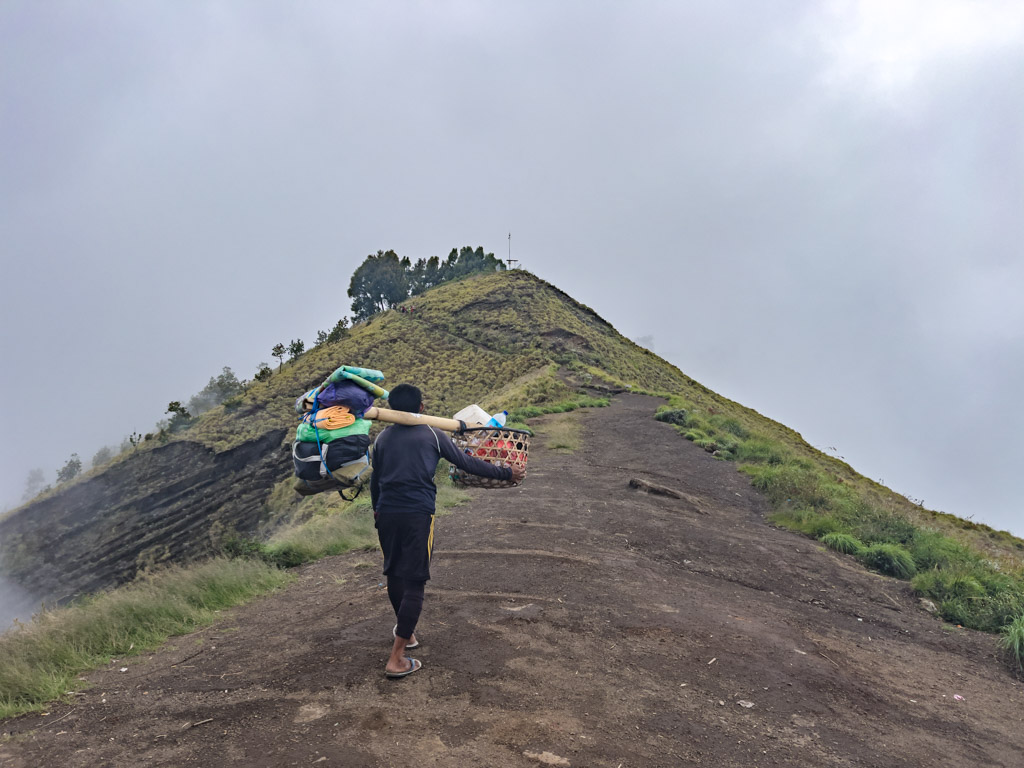
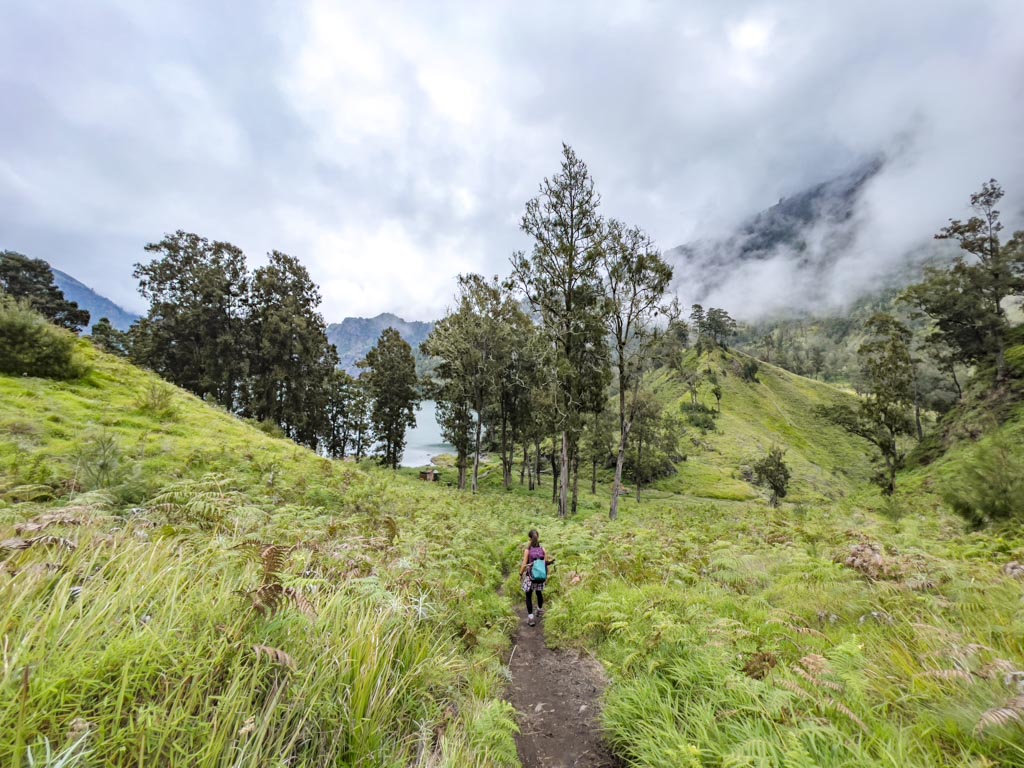
We arrived at the starting point at roughly 8:30. There is a big sign and we can see the plain rising up to the peak of Mount Rinjani in front. It was quite sunny and I was happy to be in shorts.
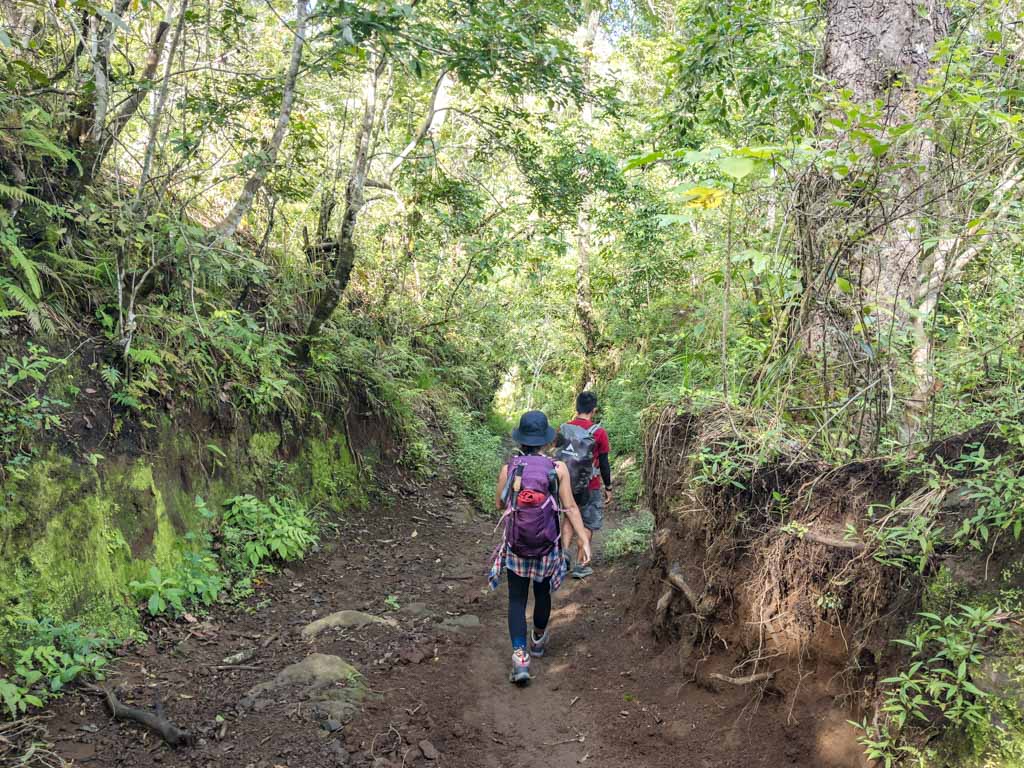
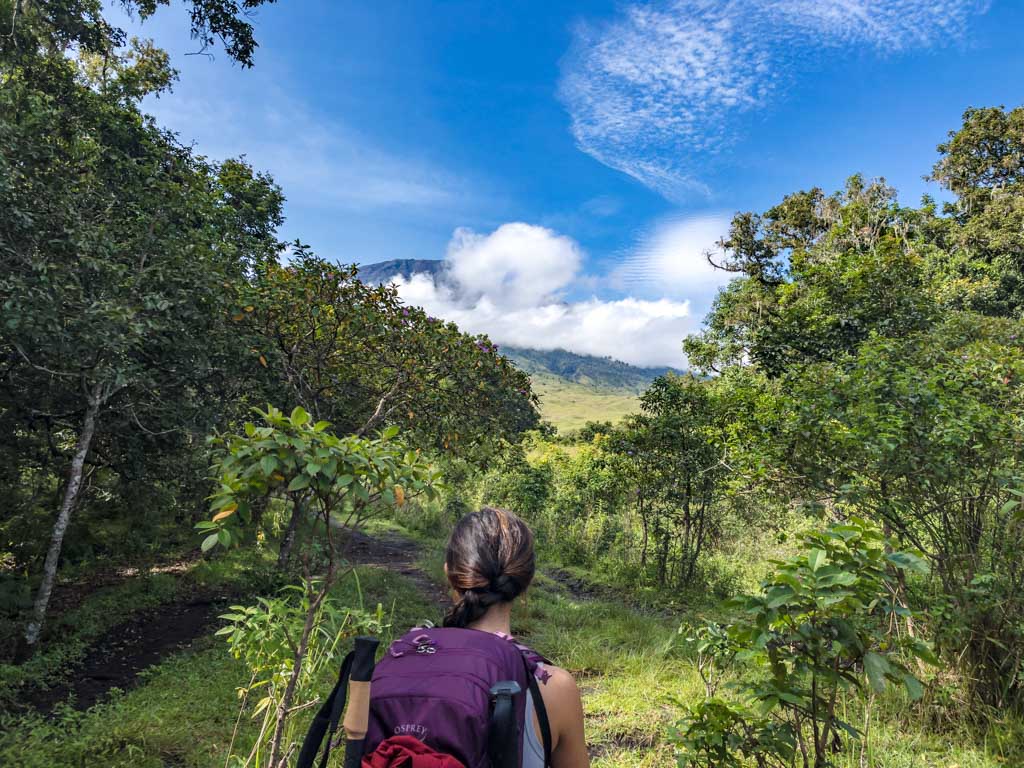
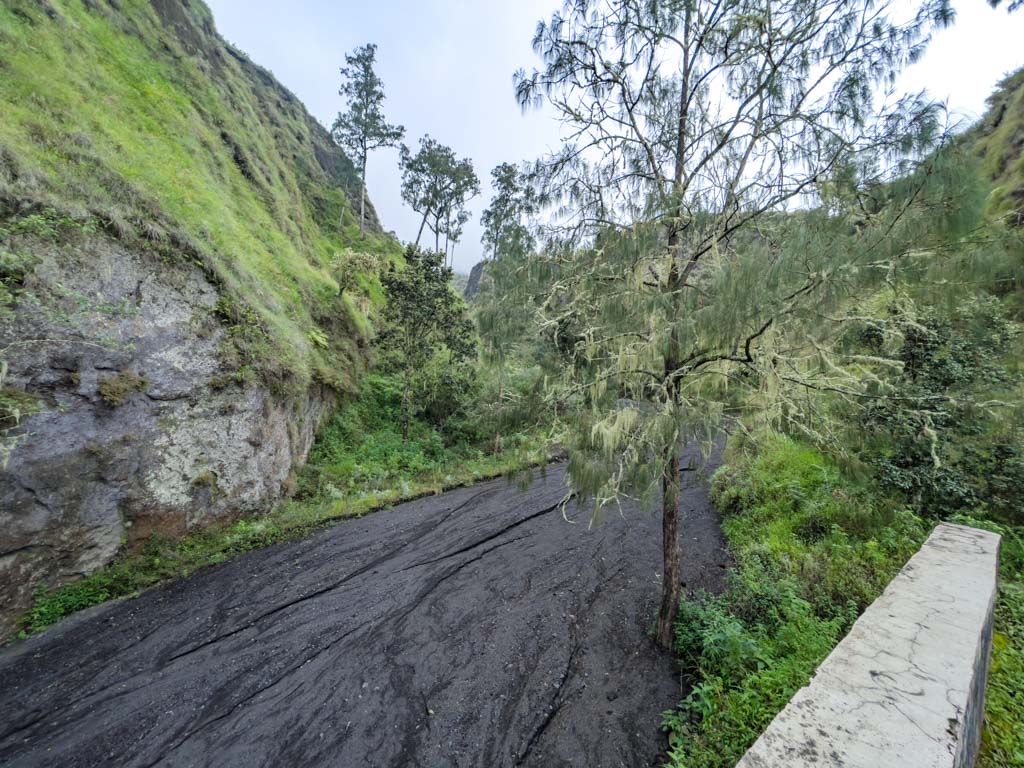
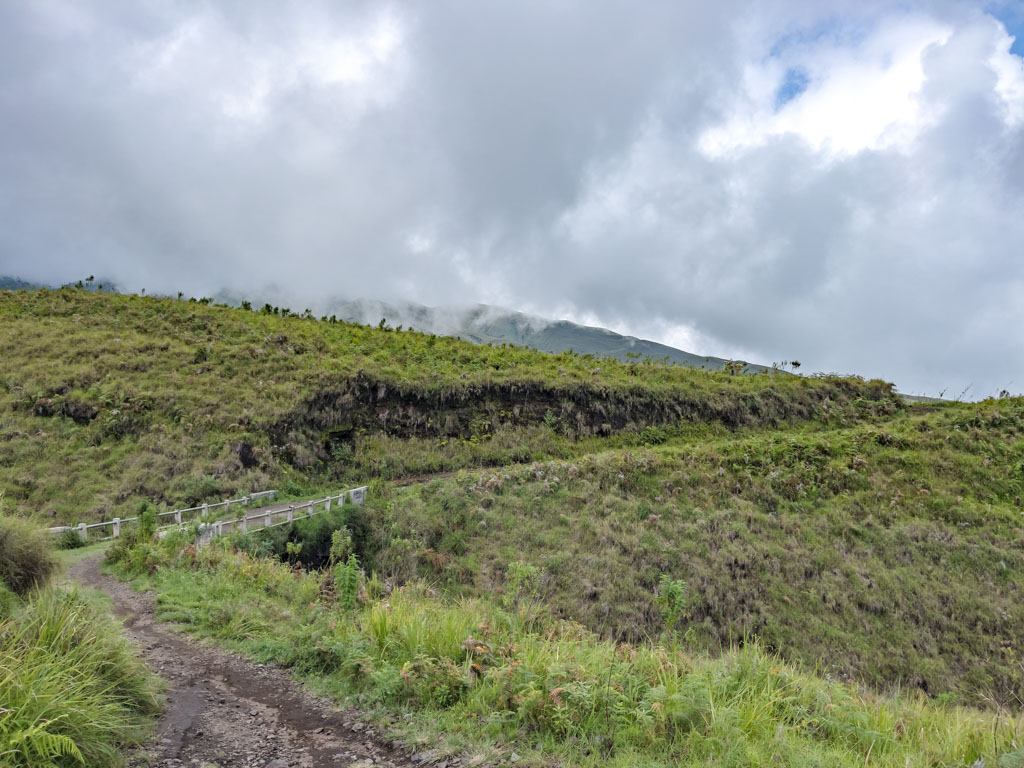
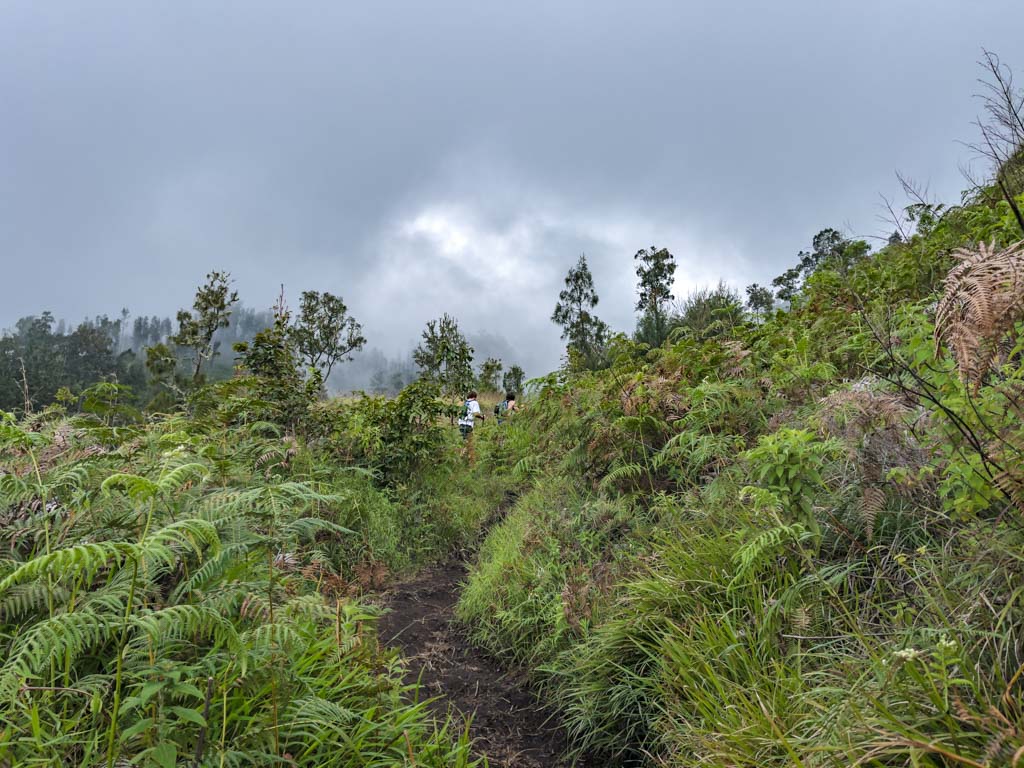
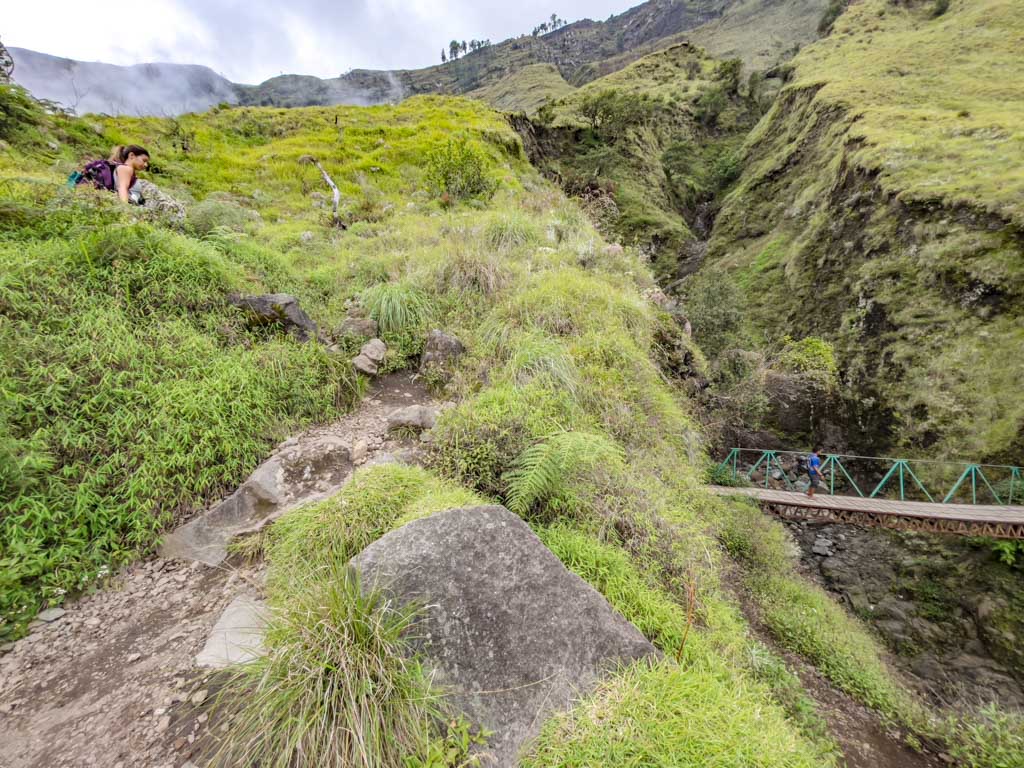
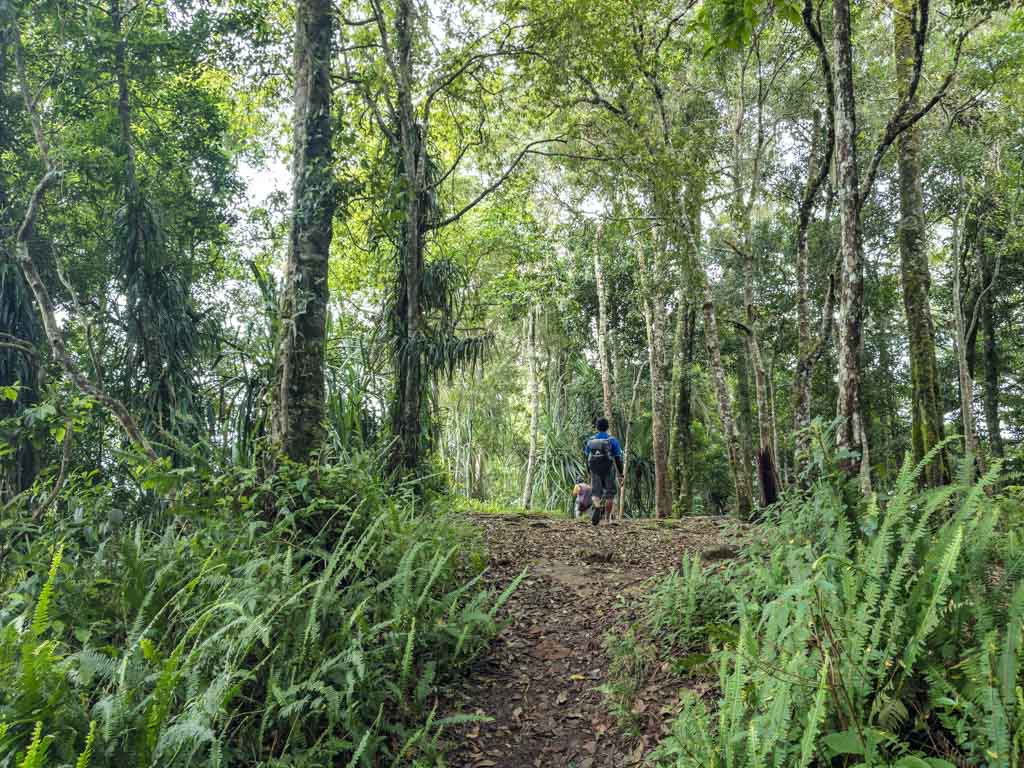
The hike for the first hour is relatively flat and nice. We went down for a little bit and also through some forests. We paused at a bridge where a dry river gets very full during the wet season peak.
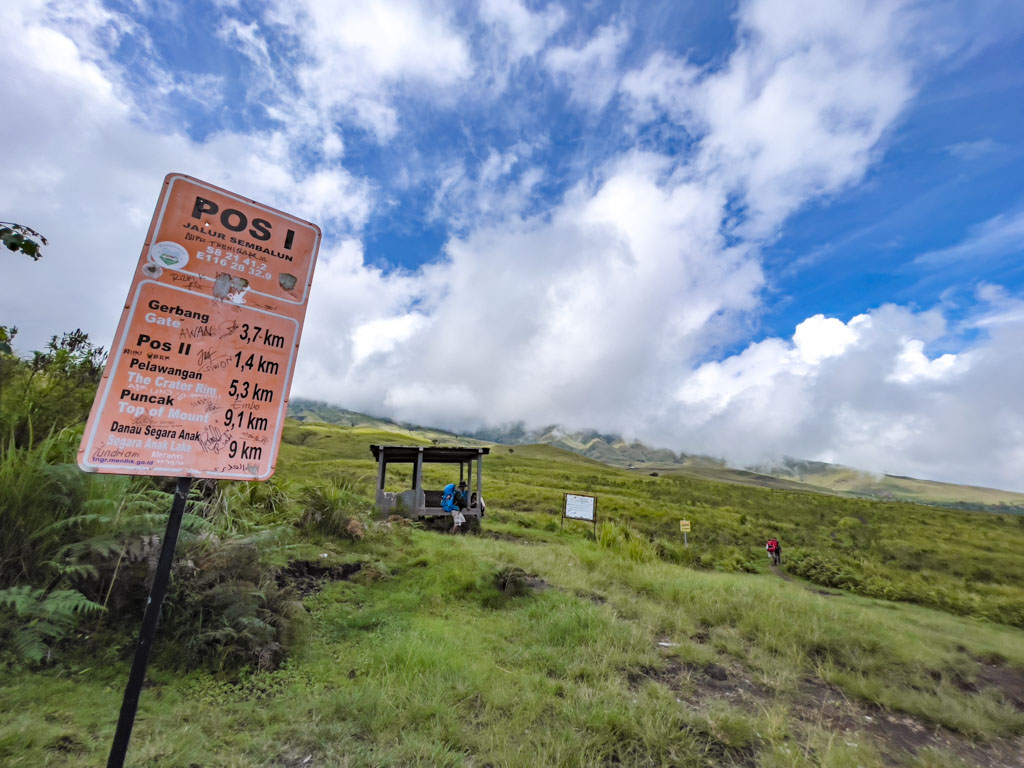
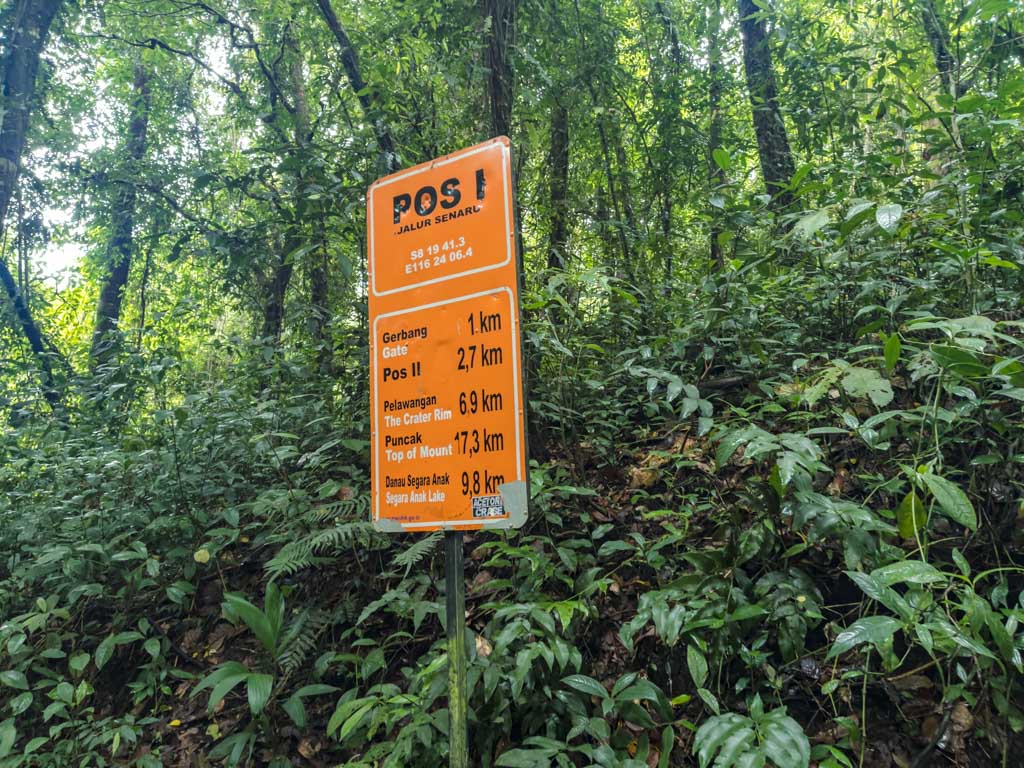
It didn’t take us long to reach pos 1 after.
We also saw quite a few motorbike riders taking people up. This seems to be a popular option with domestic tourists.
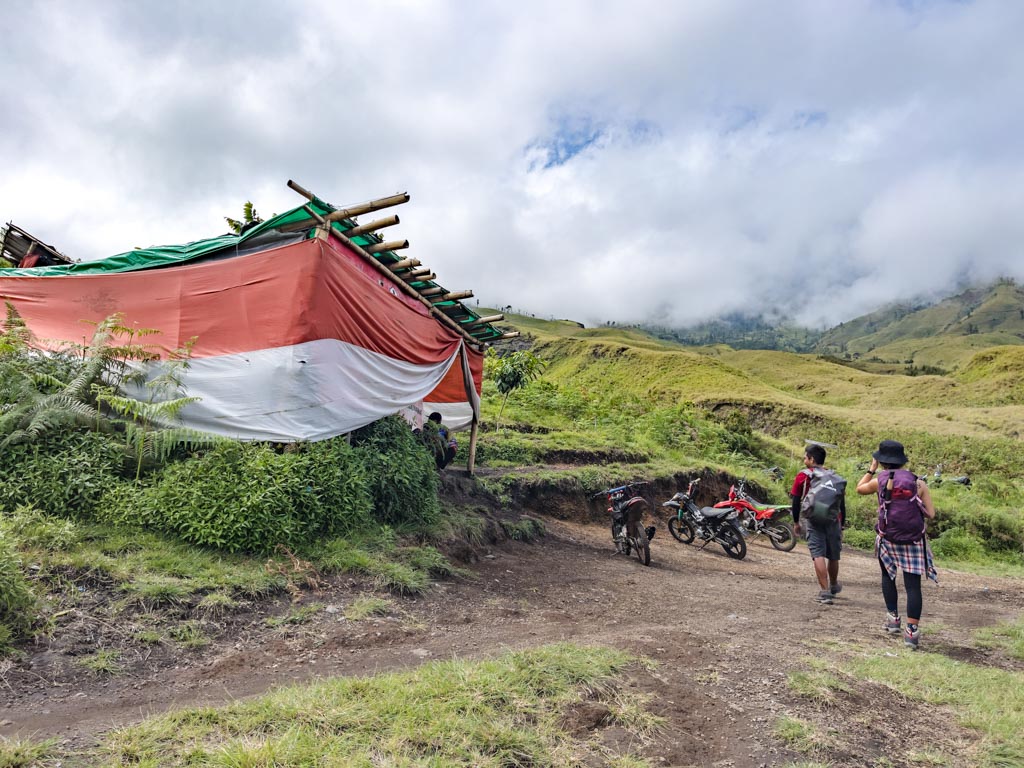
You can only take it as far as Pos 2 where there is a river to cross on foot.

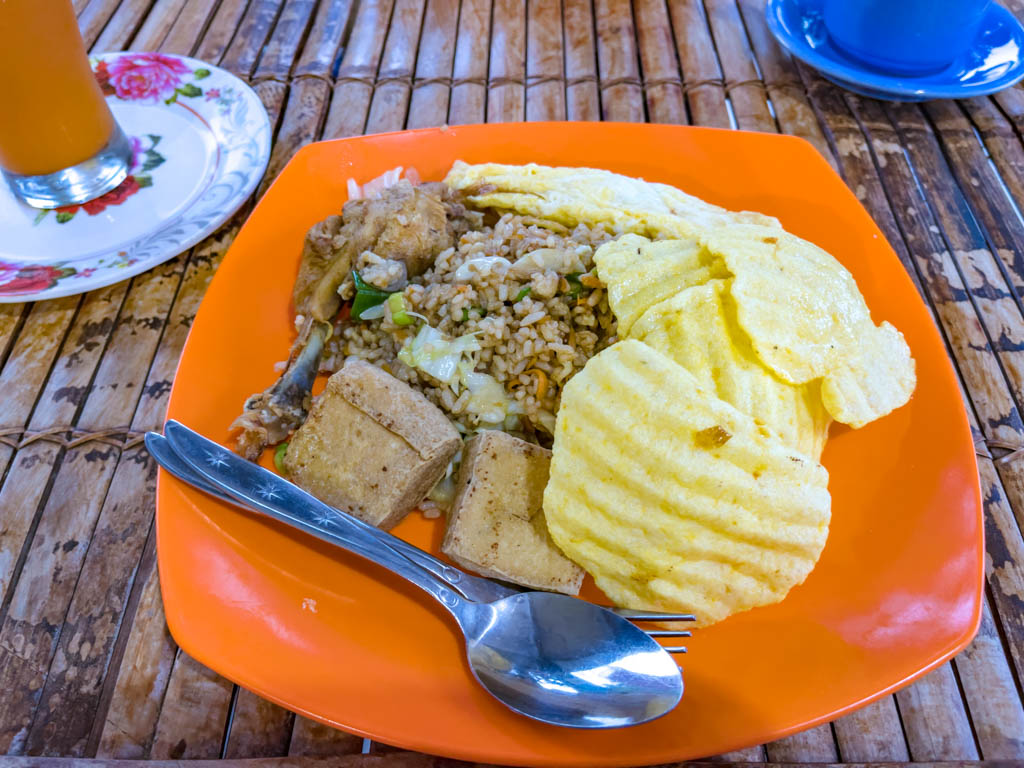
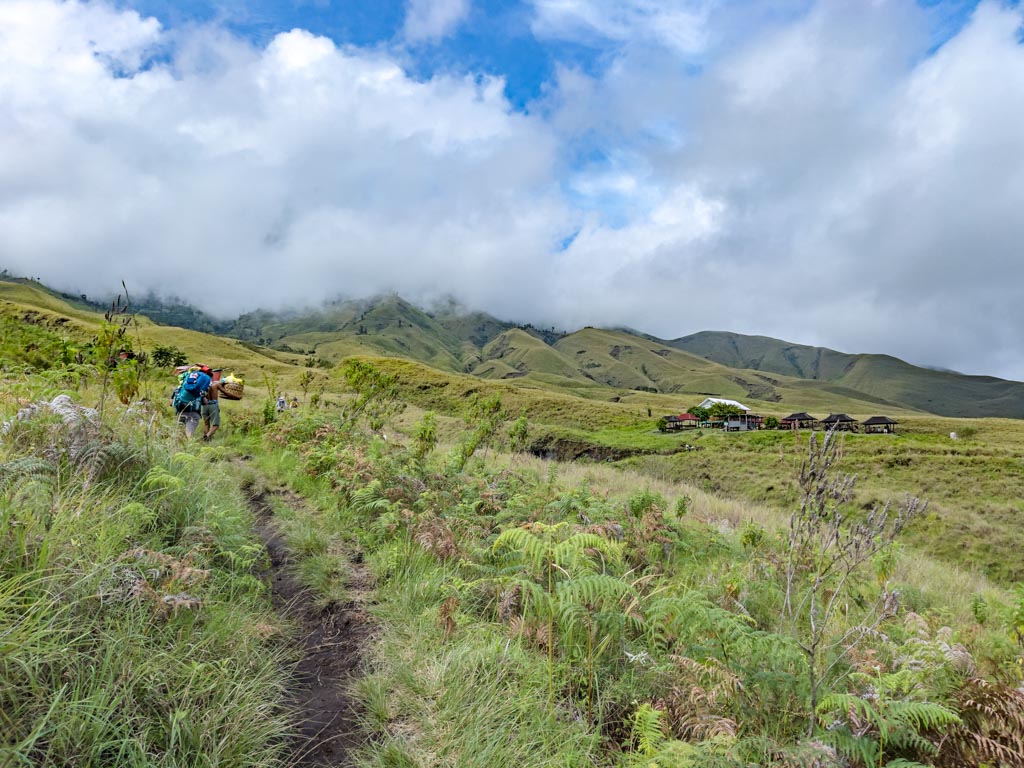
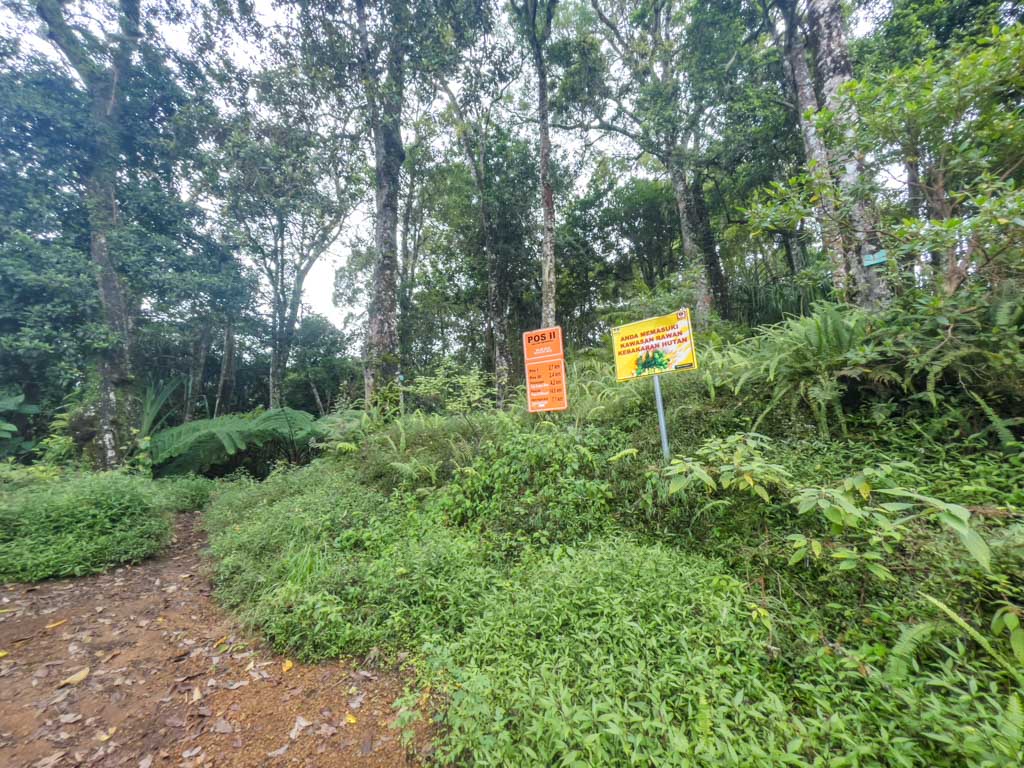
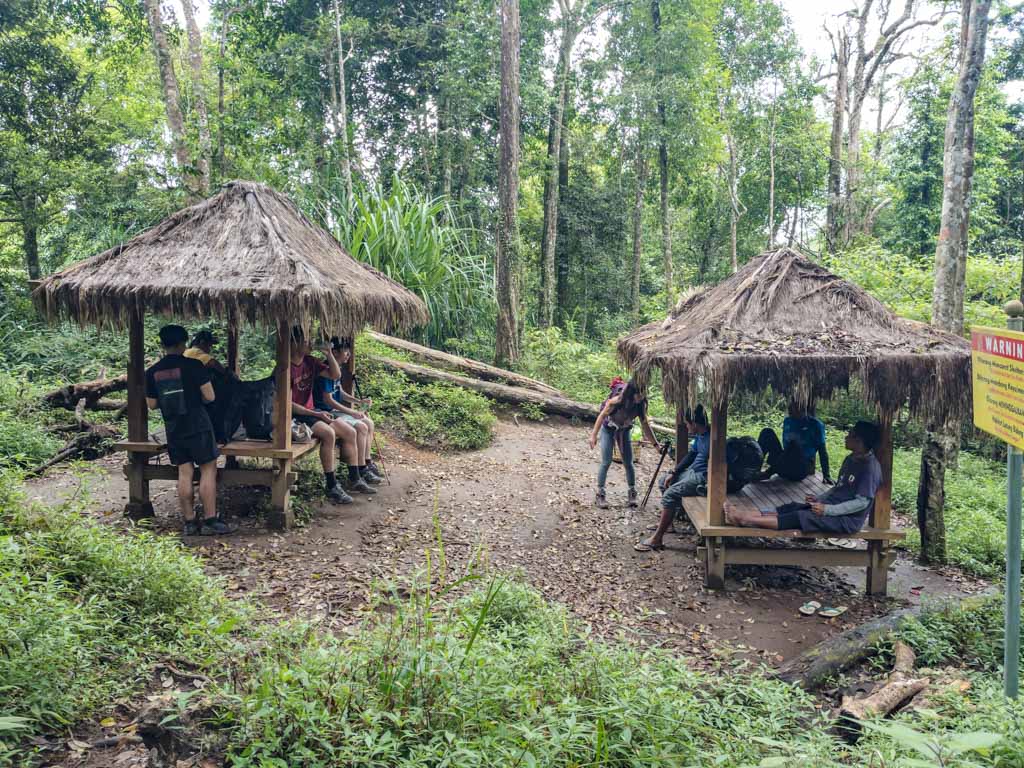
Pos 2 Lunch Stop

We got to pos 2 at 10:30 and most if not all of the porters have already arrived and started cooking. It really felt like a giant picnic but with a full meal. Our guide and porters secured a corner of a pavilion for us and we chatted with a fellow hiker as we waited for our food.

There are a lot of monkeys around waiting to snatch food (or scrapes) from us. Our hiking poles came in very handy to scare them off!

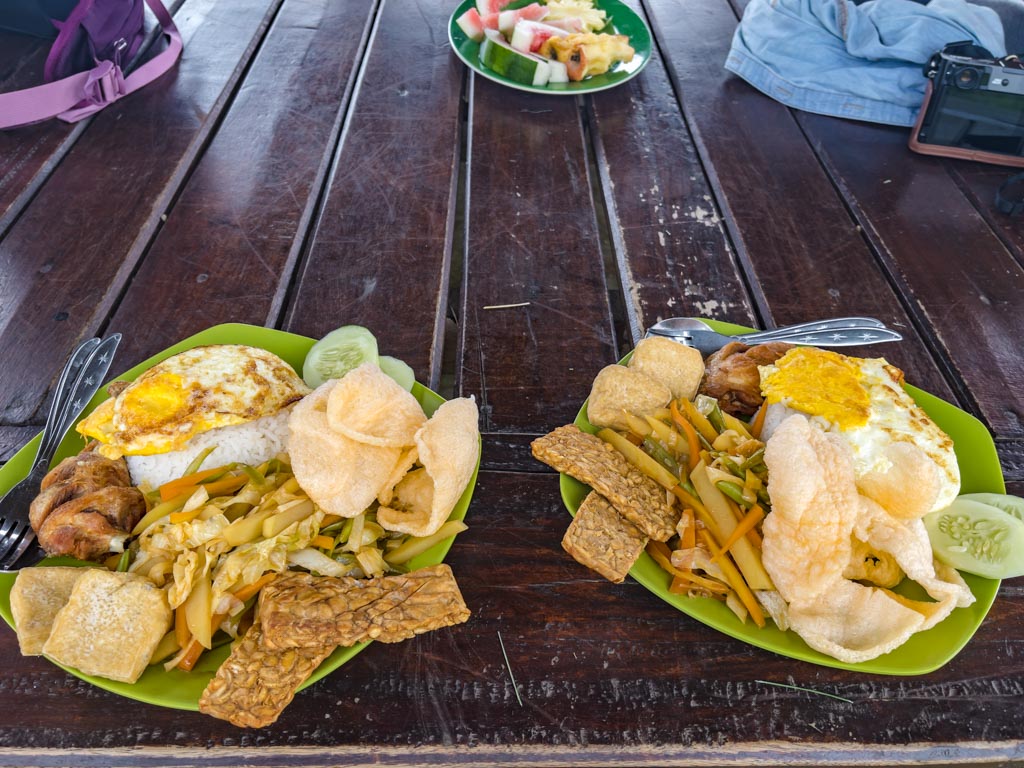
It took an hour before we got any food but it was well worth it. We had fried chicken, tempeh, prawn crackers, stir-fried vegetables, and egg with rice. And also fruits and tea.

Note: there is a bathroom section but you have to pay 5k rupiah to use it.
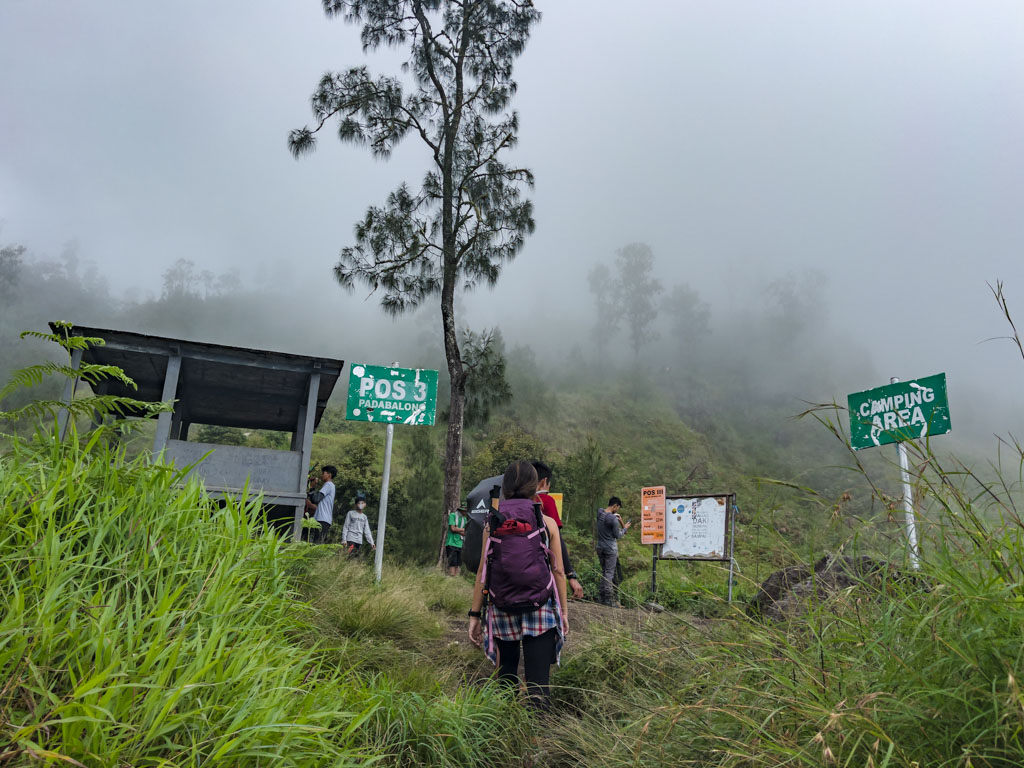
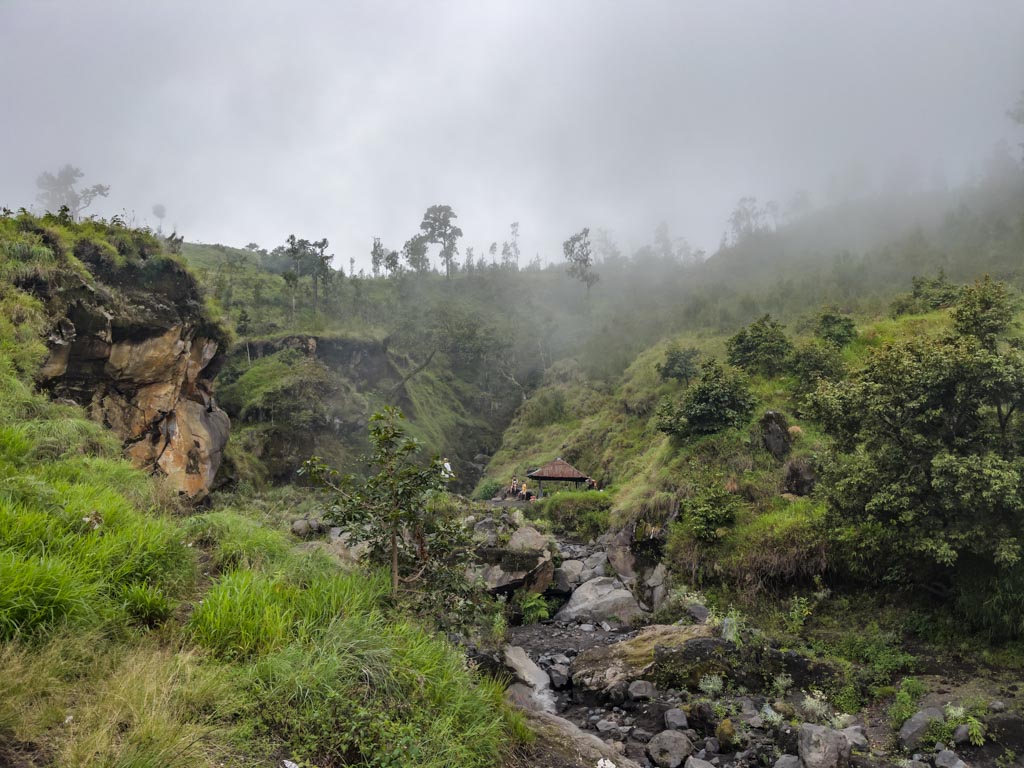
Pos 2 to Pos 3
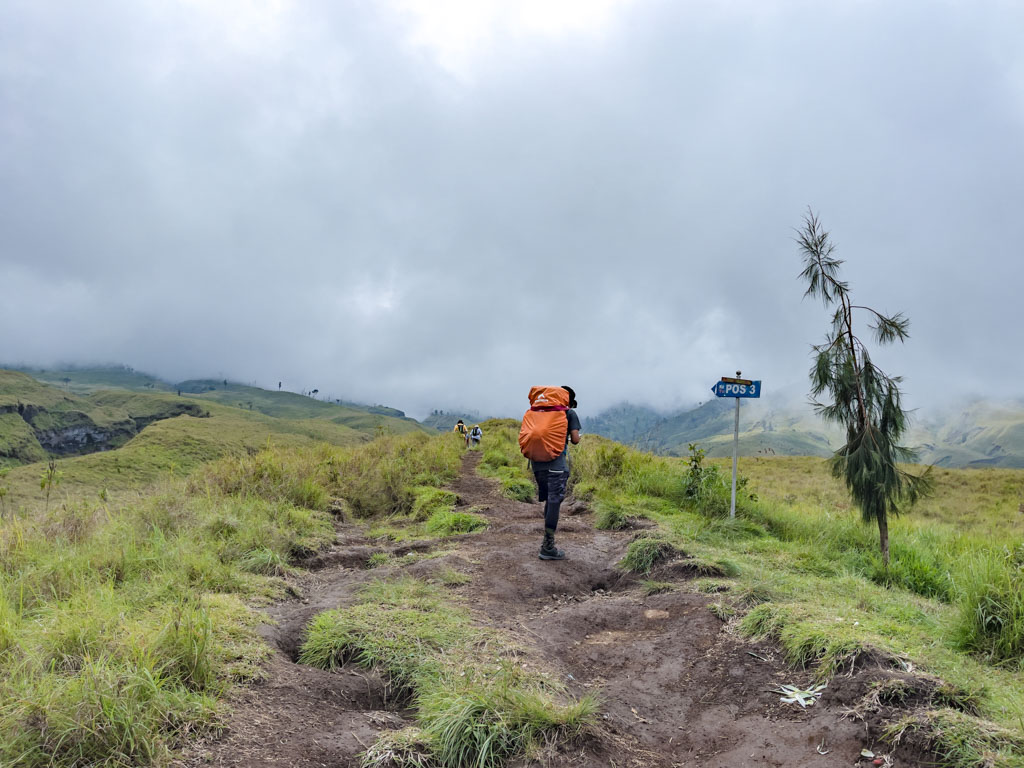
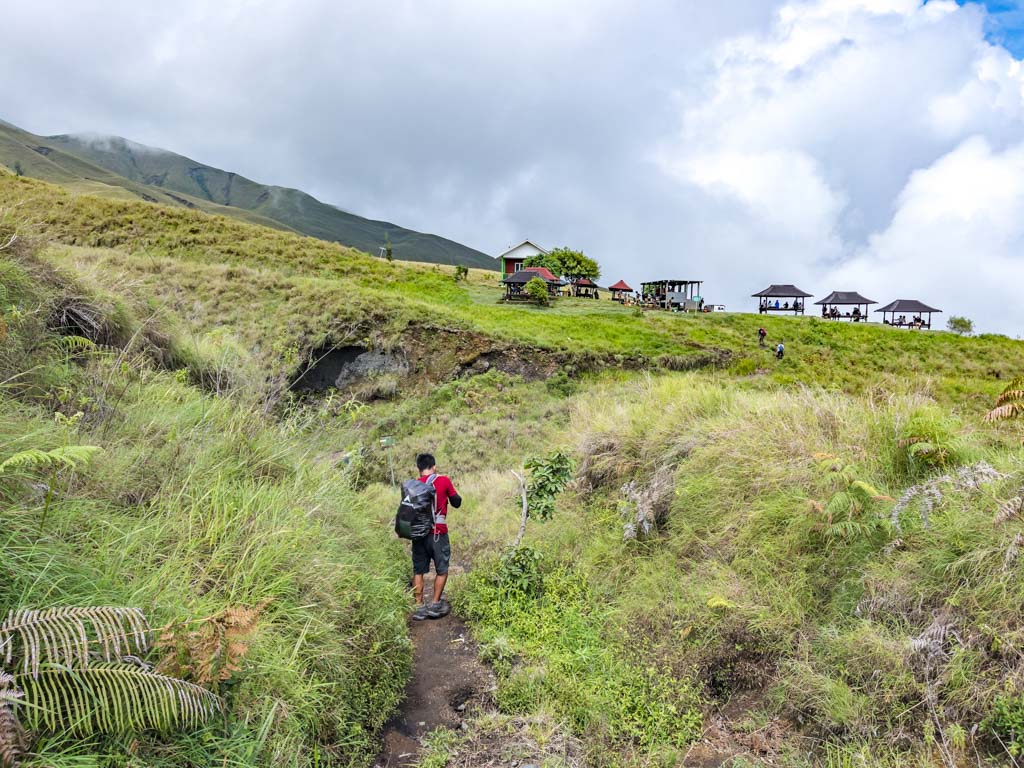
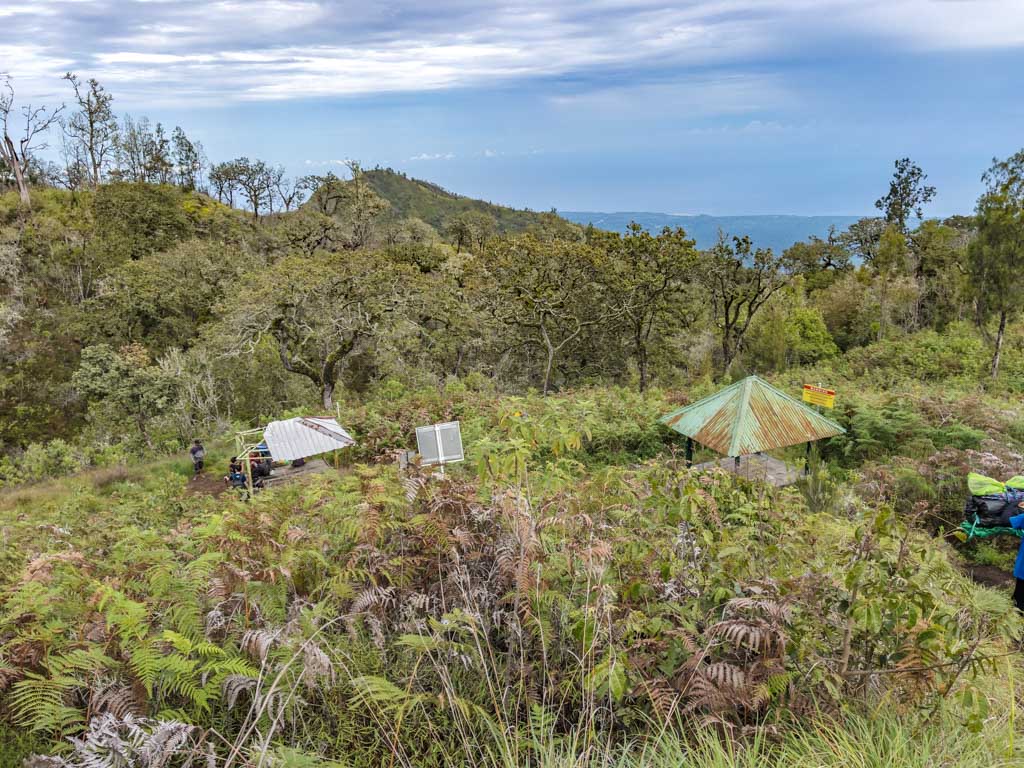
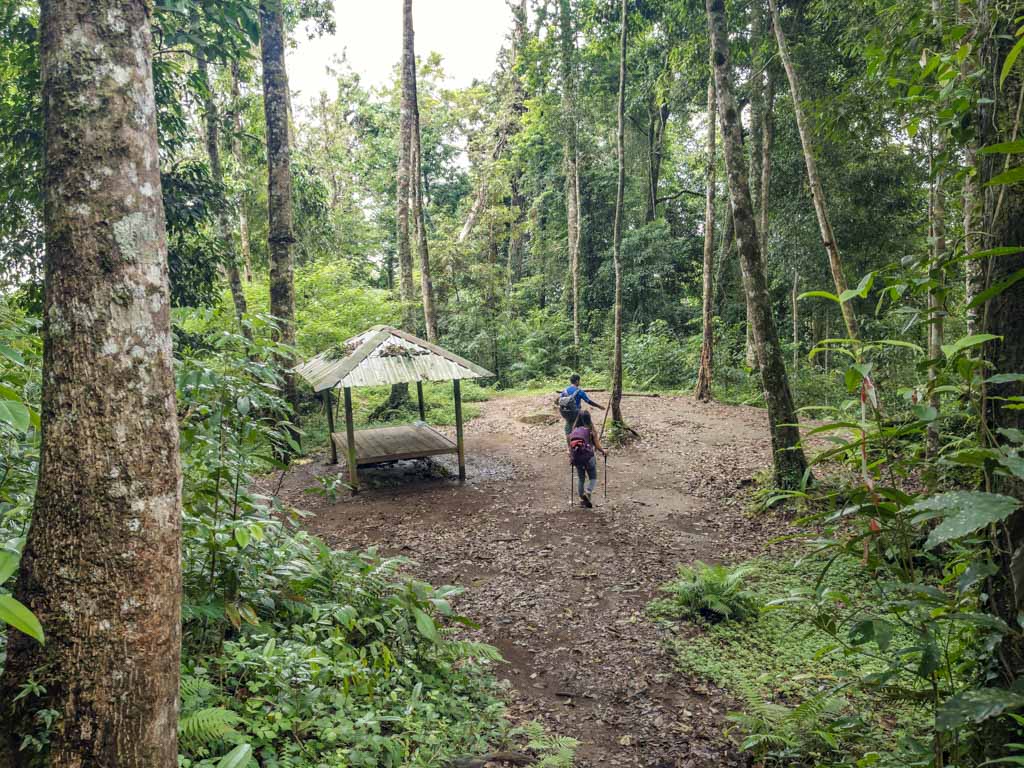
We departed at 12 and continued to pos 3. There is a Pos 2.9 and Pos 3 was only 25-30 mins from pos 2. There is a cute gorge nearby and it has two pavilions.

Pos 3 to Pos 4
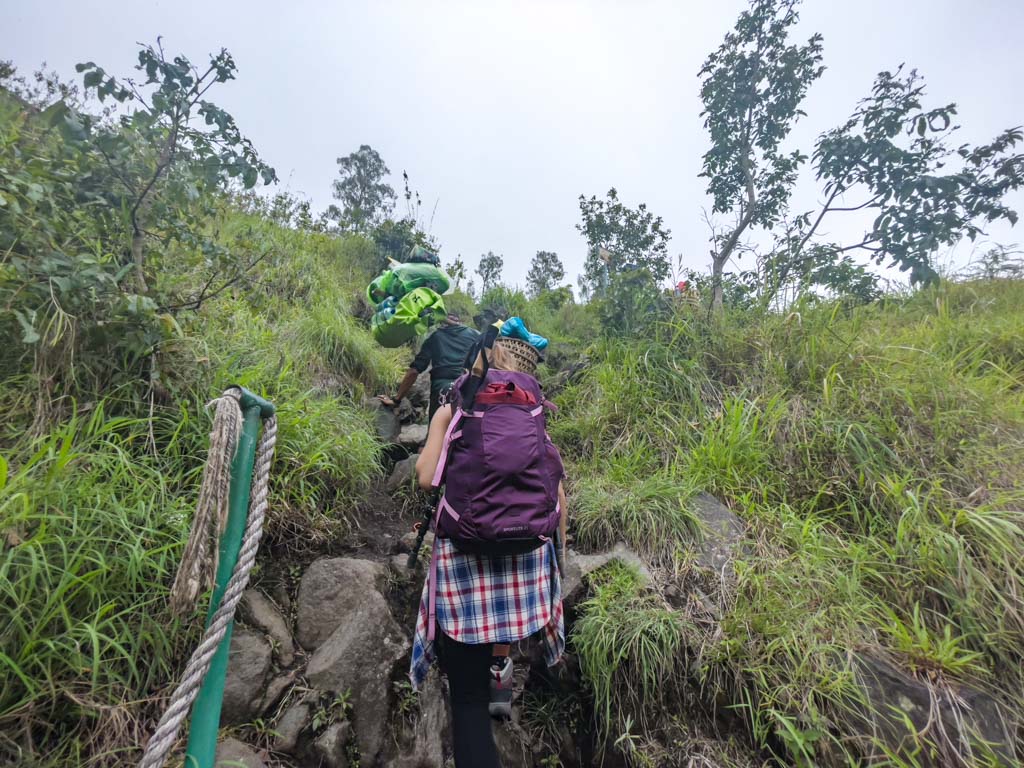
From pos 3 to pos 4 is tougher but still not too bad. It is steeper but most of the footing is ok.
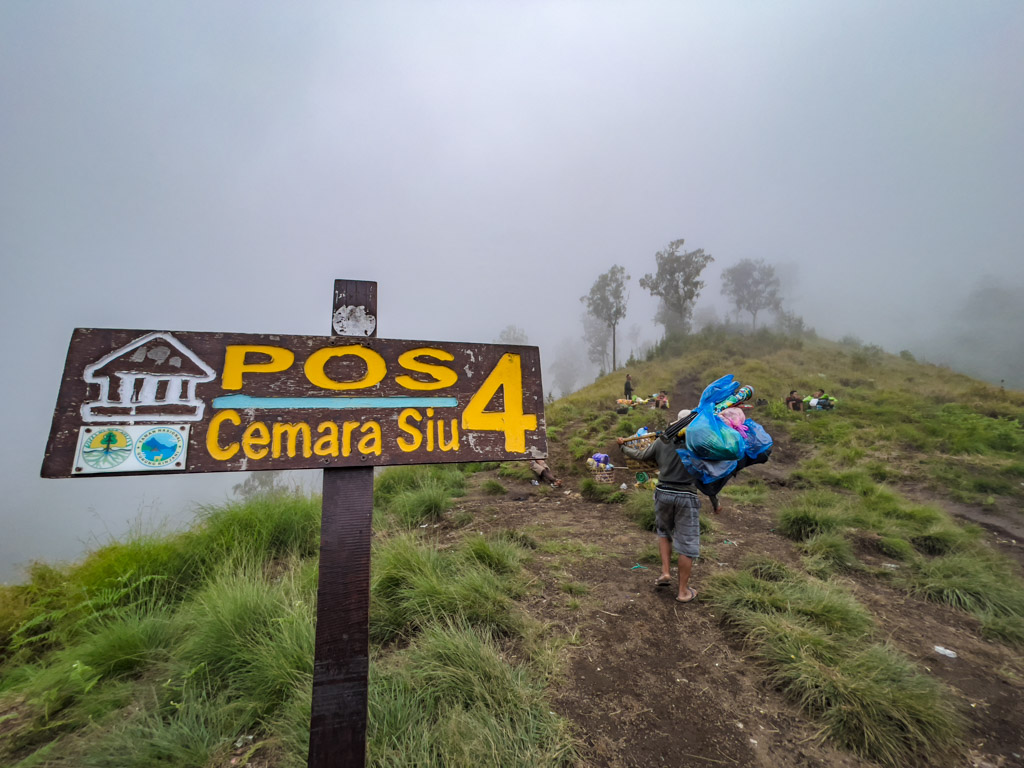
We got to pos 4 just before 2 pm and took a 15 mins break.
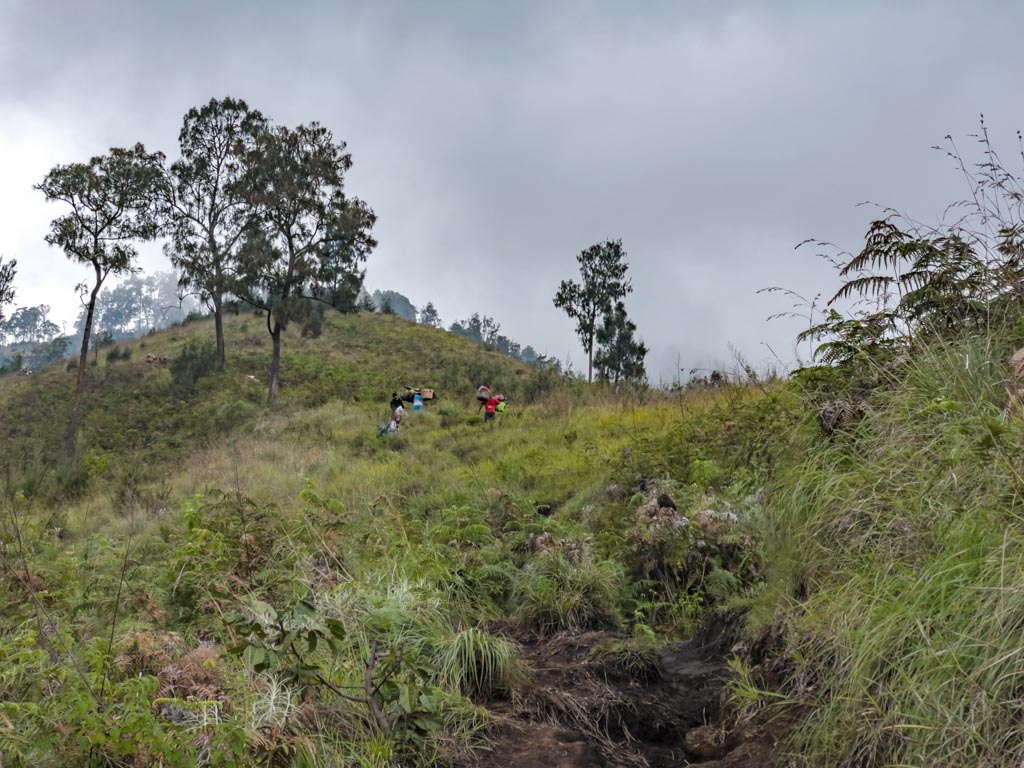
Pos 4 to Campsite
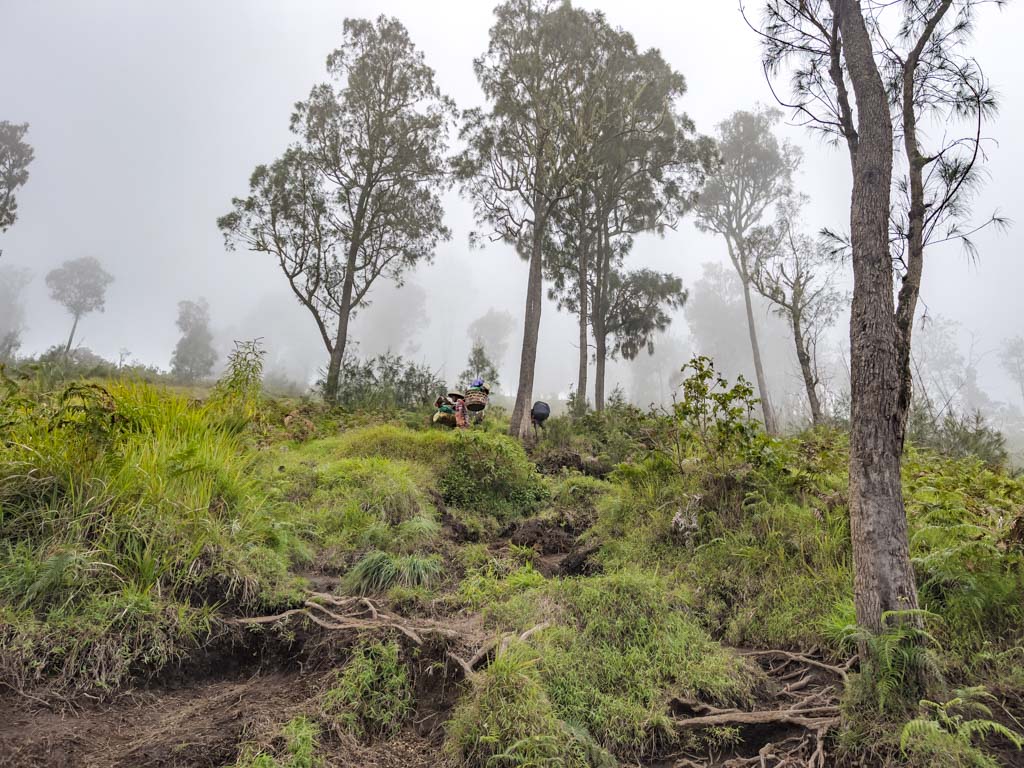
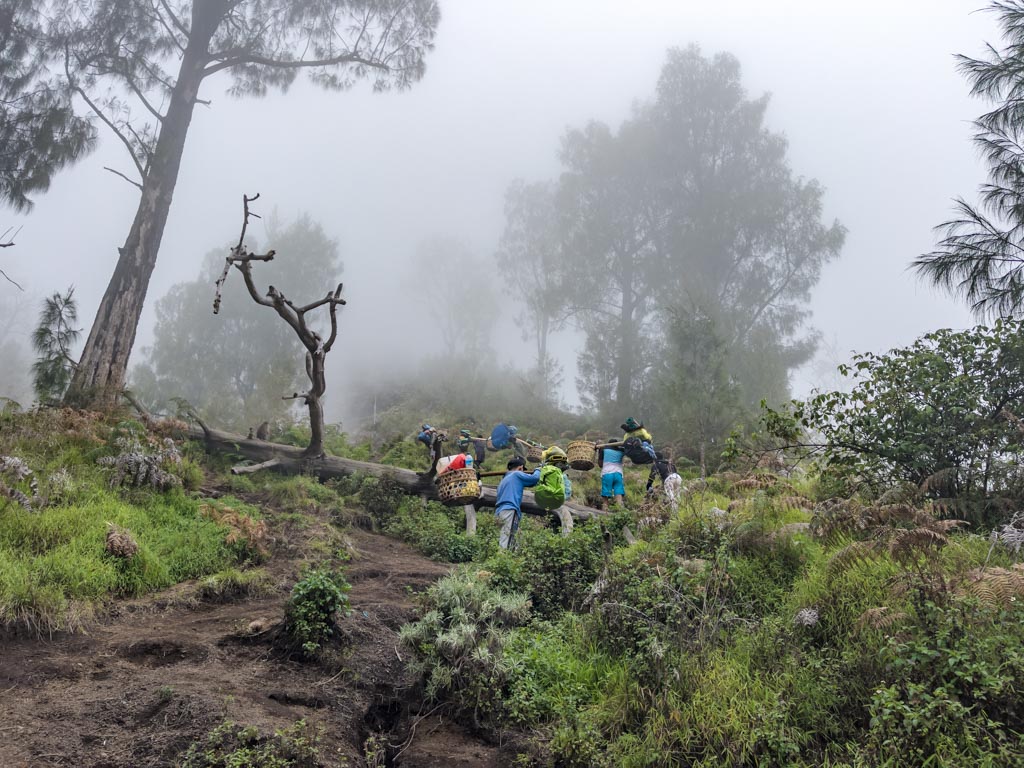
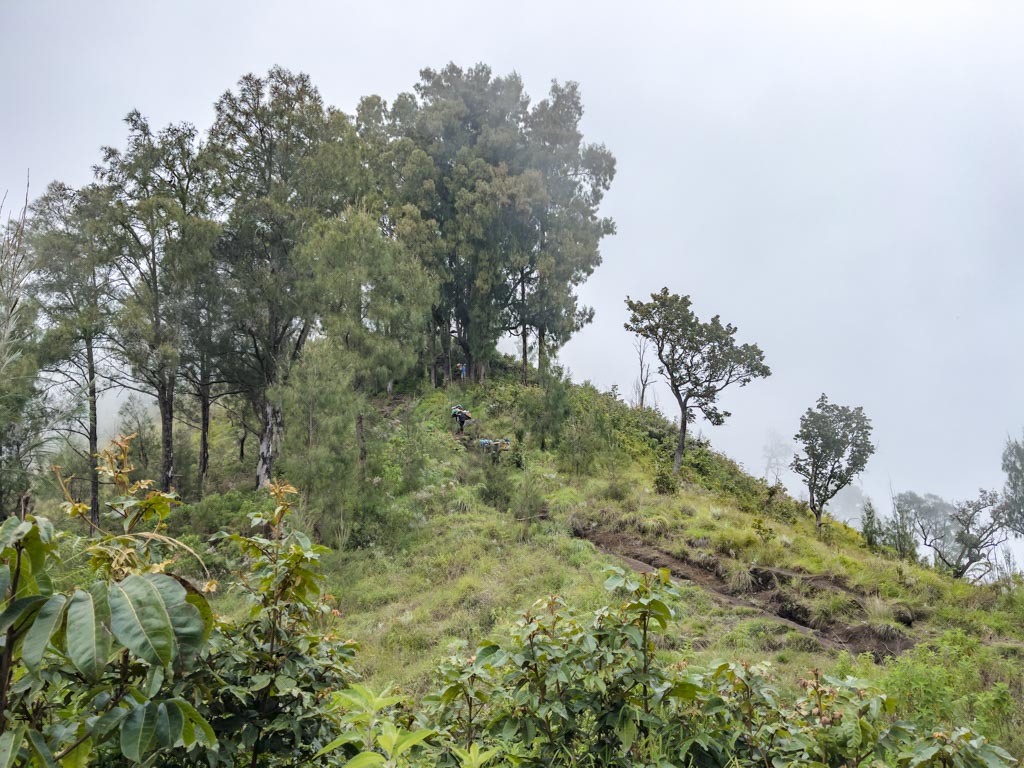
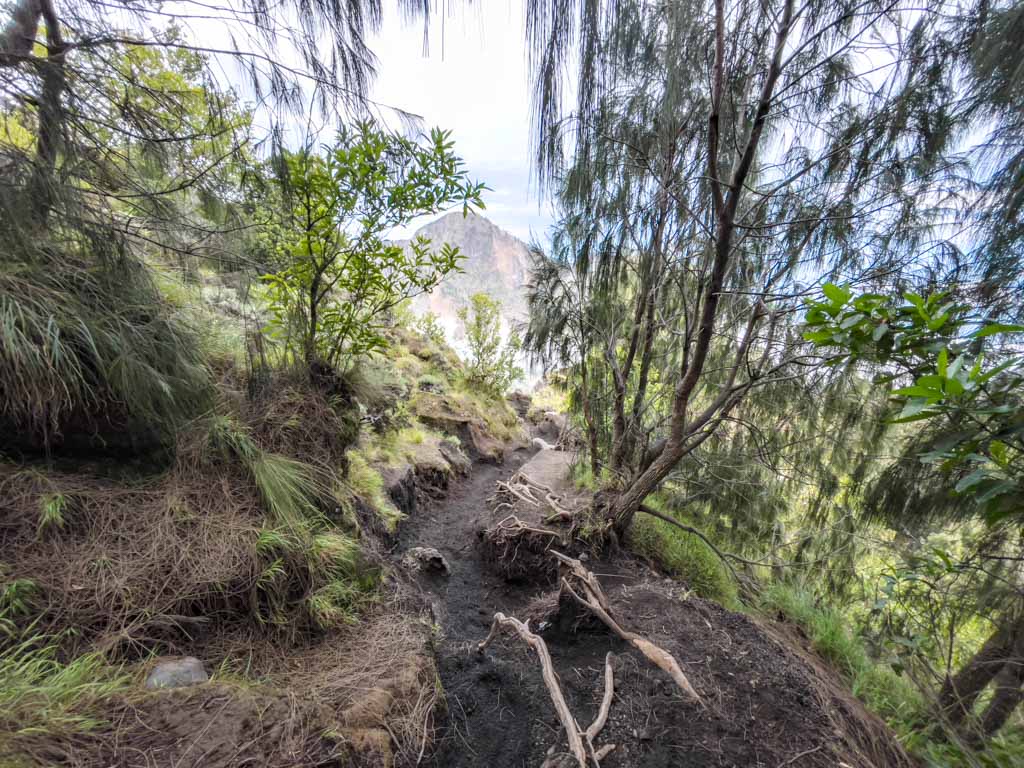
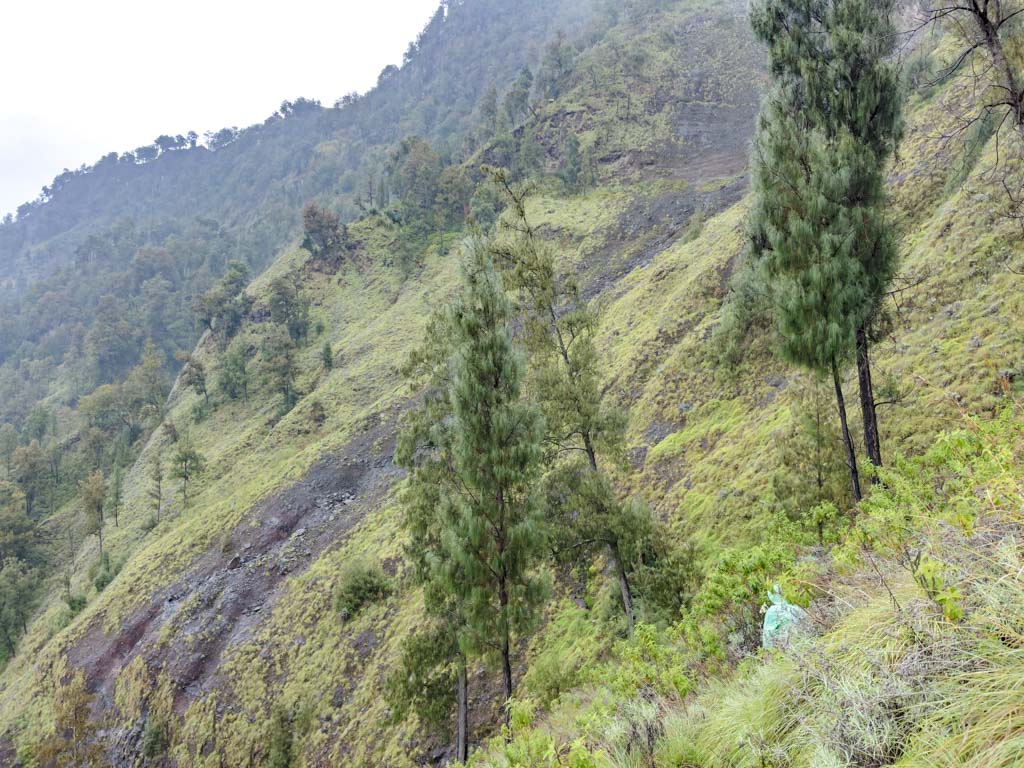
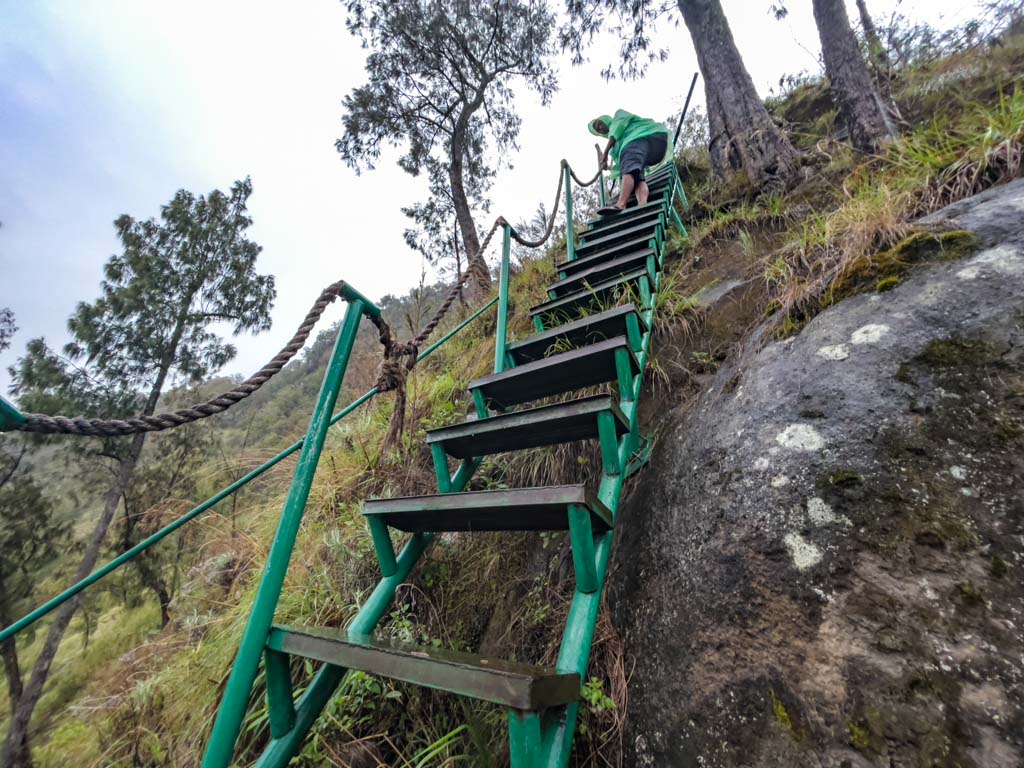
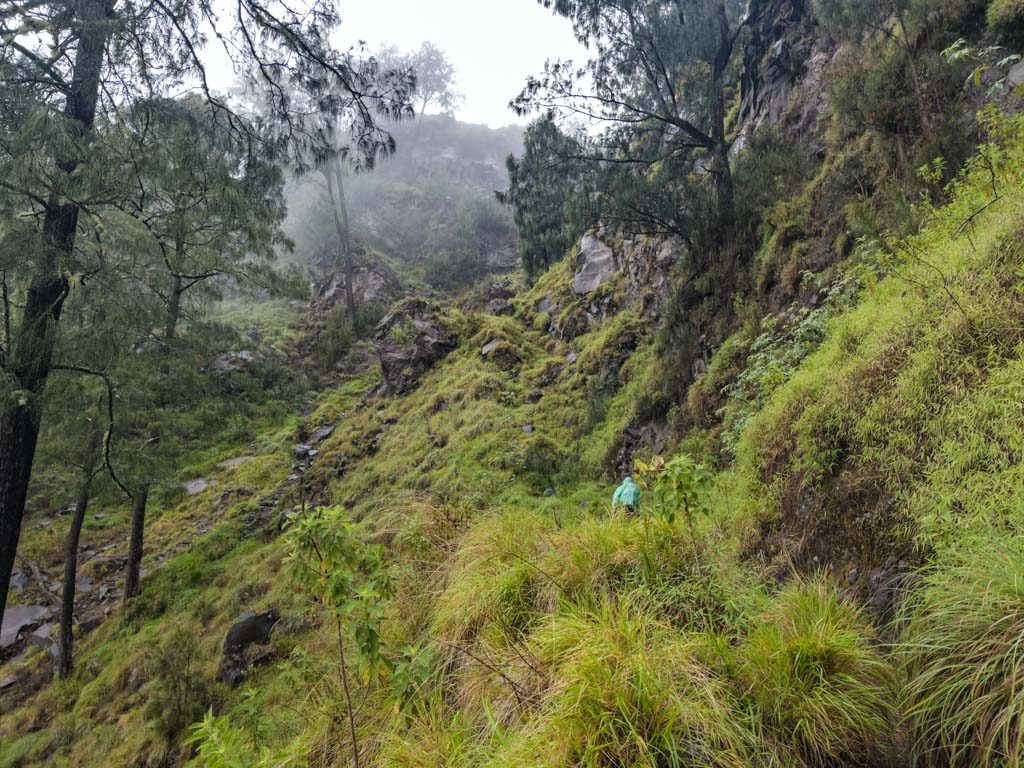
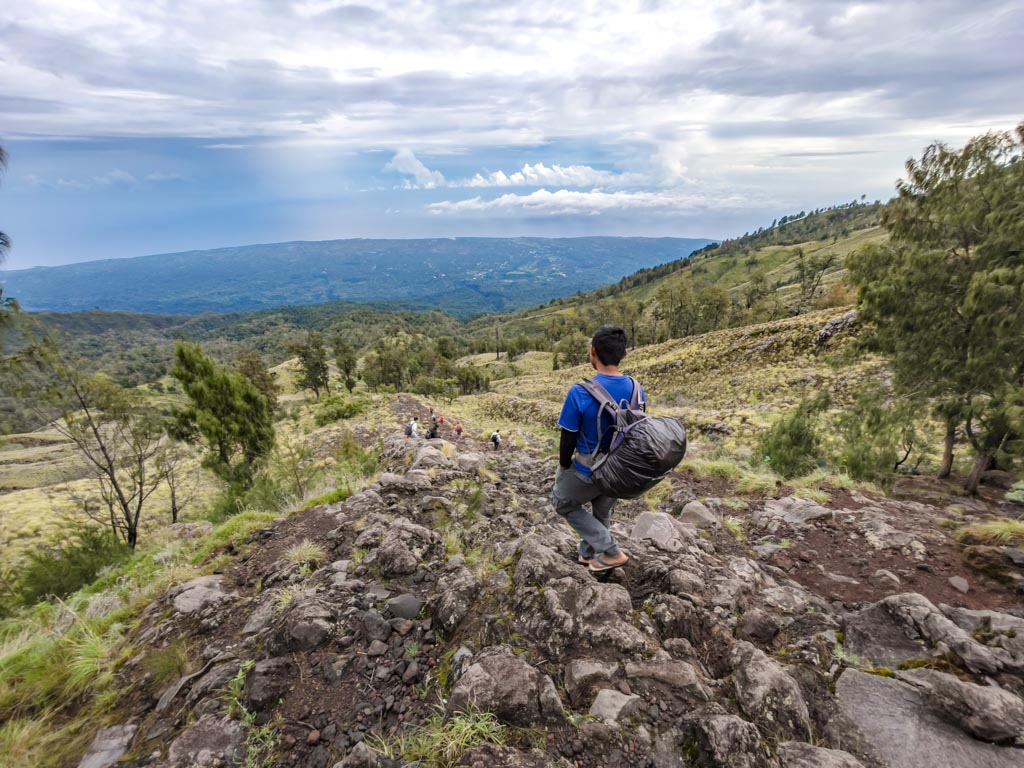
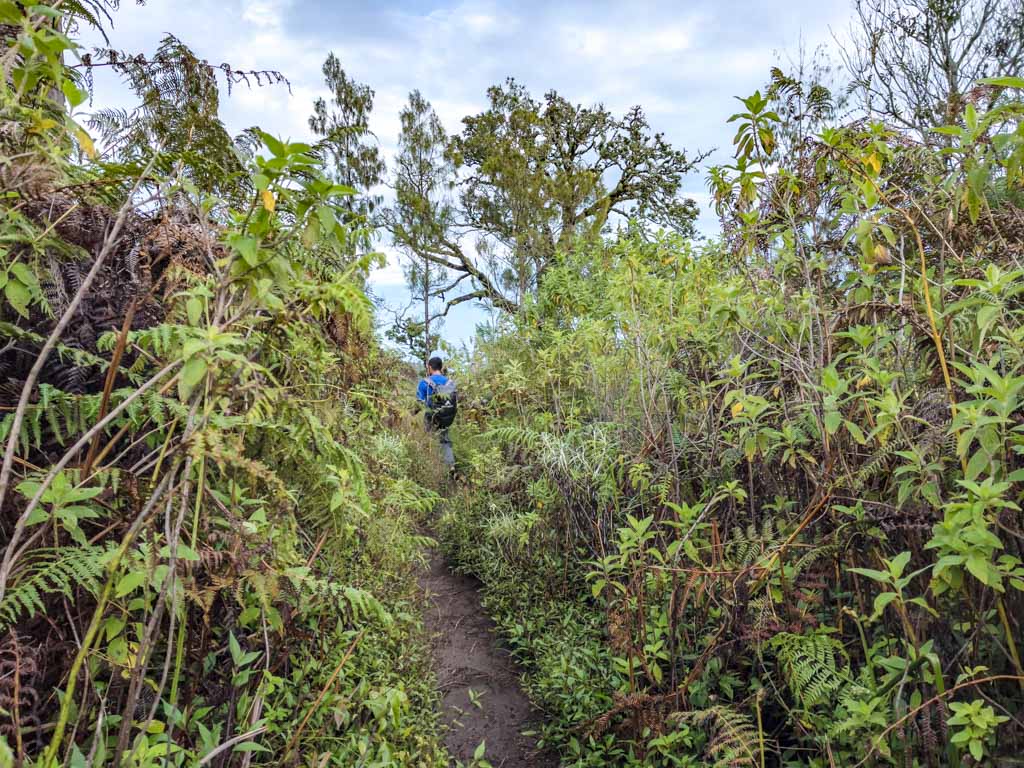
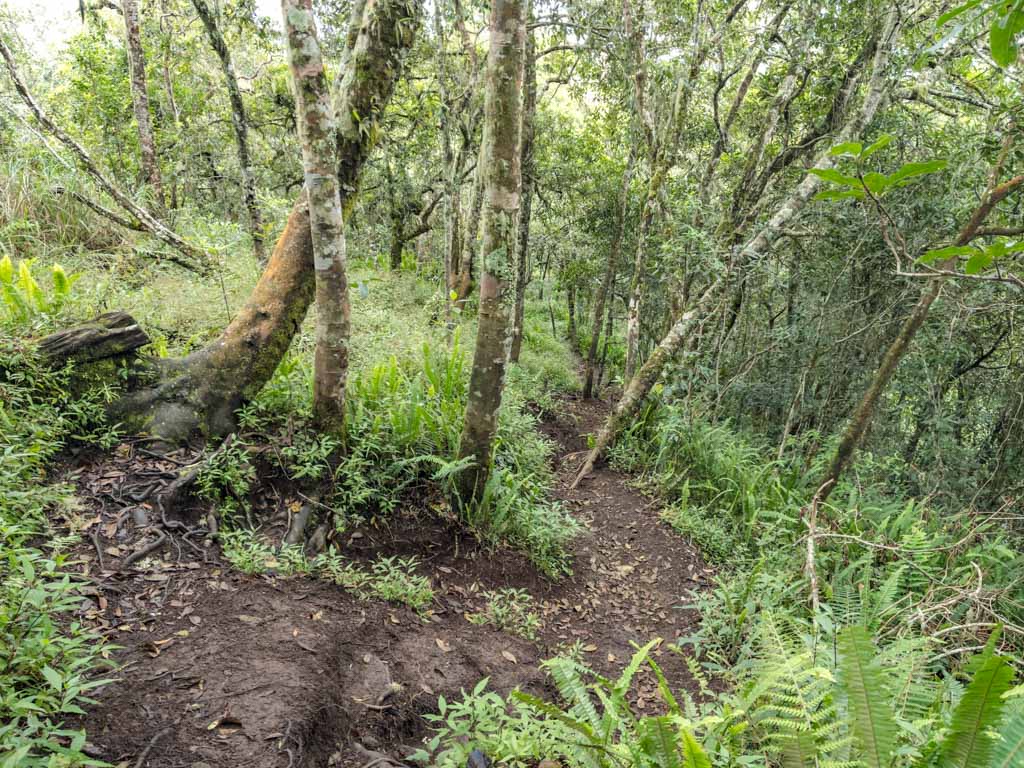
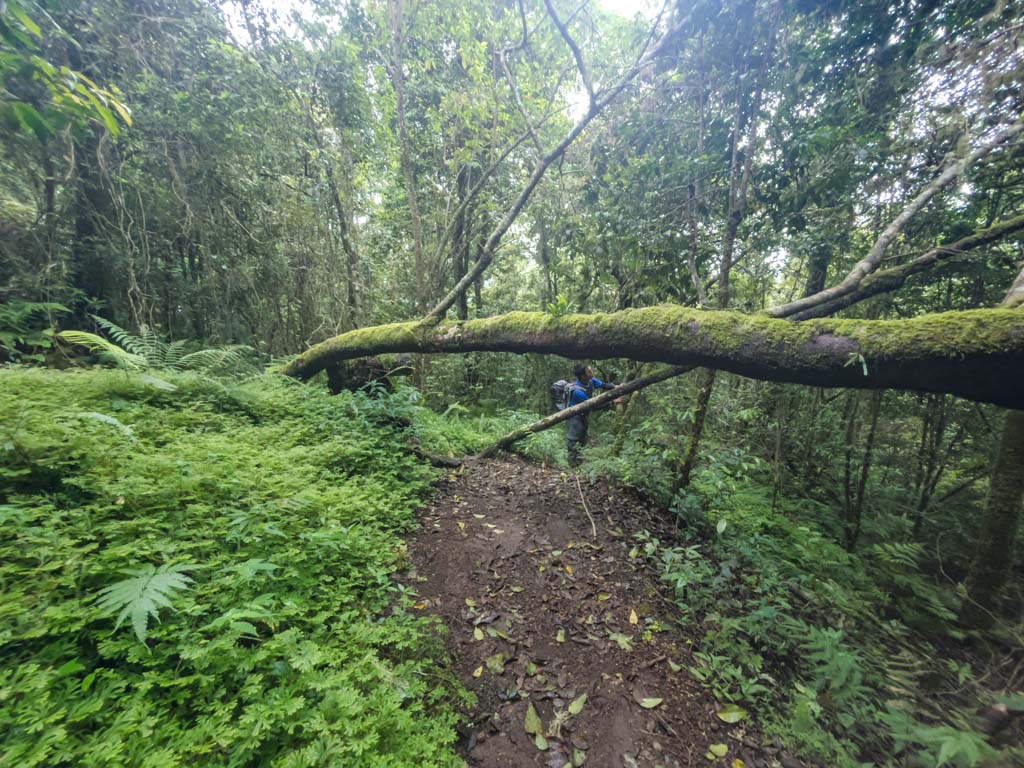
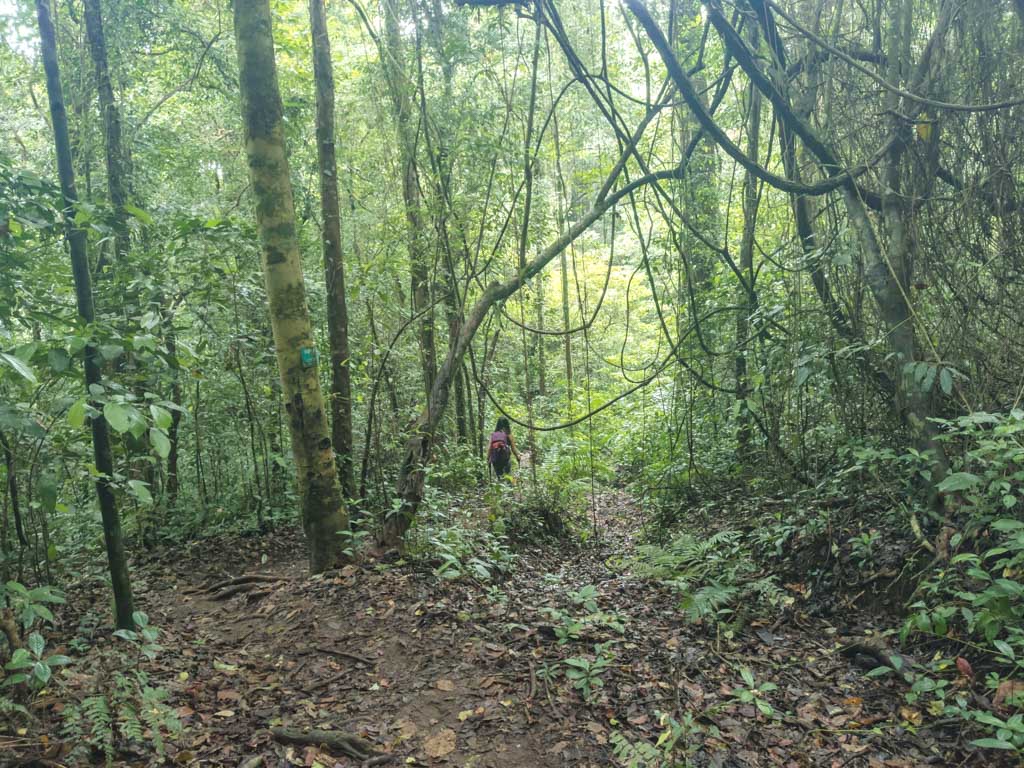
Pos 4 to the campsite is the longest and hardest part with a rickety ladder involved. The final stretch is foresty but it’s still really steep and the footing is a lot less sure.

Most hikers arrive around 4 pm. We arrived at 3:30ish and it was completely foggy. This is the most popular campsite so there were many many hikers.
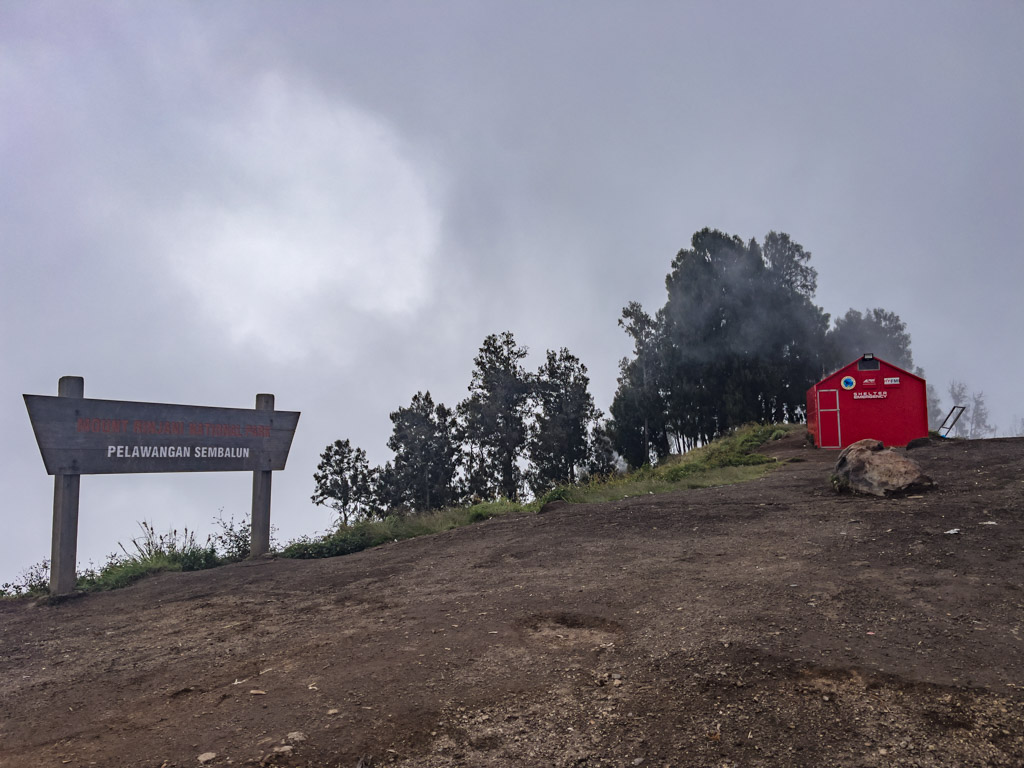
Generally, the tents are for hikers and porters and guides stay in a green cover thing.

Sunset and Dinner
We had free time to unpack and unwind in our tent or around the campsite. The signal reception comes and goes there, but I actually managed to Facetime for a while.
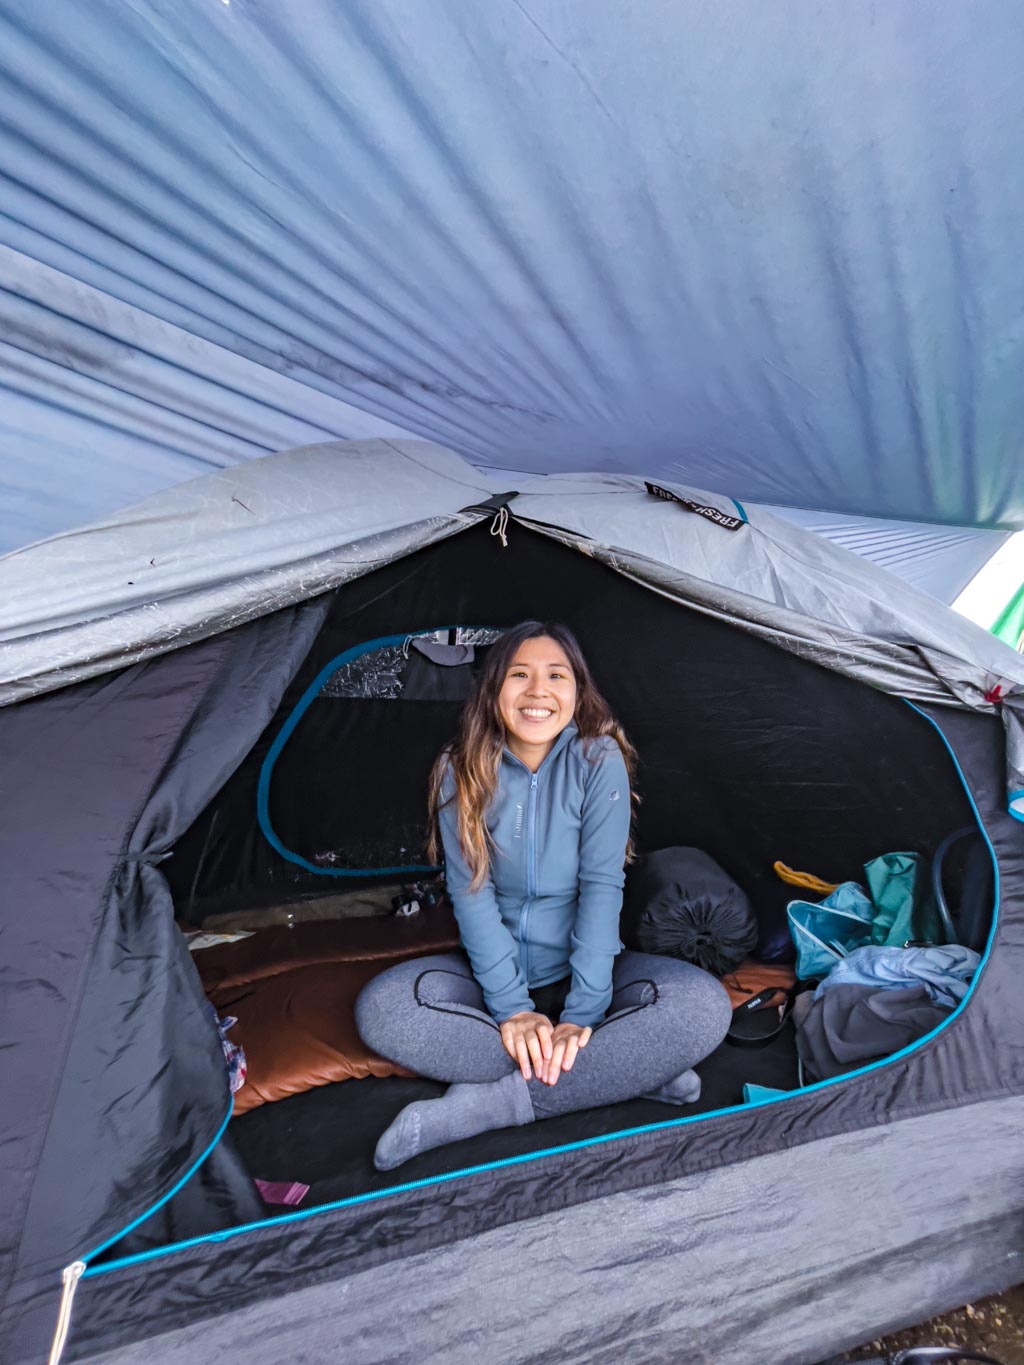
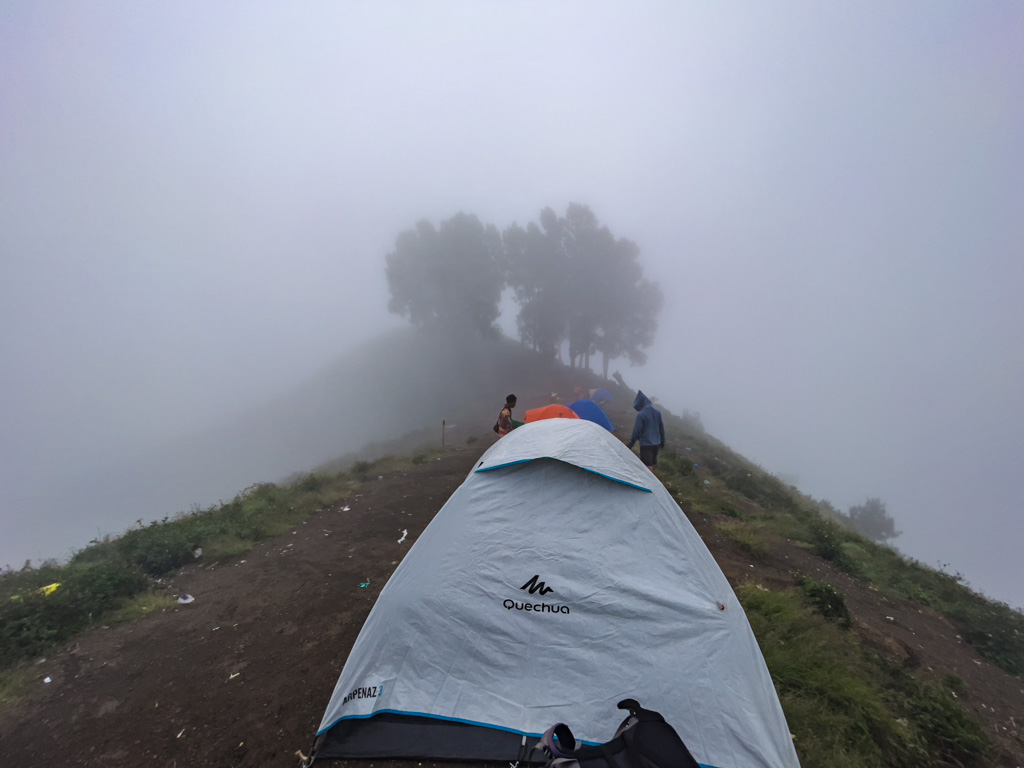
The tent is also very comfortable. It was spacious for two with a sleeping mat, sleeping bag, and pillow. The only thing they don’t have that we’d like is a camping light. But we used our headtorch which works just as well.

All of the hikers camp along this ridge so it is quite crowded. The view is not guaranteed during the rainy season, but it is cleared for sunset for the most surreal view.

Our dinner that night was also fantastic – a coconty tofu curry with rice.

We went to bed at around 7pm but the campsite was slightly noisy so it was not as easy to sleep.
Day 2: Summit Ascent, Senaru Rim camp
Early morning ascent
The usual wake-up time is 2 am. But to be on the safe side, we got up at 1:30 am after a discussion with Adi the night before.

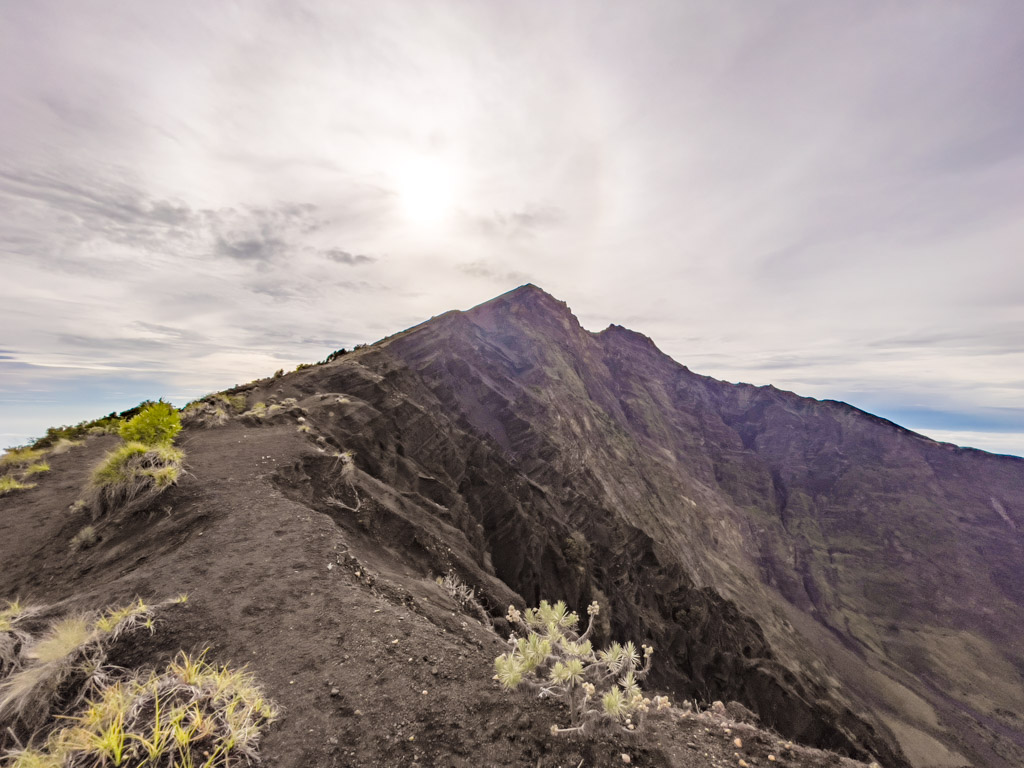
Breakfast was a nice cheesy and egg toast and some ginger tea, then we set off at 2:13 am. We had to go up a ridge, then horizontally slightly inclined up, then up to the peak.
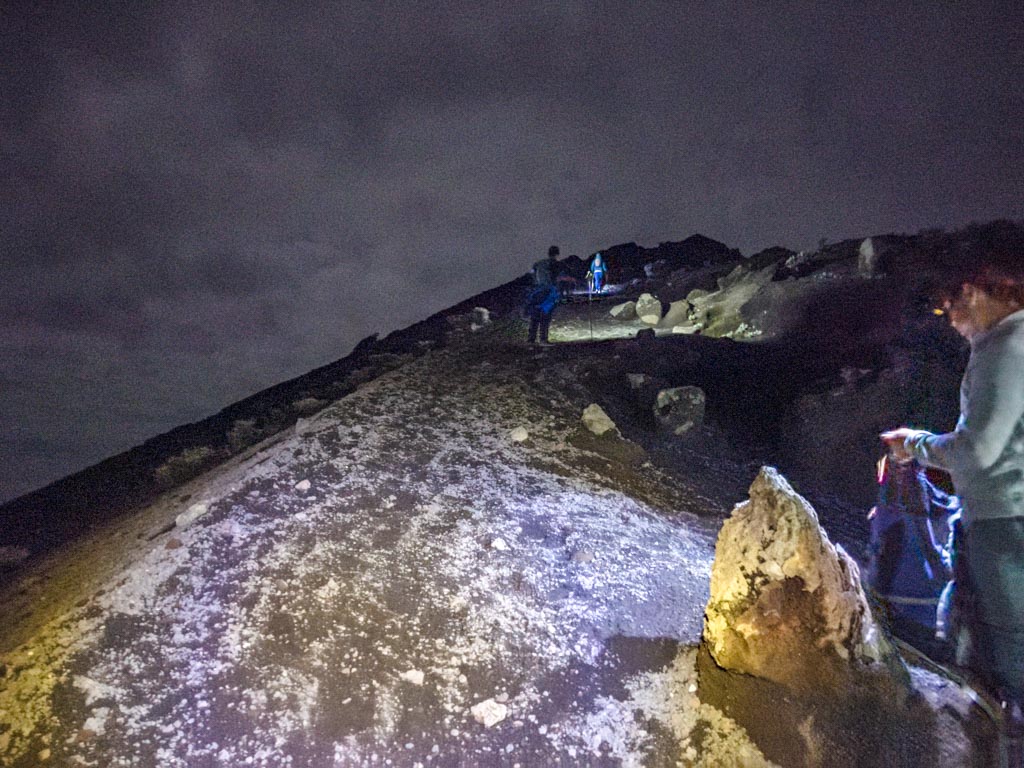
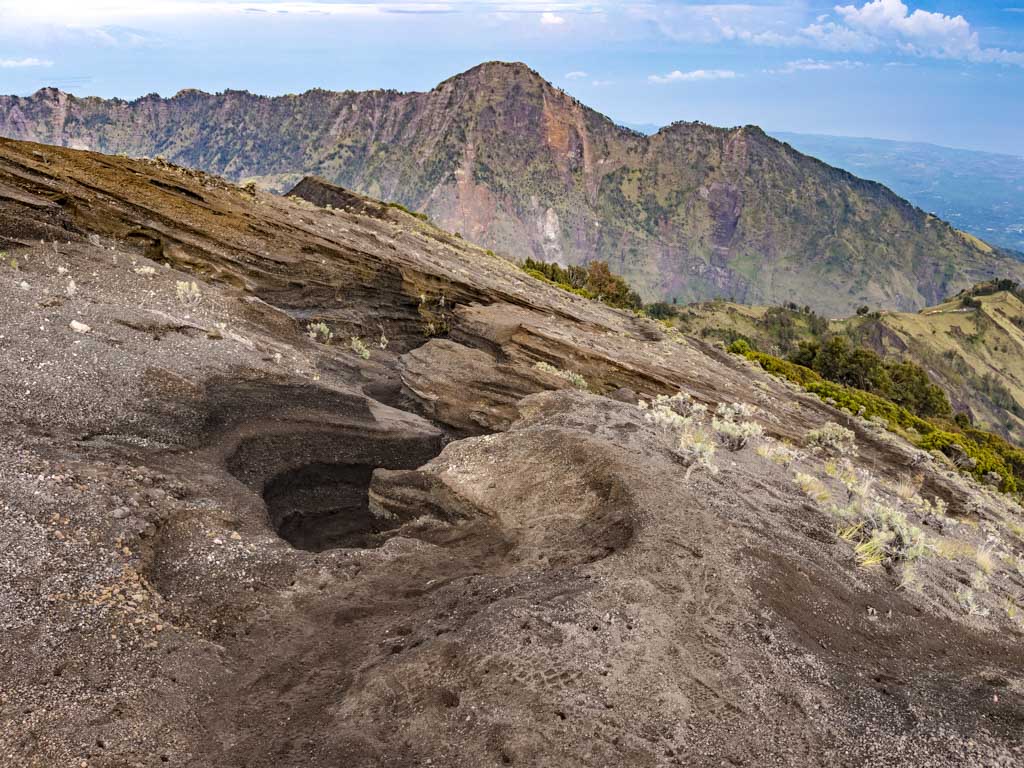
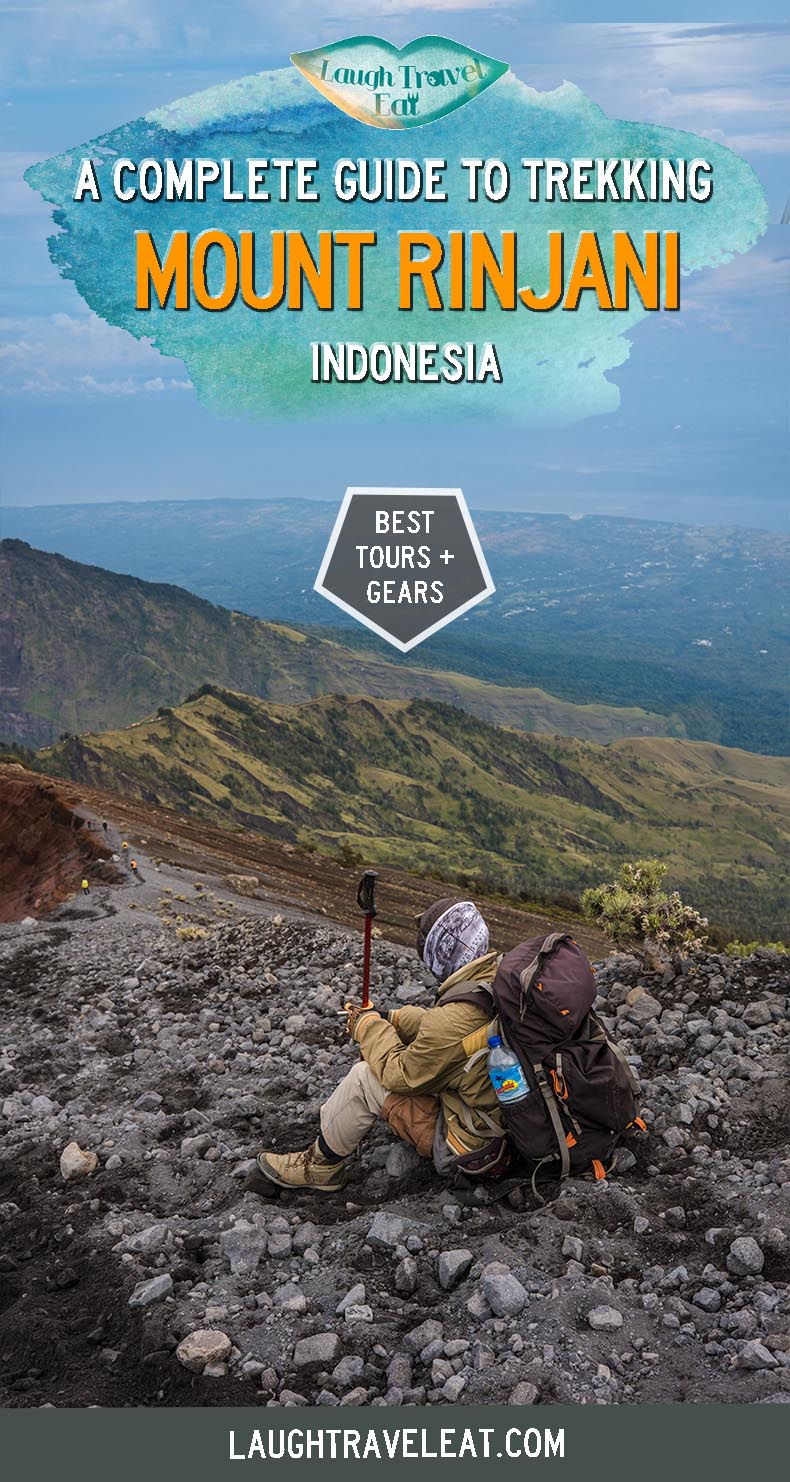
Don’t underestimate the difficulty, though it was less cold than expected given we had to hike up a steep incline. The first part was brutal as we passed by more campers and then up very steep volcanic ash terrain.
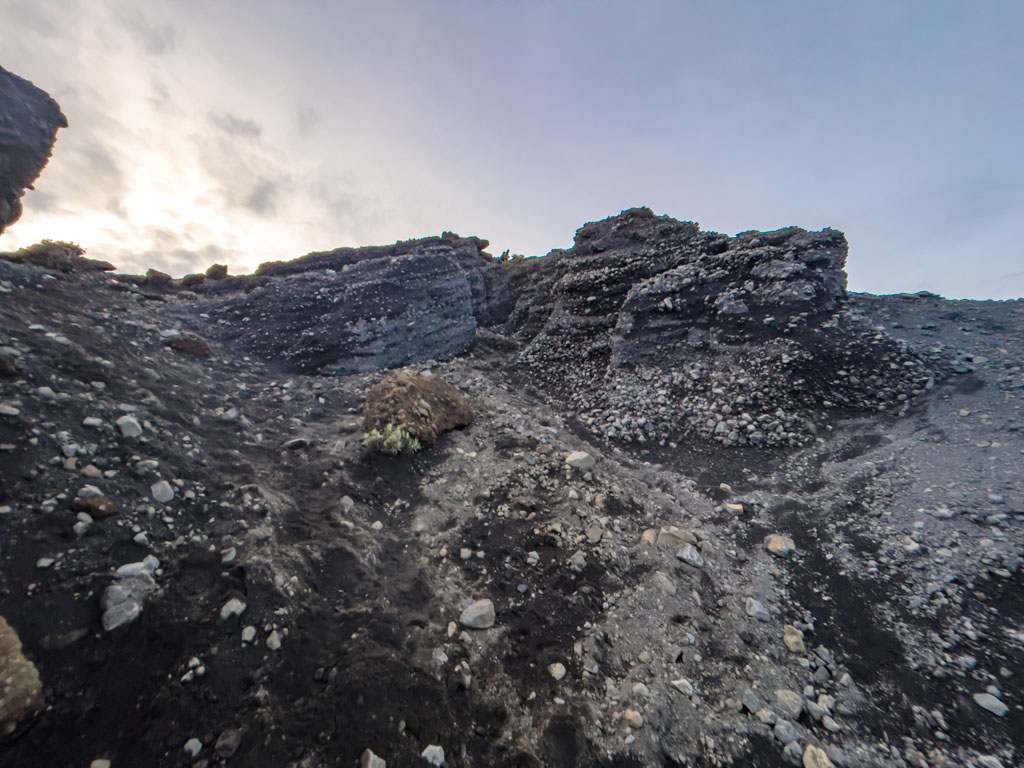
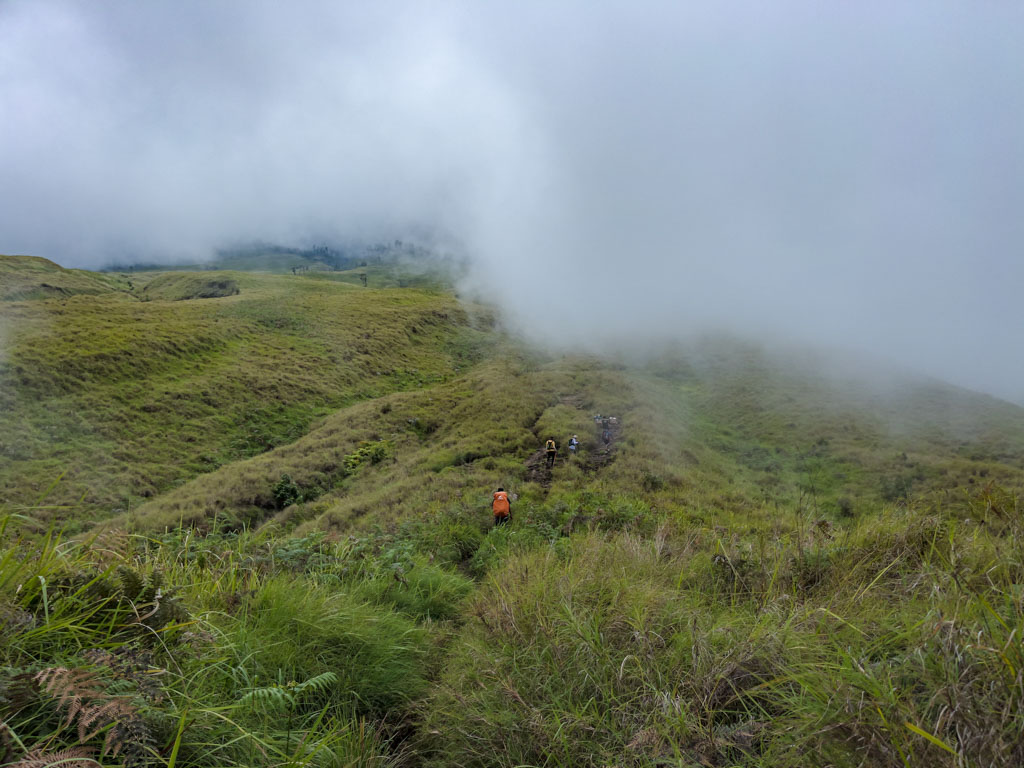
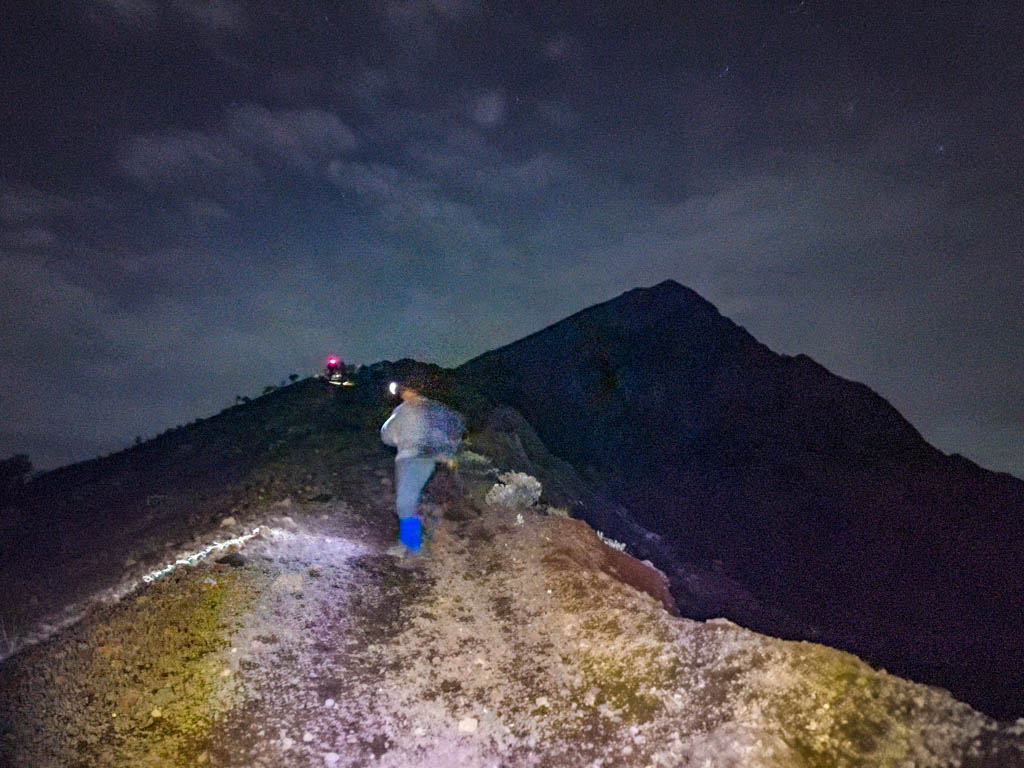
There were people who woke up later and earlier than us, and we got to the first unofficial rest stop at 4:11. That was probably the start of the flatter ridge.
But the ascent up to the peak was equally brutal and the sky slowly lighted. We got to the peak at just past 6 am.
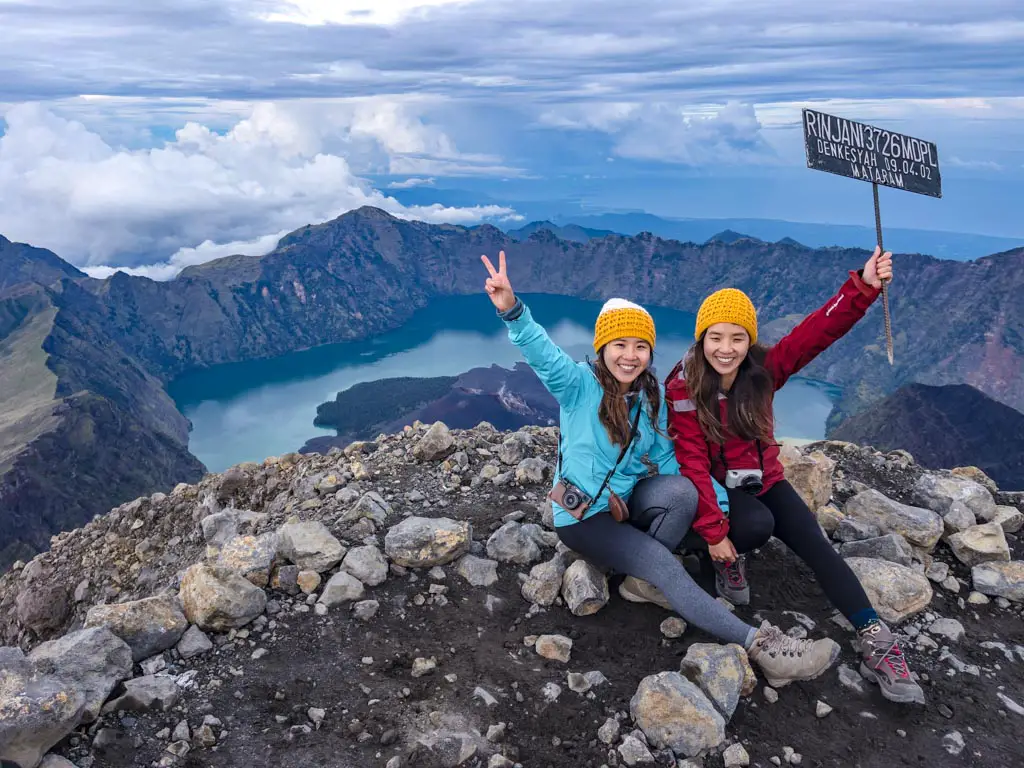
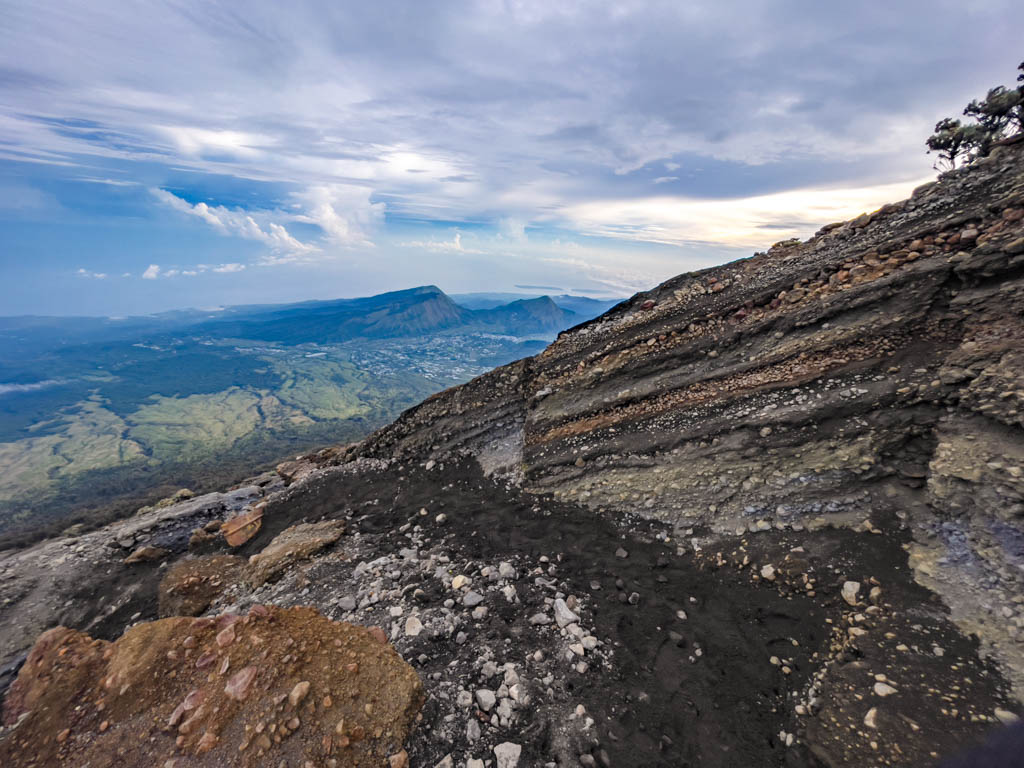
Mount Rinjani Summit

The peak isn’t a huge area but it does offer a 360-degree view. Most people are by the crater lake view, but the sunrise is actually on the other side.

There was no sunrise for us. It simply got lighter because the sun was up behind the clouds. But it is still a pretty epic view of just clouds.

Note: I tried to fly my drone but it couldn’t find any satellite. It was also a bit chaotic as more people arrived so I decided to abandon the thought.
Fun (or rather shocking) fact: according to our guide Adi, only 50% of people actually summit. Most people decided to quit on the way up.
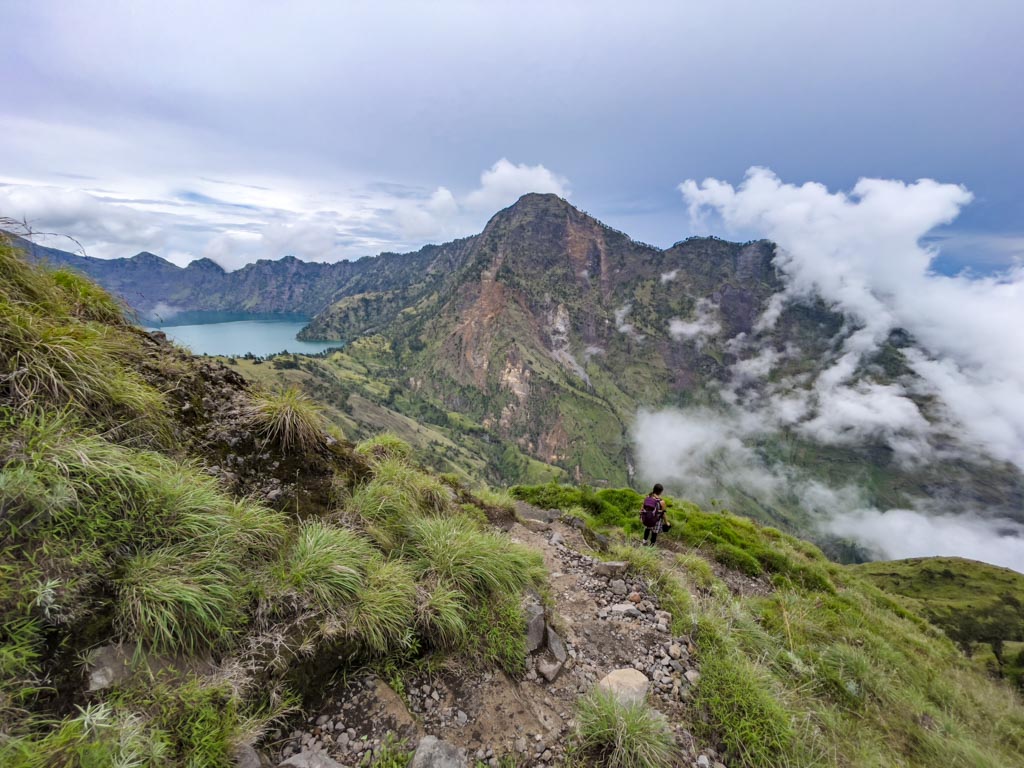
The descent back to campsite + breakfast
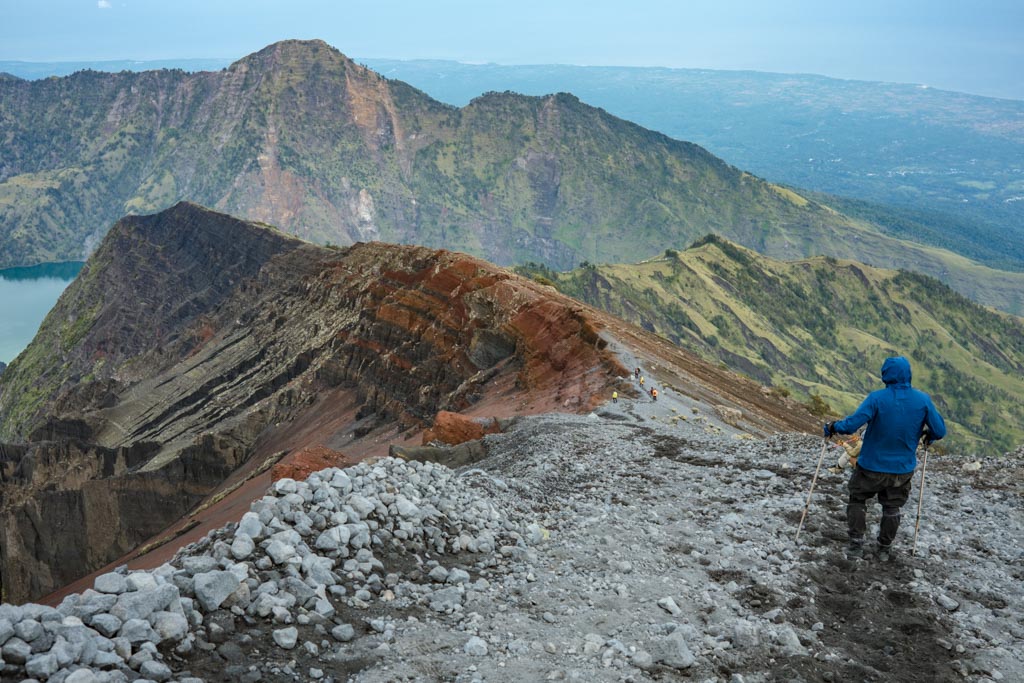
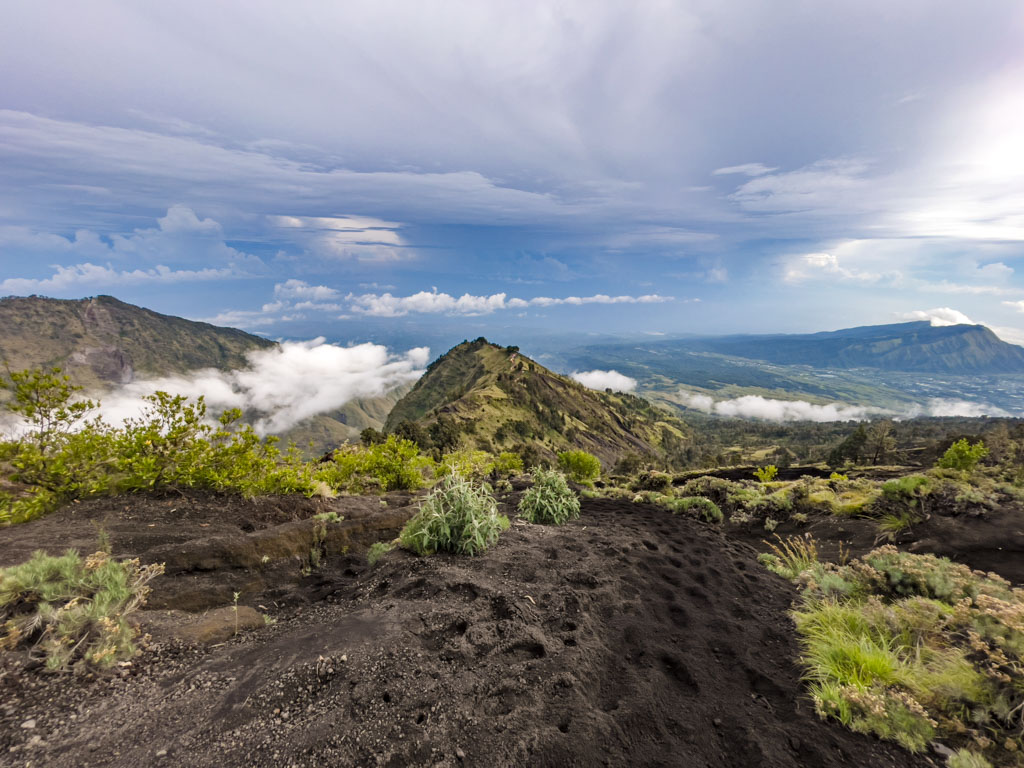
We started the descent at 6:30 am, staying the recommended 30 minutes (preferably less). Now that it is completely bright, we can actually see the way up including the crater lake.
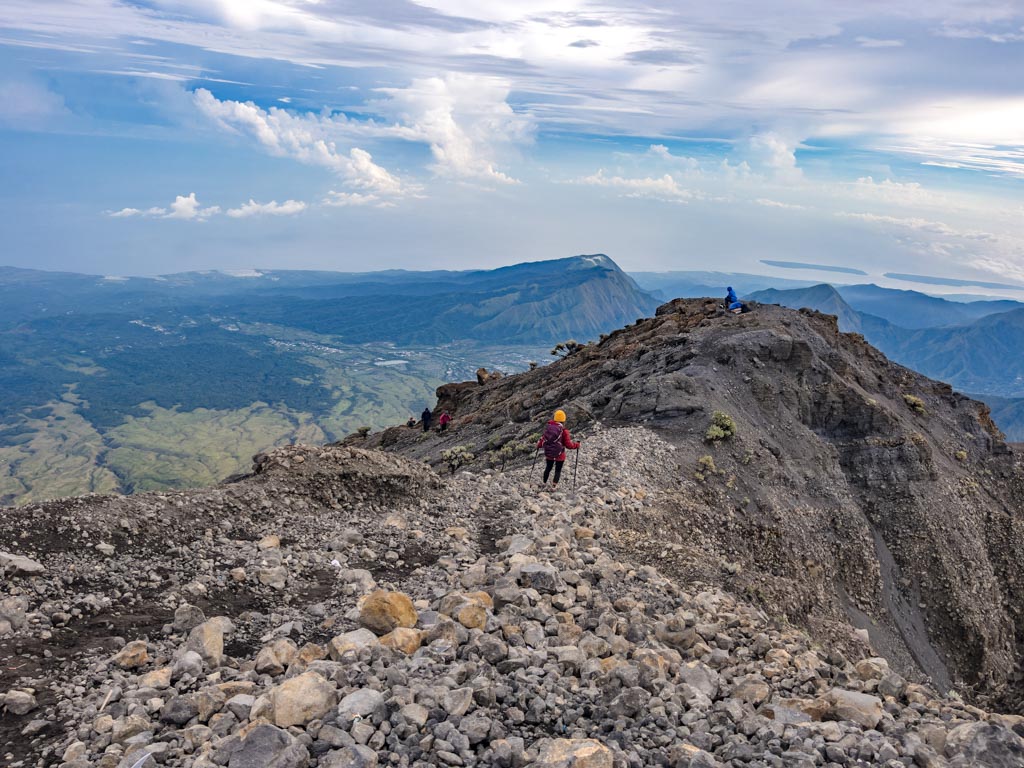
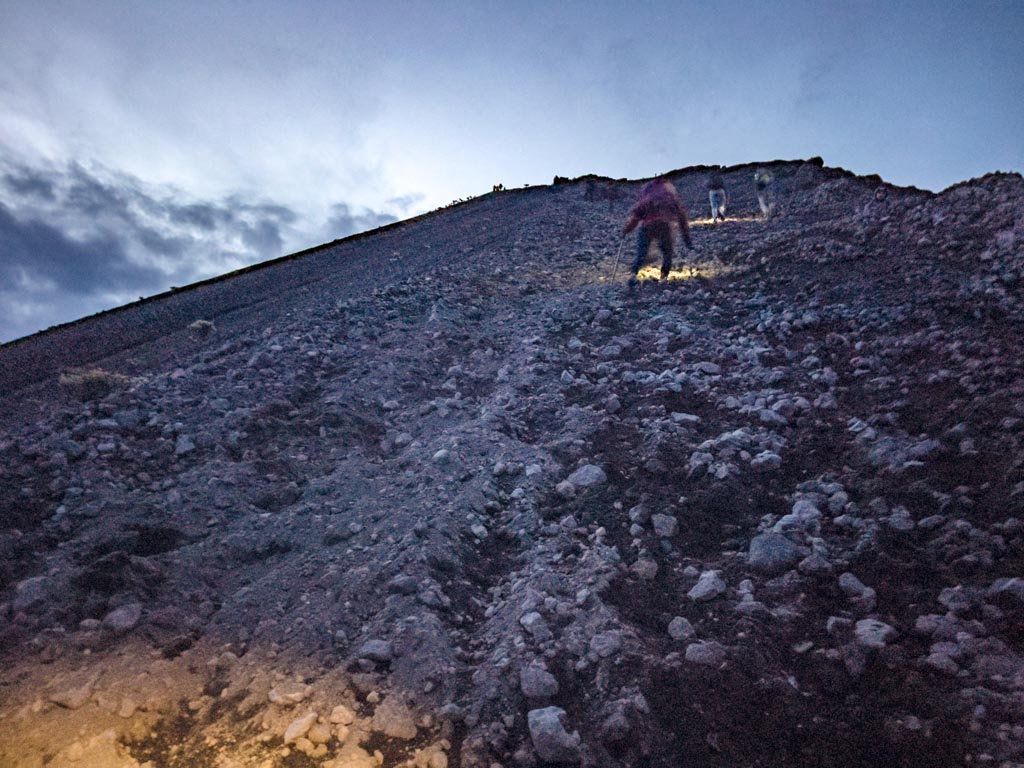
The volcanic ash might be hell to come up, but going down is much easier. The trick is to use the poles, dig in with your heels, and let yourself slide down.
I kept stopping here and there to take photos because the view is just incredible. The way down was longer than I remember, which might be why they make you go up in darkness. That way, you won’t know how long you have to go!
There is a part at the beginning of the ascent aka the end of the descent that I hated, which is below pictured with Adi.


We got back to the campsite at 8:27 am where our breakfast burger with *gasps* fries was waiting for us. It was absolutely delicious.

It took me a little longer to pack than I’d liked. We didn’t start going down to crater lake until 9:32 am. A lot of people have opted to go down to Sembalun instead of carrying on for the 3D2N hike. It is an option that you best decide then.
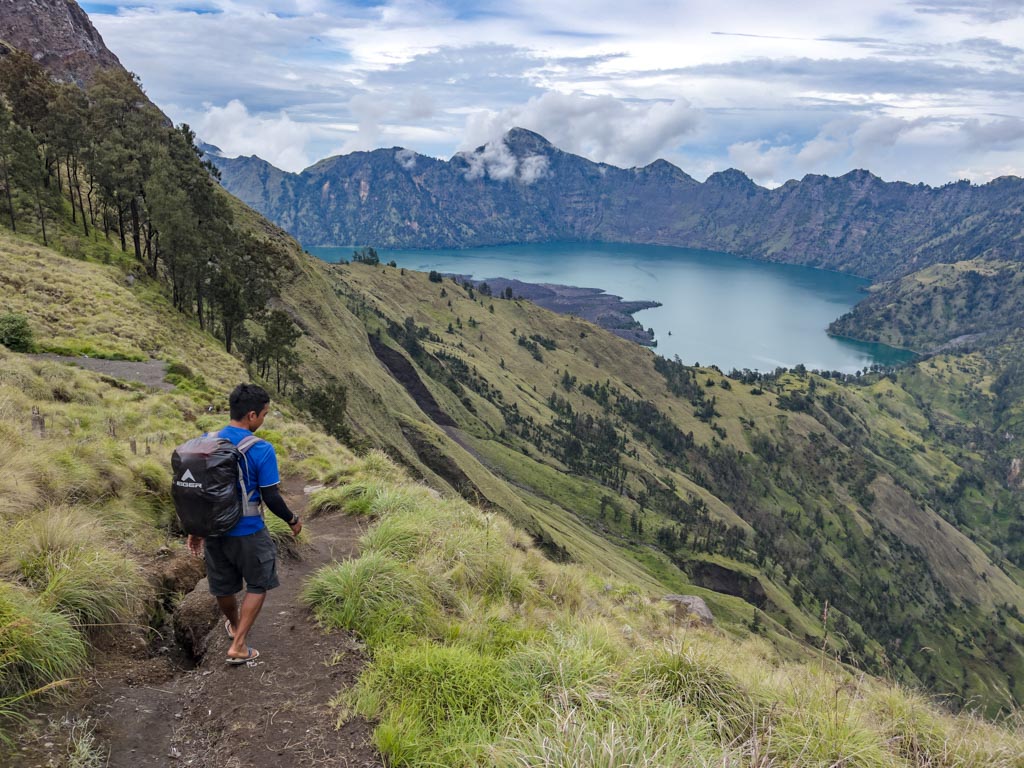
Descent to Crater Lake
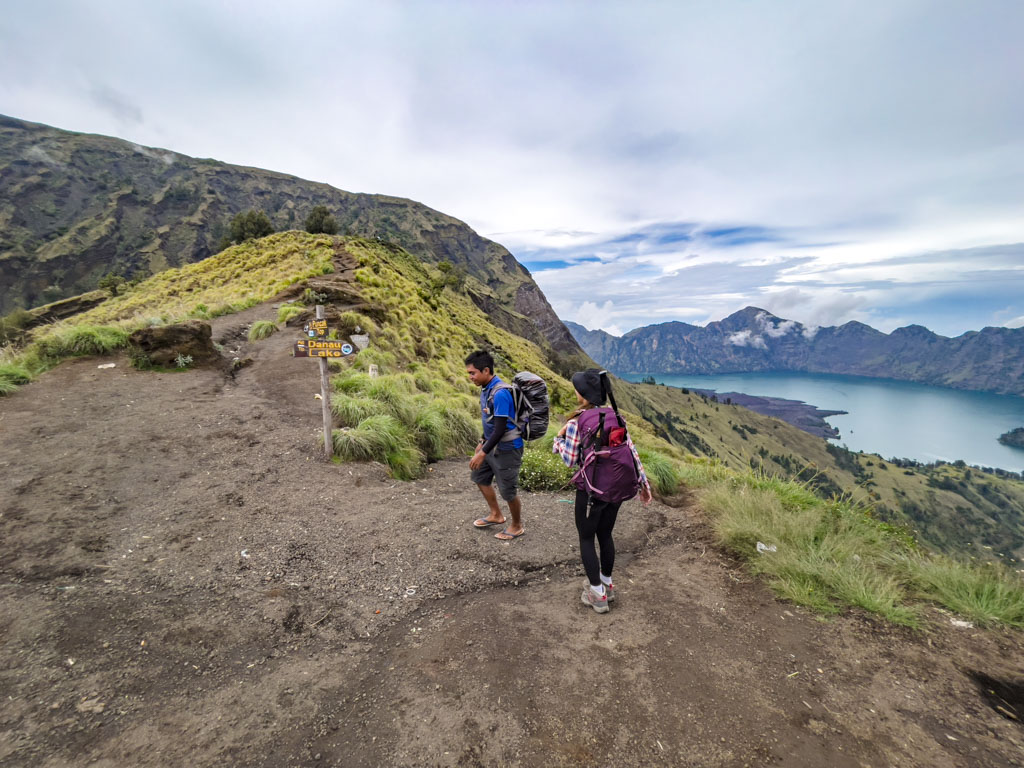
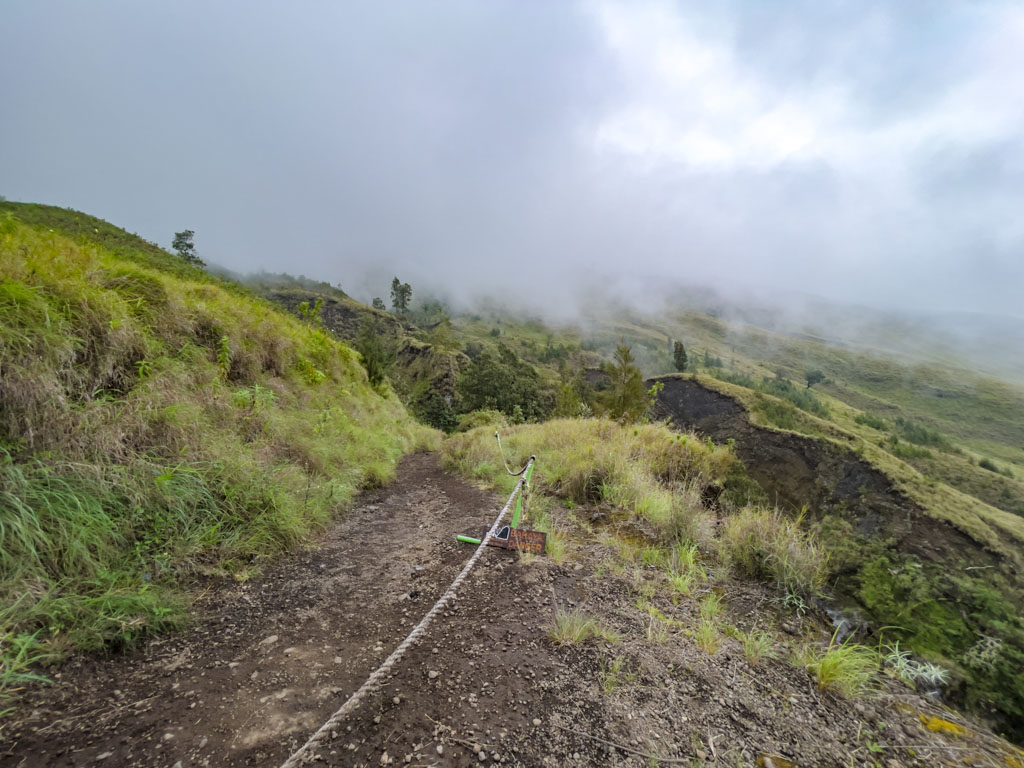
The descent to crater lake was right on the route that went up to the summit. It is steeper than I expected but the view was still clear for the while.

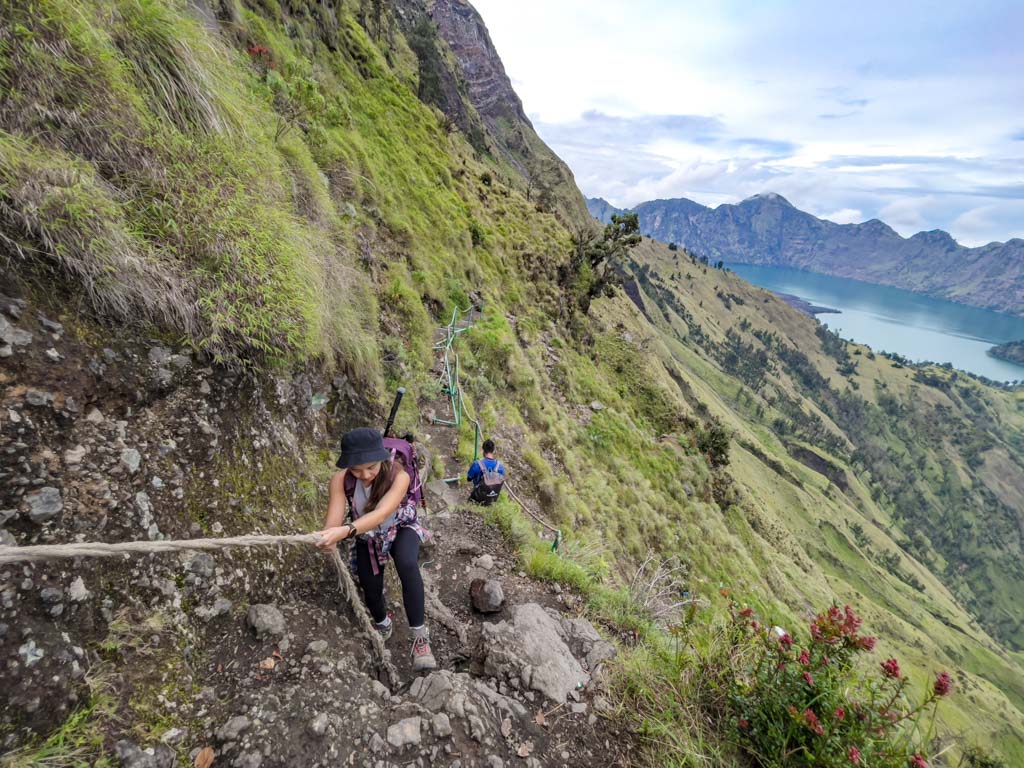
The trail was a mix of rocks, dirt, and some steps here and there. We even had to use the ropes at one point.
There are some bridges and rock rivers to cross, and overall it was a bit hard on the knees but not too exhausting.
We made it to the crater lake shore just before noon.

Hot Spring

There is a hot spring area close by about 10-15 minute walk. But be warned that it is also up and down plus smells strongly of sulfur. It started raining just as we got there so it did not turn out to be the most relaxing visit.
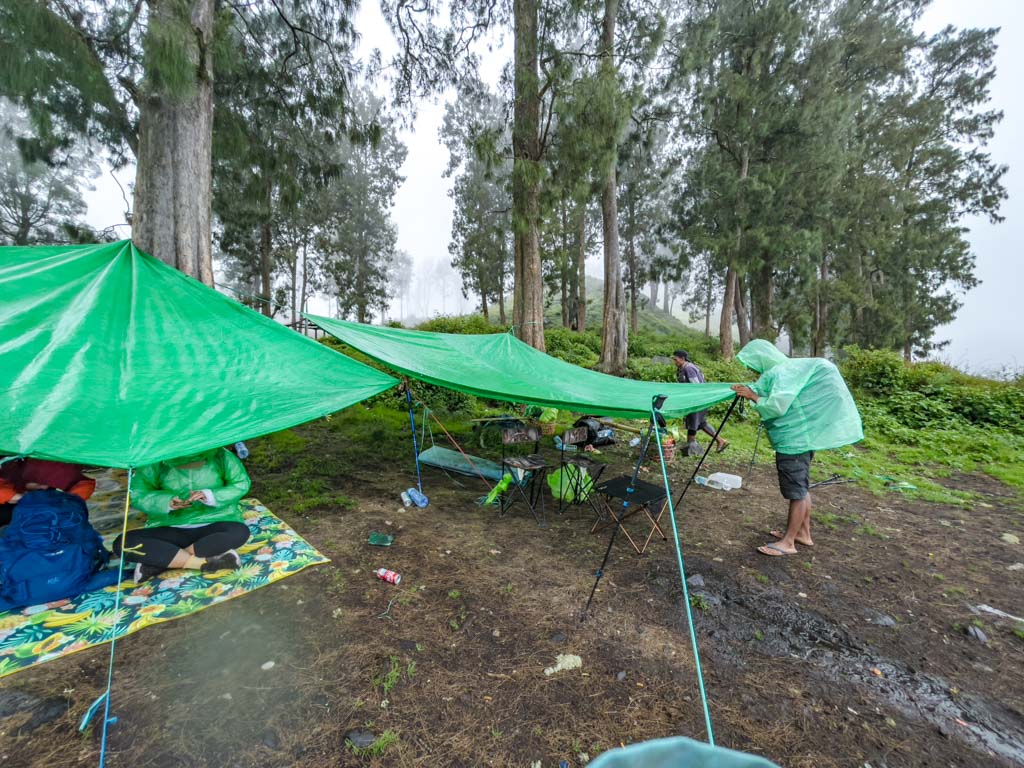
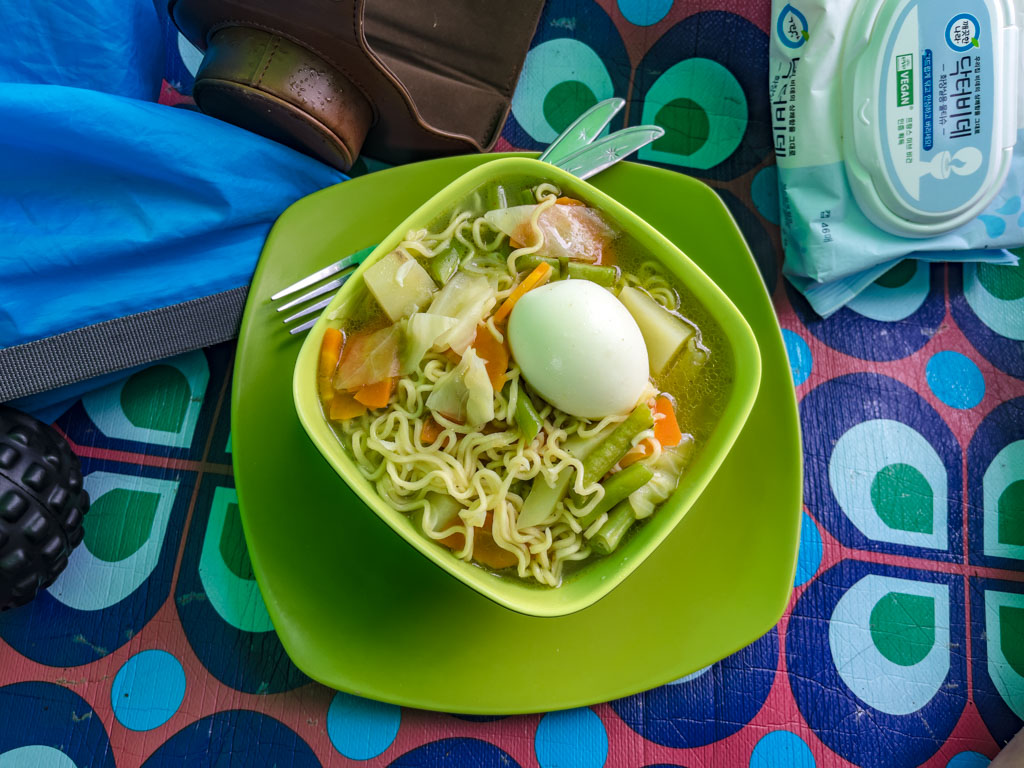
We return to the lake shore where our lunch is now under the green tarp. It was hot noodles with vegetables and egg plus fruits.
We ended up setting off at 2:21 pm – I really would have skipped the hotspring and gone up earlier.
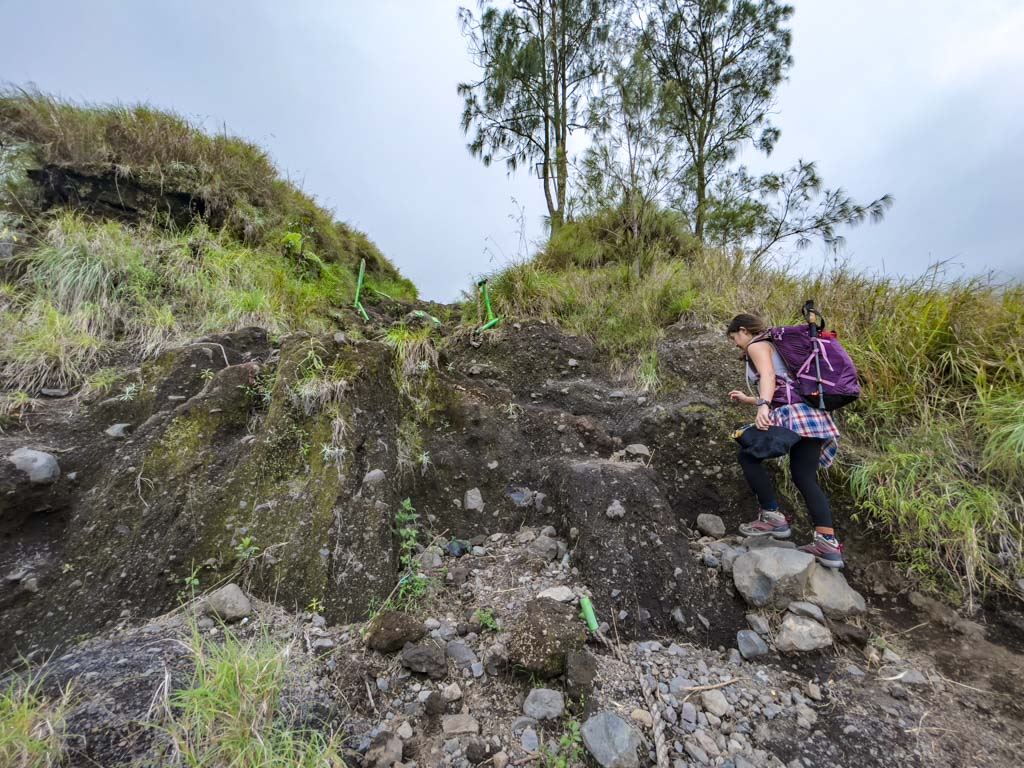
Ascent to Crater Rim Camp 2

The ascent starts with us walking along the lake shore which is a bit more adventurous than expected. The rain did not help.

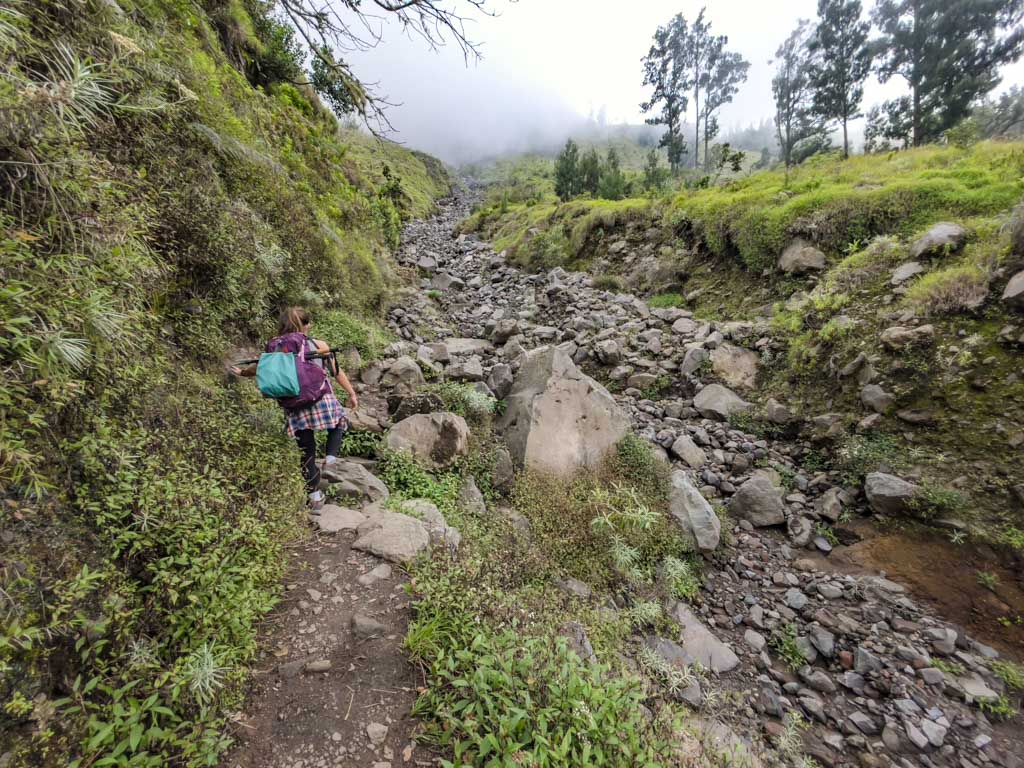
Then it was up through a boulder river that turns into a dirt trail. While it is only a 2.5-3.5 hours hike up, don’t underestimate the tiredness and steepness since you’d have hiked 8 hours or so by then.
It’s essential (and best) to get up before sunset as there is a metal ladder and chances of falling rocks. But we do know of a group who had to do 20 minutes in darkness.

We arrived at 5:53 pm where our tent was already set up. The campsite is at 2643+ m with a more direct view of the smoldering volcano in the crater lake and of the summit.

Dinner and sleep
We got our amazing Nasi Goreng (fried rice) dinner at 7 pm, ate, and promptly went to sleep. If the weather is nice (during the summer season it should more or less be), it’s a good view from here and probably good to fly your drone or take photos.

The campsite is a lot quieter since most people have opted out of 3D2N or are only on 2D1N. The highest hill has a direct view of the smoldering caldera, but otherwise, the trees do sort of block it.
Day 3: Descent to Senaru
Breakfast and departure from camp

We woke up around 6 am to find that the rain has stopped! We had breakfast and I quickly flew my drone for a nice view.

Campsite to Pos 4
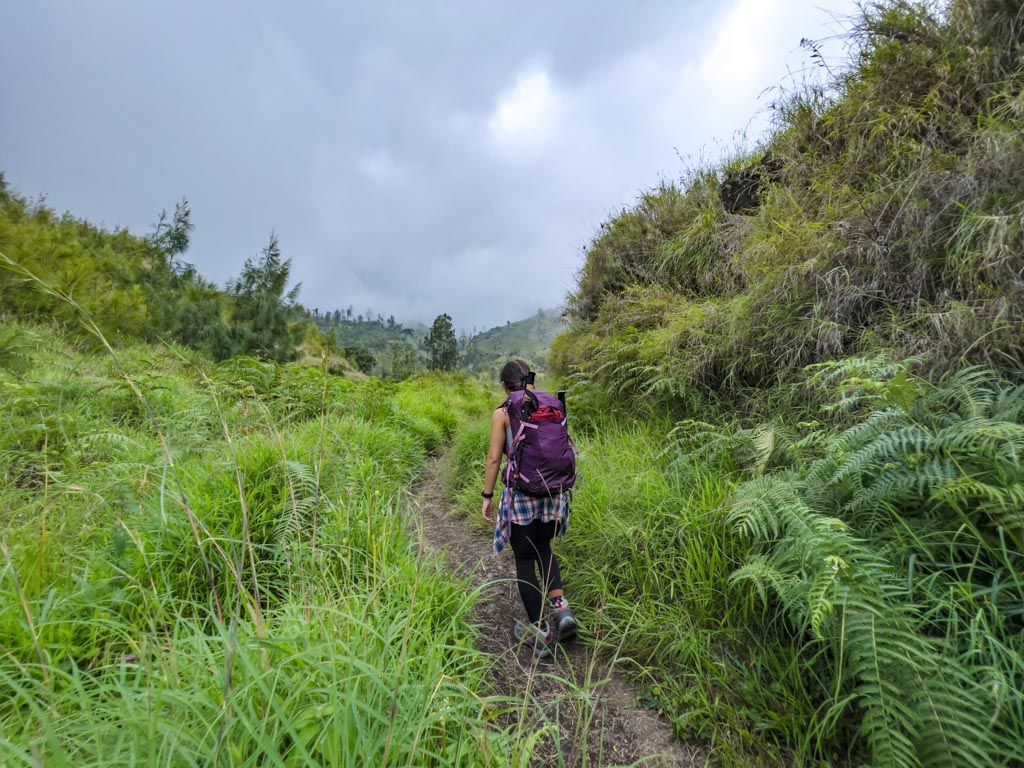
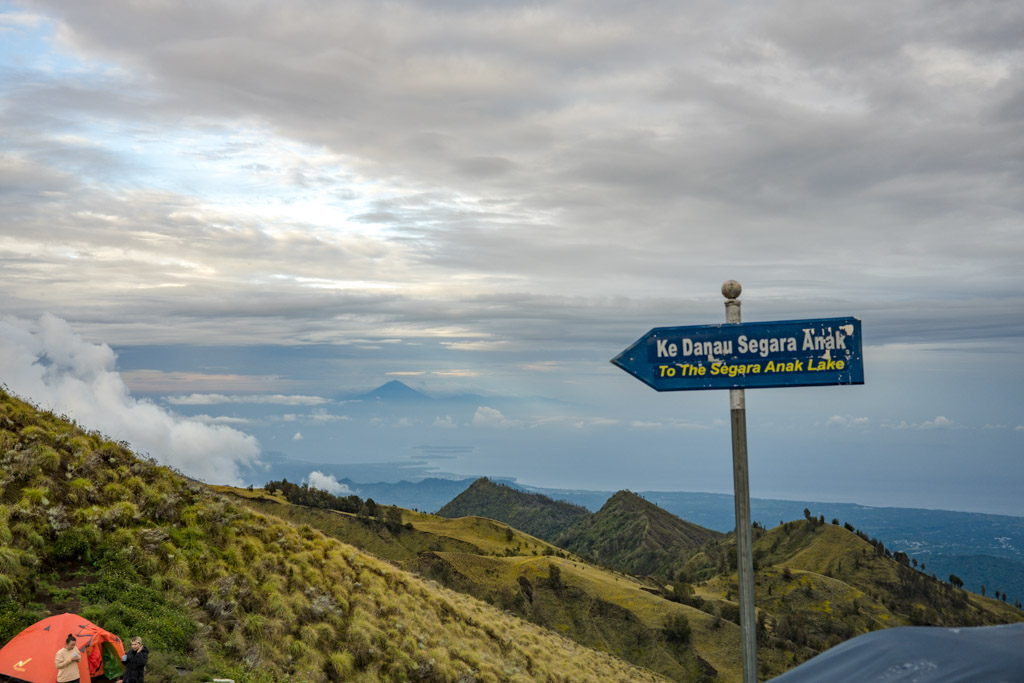
We began a descent at 7:07 am. We had to go slightly up around a hill with a view of Bali from afar before descending.
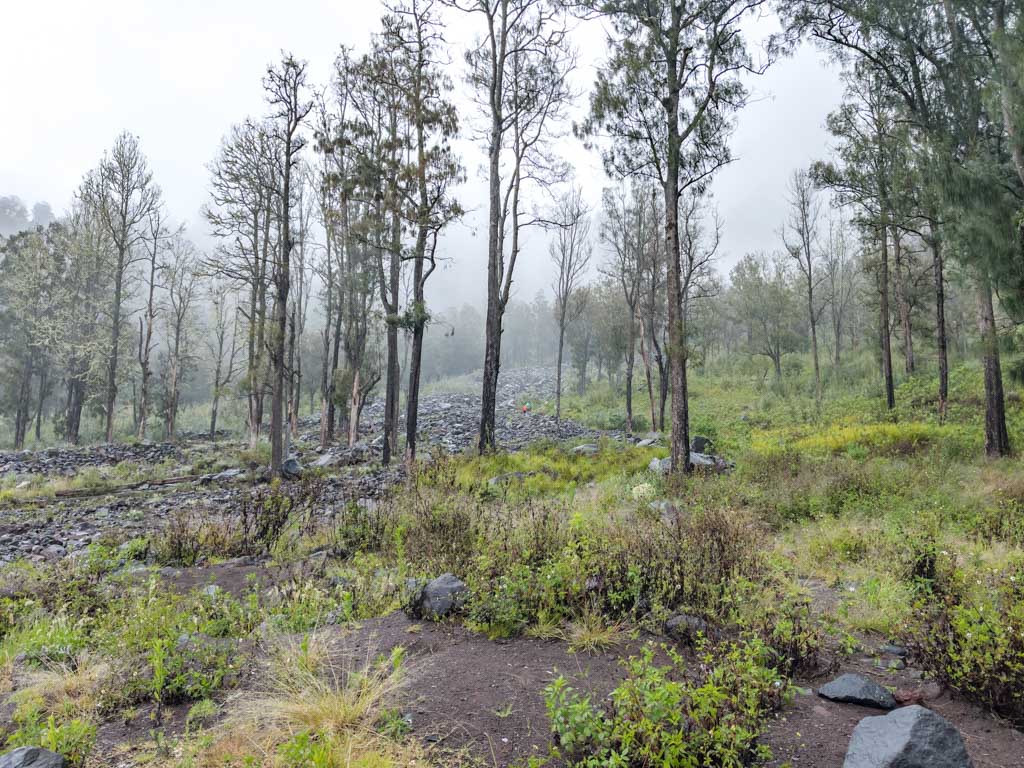
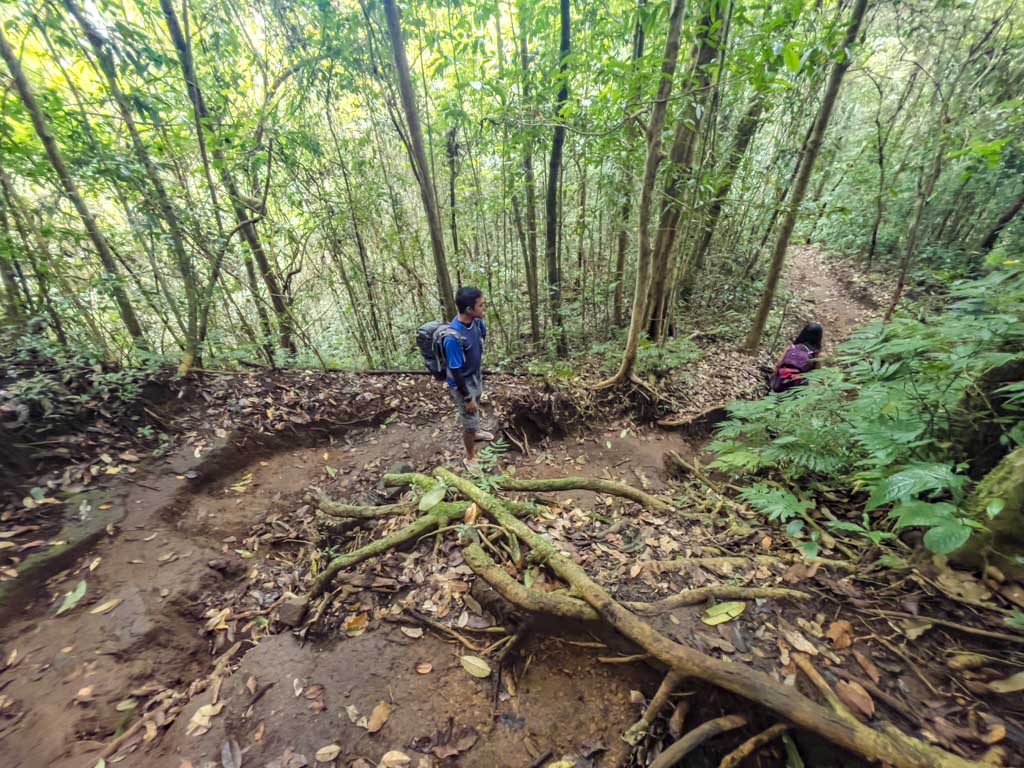
The initial downhill stretch was very rocky with difficult footing, then it gave way to a dirt path which really isn’t too bad.
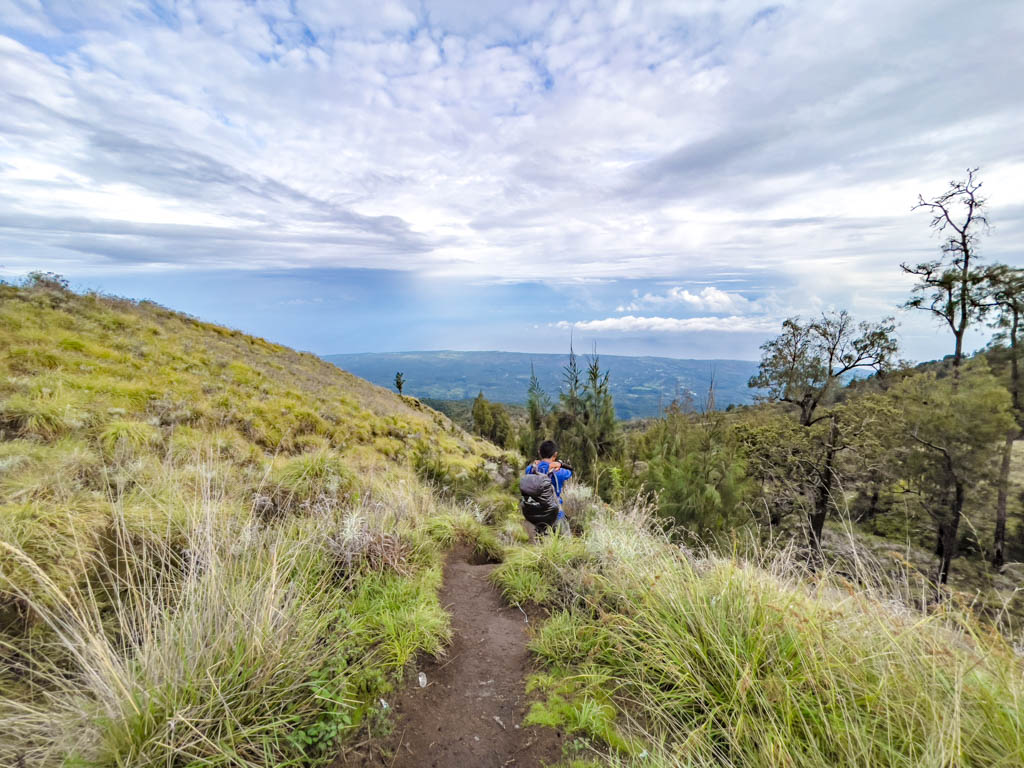
The Senaru route is not as gentle as the Sembalun route with an overall higher elevation. But it also has different rest stops – pos 1 – 4.
Pos 4 to Pos 3
Note: there are many leeches that pop out after rain so watch your footing.
Pos 3 to Pos 2

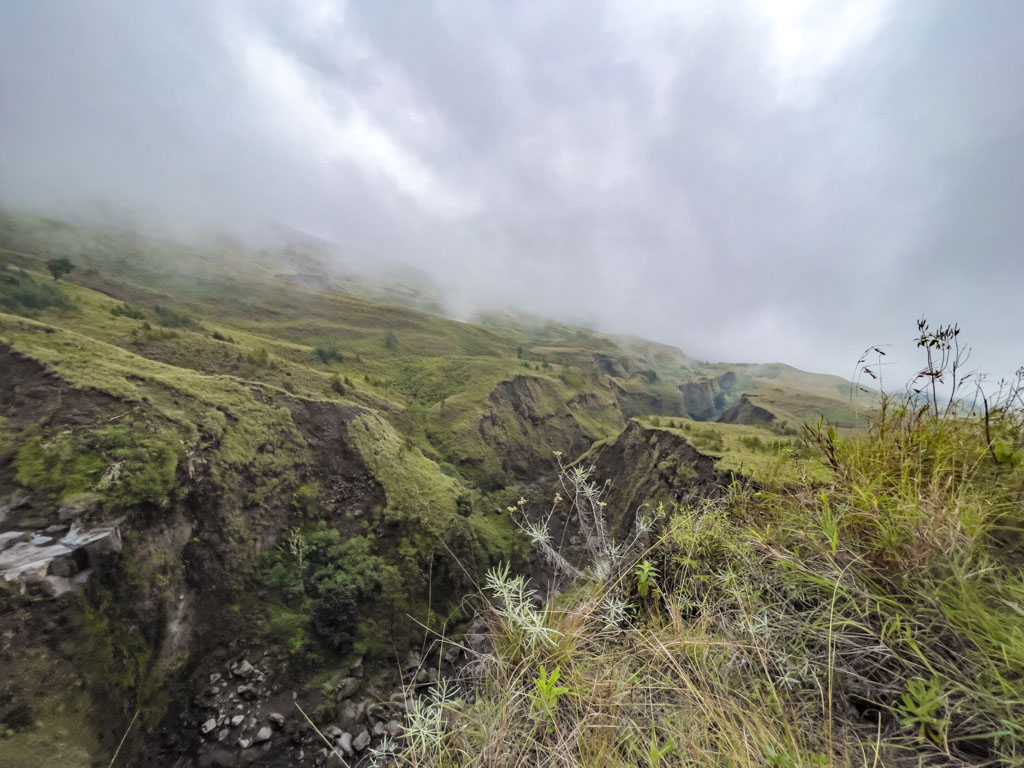
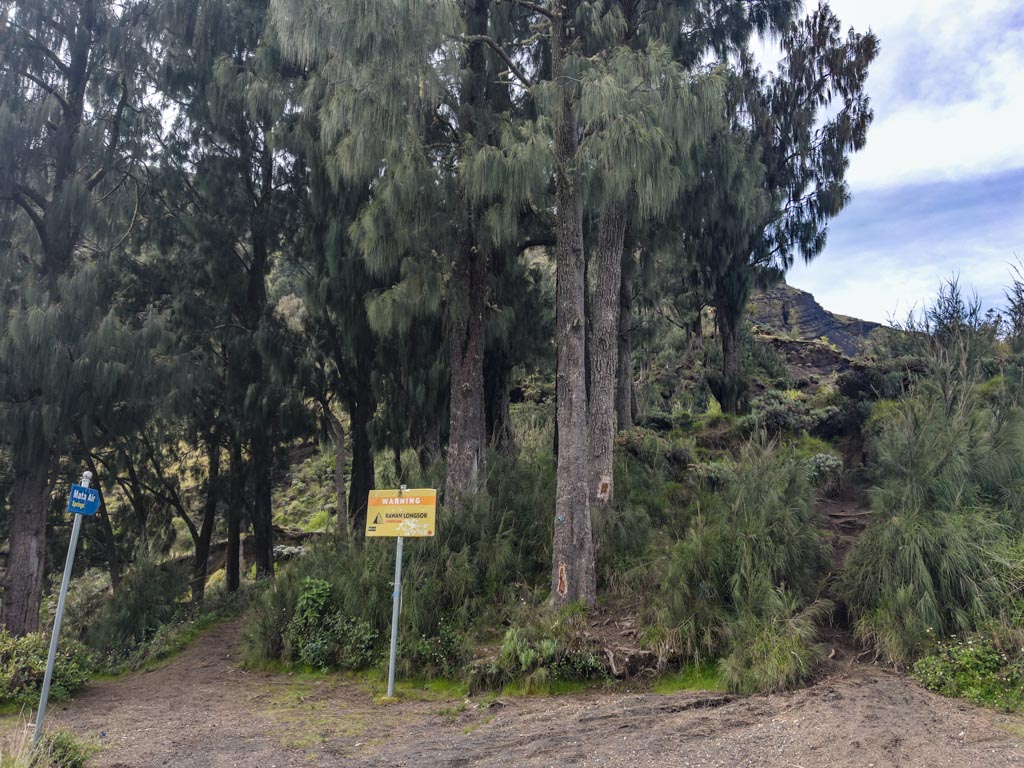
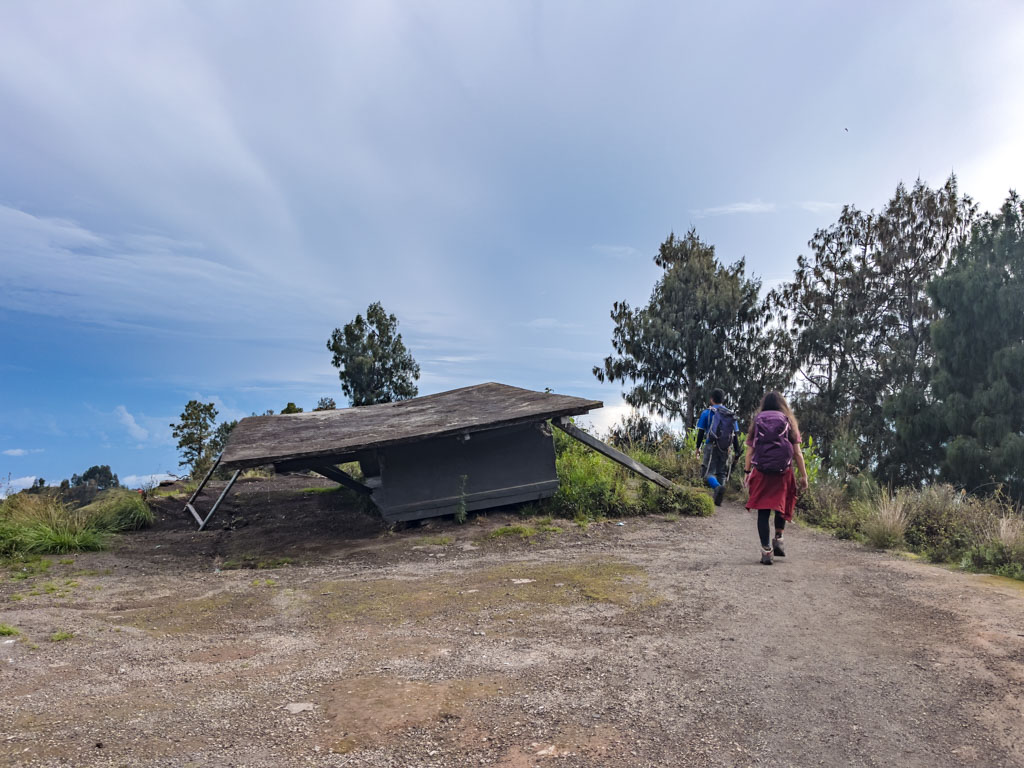
We even saw the remnant of a pavilion that has slid into the jungle during the 2018 earthquake!

Pos 2 to Pos 1

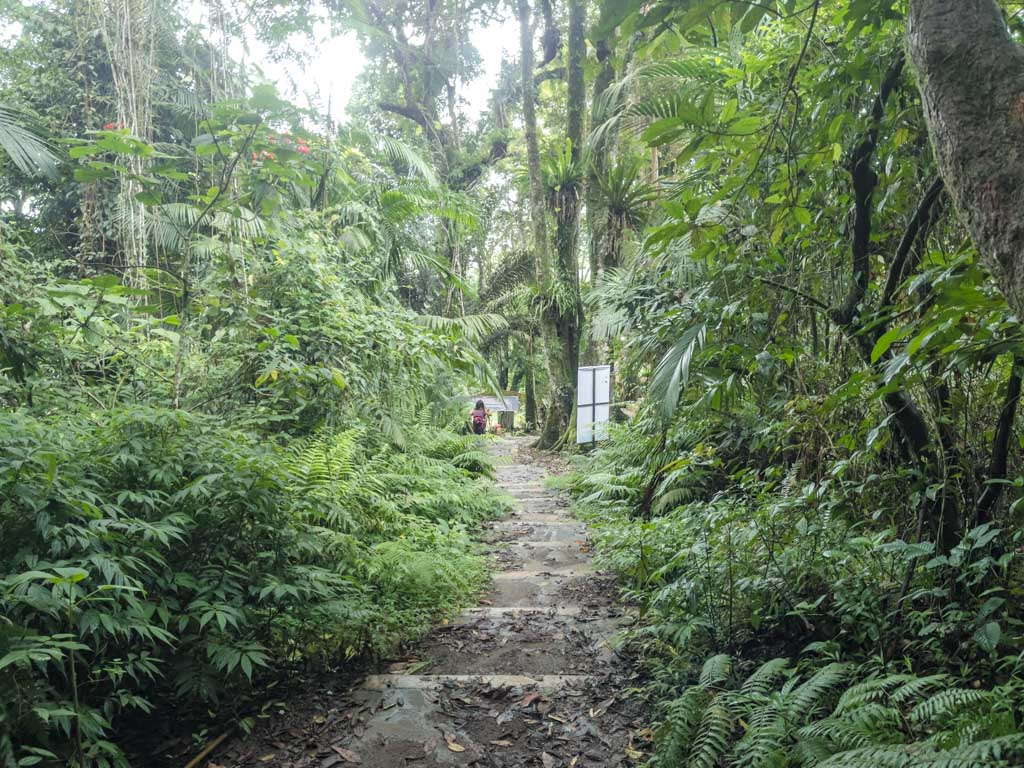
Pos 1 to Gate
Lunch

Depending on your guide and porters, and also the groups in front and behind you, your lunch spot would be close to the gate.
We actually ended up eating lunch in front of the gate after signing out of the park. There is a bathroom but it is sort of grimey.
Our porters were already preparing our food and we arrived at the gate at 11:23 am. Our final meal was Mi Goreng – fried noodles – with tempeh, fried chicken, prawn crackers, and egg rolls.
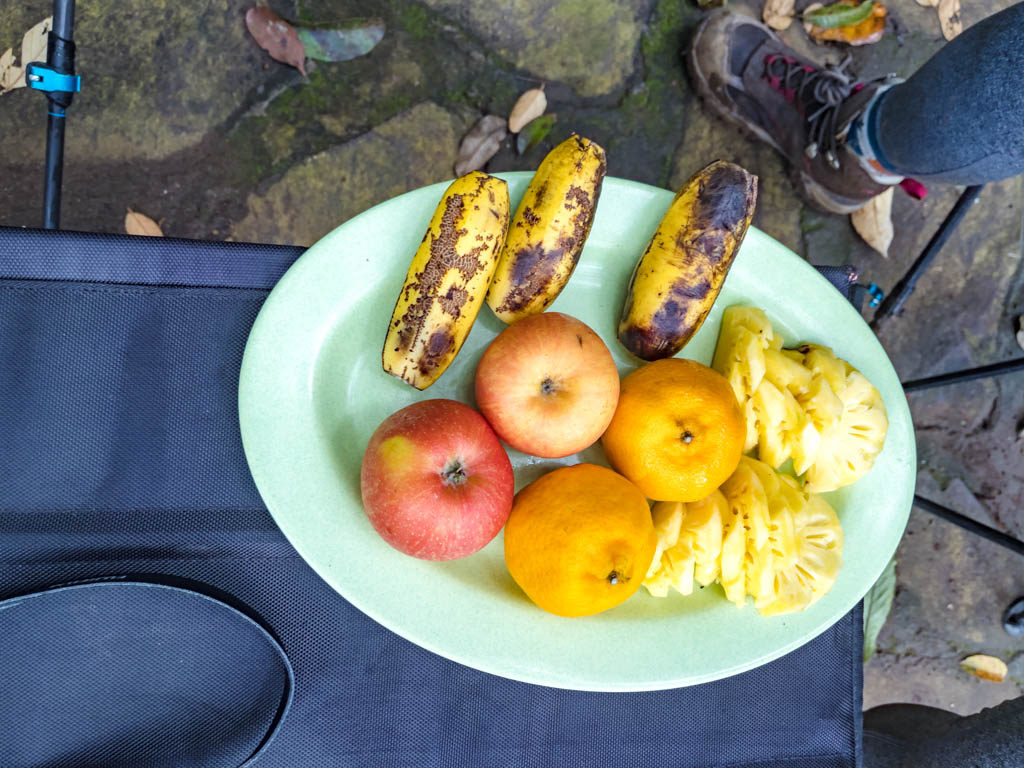
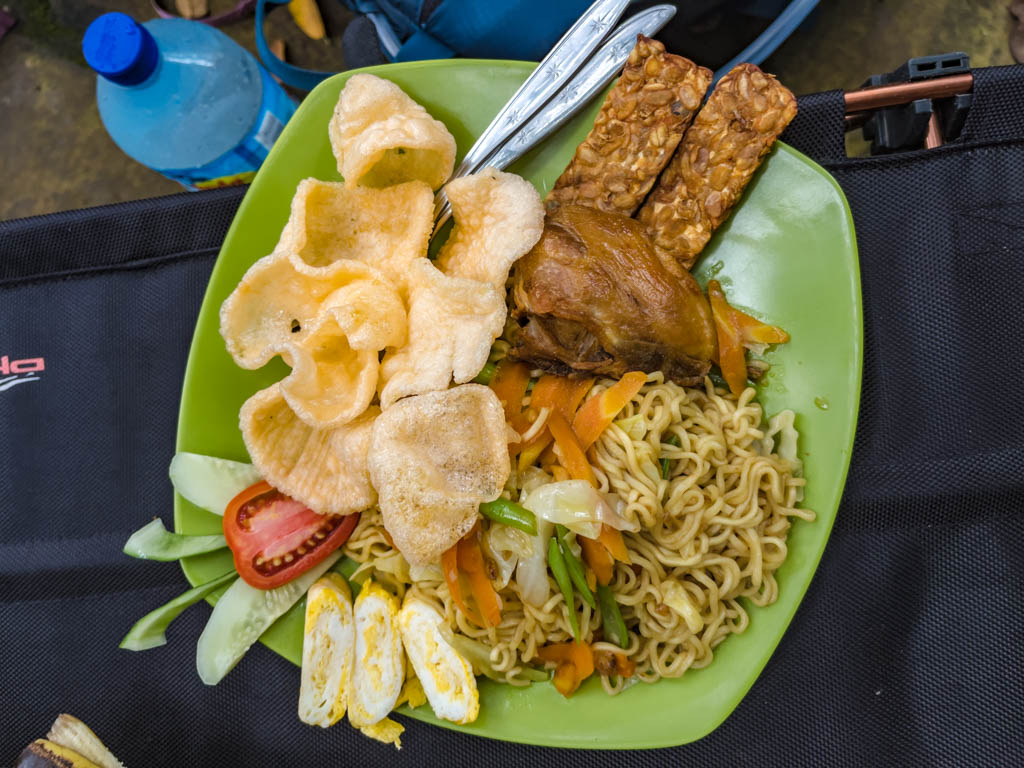
And fruits, of course.
Departure to Senaru
Usually, the pick-up will come all the way to the gate. However, because of the heavy rain, we had to walk out.

This part of the road was actually quite slippery so I did end up slipping. But Adi helped me out and we were on the way to Senaru to pick up our luggage in no time.
Leaving Senaru
The driver who picked us up at the airport was waiting for us. We had time to change quickly after reuniting with our luggage.
We decided to stay in Lombok for two more nights to rest and it was a 2 hours drive to Sengitgit. Most people also opt to go to Kuta, a surf town on the other side of the island which was a 4 hours drive.
- Generally, people arrive at the gate between 12-3pm. This really depends on how fast you hike.
- Between picking up your luggage and transfer, it can be difficult to take the ferry to Bali (via Gili islands). So you should stay on Lombok or at most to Gili Islands. Although if you are not sure how fast you can finish the hike, I would not aim to get to Gili on the same day.


Waow nice article…
Hi there thank you for your great article. I would like to hike Mt rinjani next month..
a complete guide guide to trek up Mount Rinjani and informative article, should read before trekking Mount Rinjani