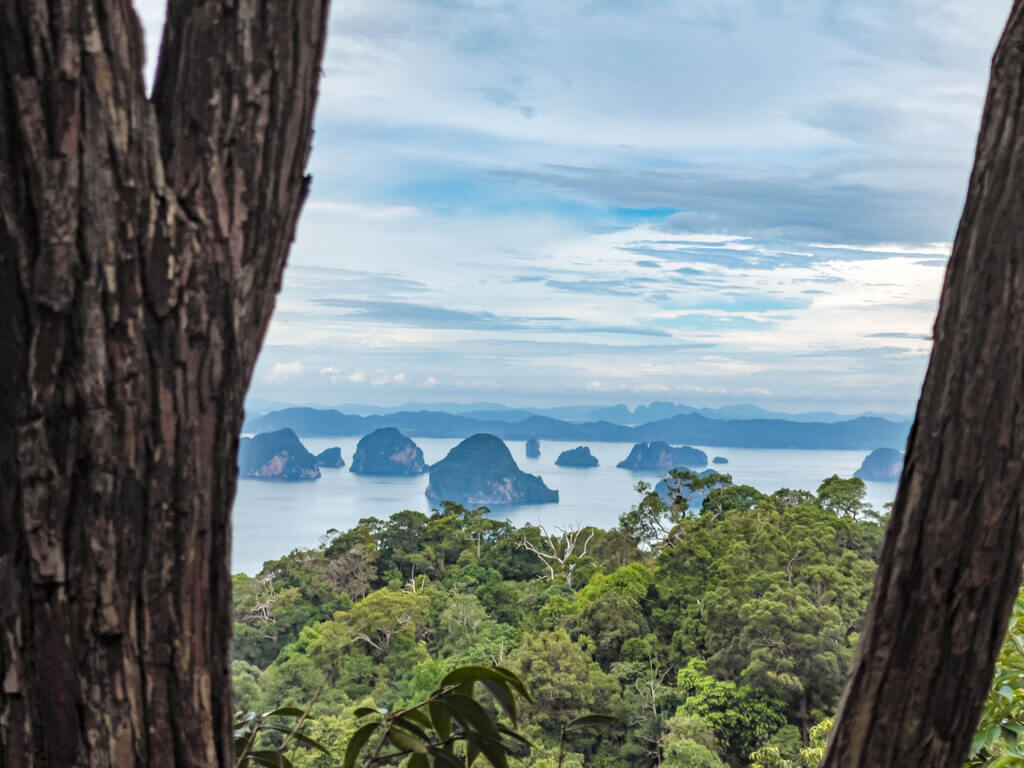
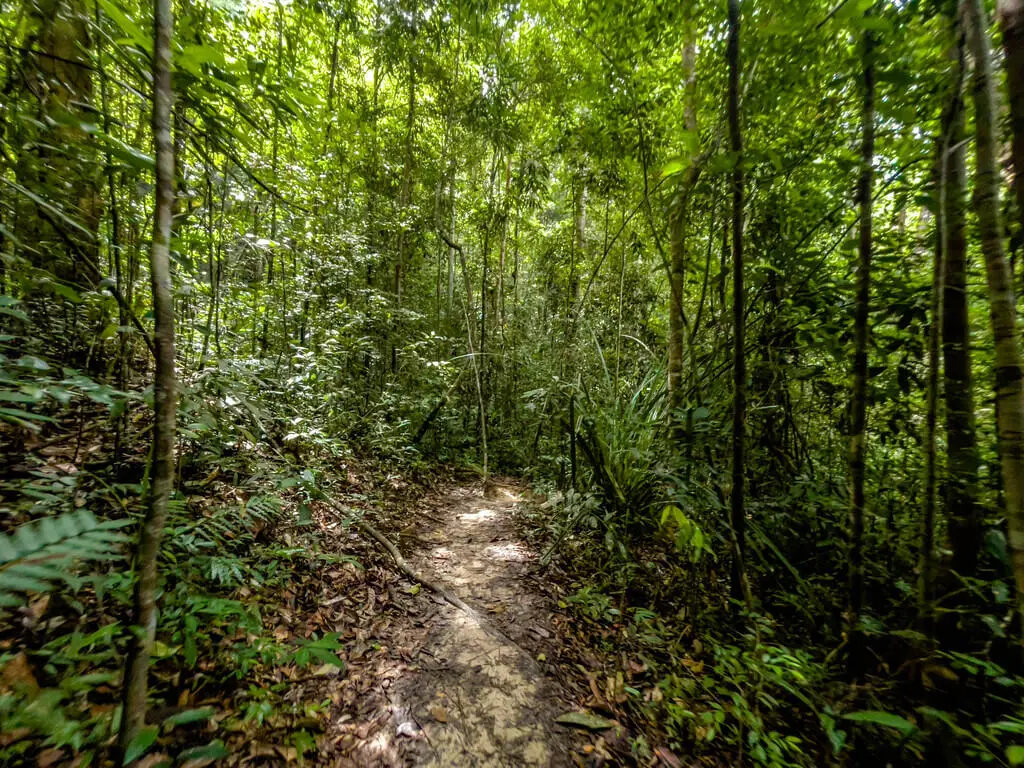
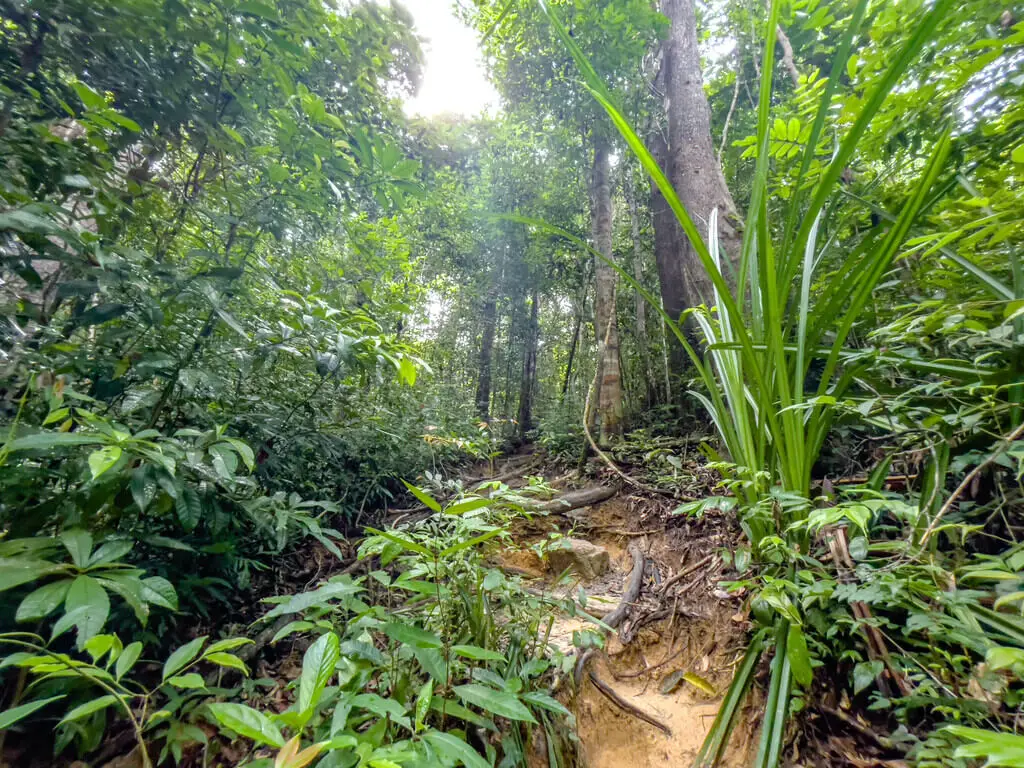
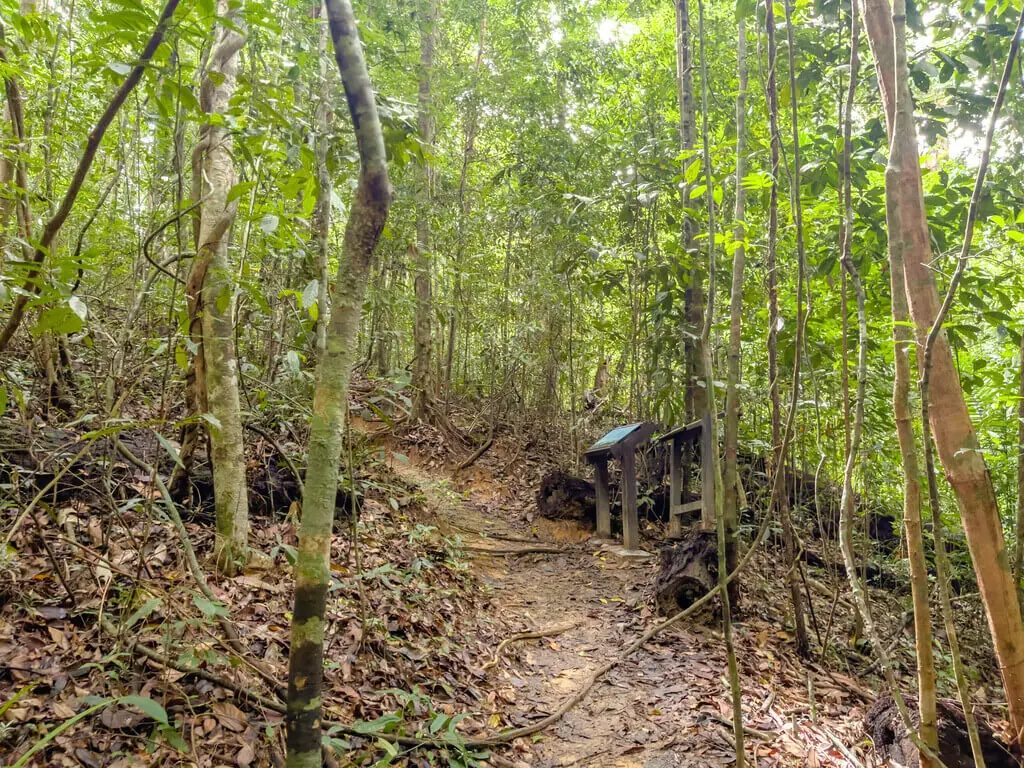
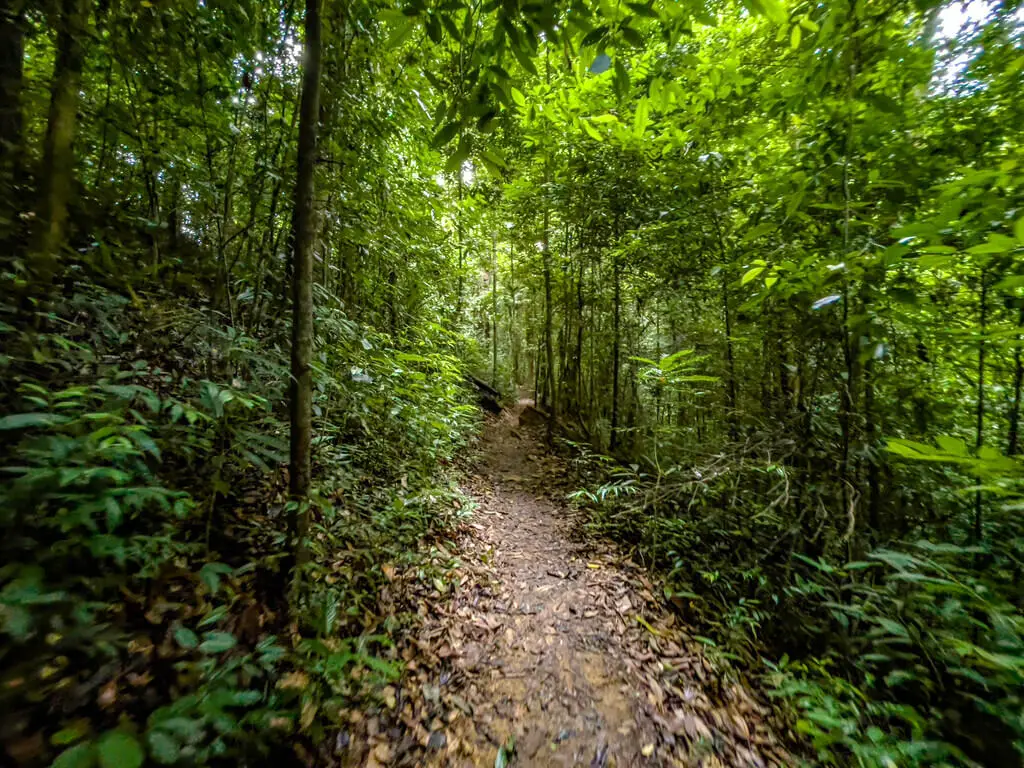
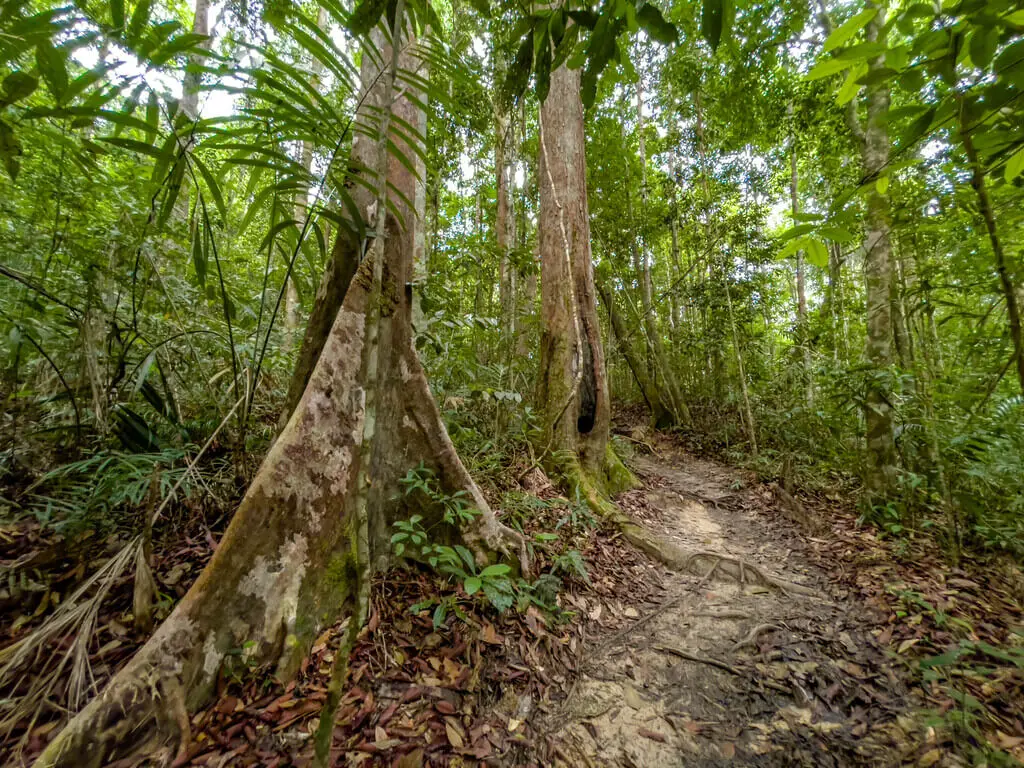
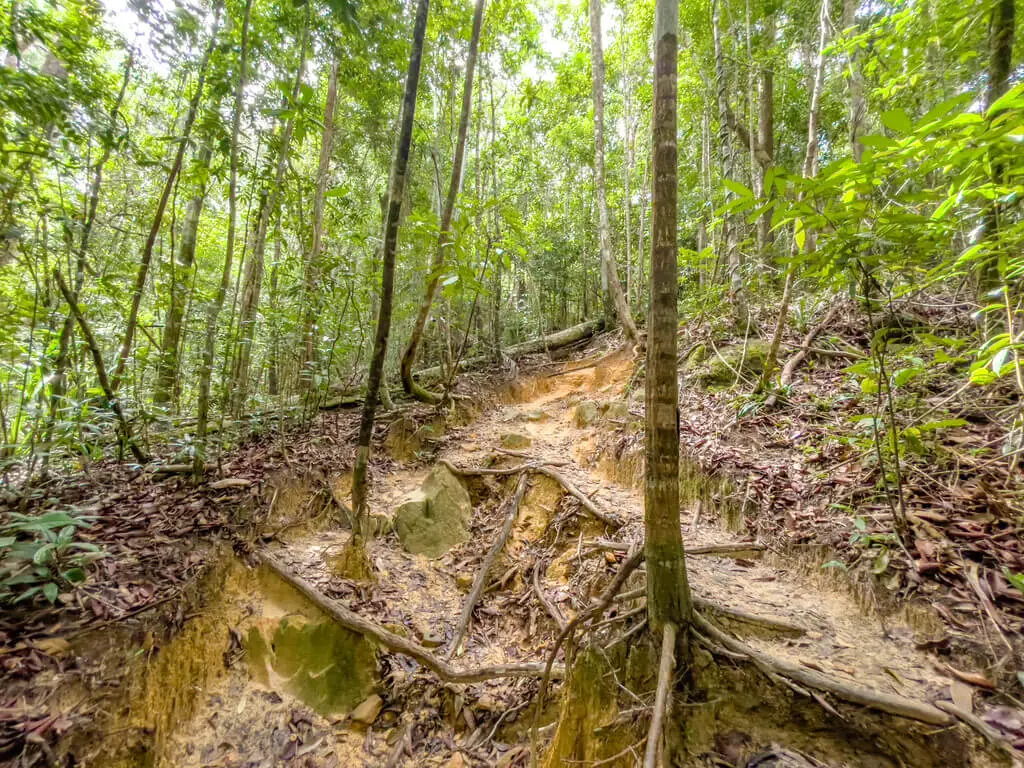
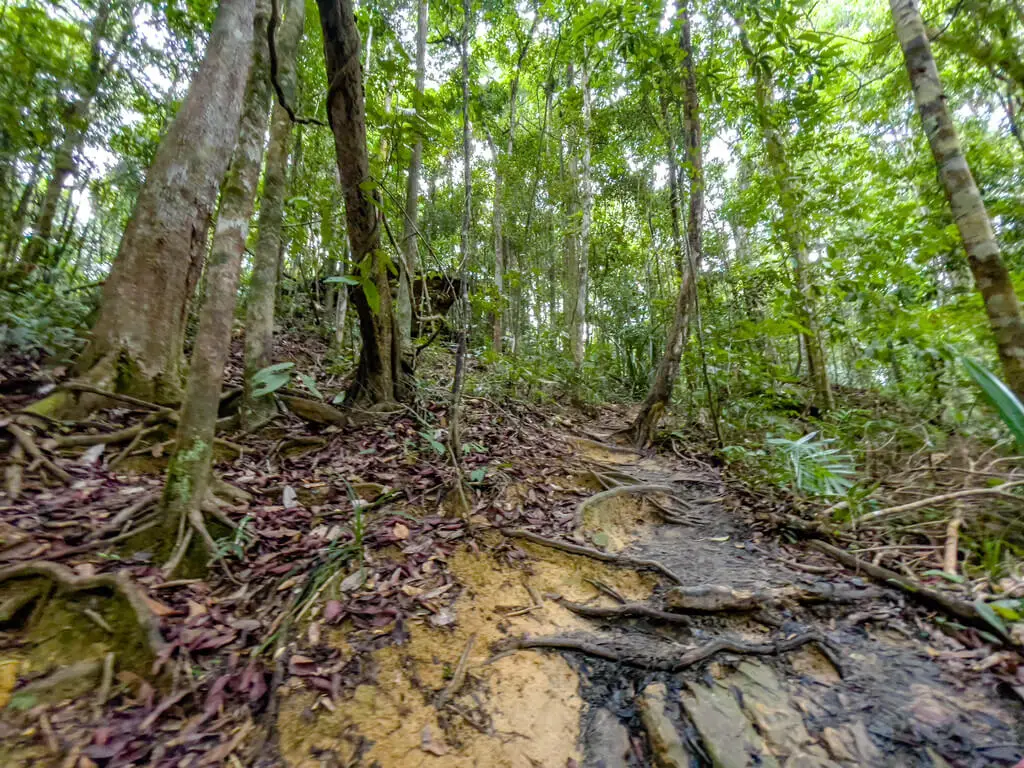
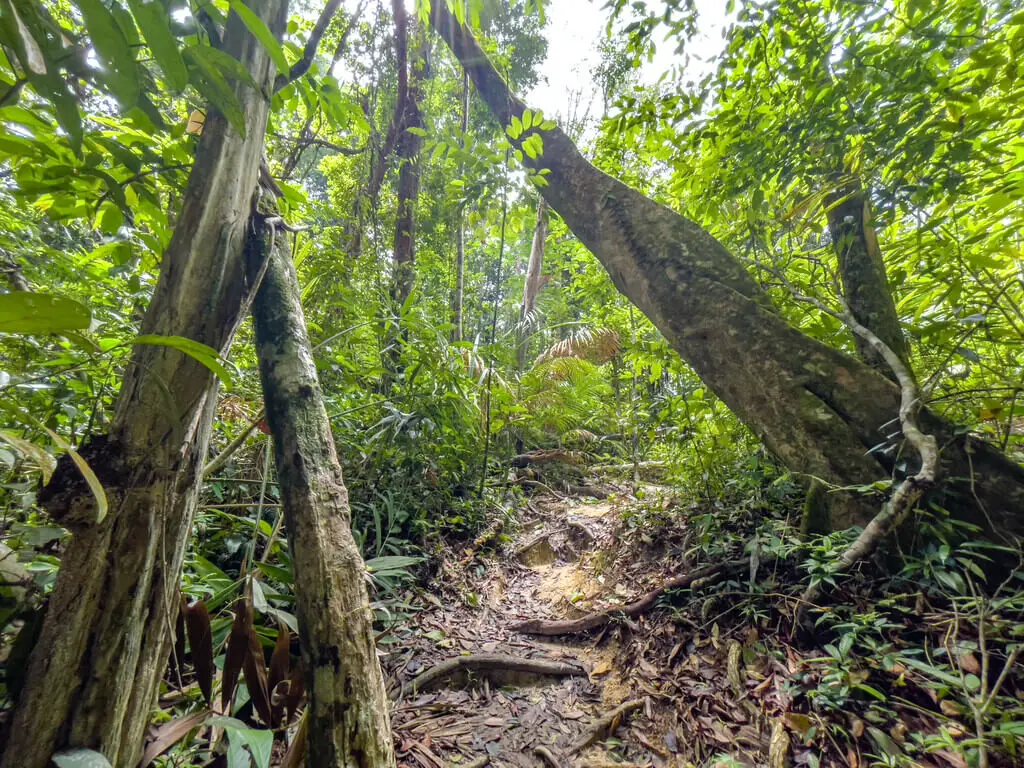
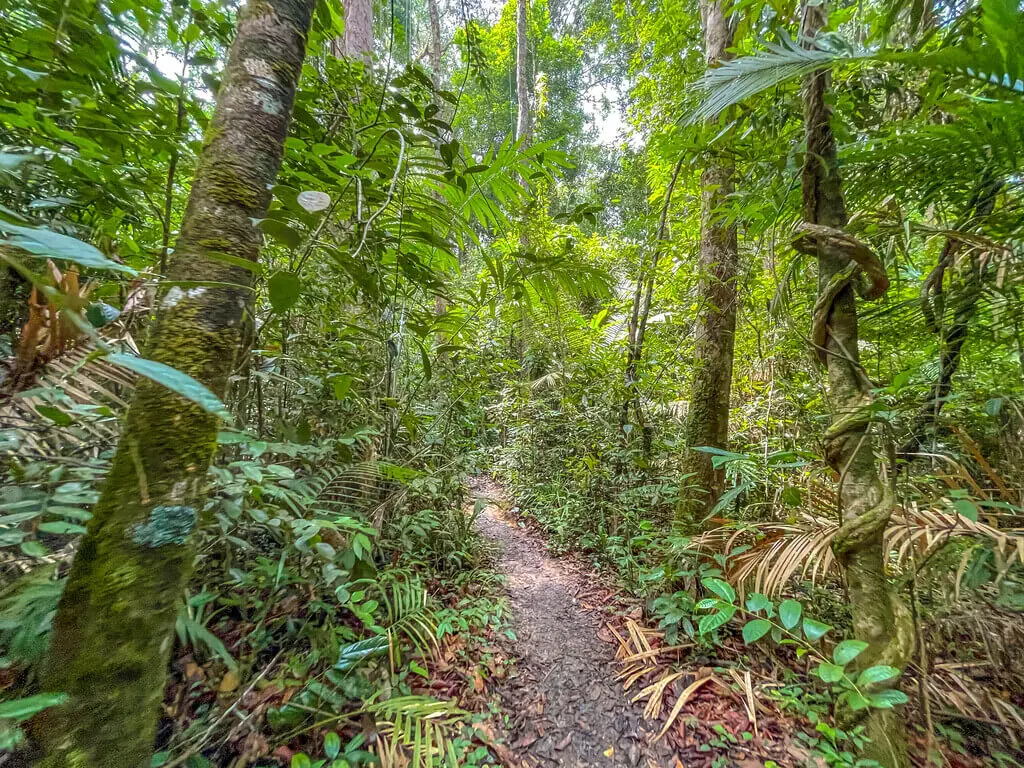
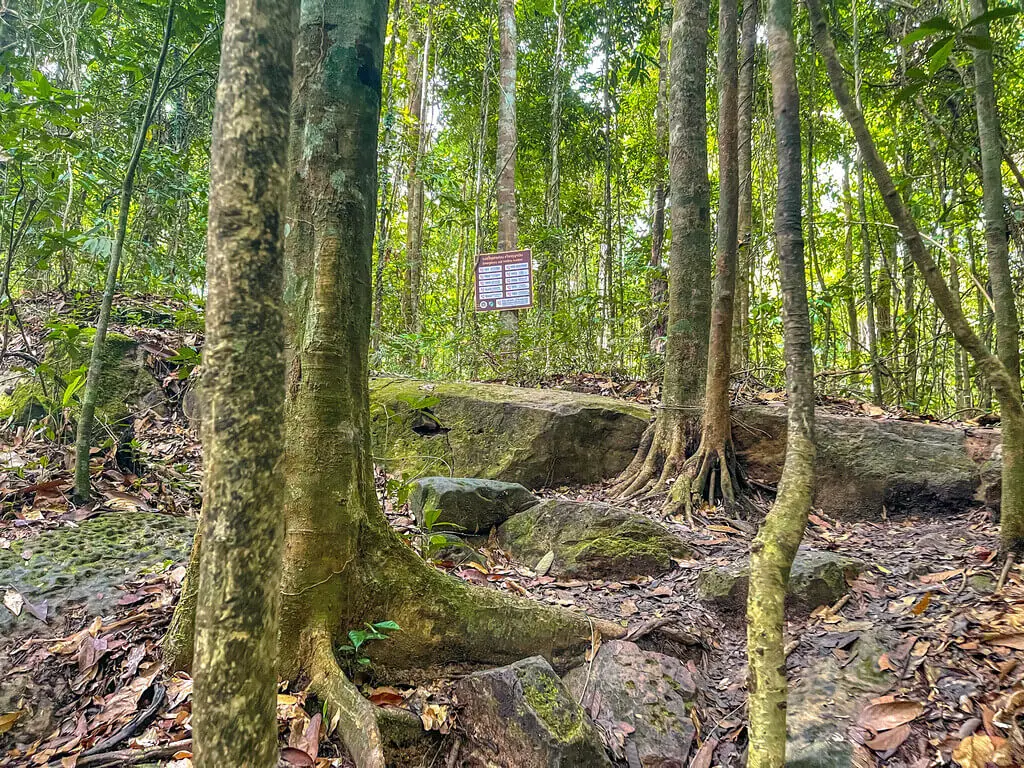
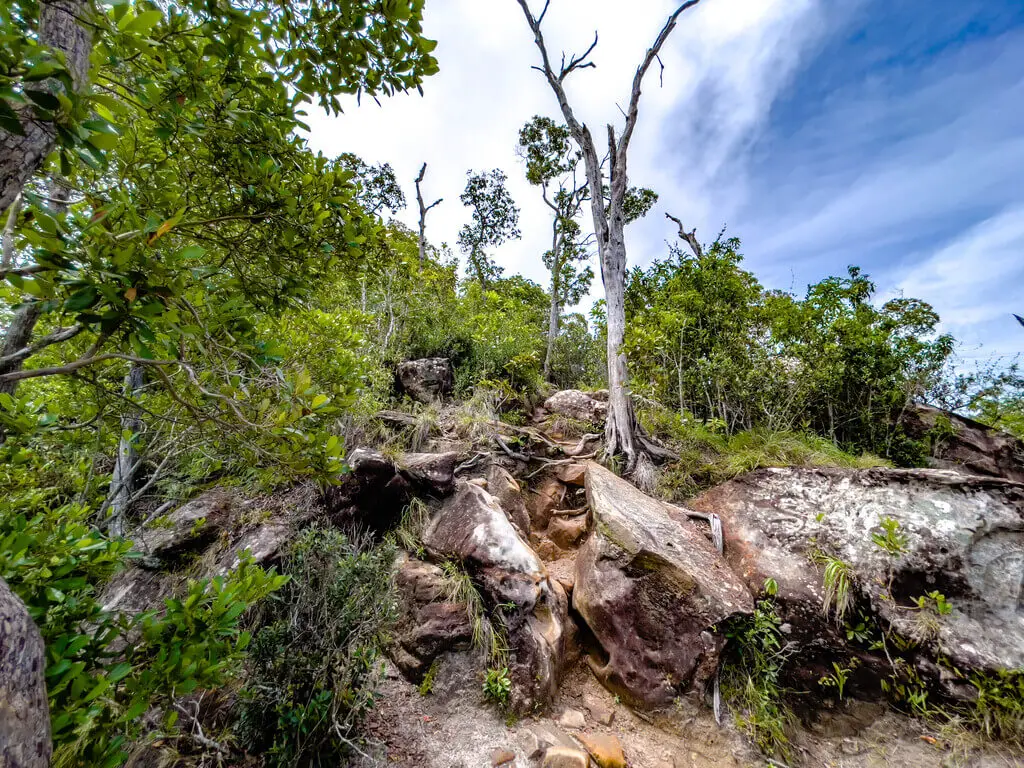
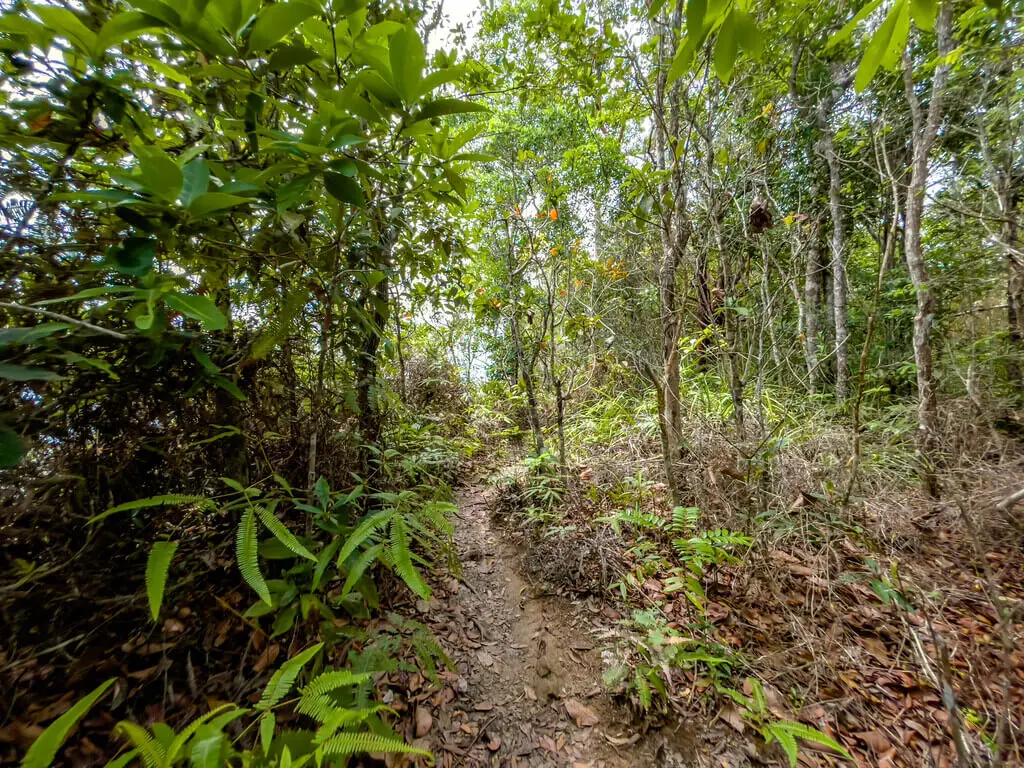
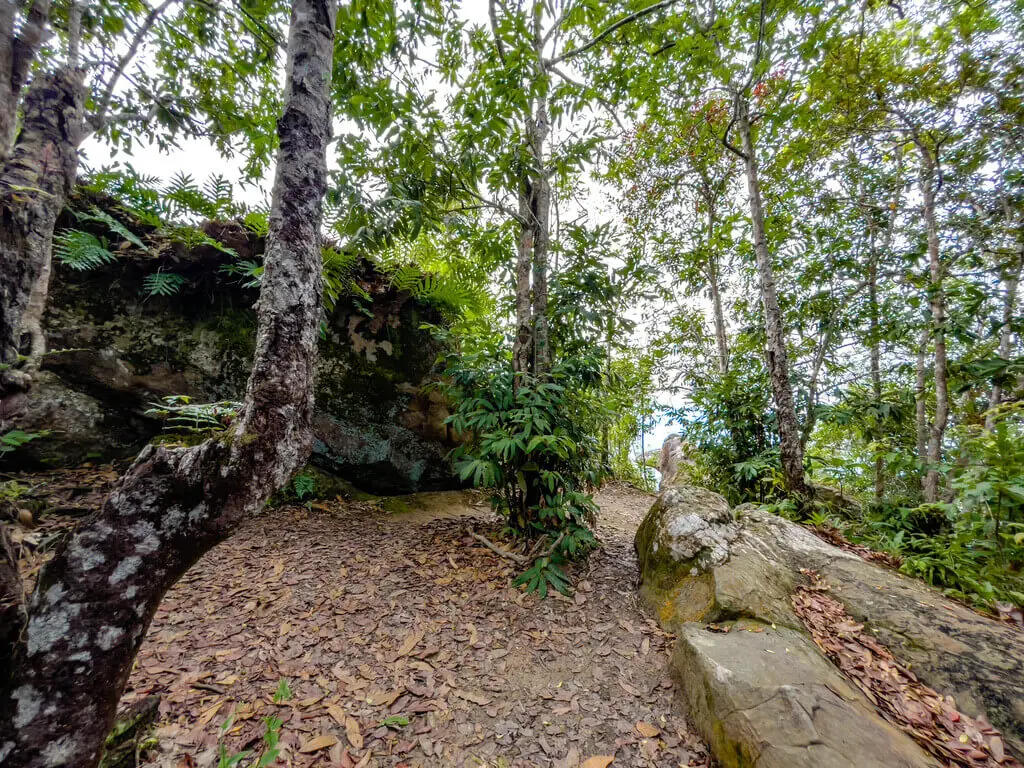
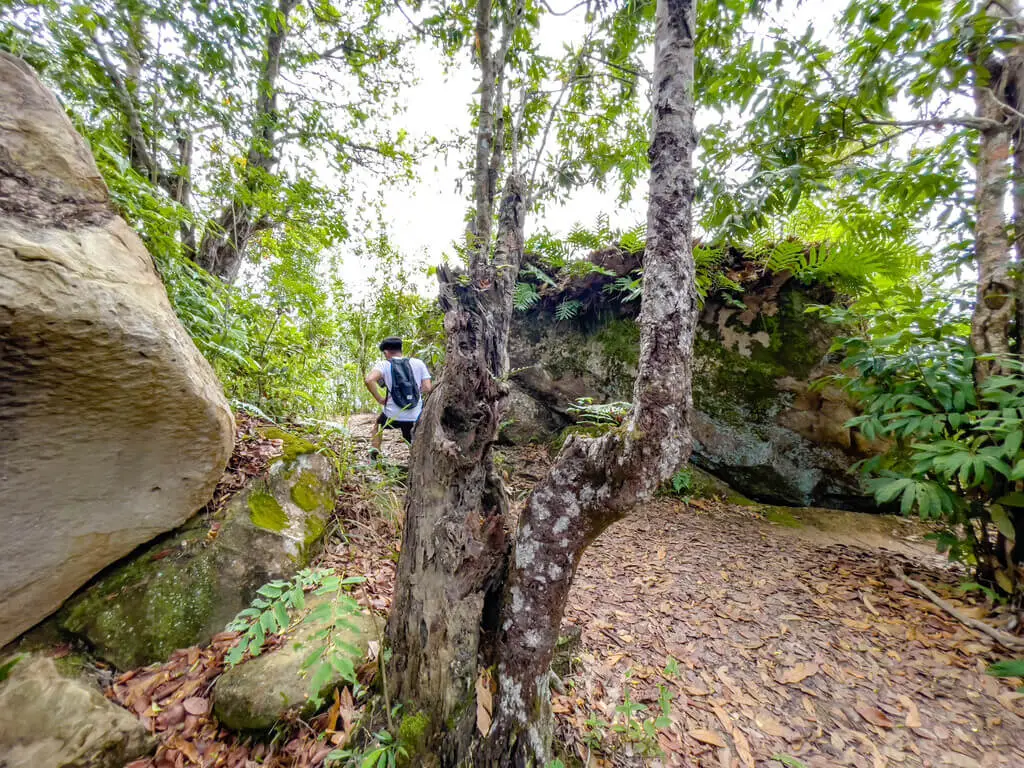
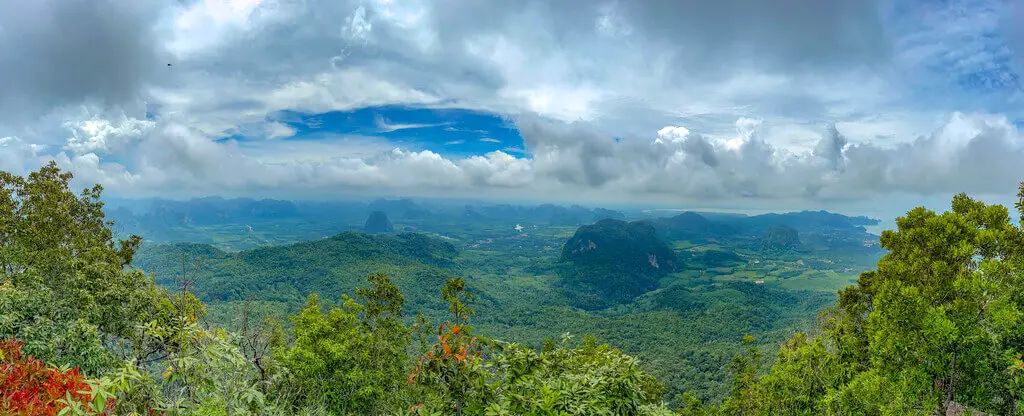
The Dragon Crest Mountain is also known as Khao Ngon Nak to the locals, known for its spectacular 360-degree view of the Krabi coastline and mountains. It is the best viewpoint and hike in Krabi but there isn’t a lot of detailed information on this. So I decided to document the hike in detail for anyone interested to hike:
- Read here for more on what to do in Krabi and where to stay
- Want to see where else you can go in Thailand that’s adventurous? Try Khao Sok National Park!
- Want more inspiration for your Thailand trip? Here is my Thailand itinerary suggestion.
Dragon Crest Hike summary:
Time taken: 3-4 hours, but I’d budget 5 hours plus driving time. People generally take 2 hours going up and 1.5 hours coming down.
Distance: it’s 3.7 km one way so a total of 7.4 km.
Difficulty: 3.5/5 mostly due to the rocky trail at the start and the humidity of southern Thailand
Pros: amazing view of the area at the top
Cons: very humid to hike in and difficult to reach the trail start unless you drive
How to get to Dragon Crest Hike
The Dragon Crest Hike starting point is about 20 minutes’ drive from Ao Nang, and 40 minutes from Krabi Town. If you’re heading there from Railey, take the long tail boat to Ao Nang and then rent a scooter or haggle with a taxi.
Driving a scooter (or car)
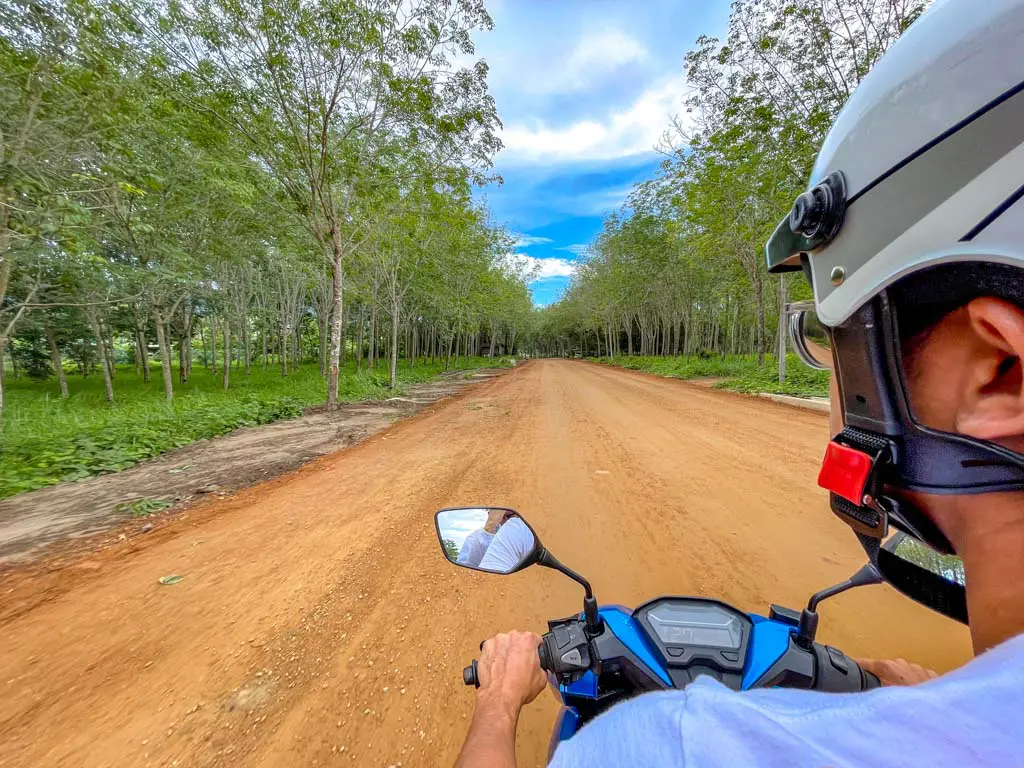
The cheapest way to go there is to rent a scooter for 200-250 baht and drive there. It’s a relatively flat drive, but you’ll be driving on some highways, and be mindful that there might be roadworks.
Hiring a driver or taxi
The hike can be tiring so it might be better to hire a driver for a private transfer or haggle with a taxi.
The taxis in Ao Nang are more like motorbikes with sidecars, and the two guys I ran into on the hike haggled with one to drive them there, wait for them, and go back for 600 baht.
A private driver can cost as much as 1200-1500 baht, so it might be best to haggle on the street. Be sure to confirm the waiting time and don’t let them talk you into only having 3 hours for the hike. If you’re 3-4 people, it might be worth getting a private car to save the hassle.
Shared transfer
There used to be shared transfer organised by hostels for about 250 baht. However, on my trip there in May 2022 they all disappeared due to a lack of tourists.
Essential information for the Dragon Crest hike
How high is Dragon Crest Mountain?
The Dragon Crest Mountain might not be as high as you think at 565, but given that it’s the largest hill in the area, it has an unrivaled panorama. And don’t underestimate how tough climbing 565m in humidity can be!
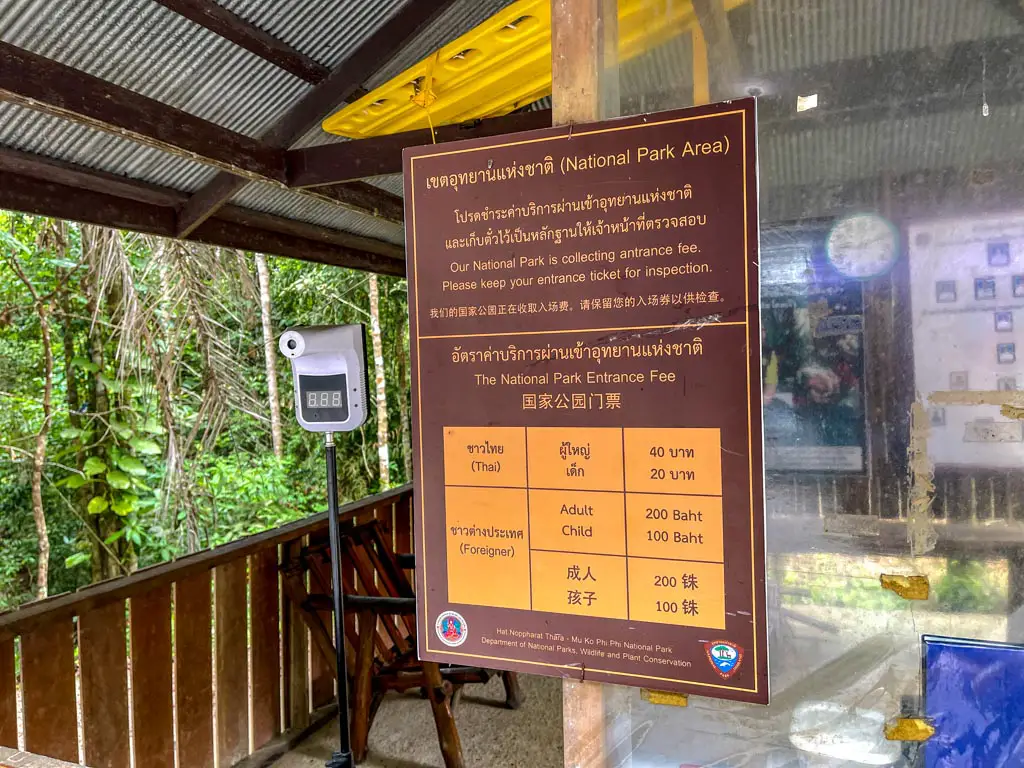
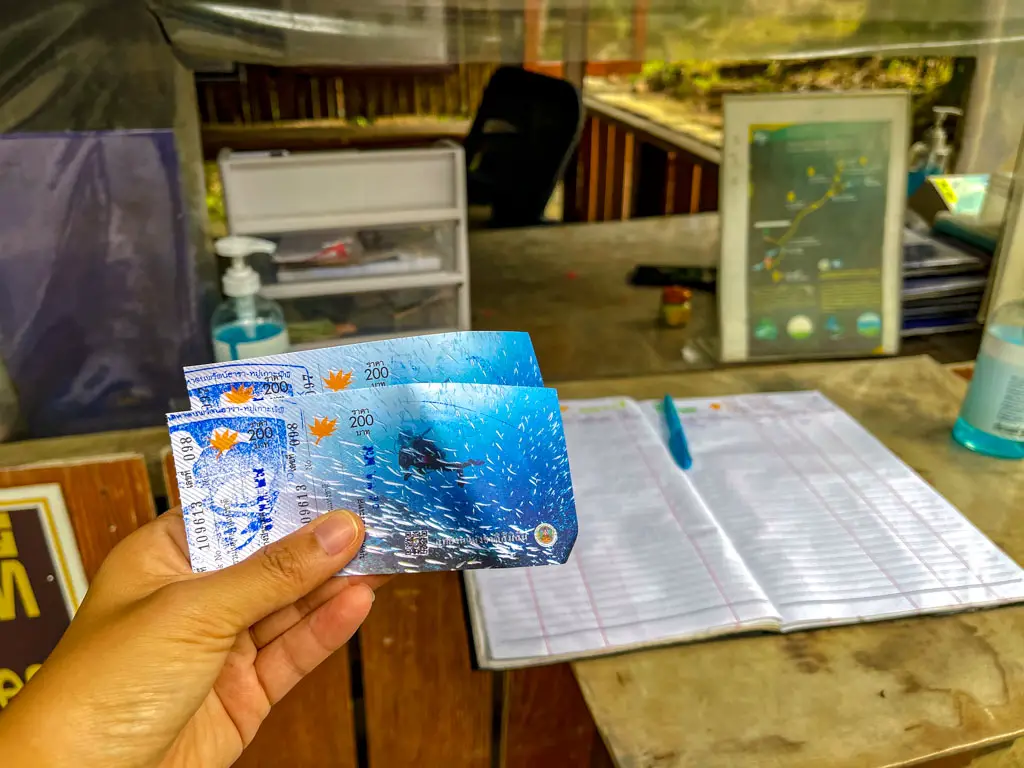
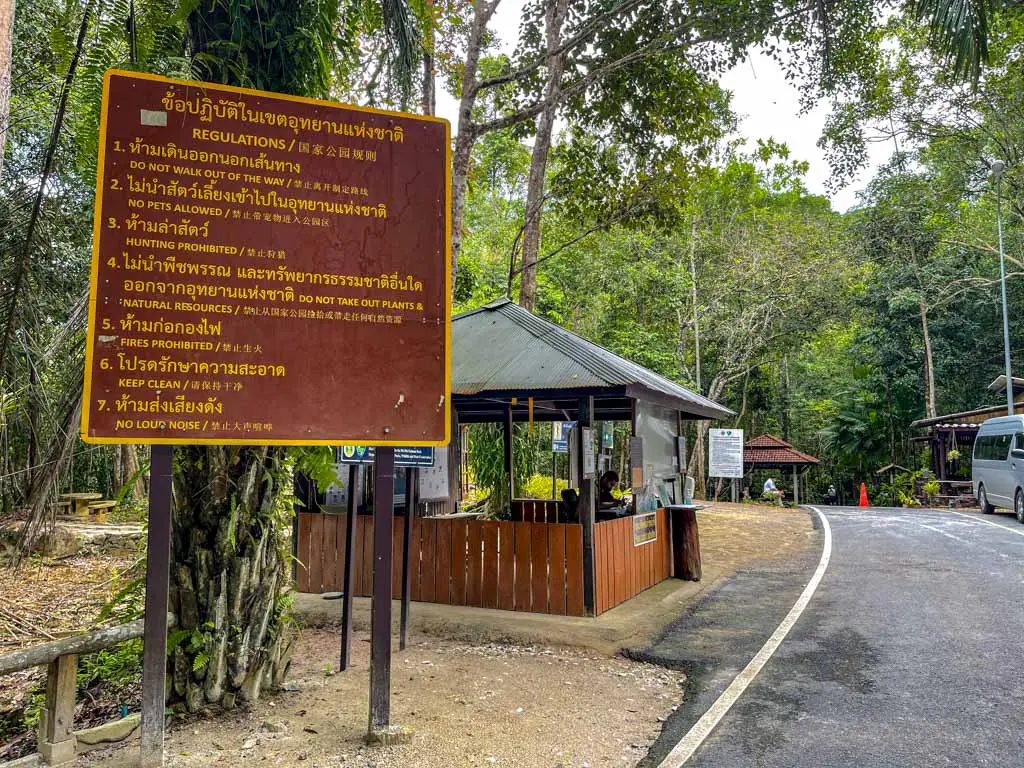
Entrance fee for Dragon Crest Hike
There is now an entrance fee for the hike at 200 baht per person, but there is no parking fee. The parking lot is reasonably big and even if it’s full, you should be able to park at the roadside along the resorts further down.
How Long Does the Hike take?
Most people finish the hike in around 3-4 hours to complete the hike. If you’re fit, you can probably finish this faster, but do budget some time for rest and taking photos!
I’d also do this as more of a full-day activity because you have to get there and back!
Driving to the Dragon Crest hike
The entrance is at a dead end, so you won’t miss it when driving. This is the exact coordinates:
What to bring on the Dragon Crest hike
- Wear leggings or long trousers – or spray a lot of bug spray
- Sunscreen and sunglasses, remember to reapply
- I recommend 1.5-2 L of water, an absolute minimum of 1L
- External charger as you’ll use your phone a lot to navigate
- Hat
- But sprays
- A small towel for your sweat
The best time to hike Dragon Crest Mountain
Generally, it’s best to go in the early morning to avoid the heat and get the most beautiful morning light. Do note that the park closes before sunset therefore a sunset hike is not possible.
In terms of the time of year, it’s best to avoid the rainy season. That said, I did the hike during the rainy season and it was okay. It generally rains once in the afternoon or morning, so keep an eye on the forecast.
Can I fly my drone at Dragon Crest Hike?
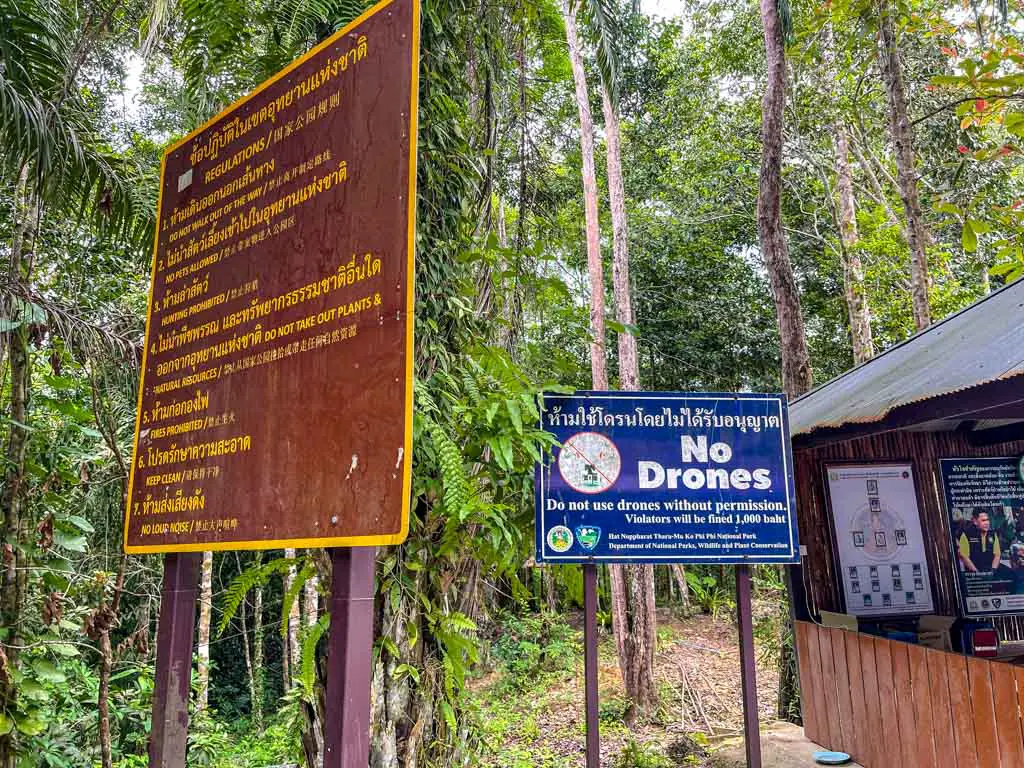
This is a no-drone zone with a fine of 20,000 baht. I also see some solar-powered signal posts that could be used to block off the signal.
Is there a restaurant at Dragon crest Hike?
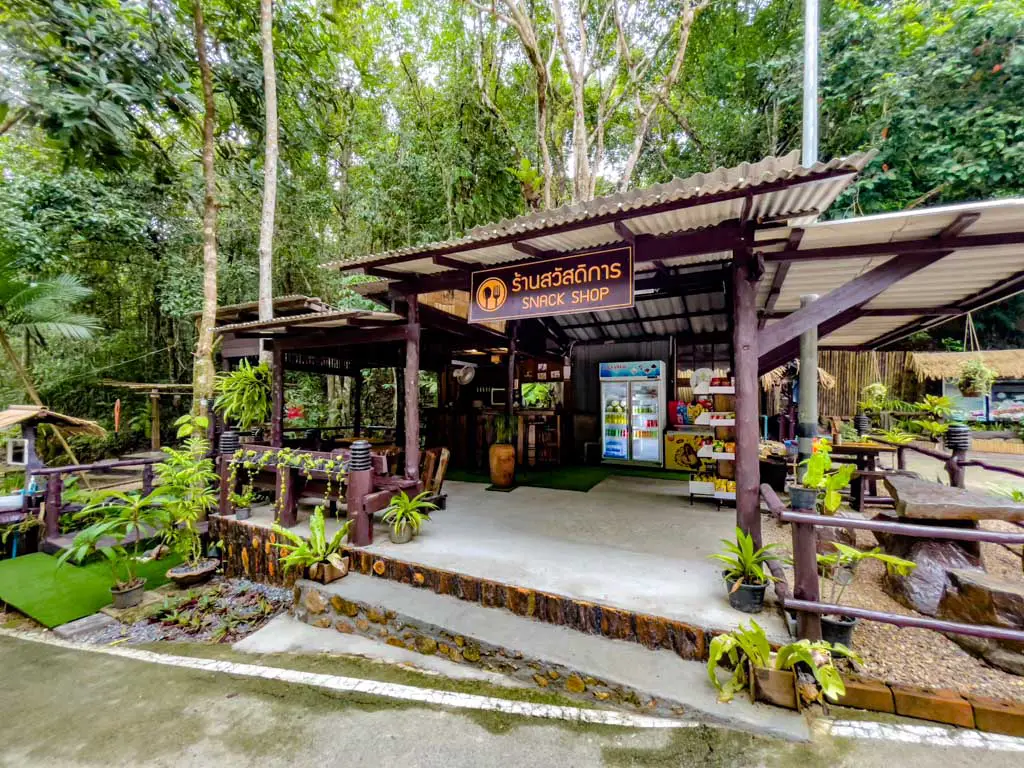
There is a little snack stand at the bottom where you can buy water and soda when you come back down. And yes, there are cold drinks.
Dragon Crest Mountain Hike
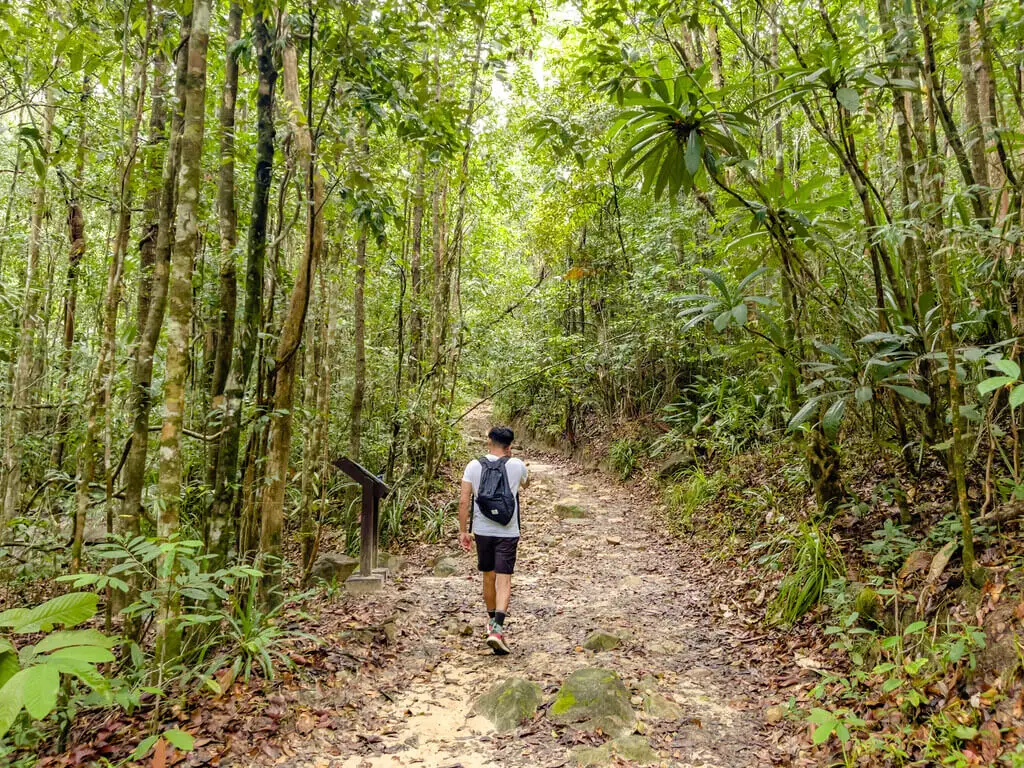
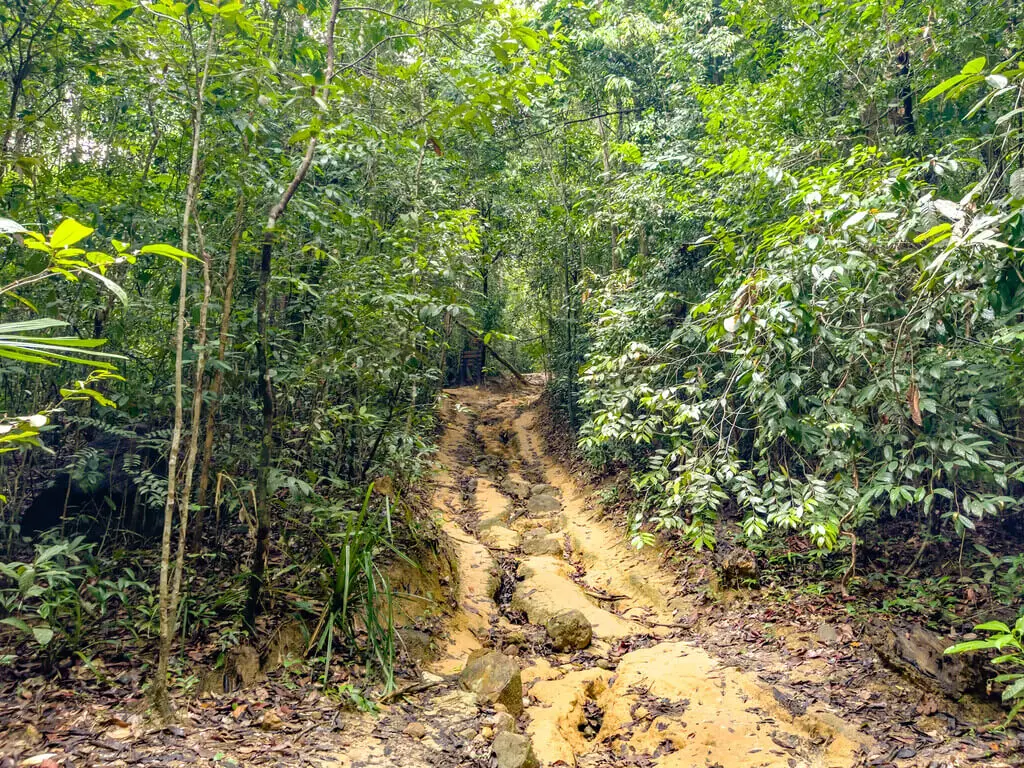
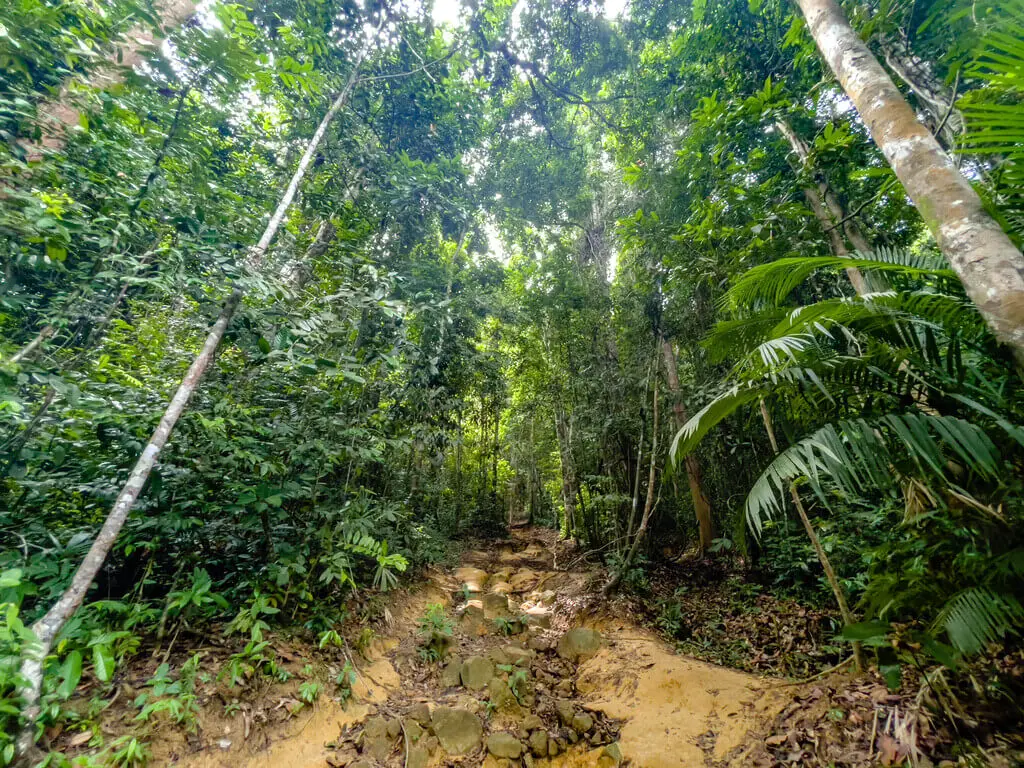
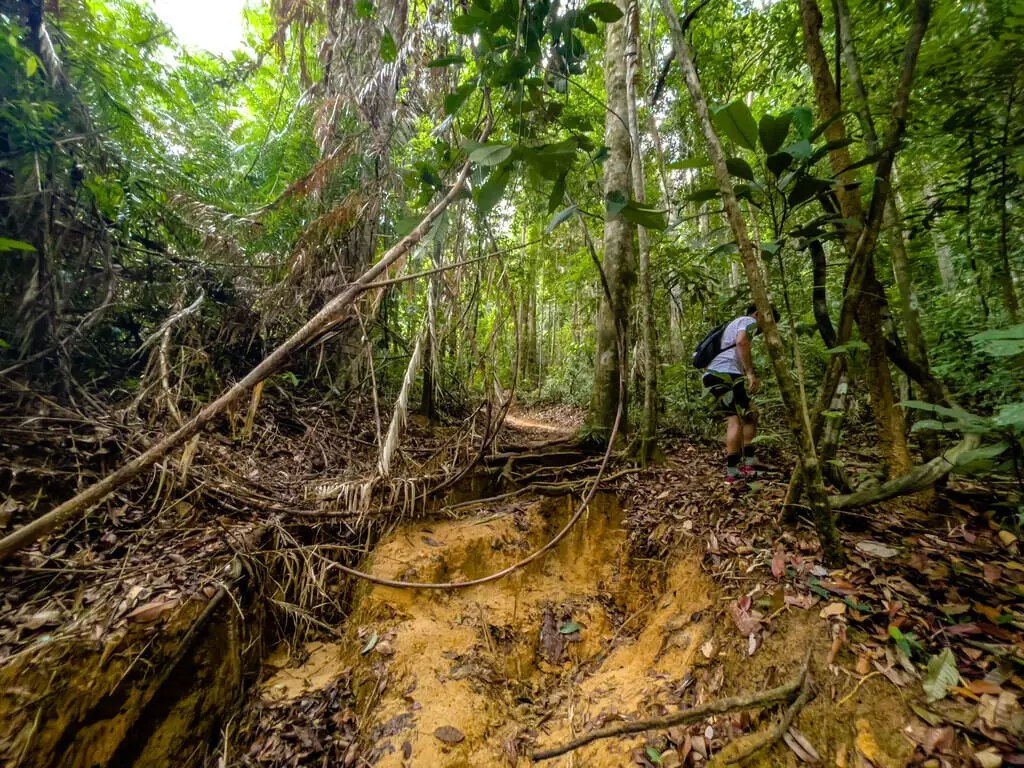
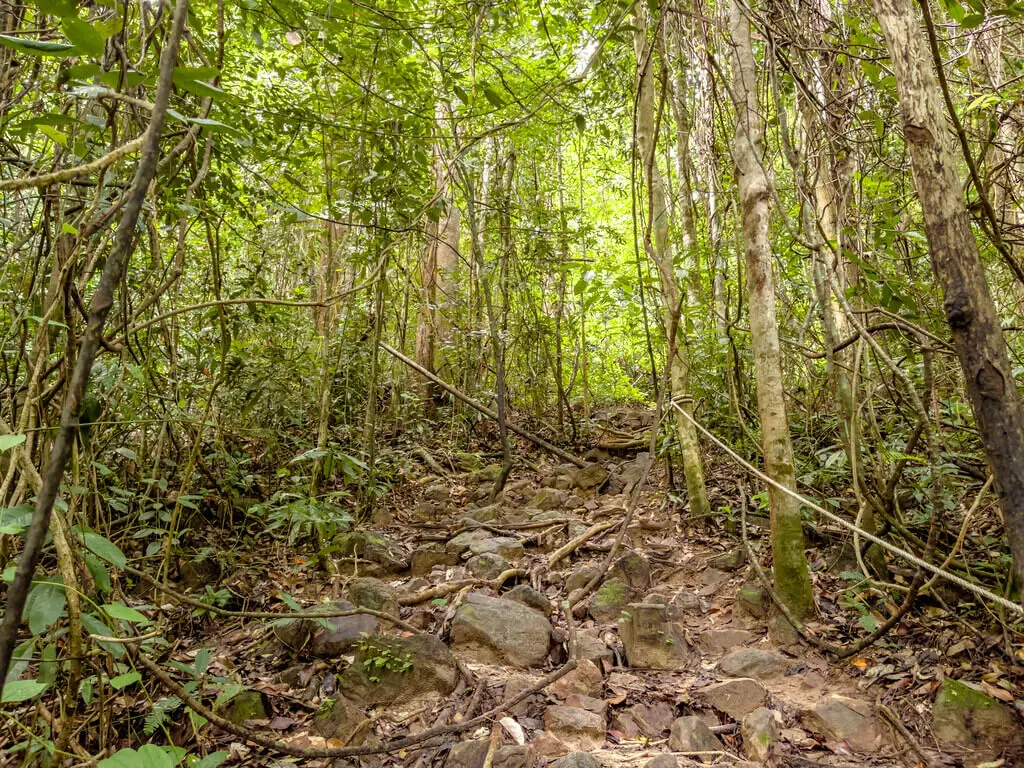
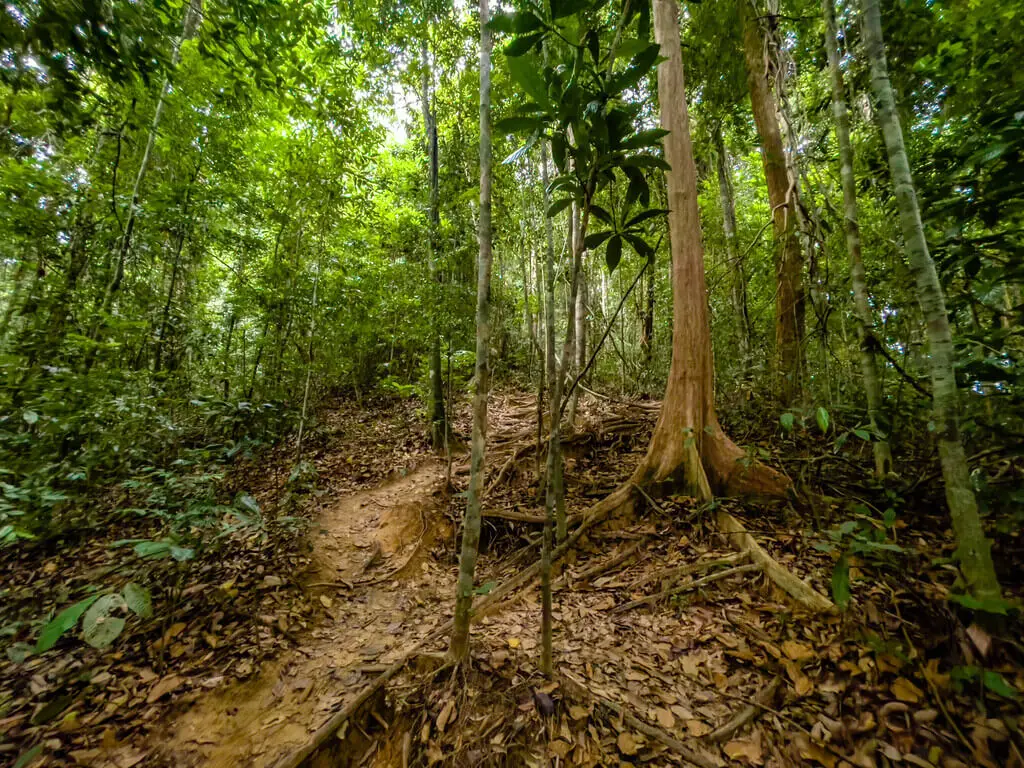
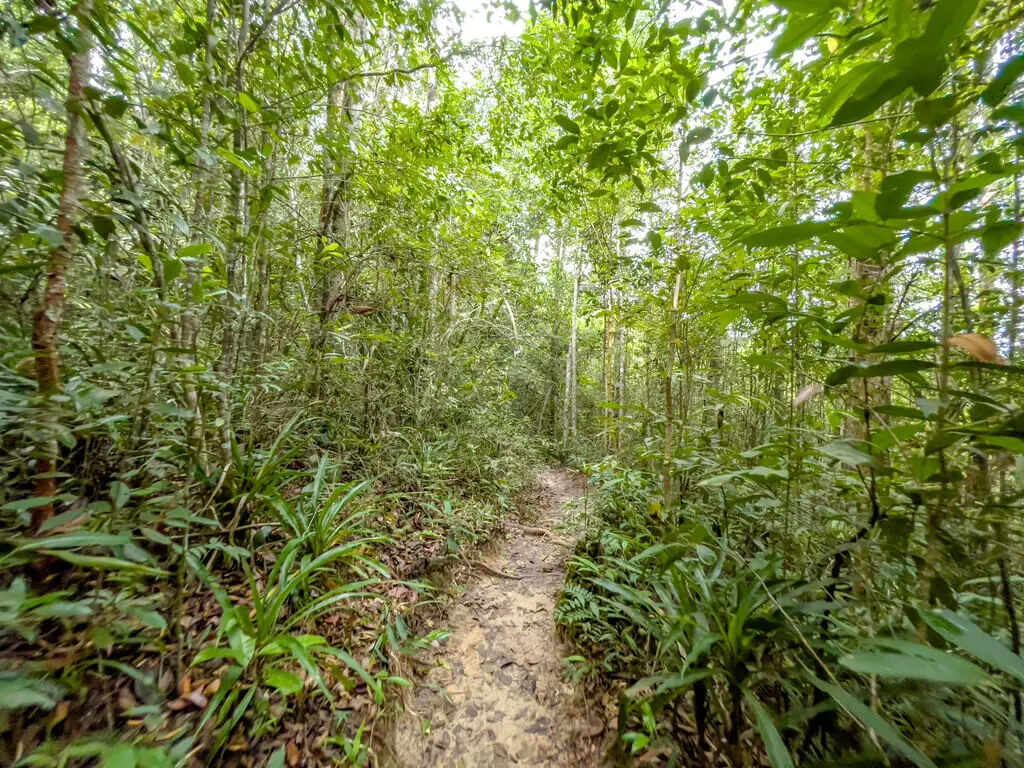
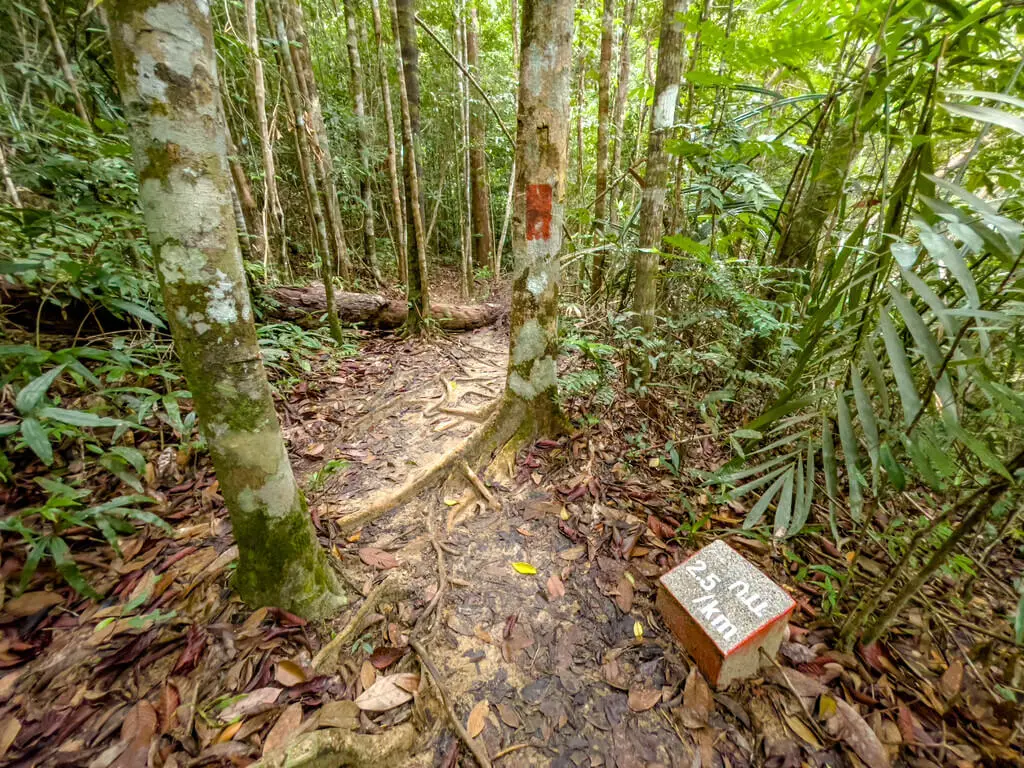
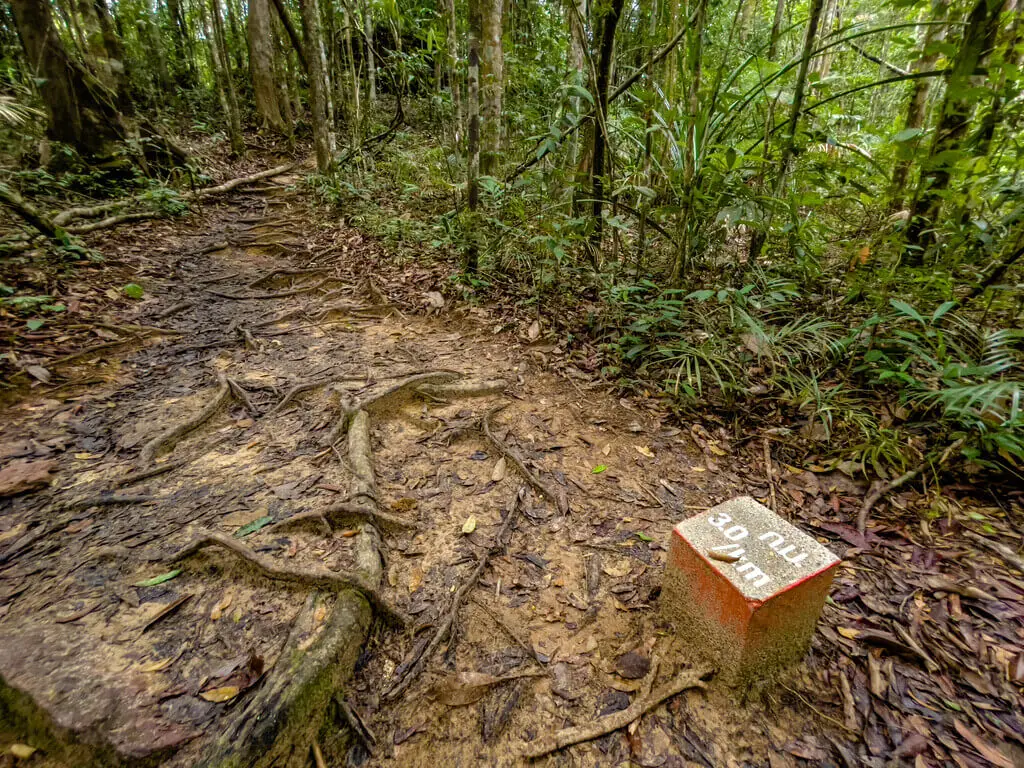
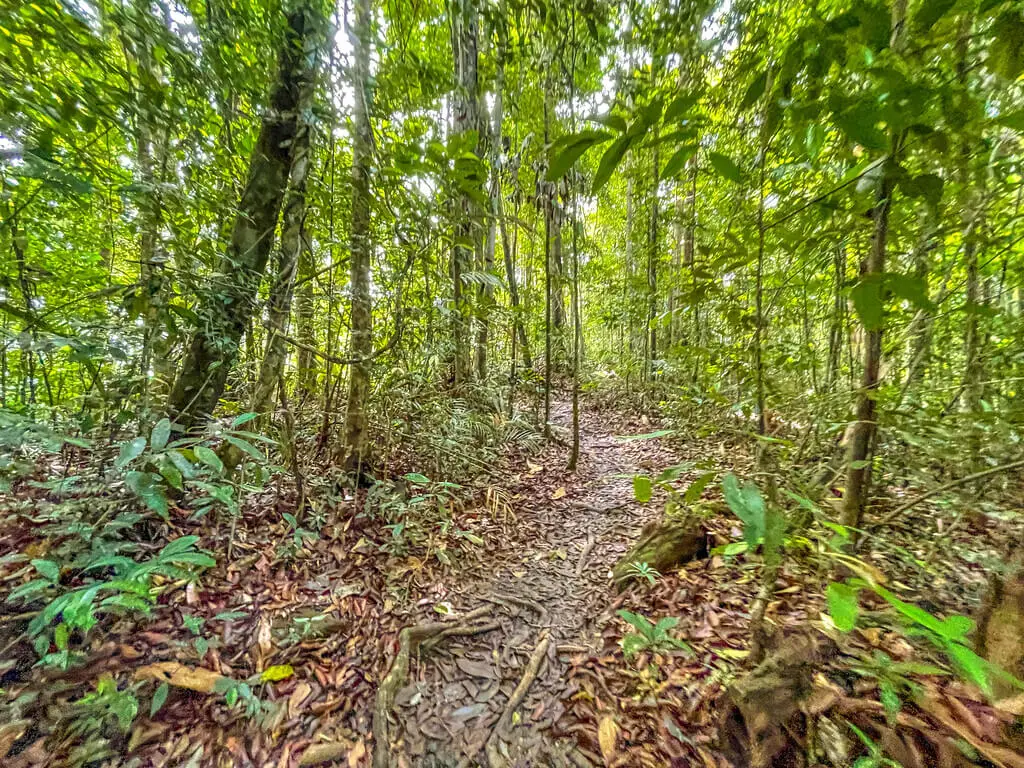
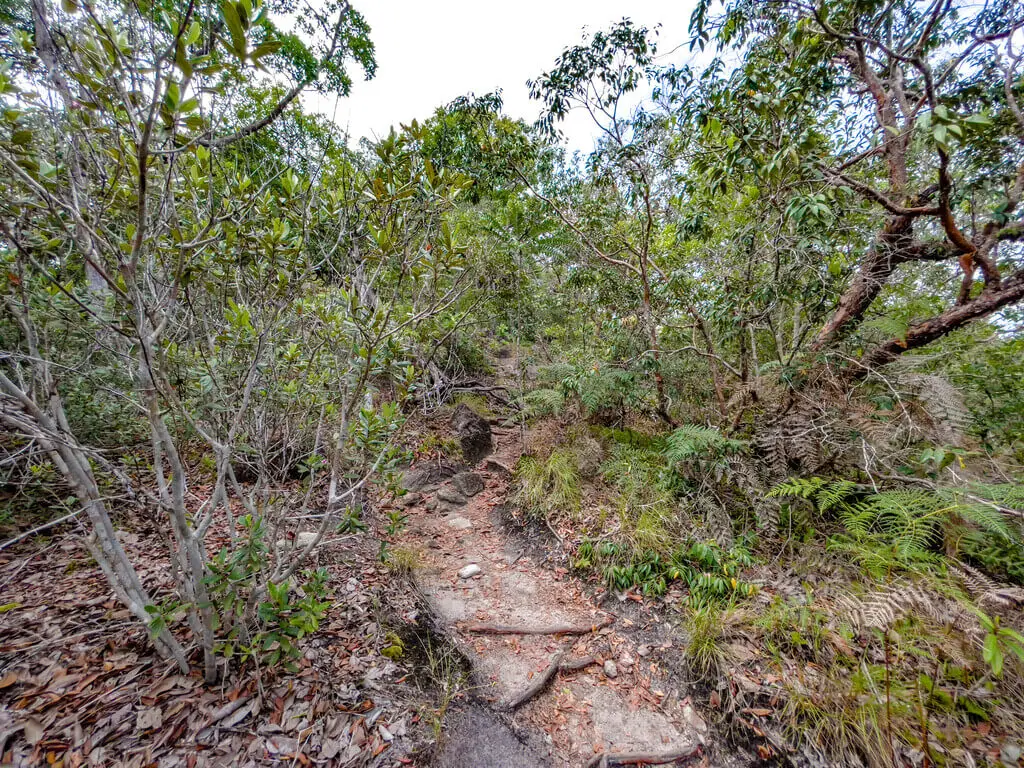
The Dragon Crest Mountain has a wide trail for the most part, with a few stairs thrown in. There are some steep part and reroute with fallen trees, but the marker at every 0.5km and the occasional sign makes it easy to follow.
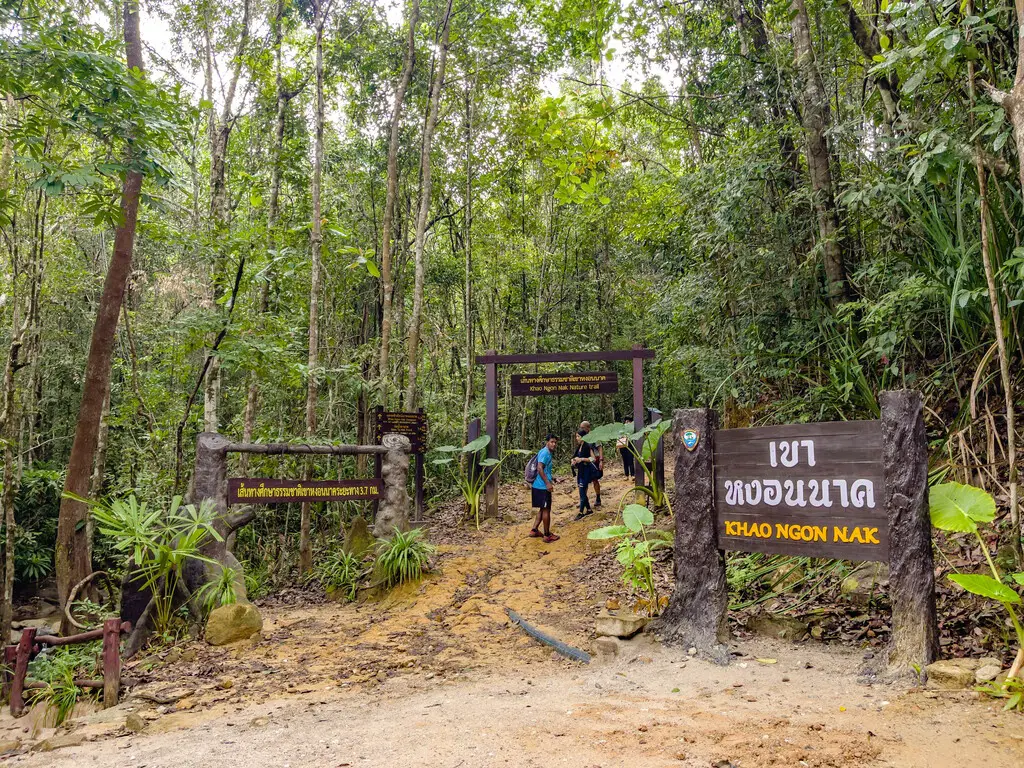
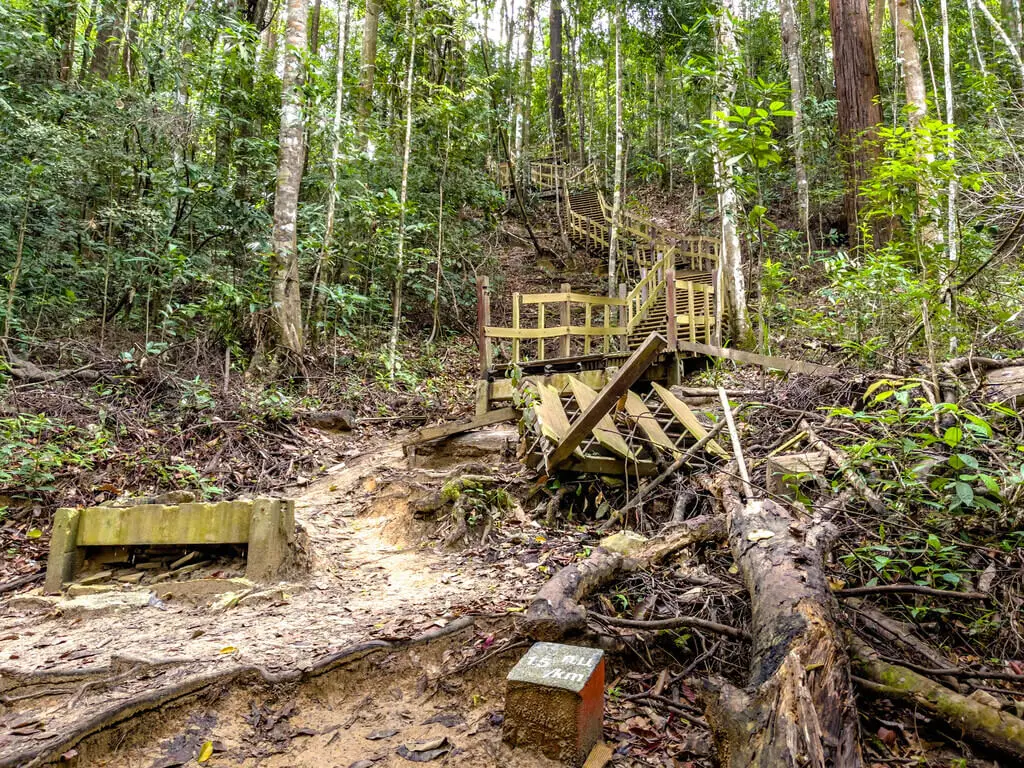
Aside from one of the stairs being broken at the first step, everything is relatively well-maintained, but I have to repeat that you need good shoes to do this hike.
The trail start to 1km
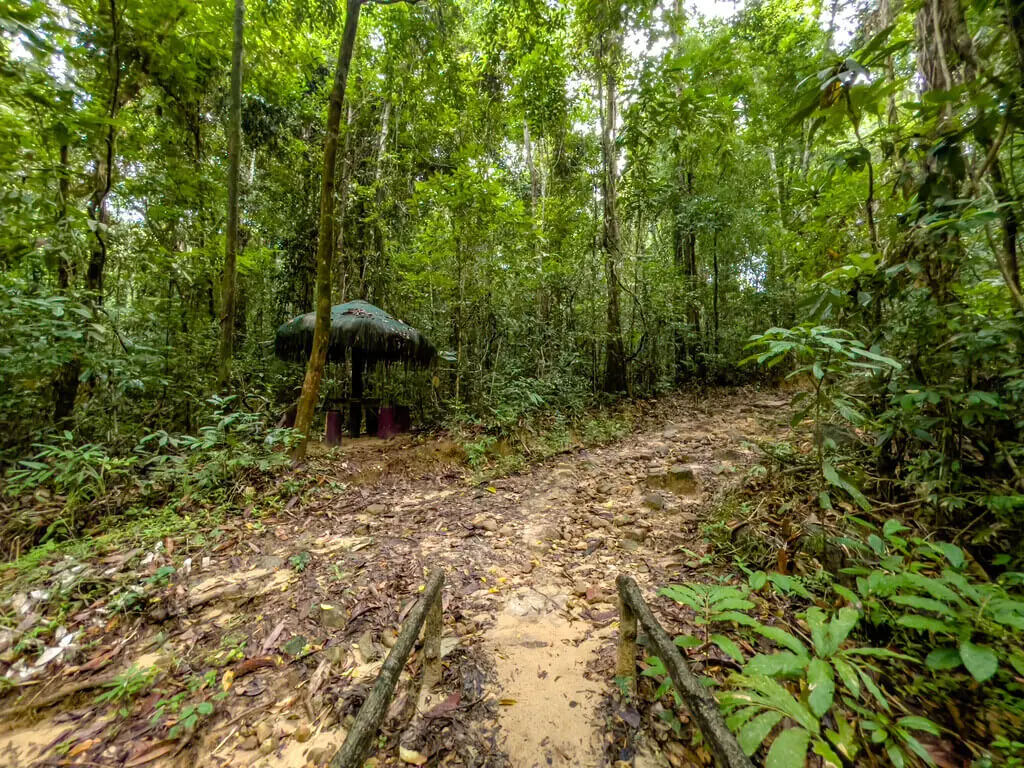
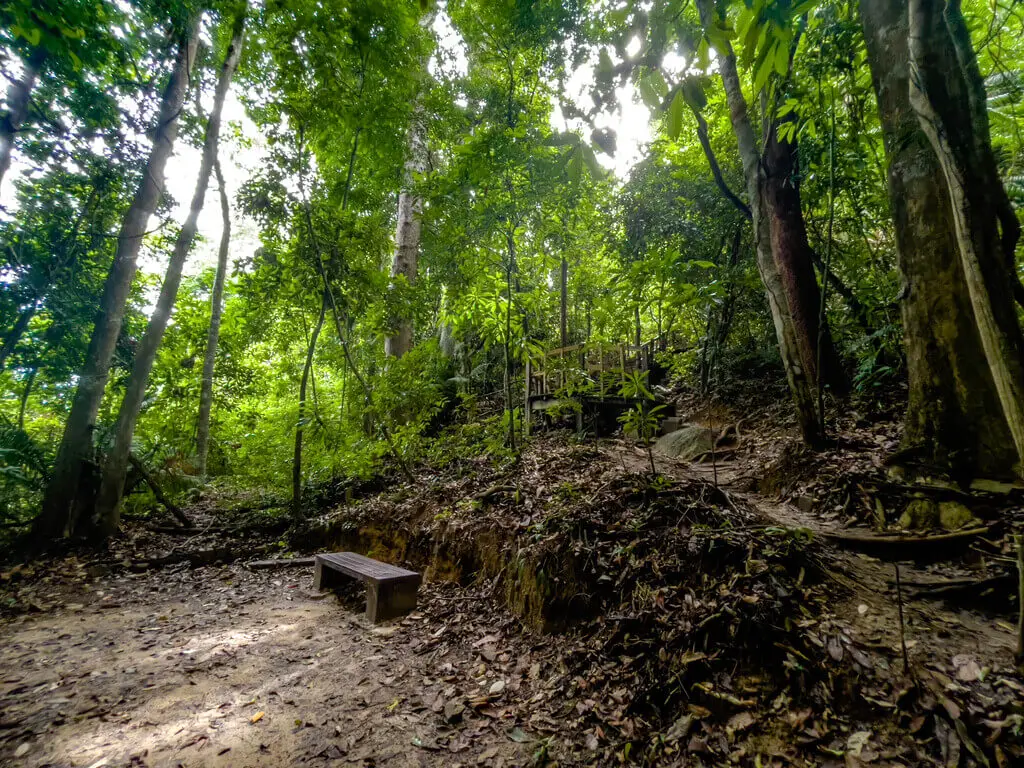
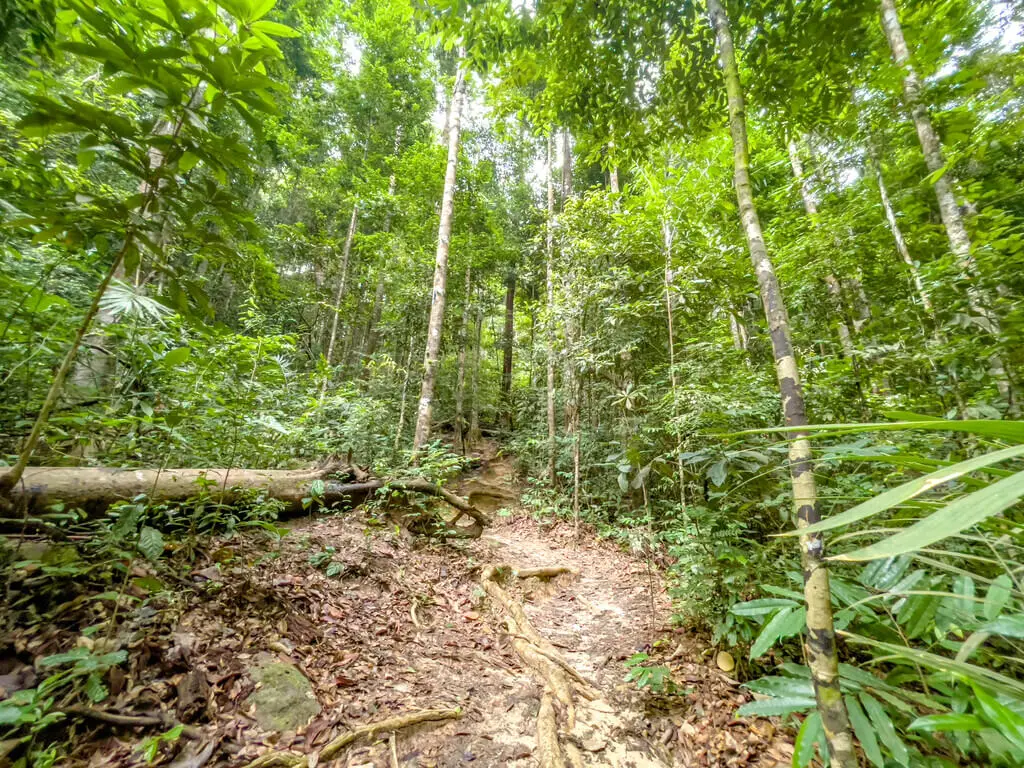
The trail starts off not too badly with slopes that aren’t too steep and a wide path. We passed by two small rest pavilions, the second one has a bench, and quickly reached a big signpost.
The trail to the left will take you to the waterfalls, so stick to the left to continue up to the mountain. You have barely just started! We then walked past the first educational board on the ecosystem of the forest.
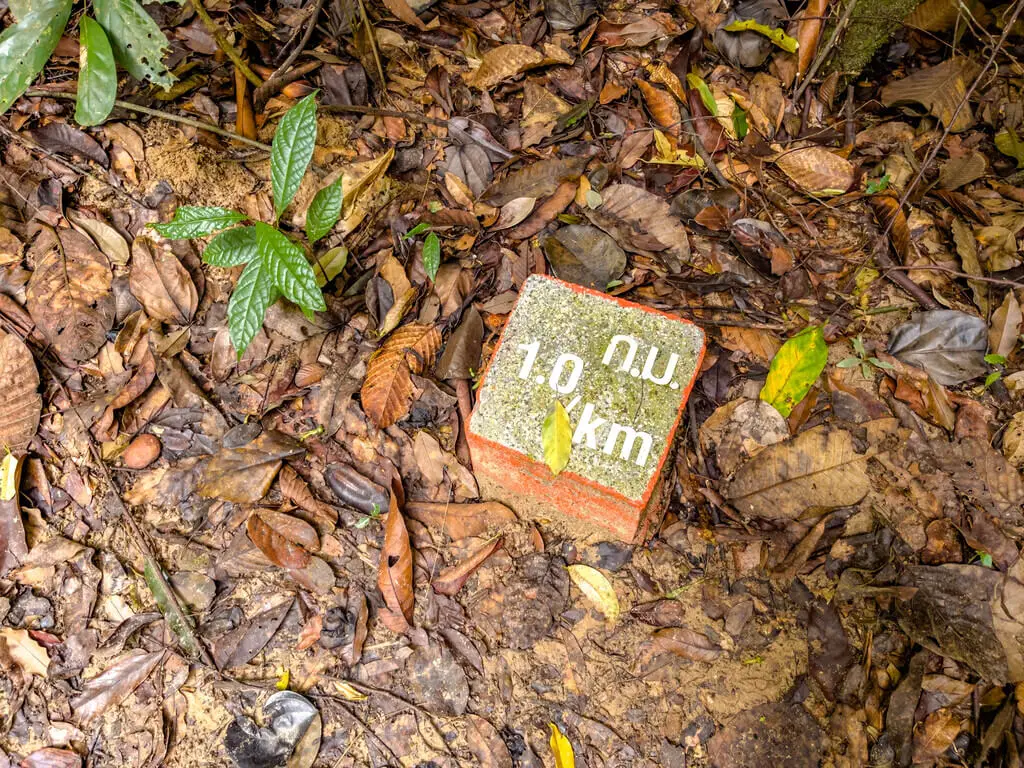
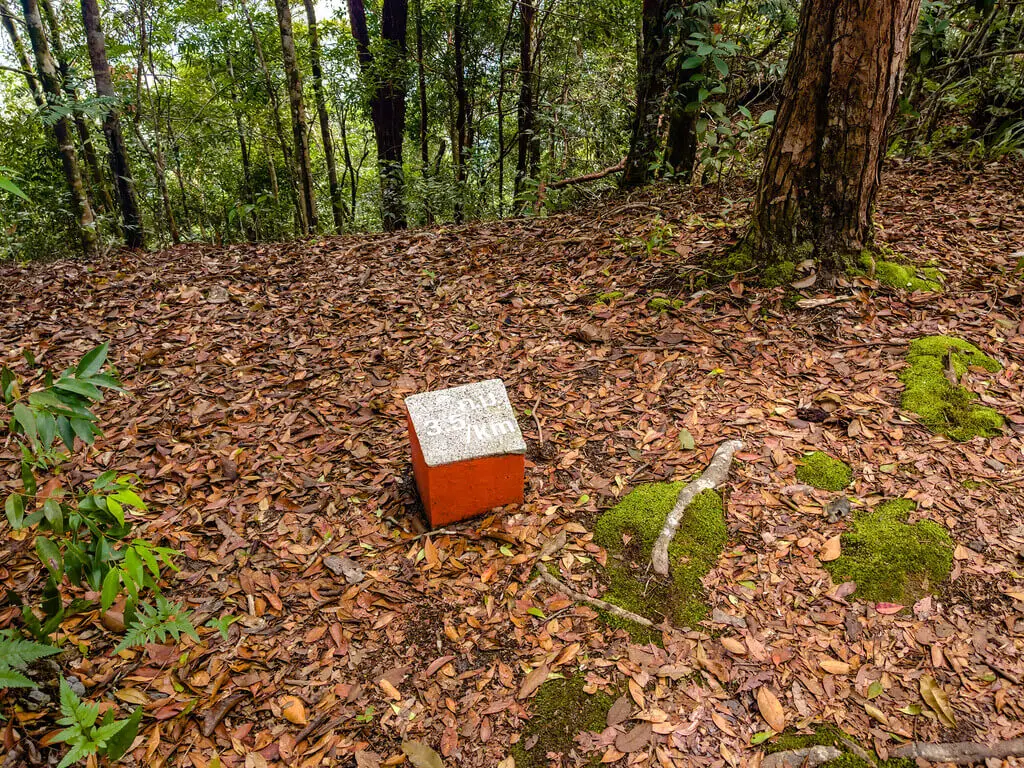
Just a little further, we found the 1km marker.
1km to 1.5km
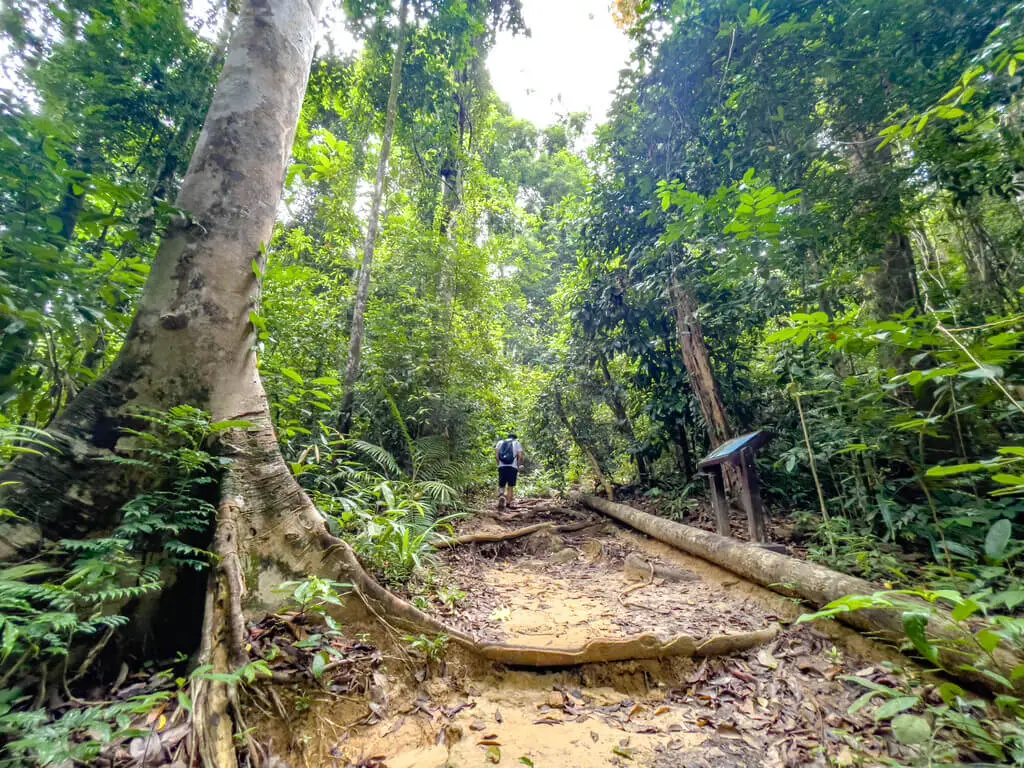
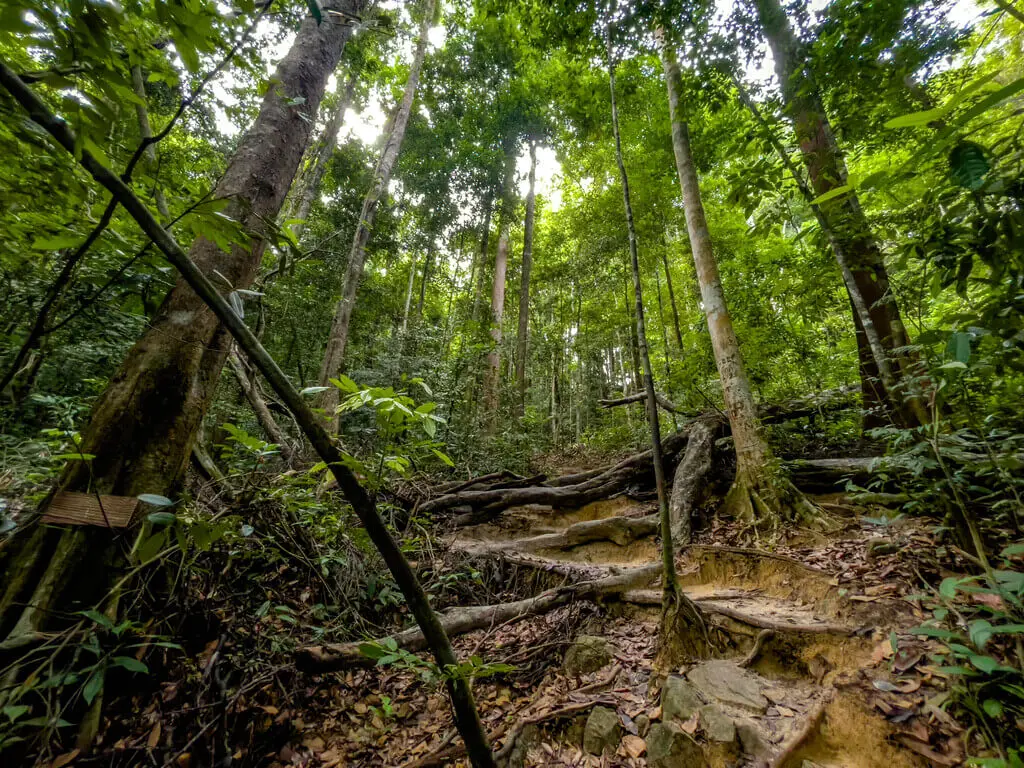
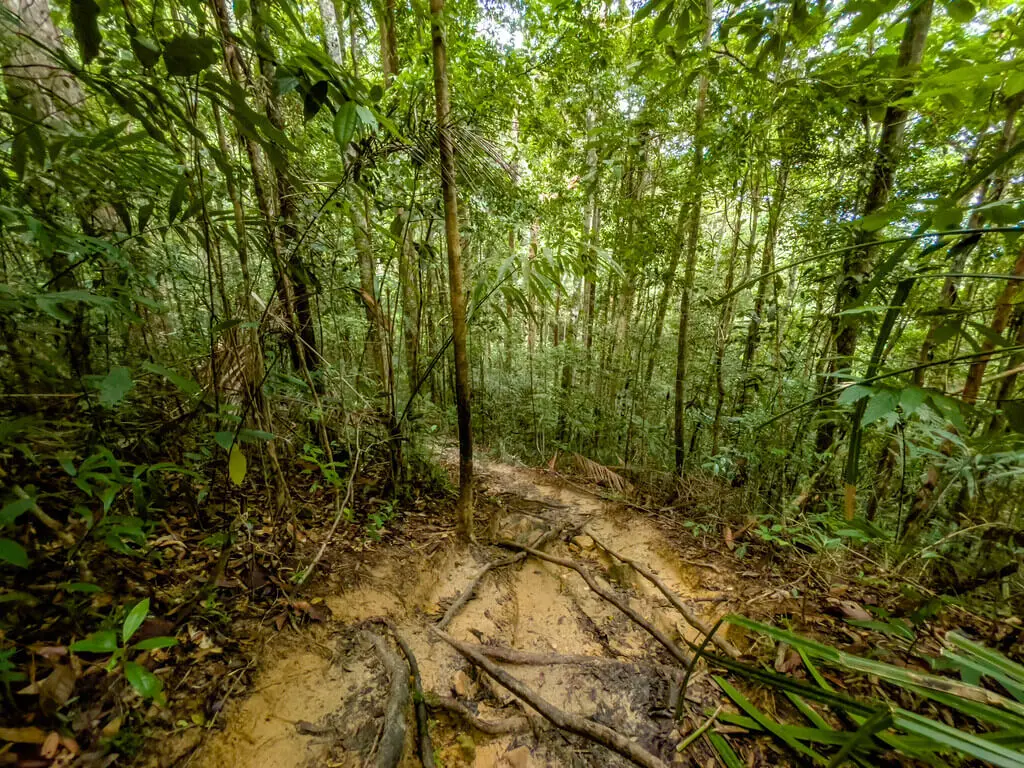
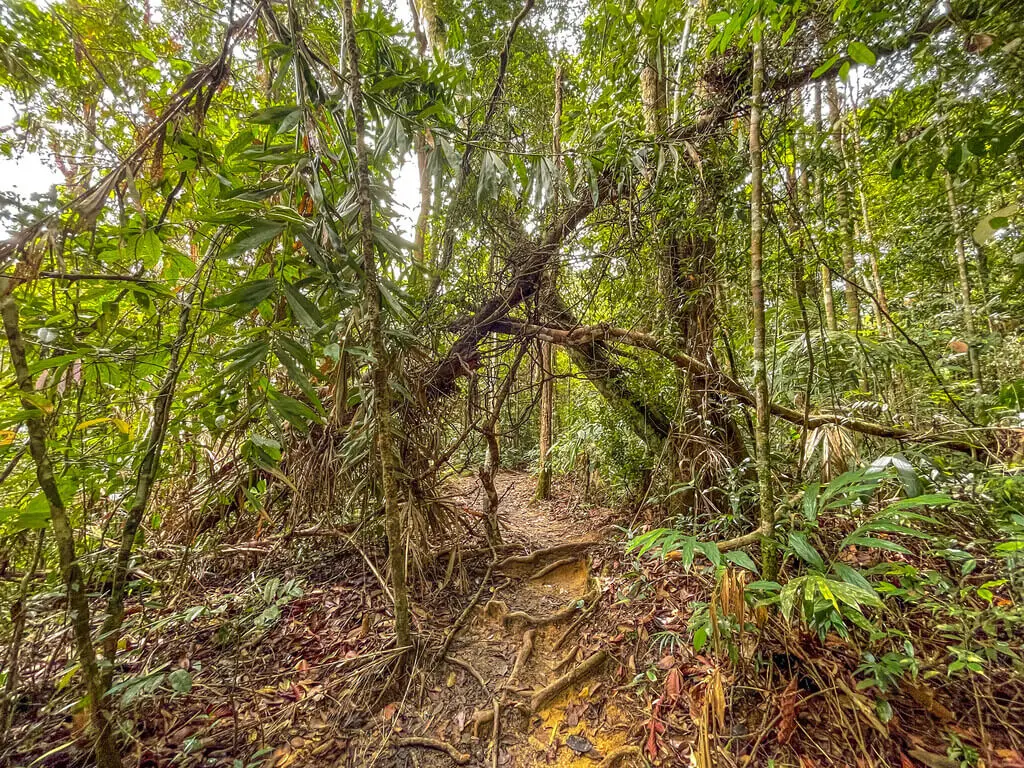
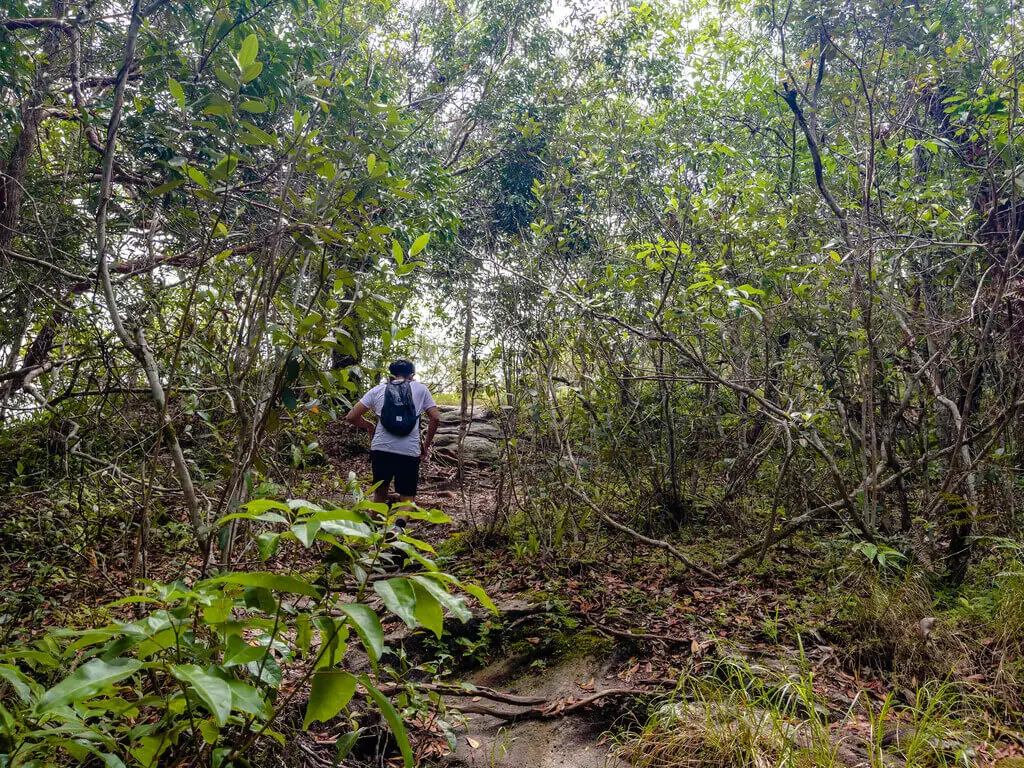
The trail continue to be quite wide but it got a little steeper. Quite a few trees grew outwards and the roots create some kind of step systems.
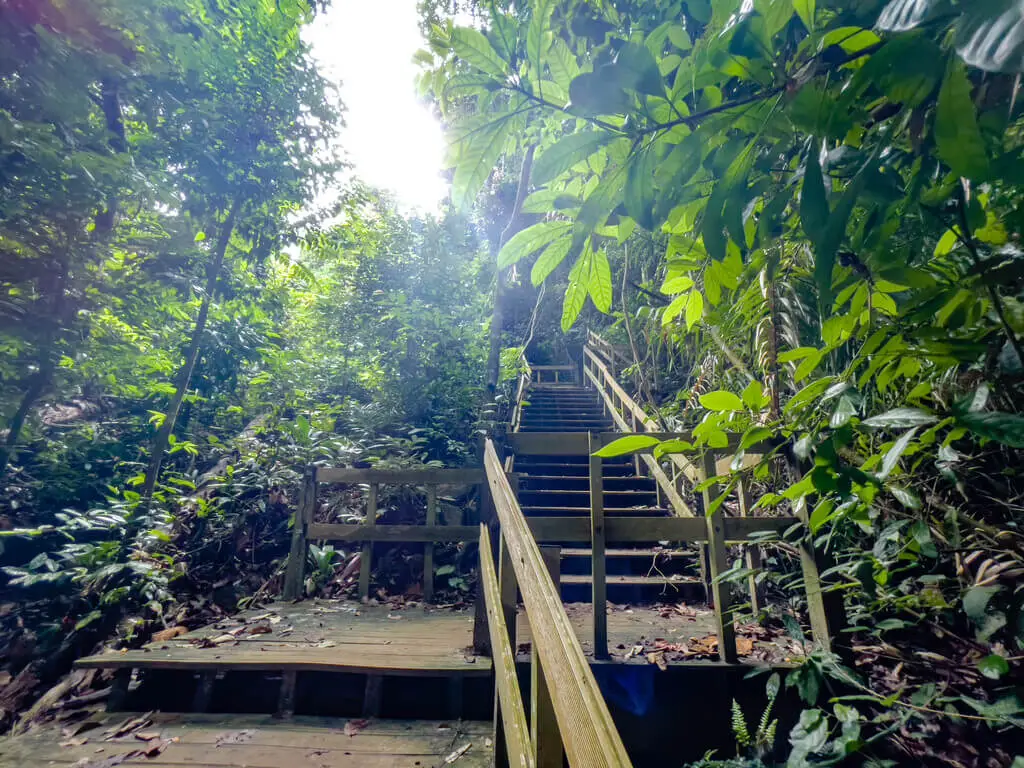
It took a little longer until we reach a bench that was in front of the first flight of stairs. The wood stairs are not as sturdy as I’d like but it’s good.
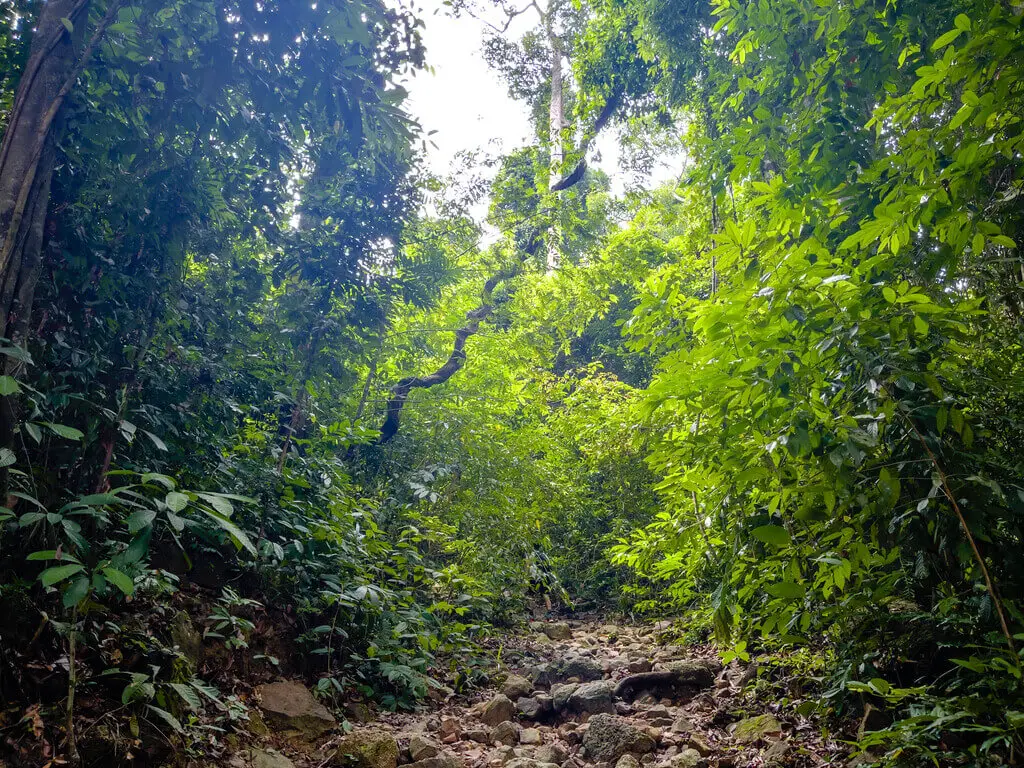
The path got very rocky after the stairs with more tree roots stairs section. Eventually, we ended up reaching the 1.5km marker.
1.5km to 2km
The 1.5km marker is in front of the second flight of stairs, but the start of it is broken so it might be a little hard to climb on if you’re short (which I am).
This flight of stairs is on a more open hill and we found a bench at the end of the stairs.
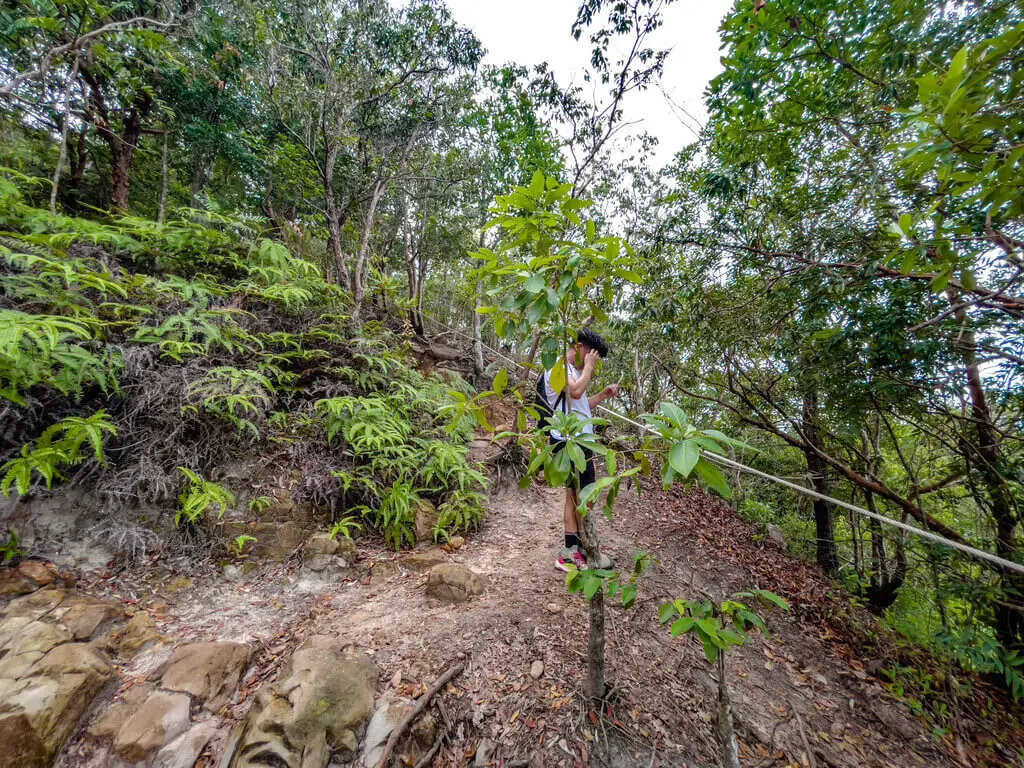
The trail continues to the right and it’s a lot flatter. The trail got narrower and some parts have ropes to mark the edge of the trails.
2km to 2.5km
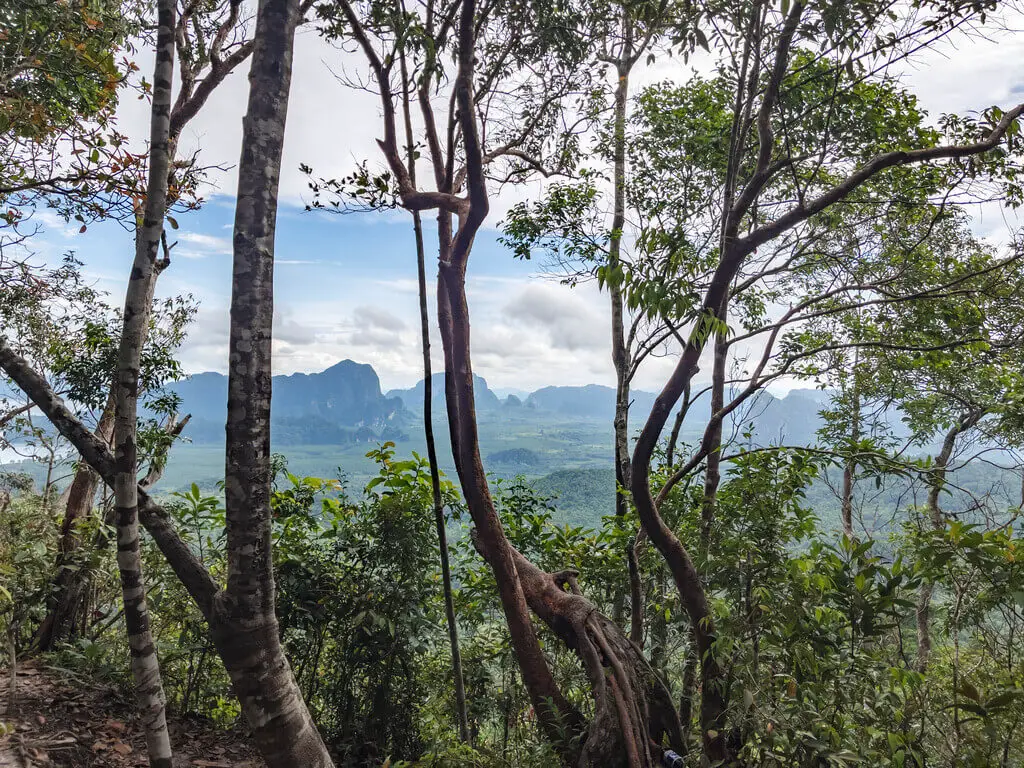
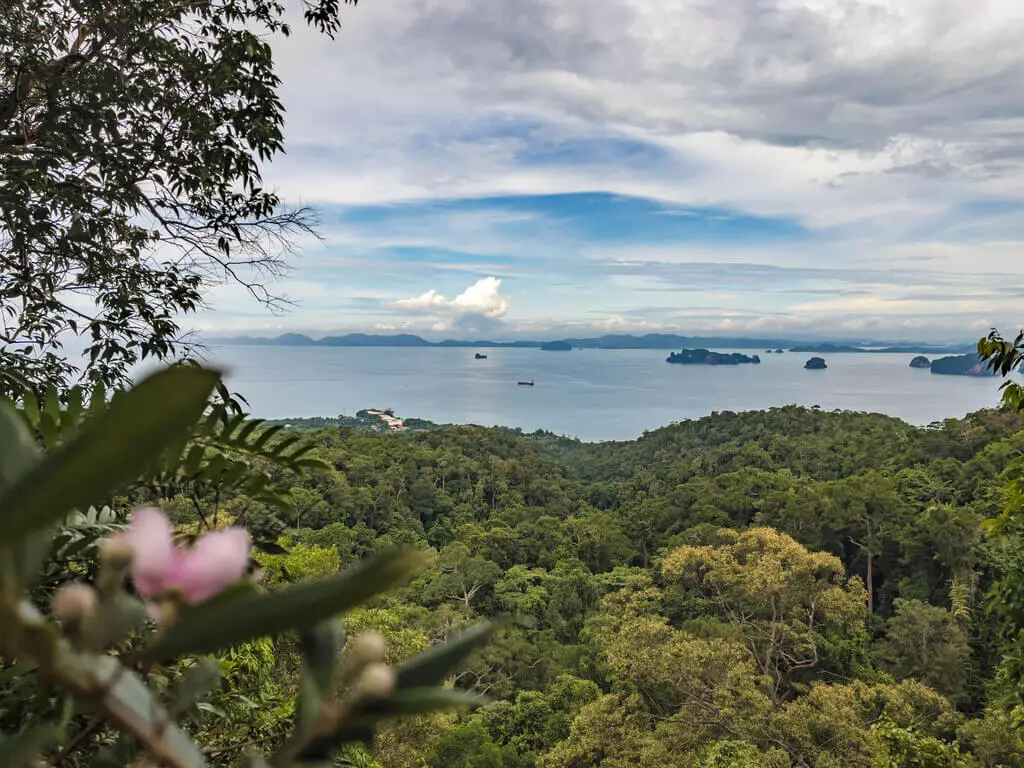
After you see the 2km marker, we finally got to see a glimpse of the sea! It wasn’t much, but it was amazing to see the little islands.
We then continued, and the trail looped to the other side and we saw the other side of the view.
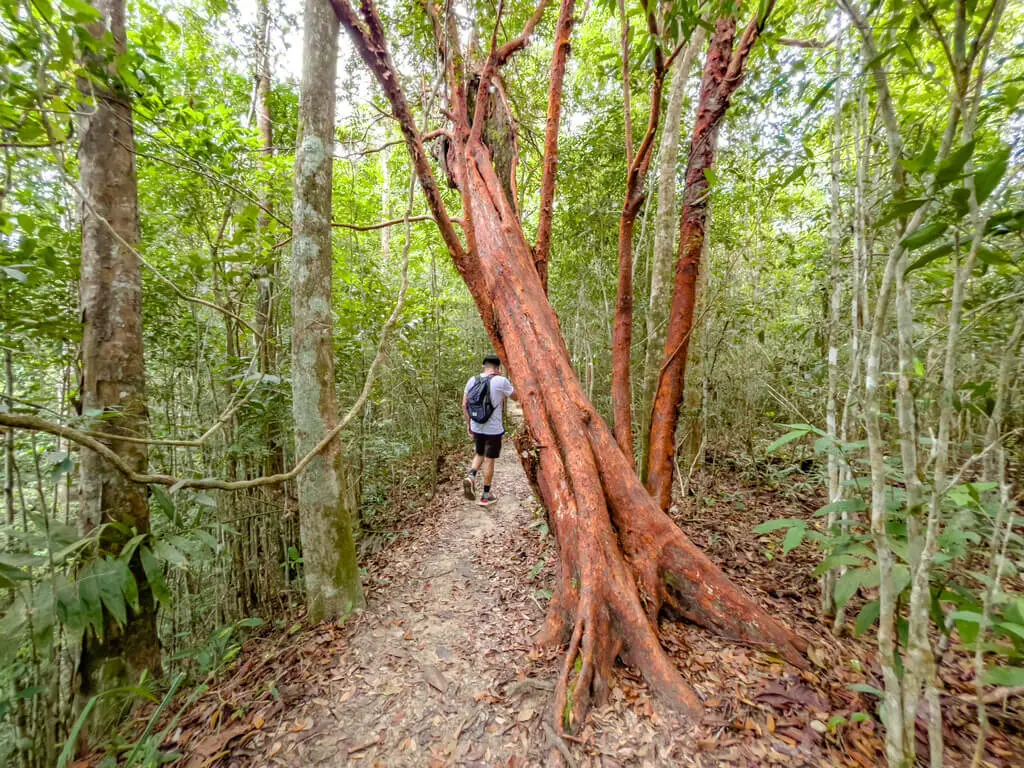
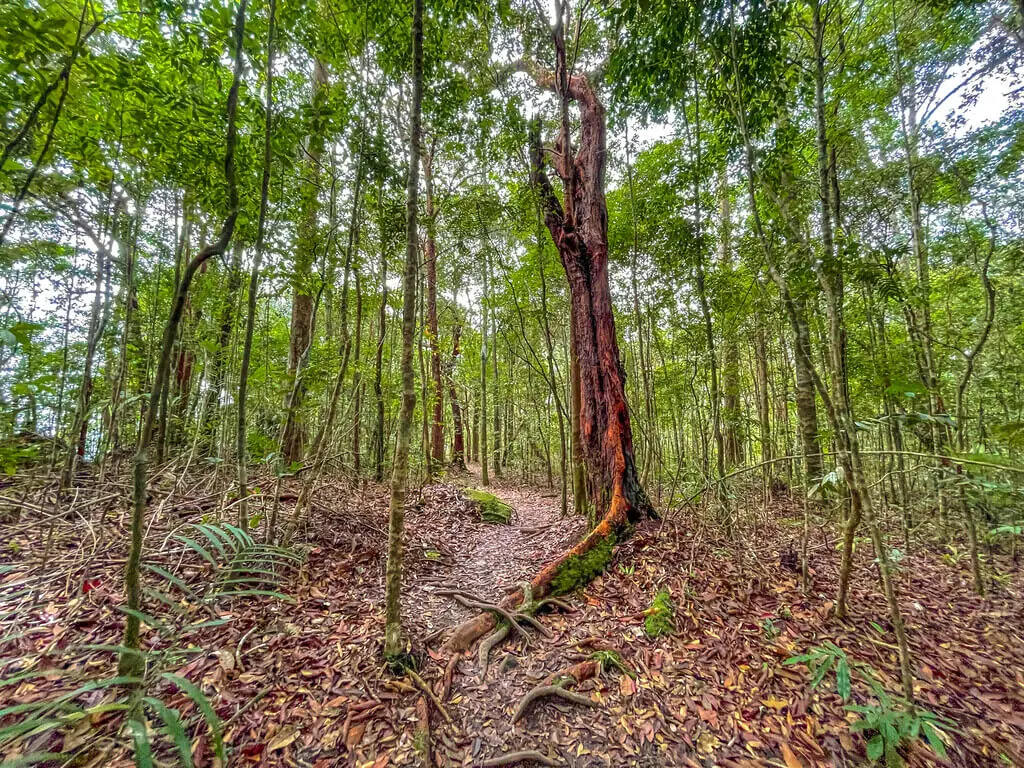
There are some of the signature red trees that are a result of the sea salt in the wind.
2.5 km to 3km marker
After that, we reached the 2.5km marker and there are some nice buttress trees on the way.
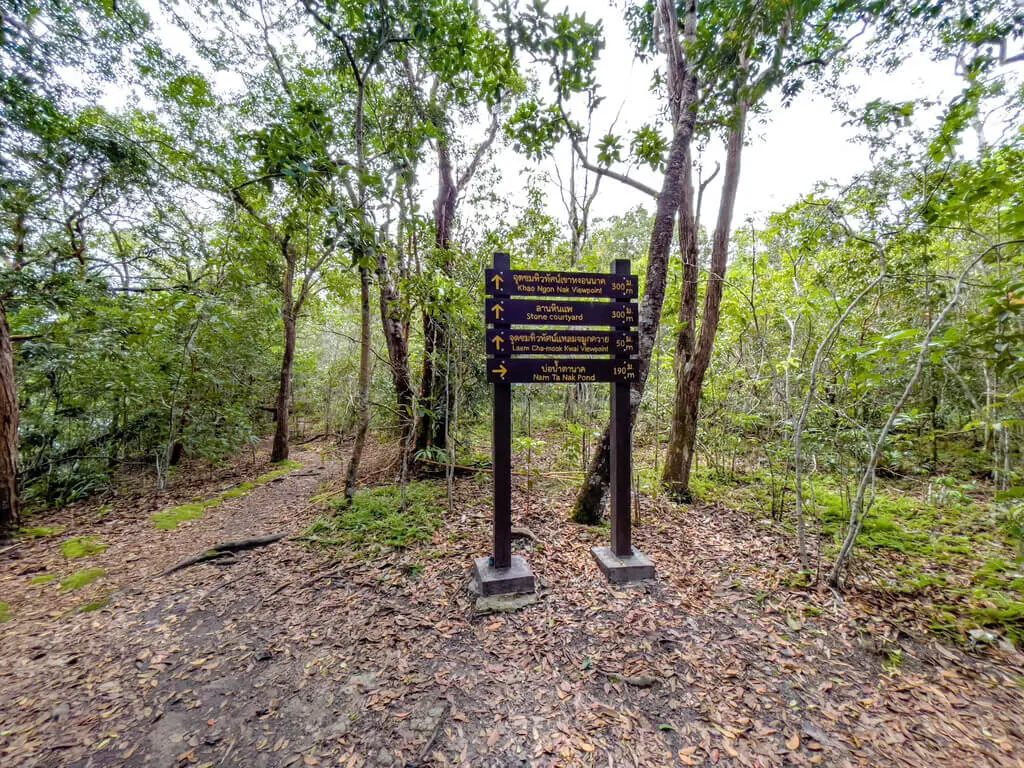
There is then a big signpost that says we’re only 1km left to reach the viewpoint. It’s not as steep at this point, but there are some fallen trees.
3km to viewpoint 1
The 3km marker is the last one before we reach the first viewpoint, and it’s pretty similar to the trail so far.
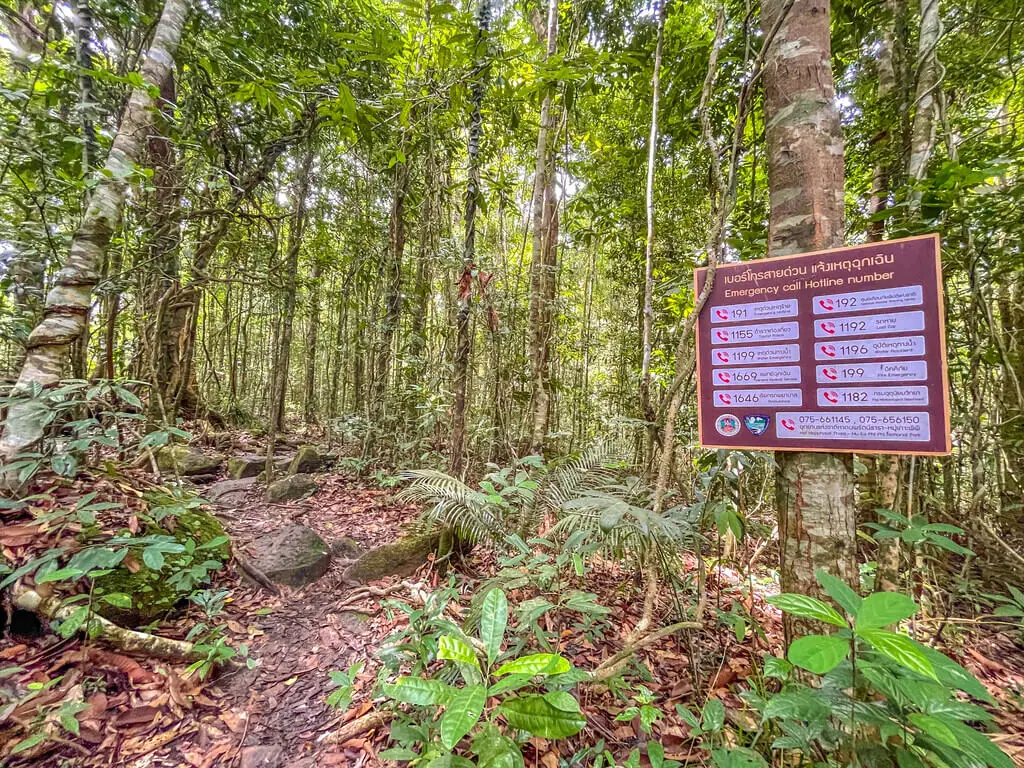
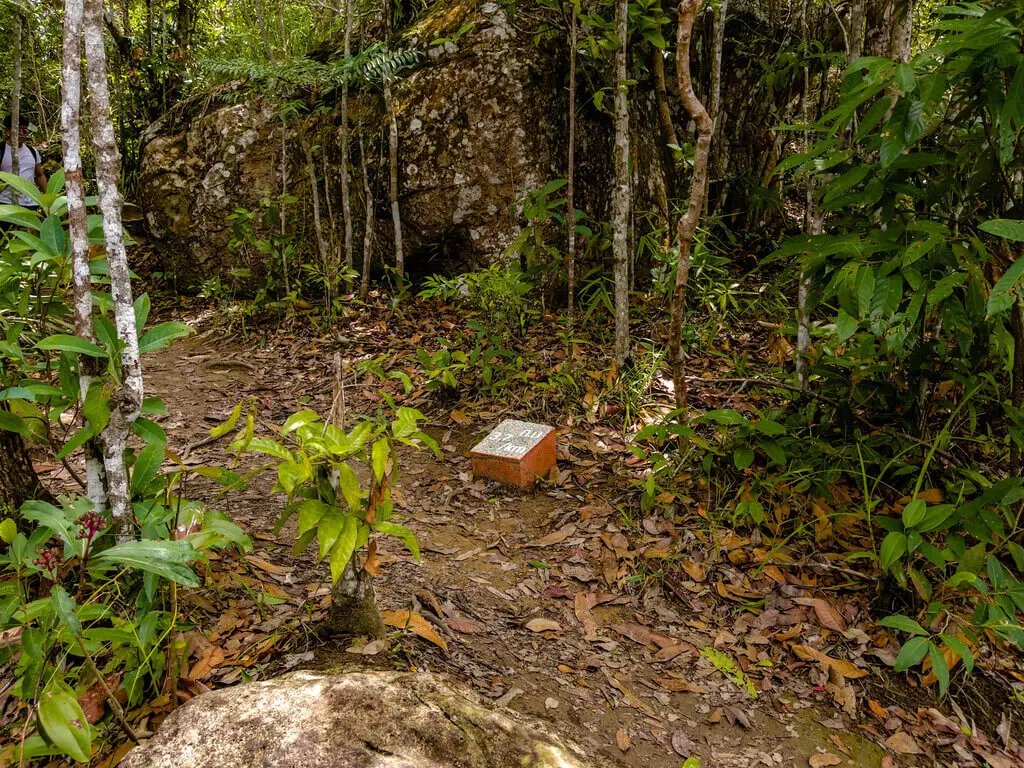
There is a break in front of a big rock platform that lists emergency numbers. This is when you know you’re really close!
From there, we walked under two trees crossing and reach a clearing where there was another signpost and the 3.5km marker.
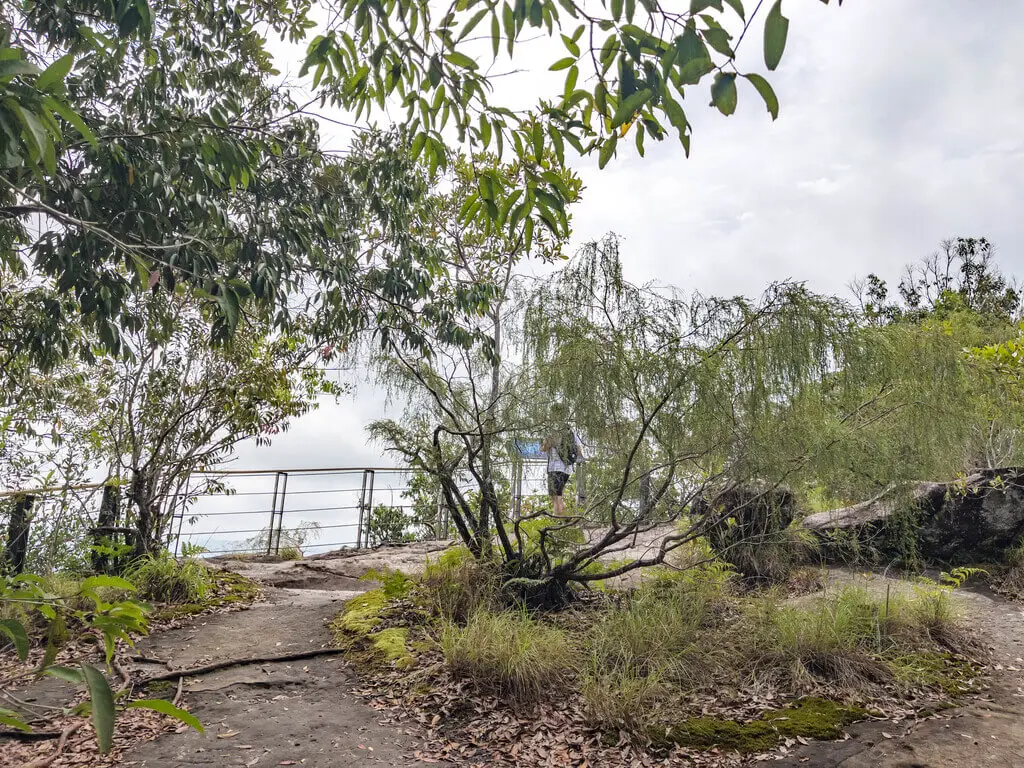
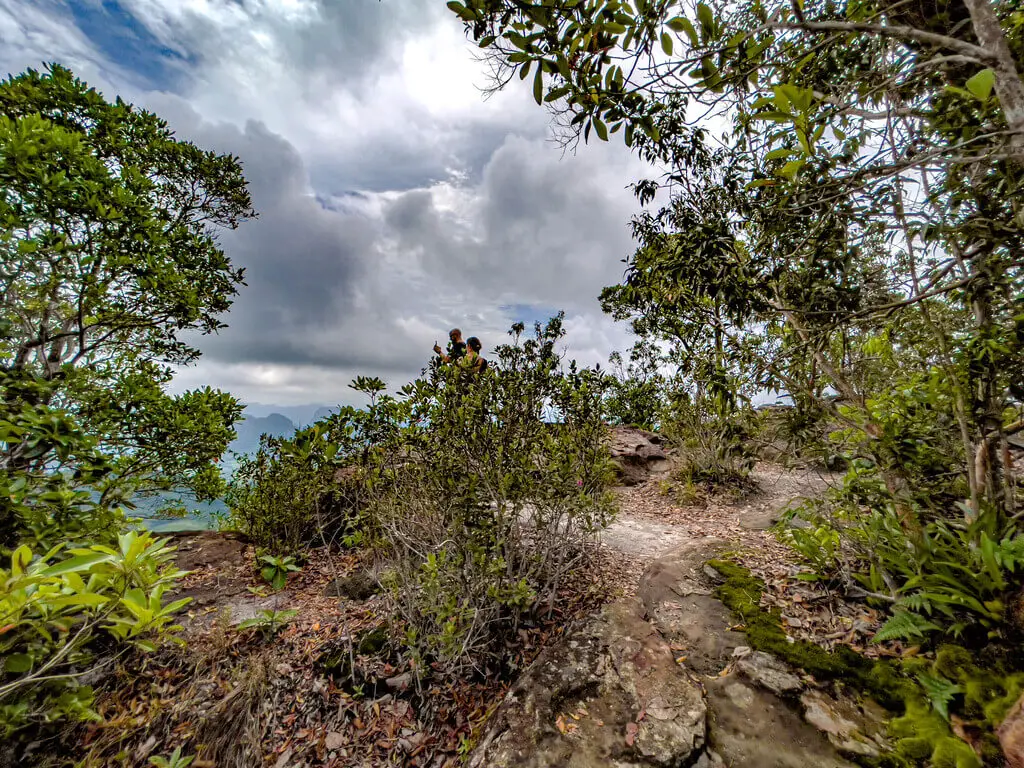
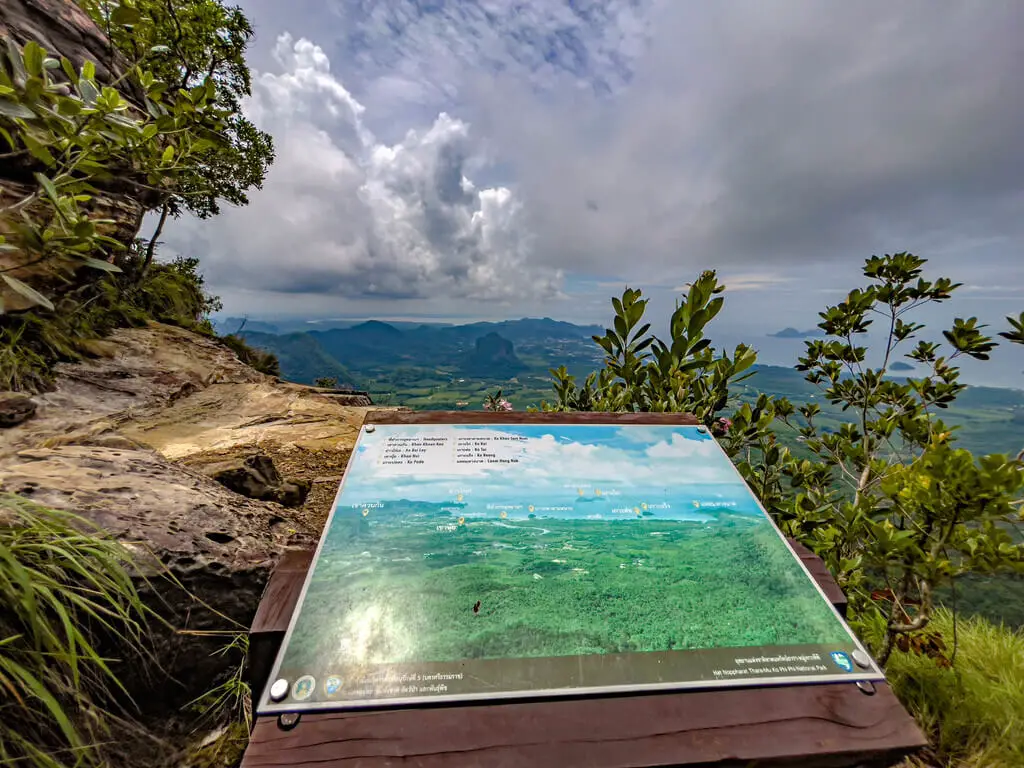
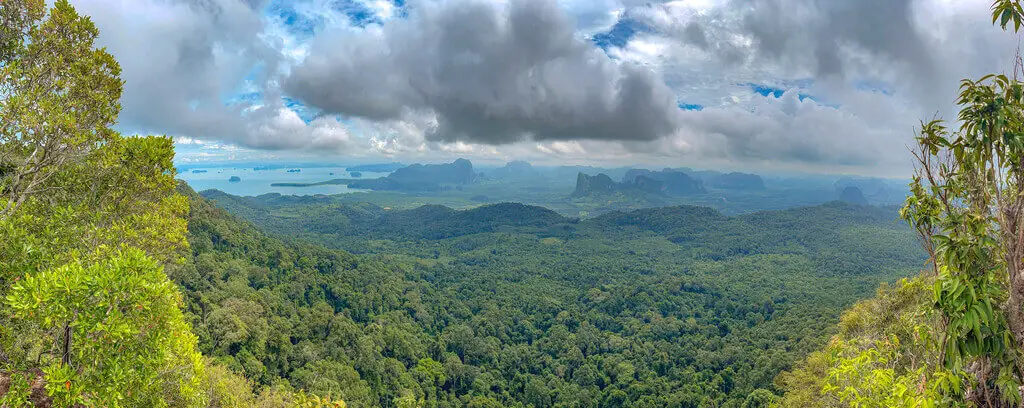
Then it’s just a little further to the first viewpoint, which is a clearing overlooking the panorama.
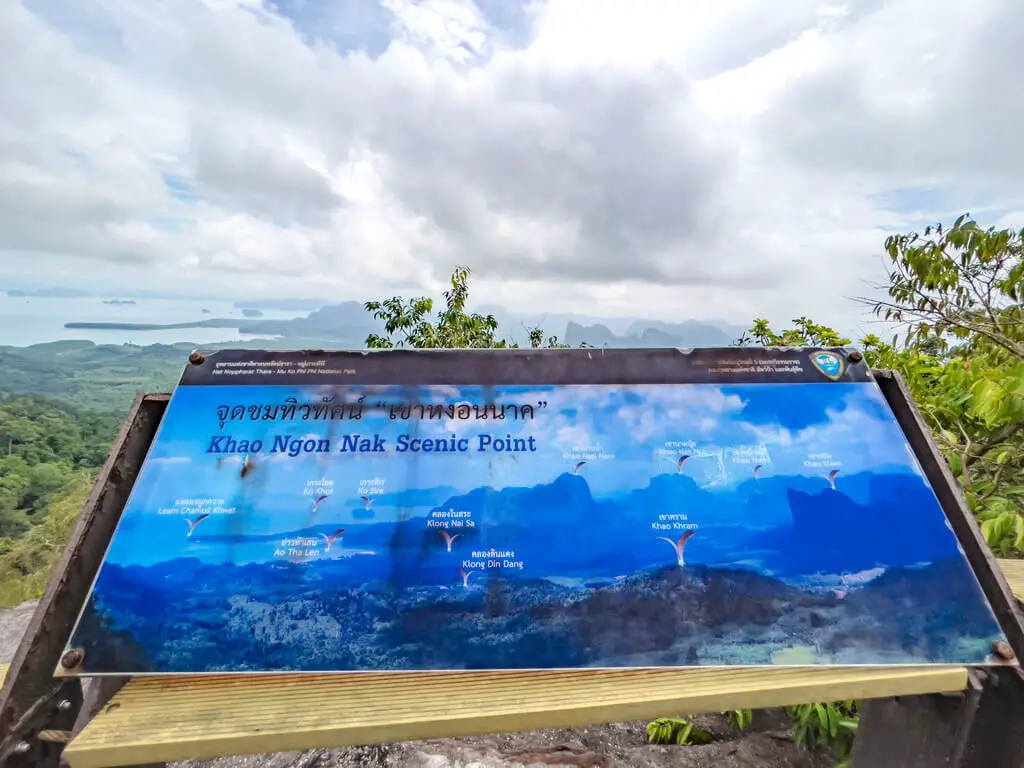
There is a signpost marking notable points of interest as well and a few good rock outcrops at the edge for photos.
Viewpoint 1
Viewpoint 1 to viewpoint 2
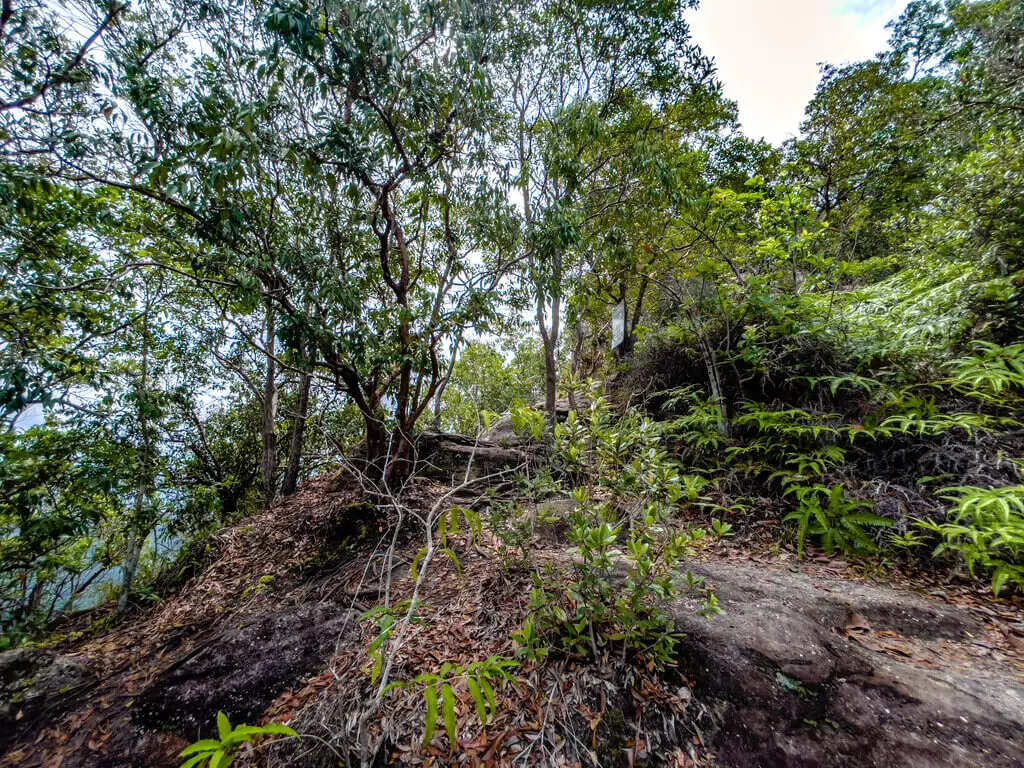
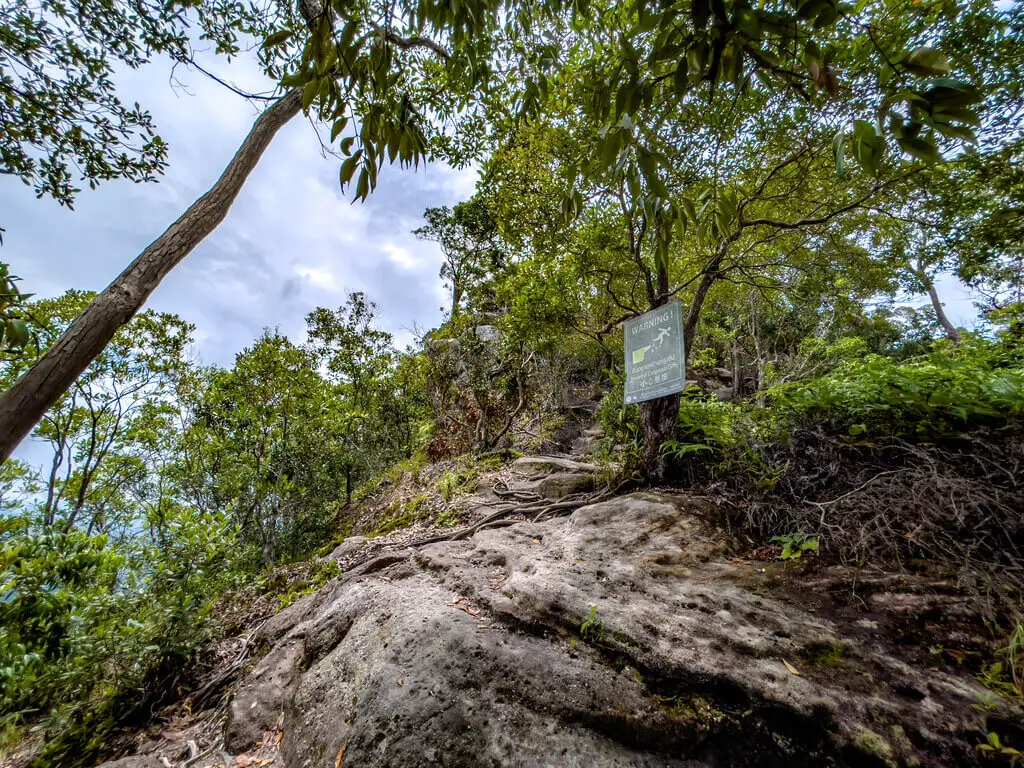
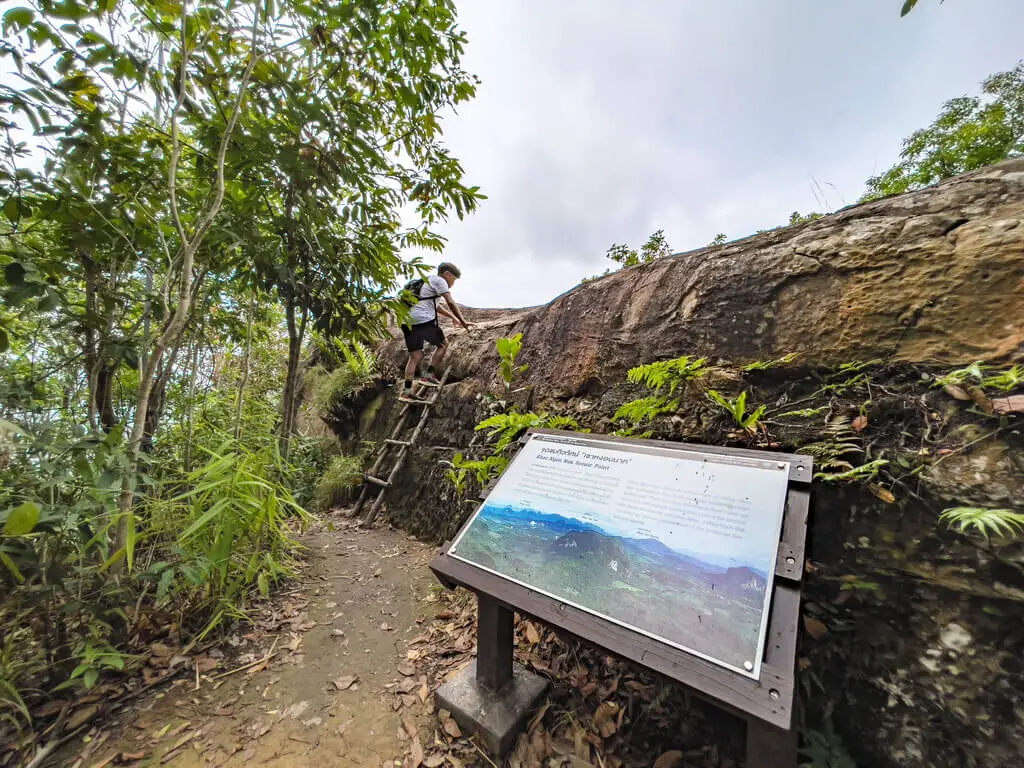
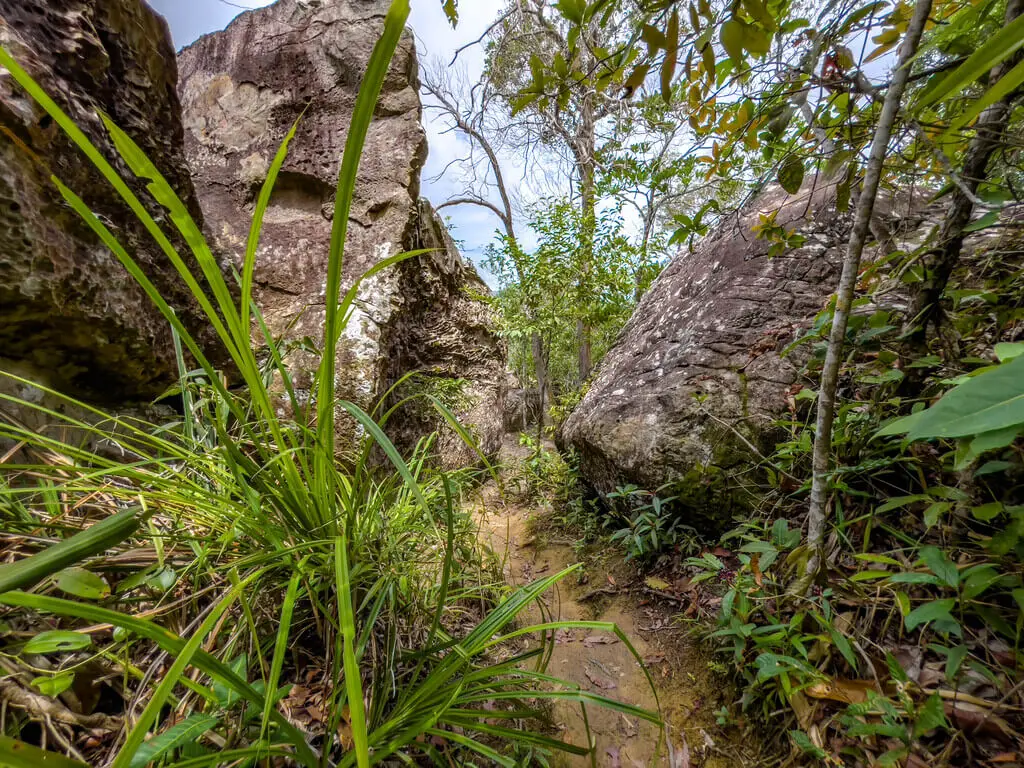
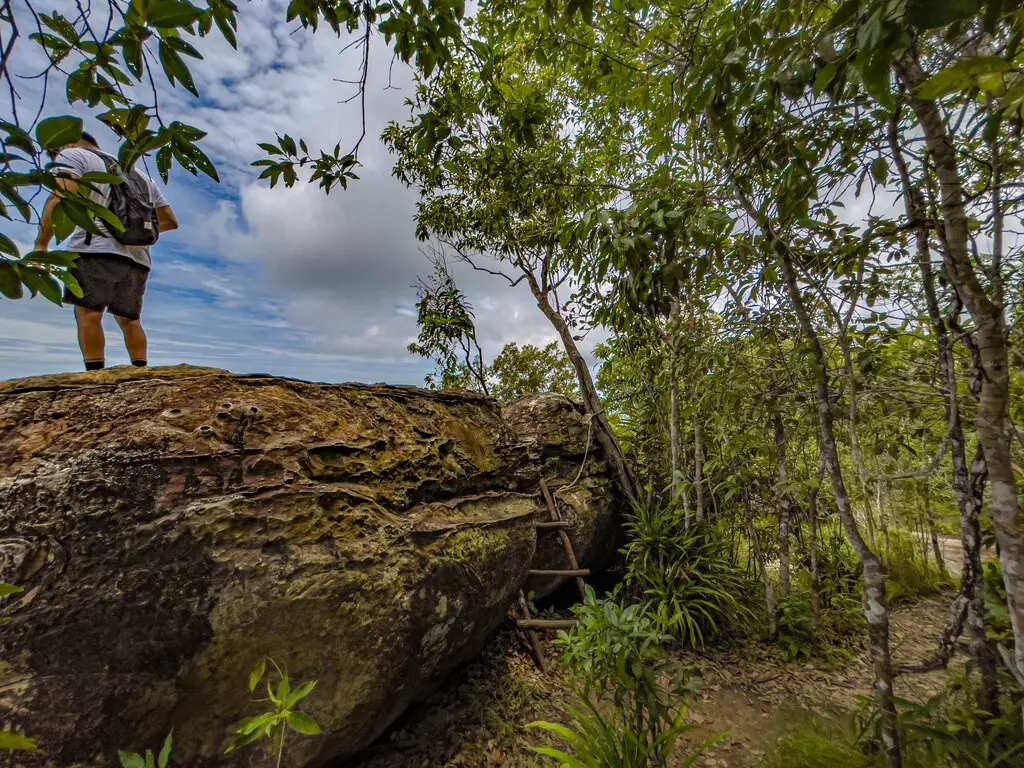
What all the youtube videos and blog posts I found didn’t tell me is that there is still a bit of a climb from viewpoint 1 to viewpoint 2. The trail continues on and we had to scramble up a hill that has a danger sign, but it isn’t that bad.
We got a little turnaround because of the setup, but when you see these big boulders, you’re in the right direction. Just keep going.
Viewpoint 2 is atop a boulder and there is a small bamboo ladder that can take you up.
The Famous Dragon Crest Mountain Viewpoint
But if you are looking for the insta famous viewpoint, you have to go a little further.
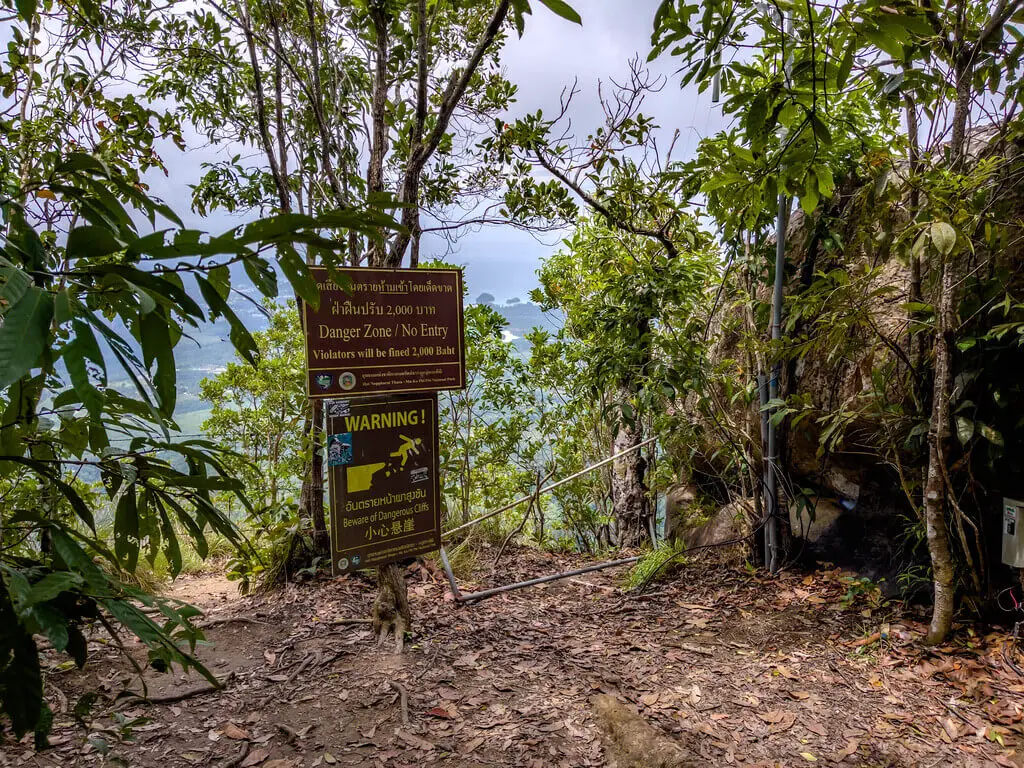
I also have bad news for you that you’re not allowed to go on there. There is a sign in front that warns of the danger of falling.
Although I think it looks reasonable enough, there is a (probably electrified) fence. You’ll also see the 3.7km marker nearby.
Instead, there is a big boulder cluster where the photo of that view is taken and you can go behind it for a similar vibe photo:
Going back down
To go back down, just go back the way you came!


 中文 (香港)