If you are seeking a dreamy hike without a crowd high up in the mountains, Wo Yang Shan is a long but worthwhile hike that’s perfect for an adventure. With giant rock outcrops, a view of Tai Mo Shan radar towers as well as the nearby cityscape and Shing Mun Reservoir, here is how to hike Tai Mo Shan:
Contents
Wo Yang Shan summary
Difficulty: 4/5
Duration: 6 hours (might want to budget more for photos)
Pros: Not a crowded trail with spectacular view of Tai Mo Shan as well as Tsuen Wan and Tsing Yi.
Cons: long hike up and back down can be tough on the knees. Also fairly long with several part that’s easy to get lost in. it would be best to have an offline map handy.
Here is a vlog of one of my hikes to Woo Yang Shan:
How to get to Wo Yang Shan trail start
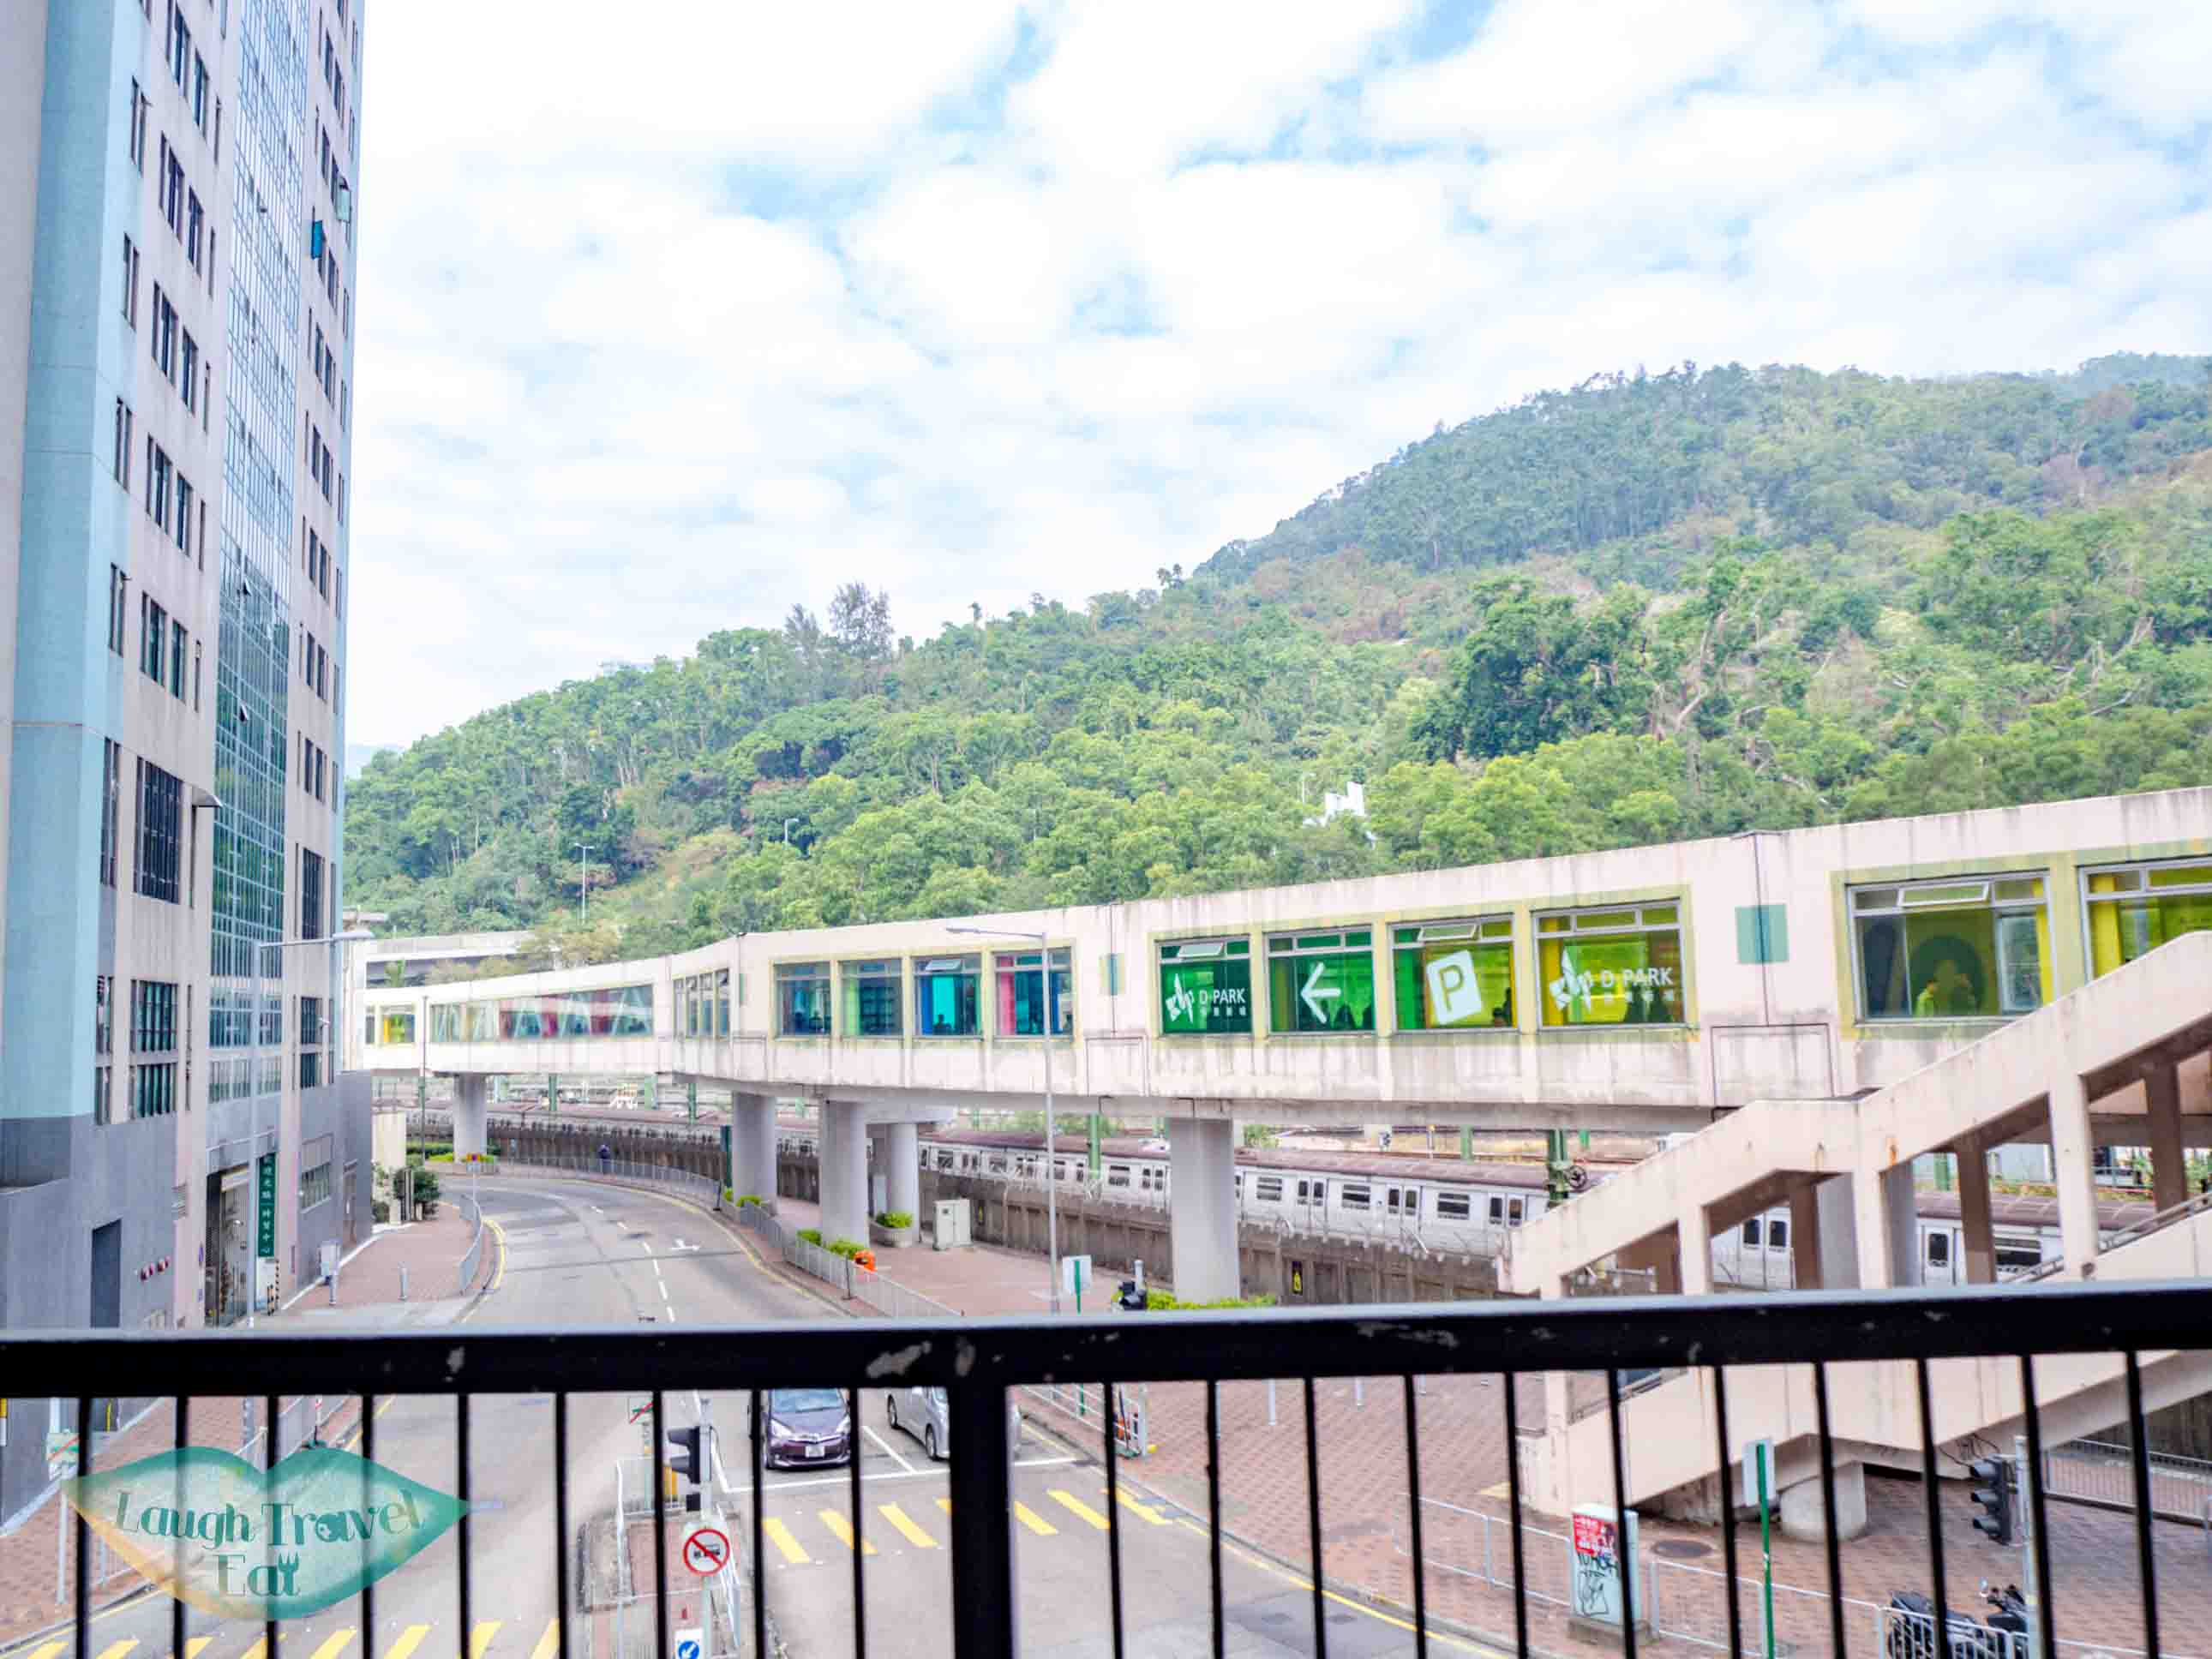
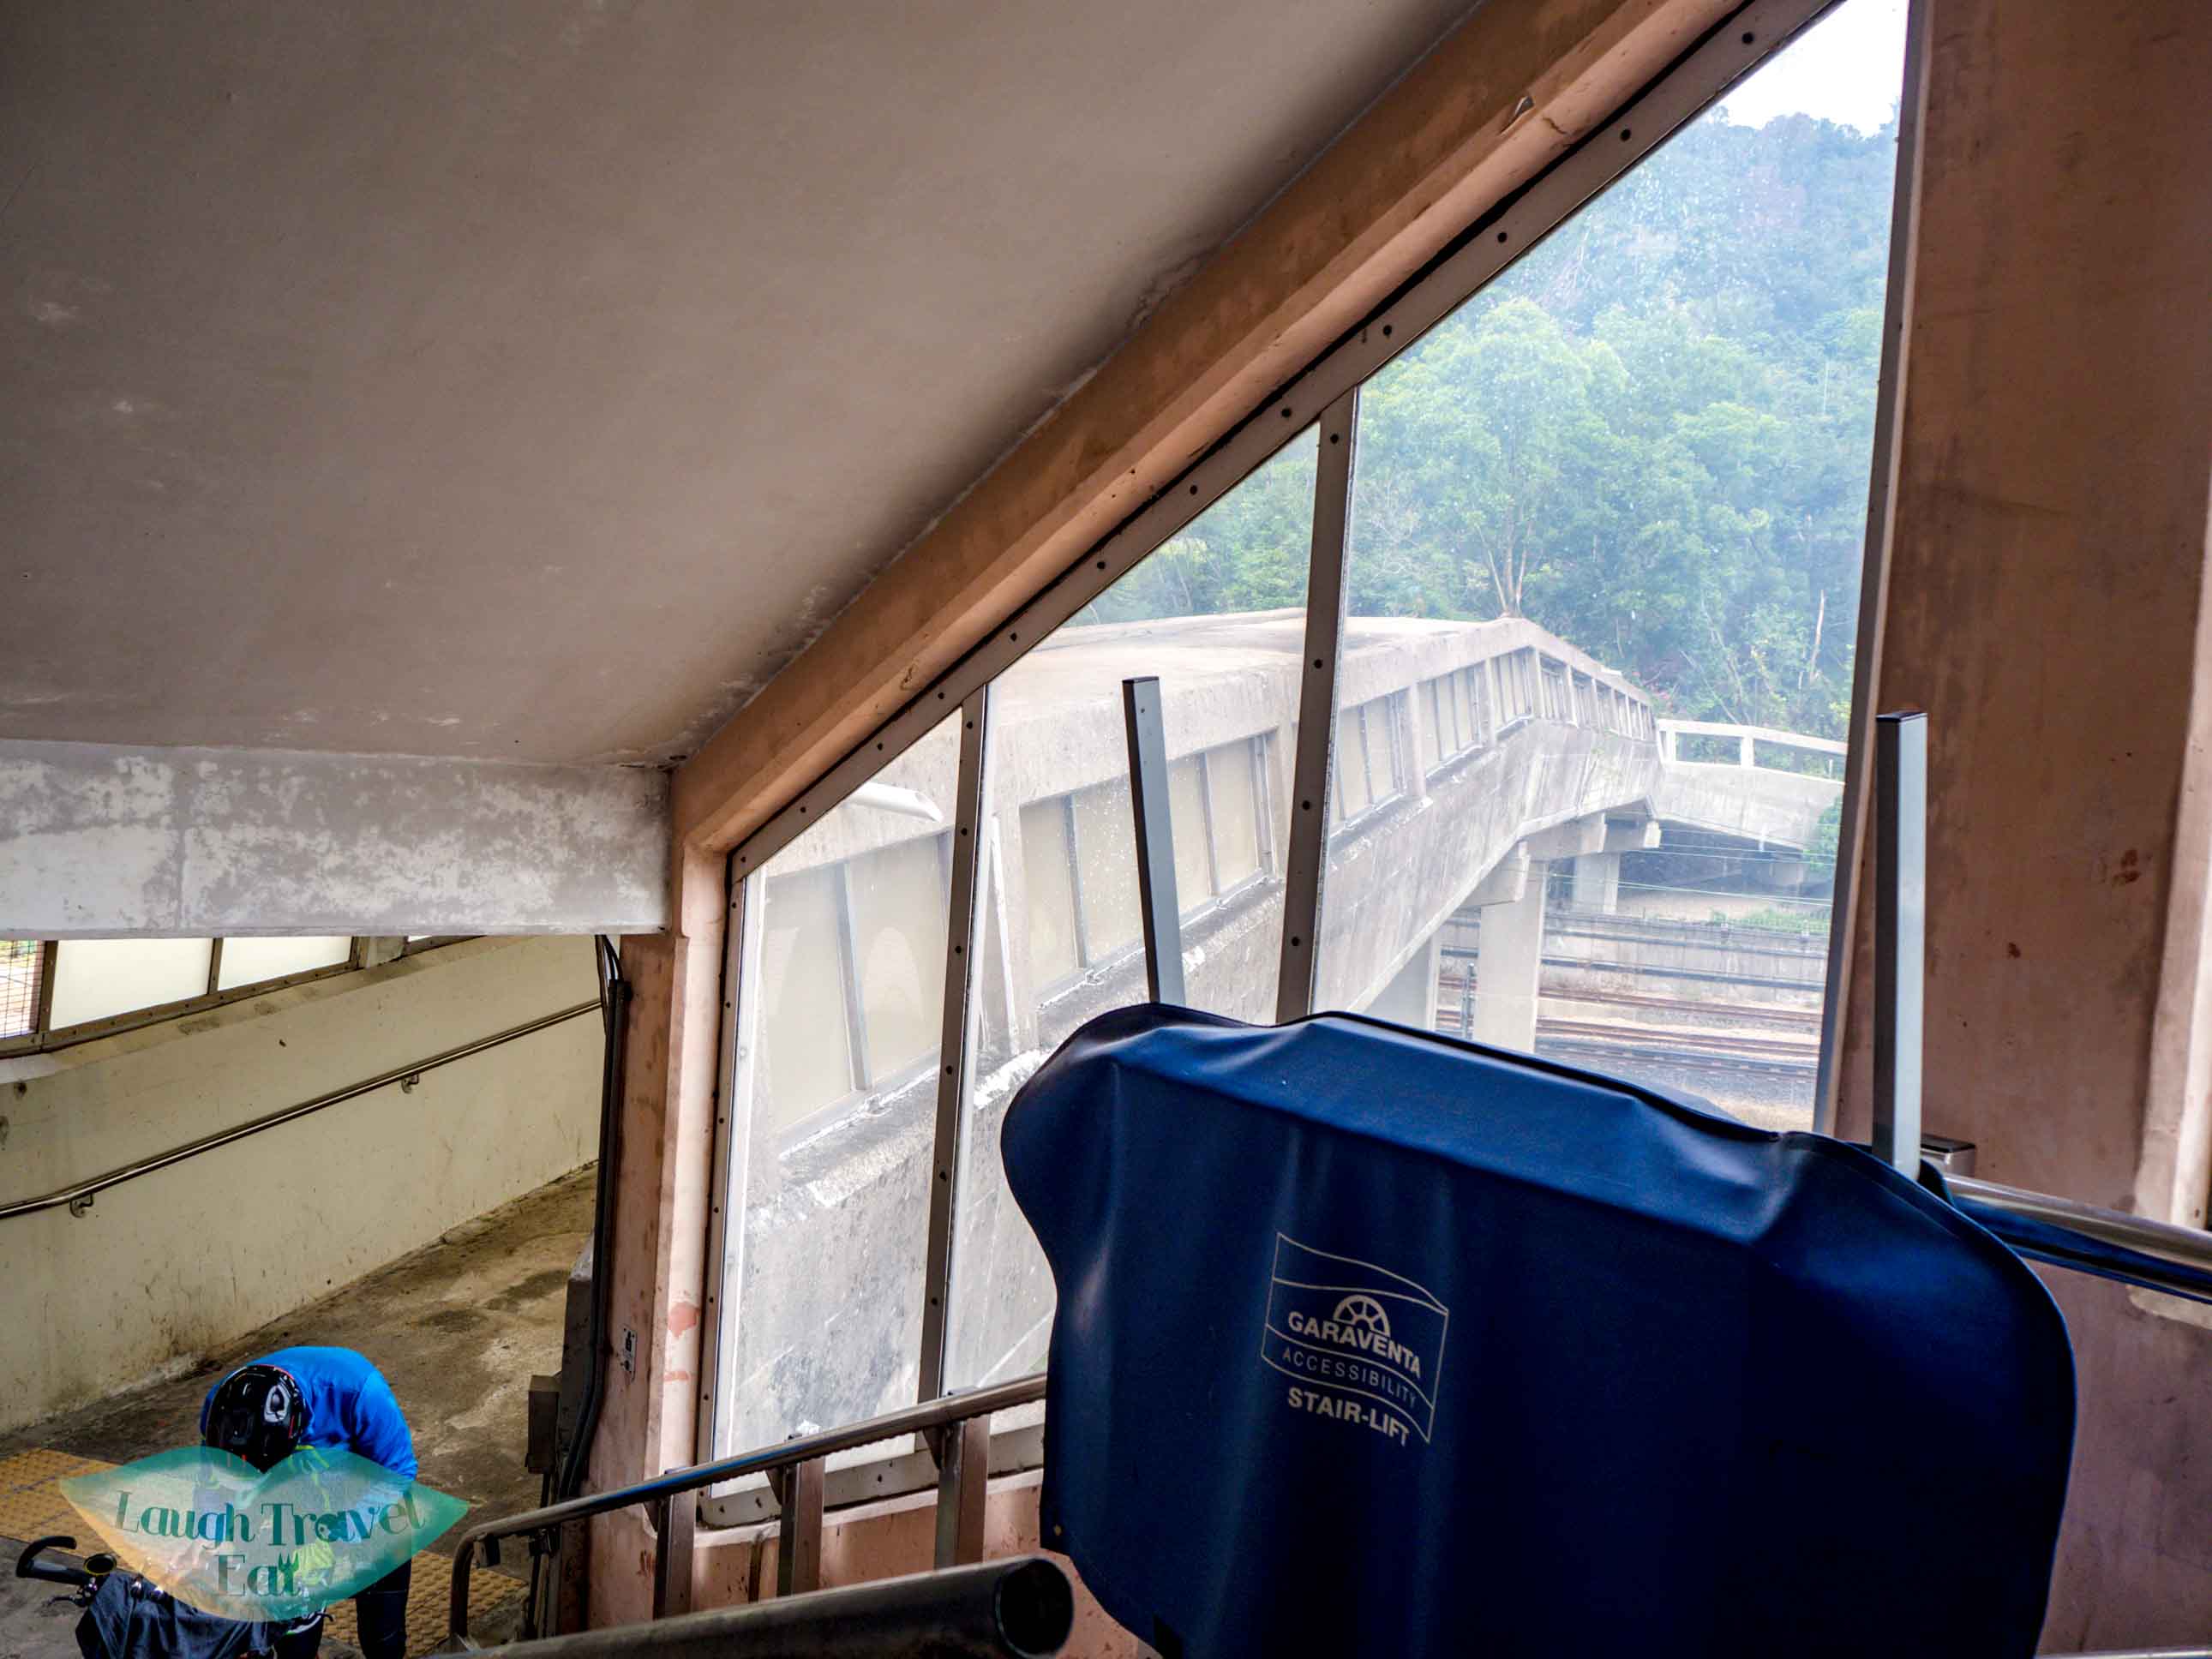
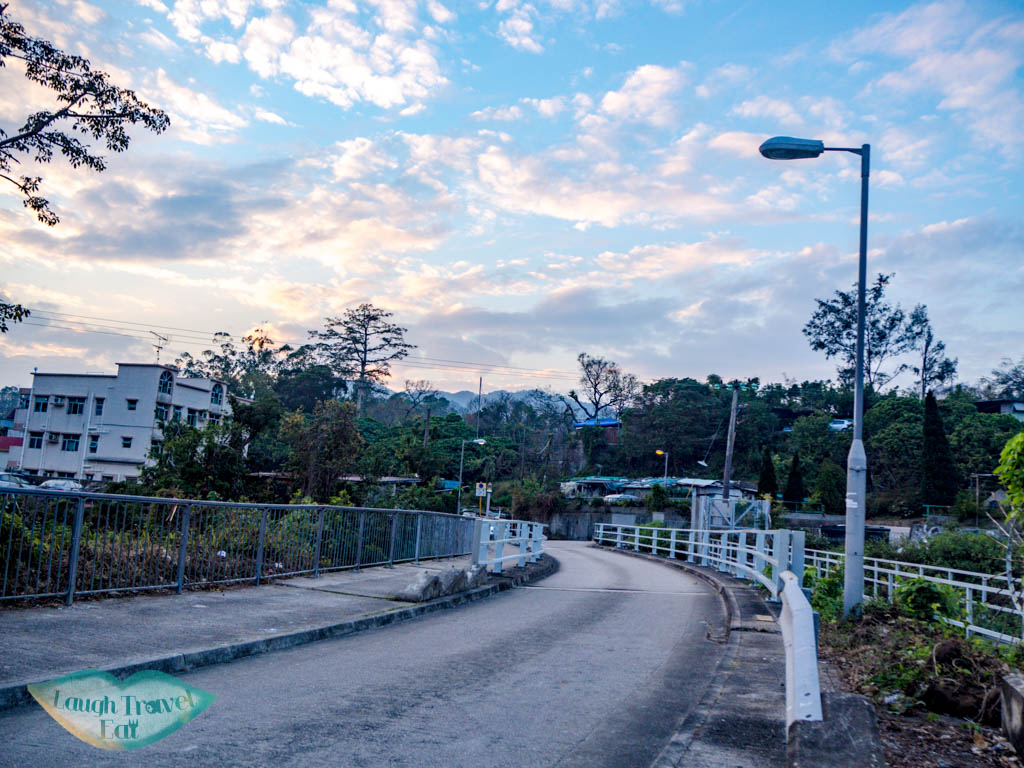
Take the exit A3 from Tsuen Wan MTR station towards Discovery Park via the long pedestrian bridge. Enroute there you’ll see a bridge that goes towards the mountain, take it.
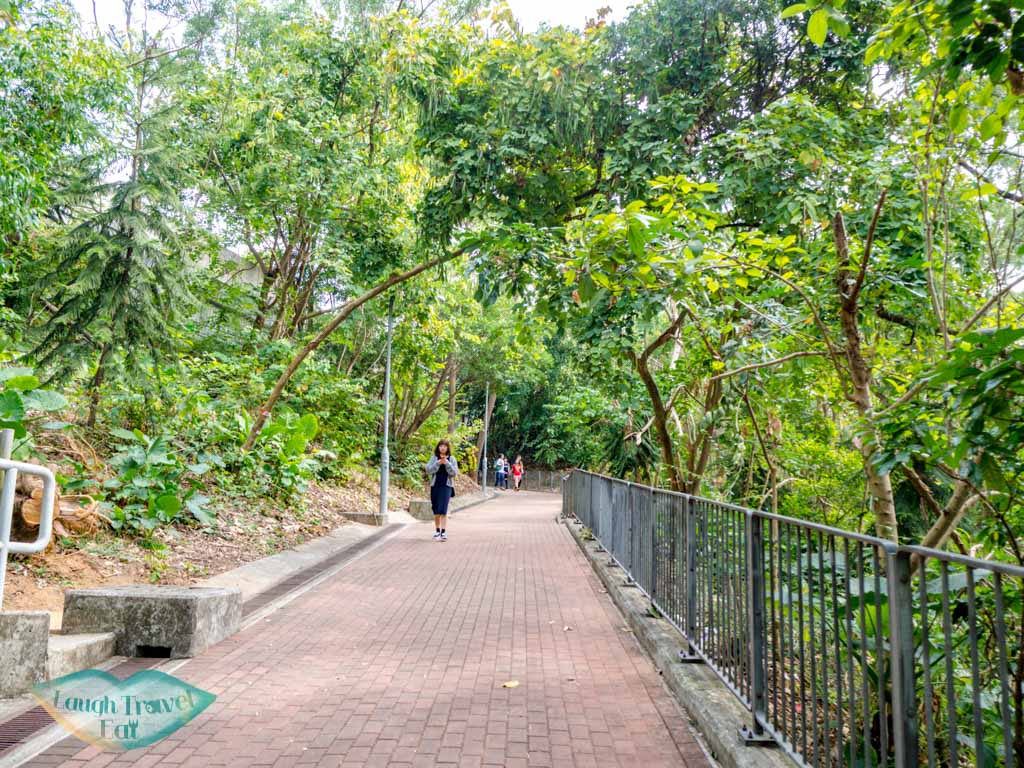
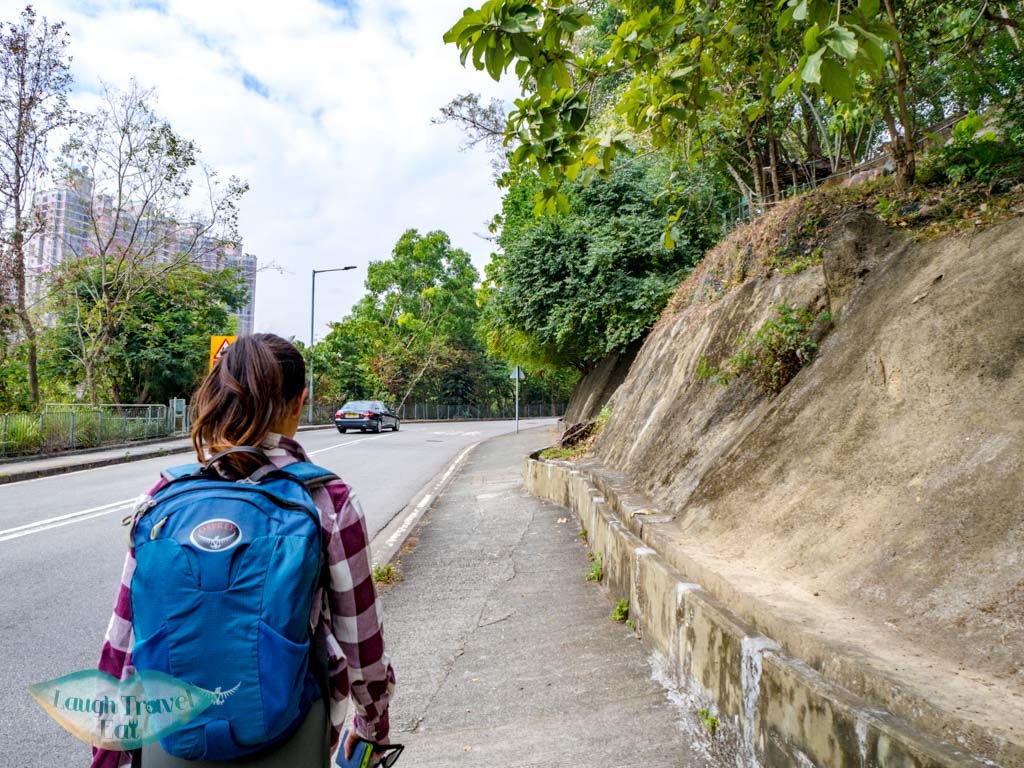
From there, follow the path through the tunnel and then up some stairs to the main road.
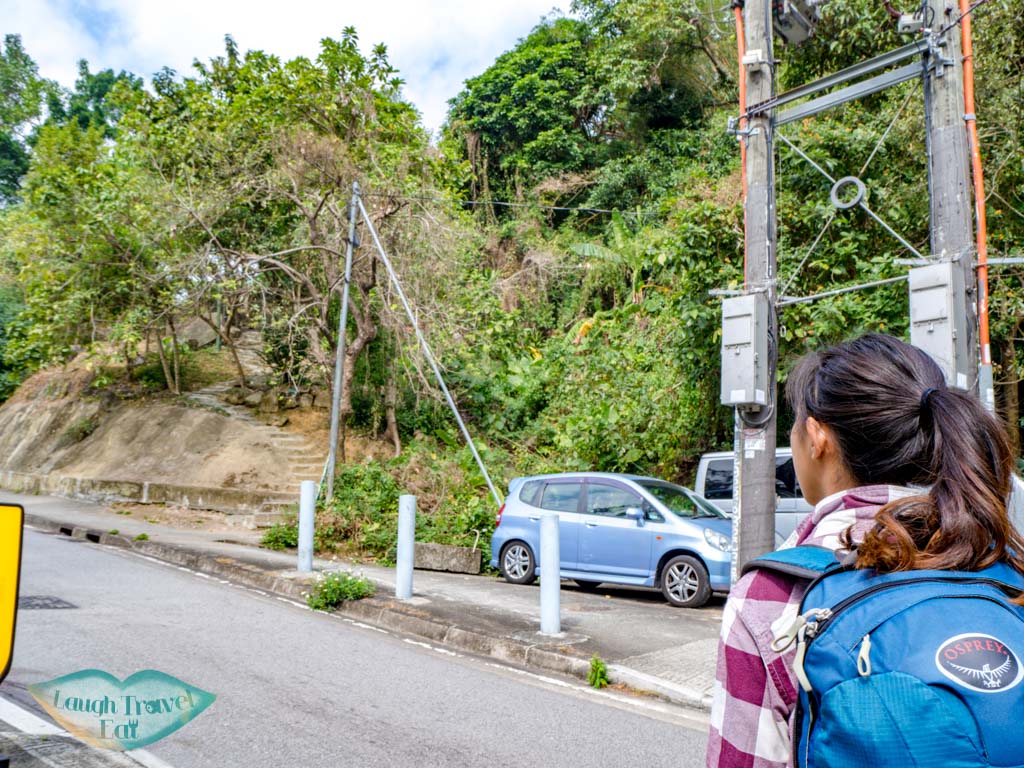
Cross the main road and go left (the stairs across the road isn’t the one we want to take).
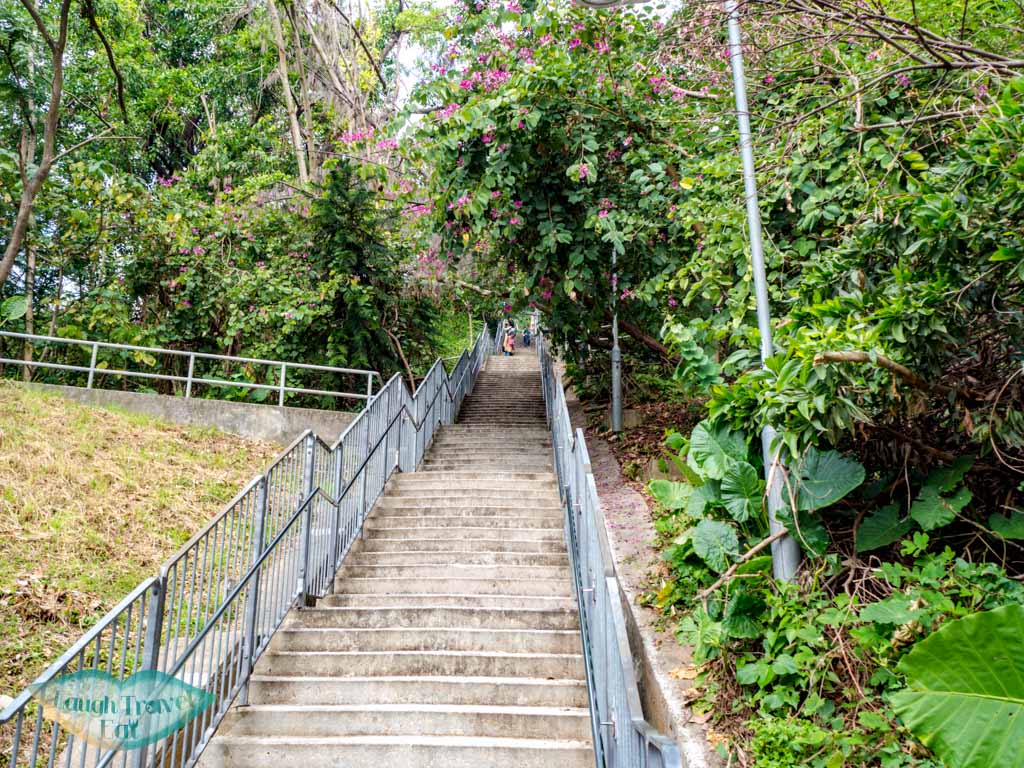
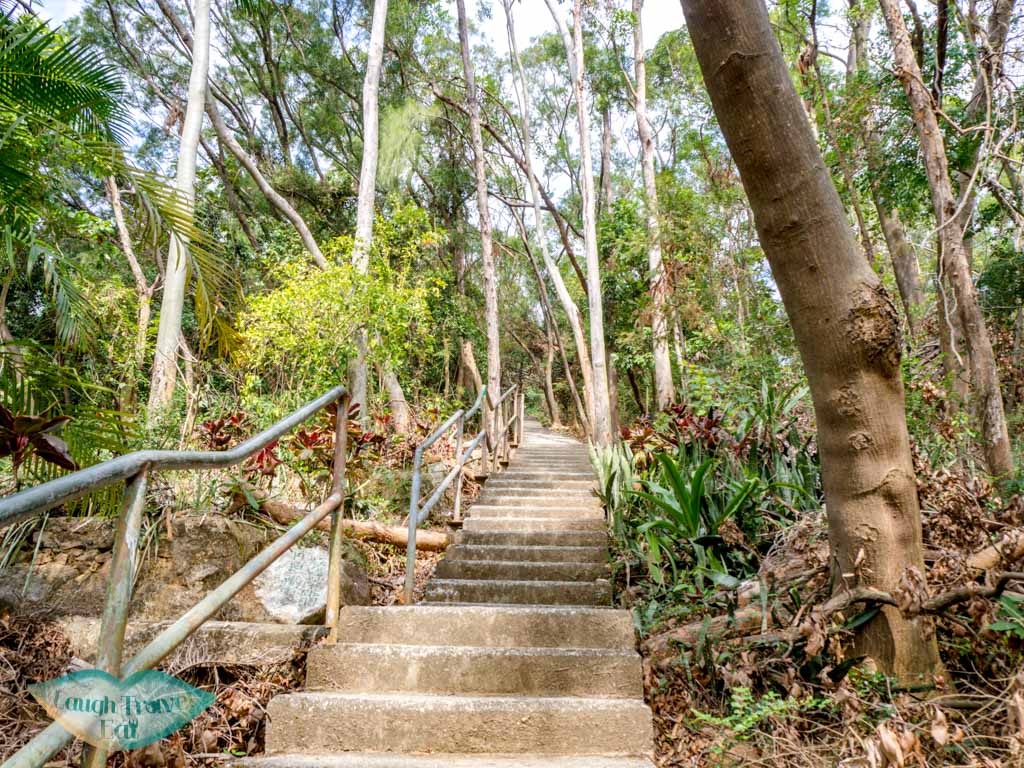
Wait until you reach this one, which has a sign a few more steps up declaring that it goes up to Fu Yung Shan.
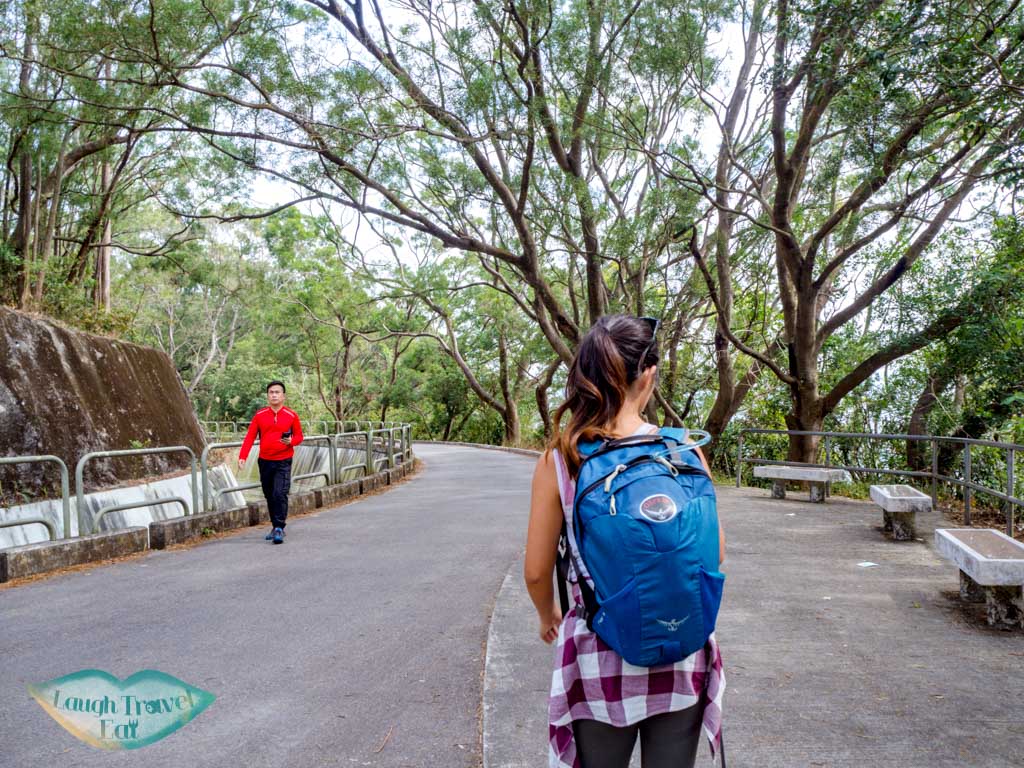
This portion has a stretch of almost endless stairs, but once you reach the top the path evens out for a good while before it’s time to head up again.
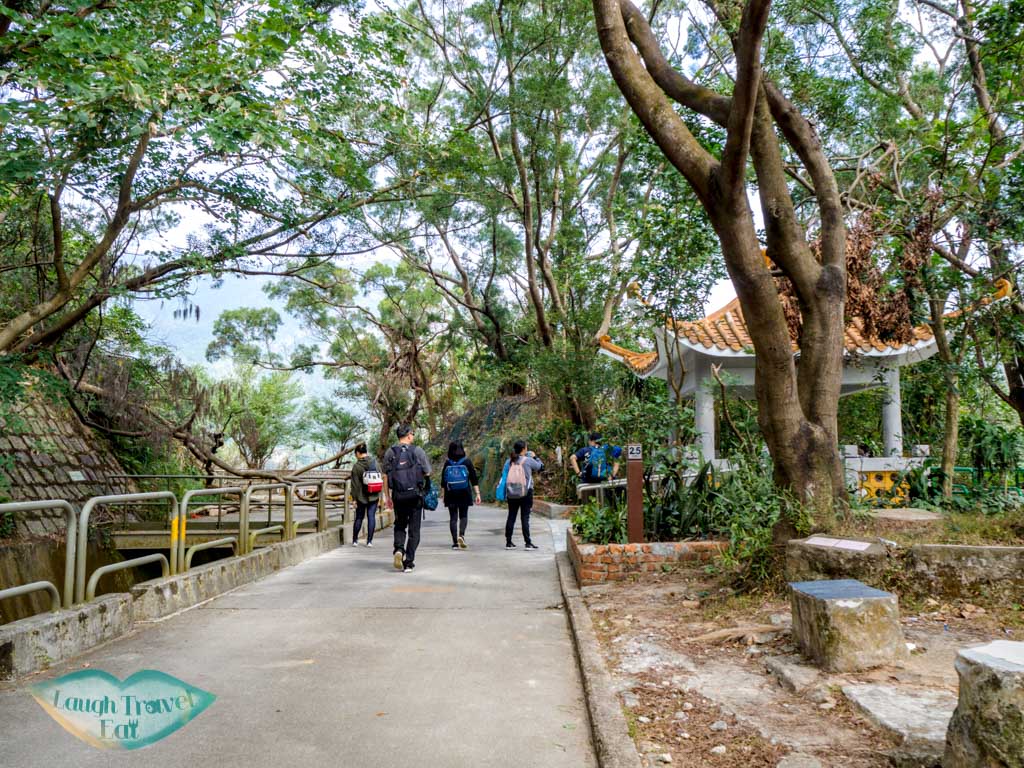
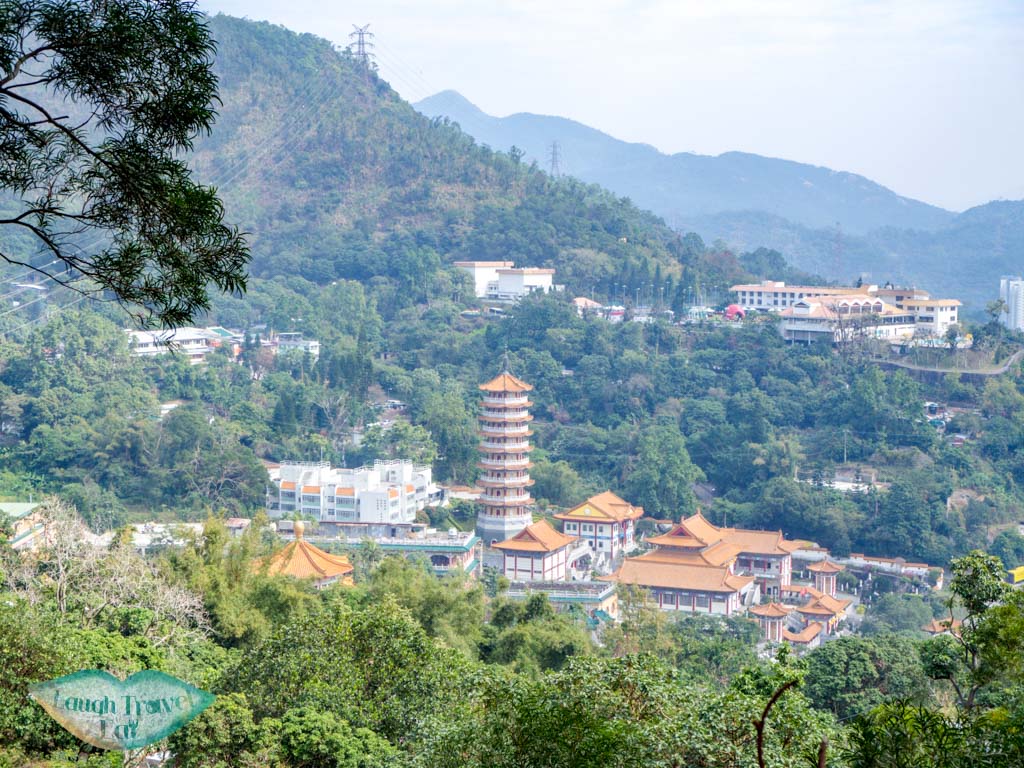
Some more distinctive structures along the way are the black and yellow blocks to the side, which are decent for photos, one or two pavilions, as well as the view of Western Monastery.
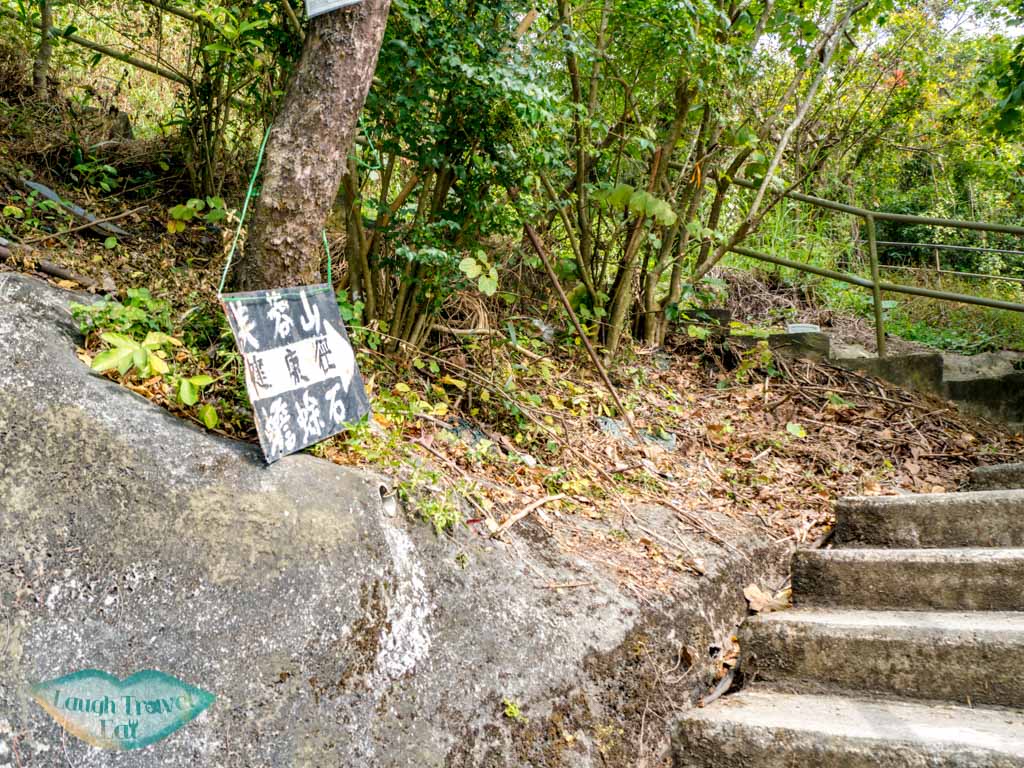
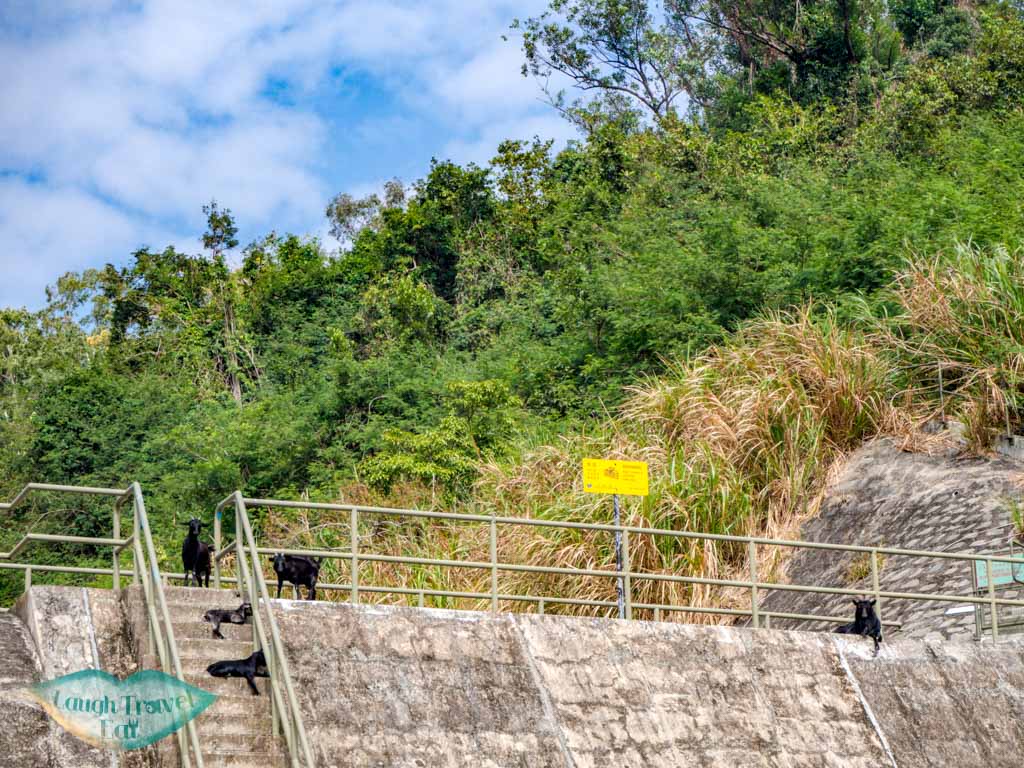
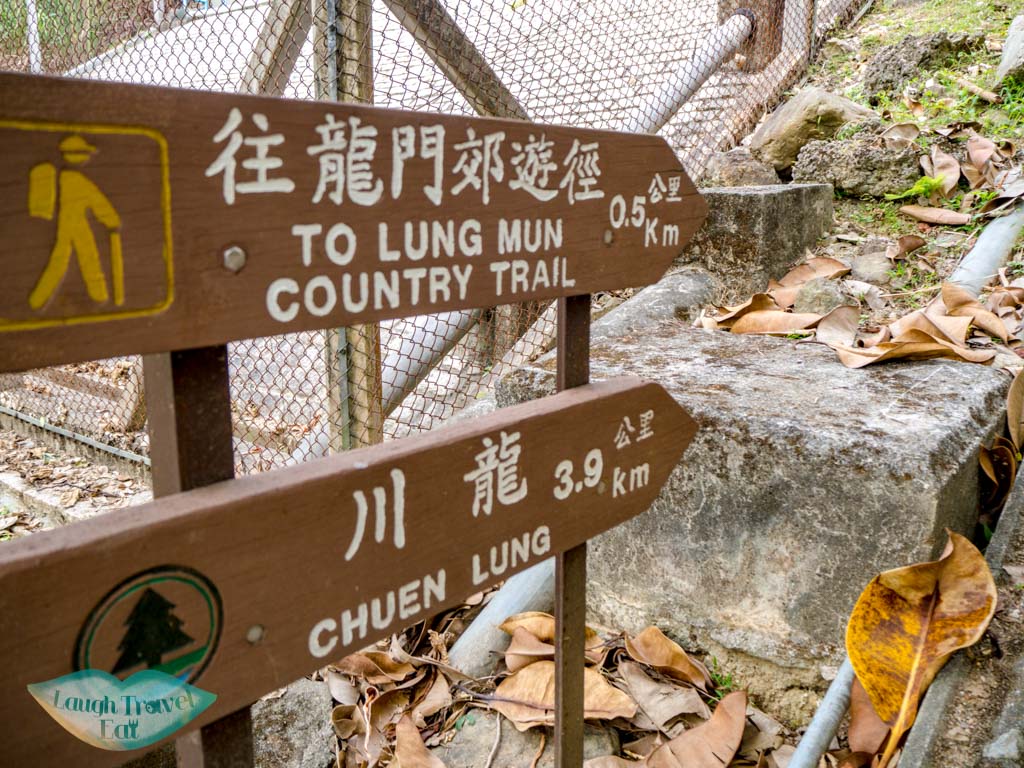
Once you reach a dam-like structure, take the stairs that goes up just after it. There is a sign that points to Lung Mun Country Trail and Chuen Lun.
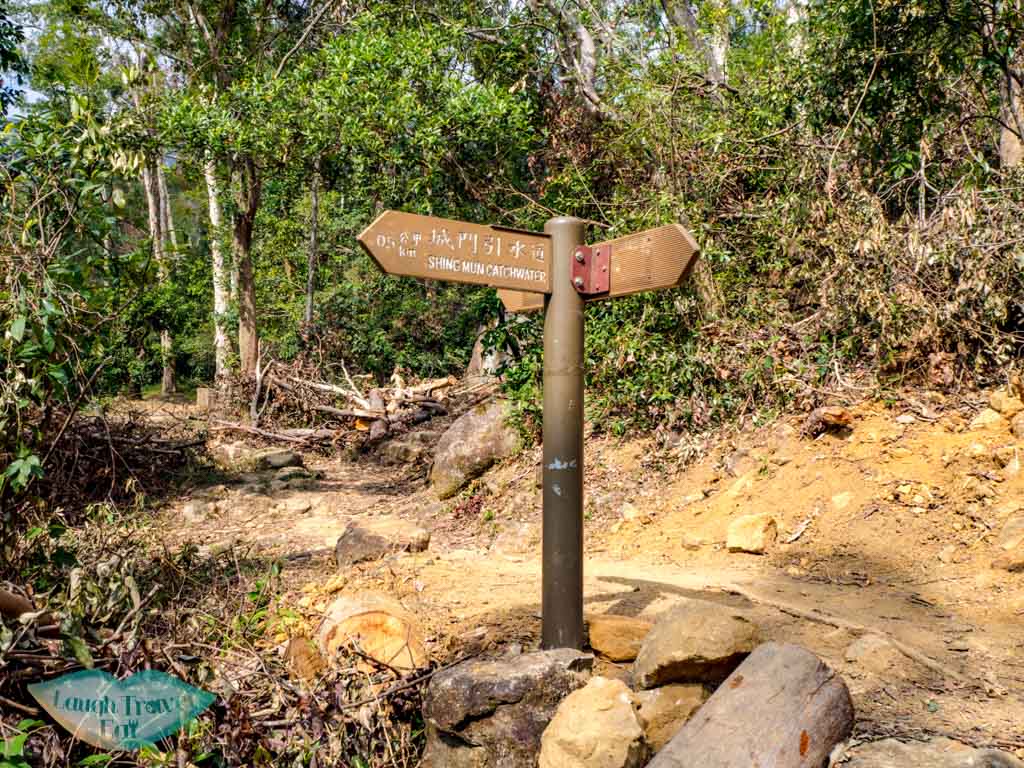
Go up the trail and when you reach this sign, go left to the side marked Chuen Lun then take the trail to the right a few paces to the Lead Mine Pass.
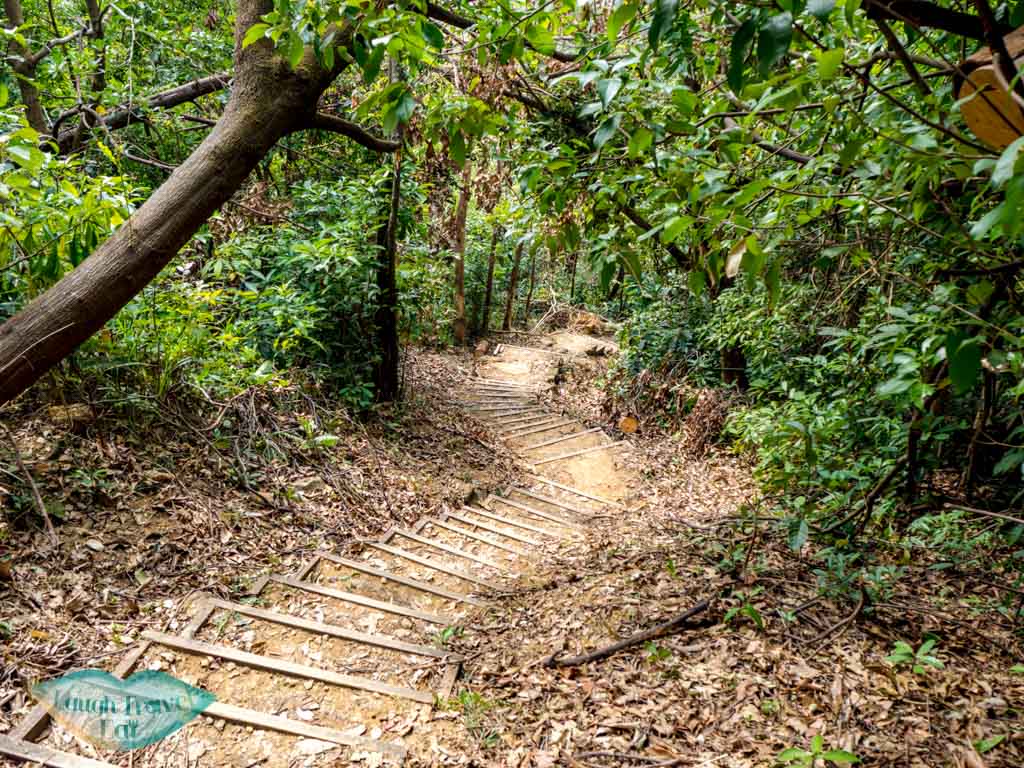
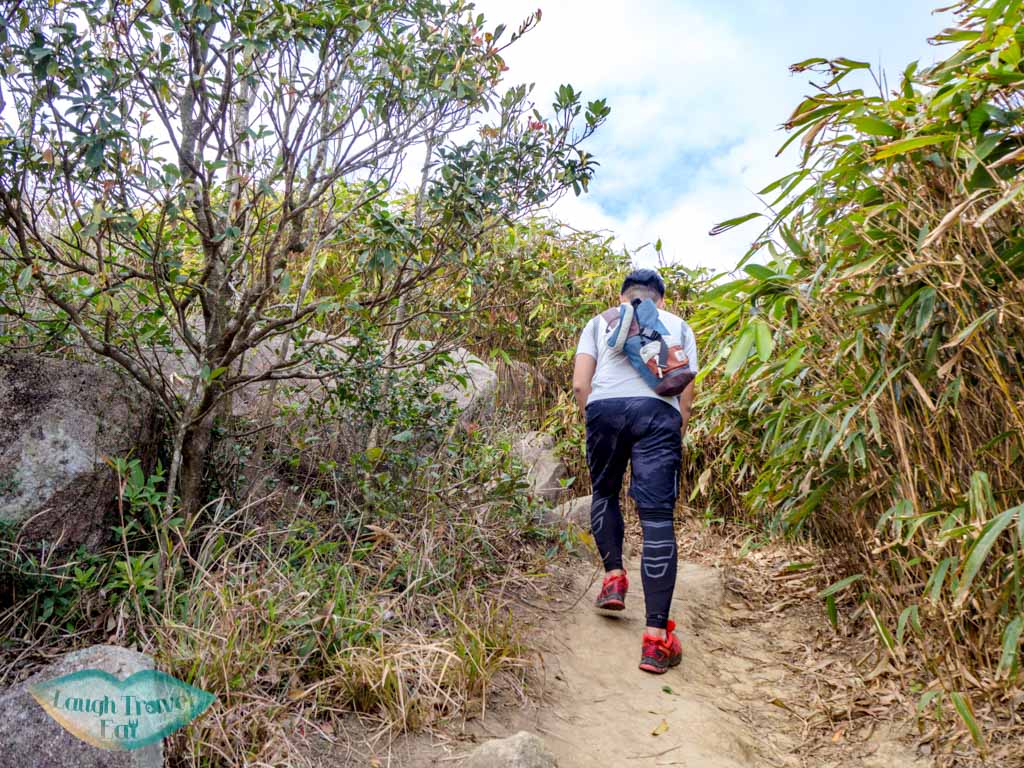
This part also has a lot of stairs but of mud and wood, then it becomes a slope.
the stairs that we got up from
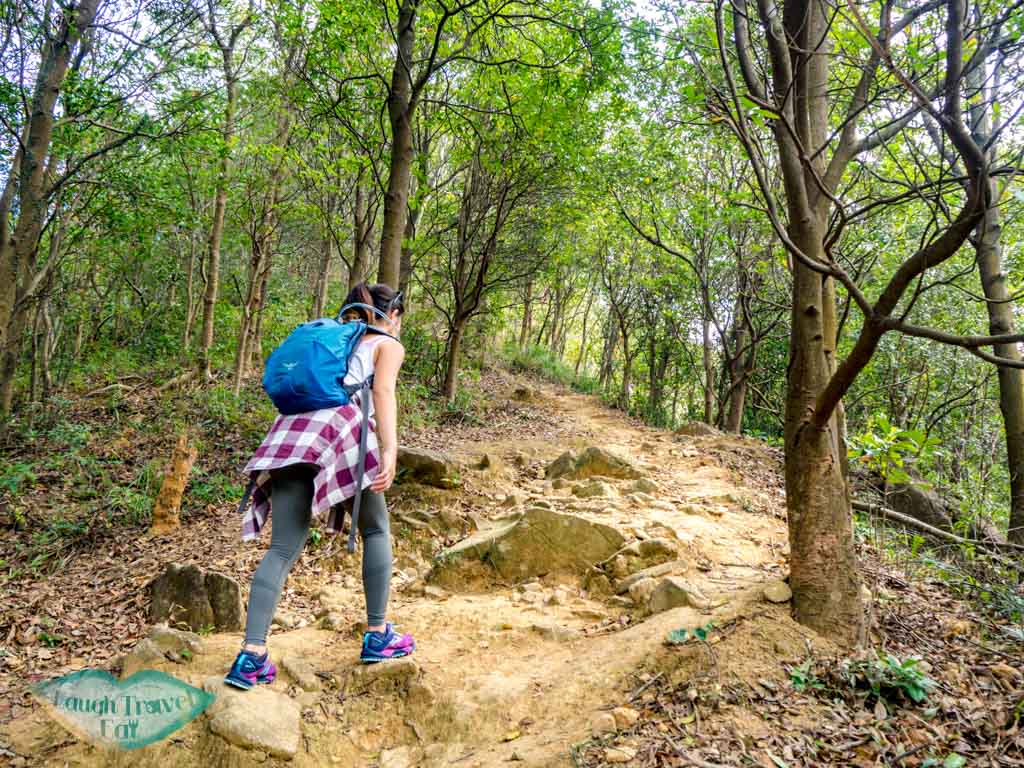
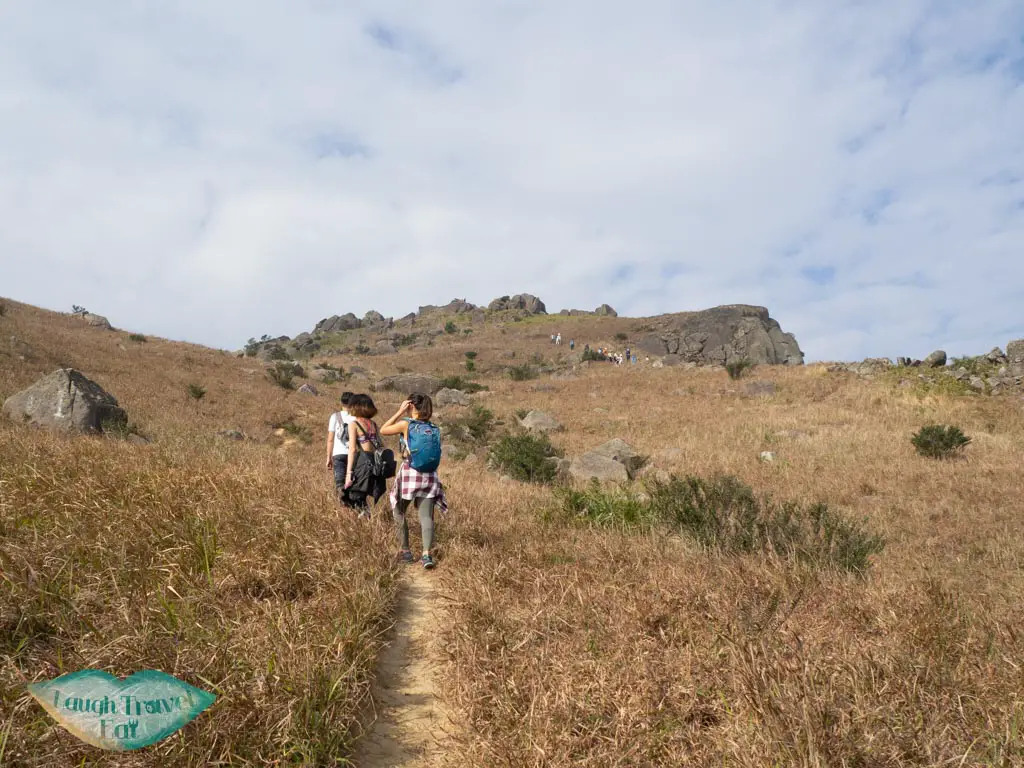
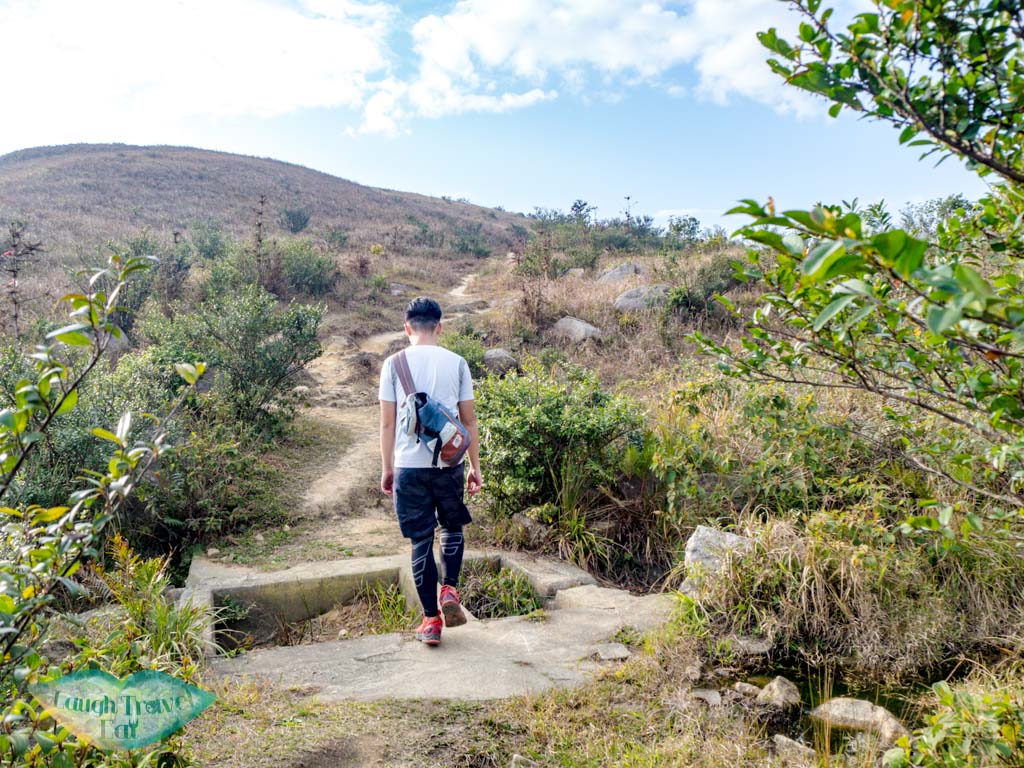
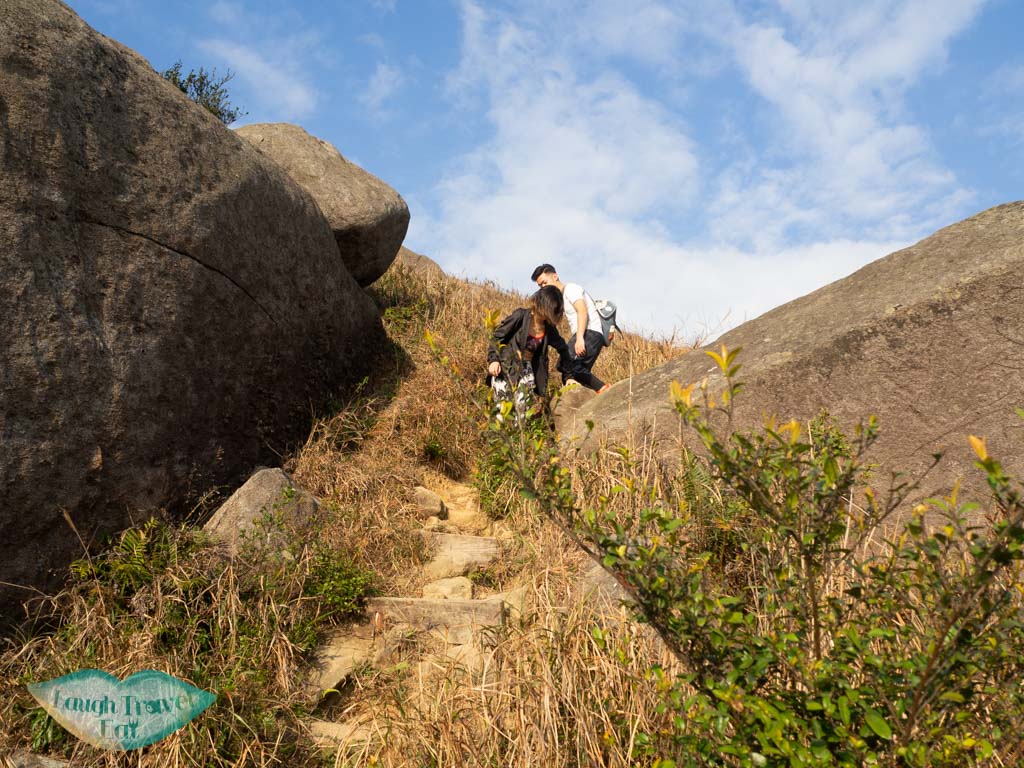
The bulk of it is over once you emerge from the vegetation.
Be careful of the last slope up to the first view point, aka the nearest crest we see. It’s fairly loose and slippery.
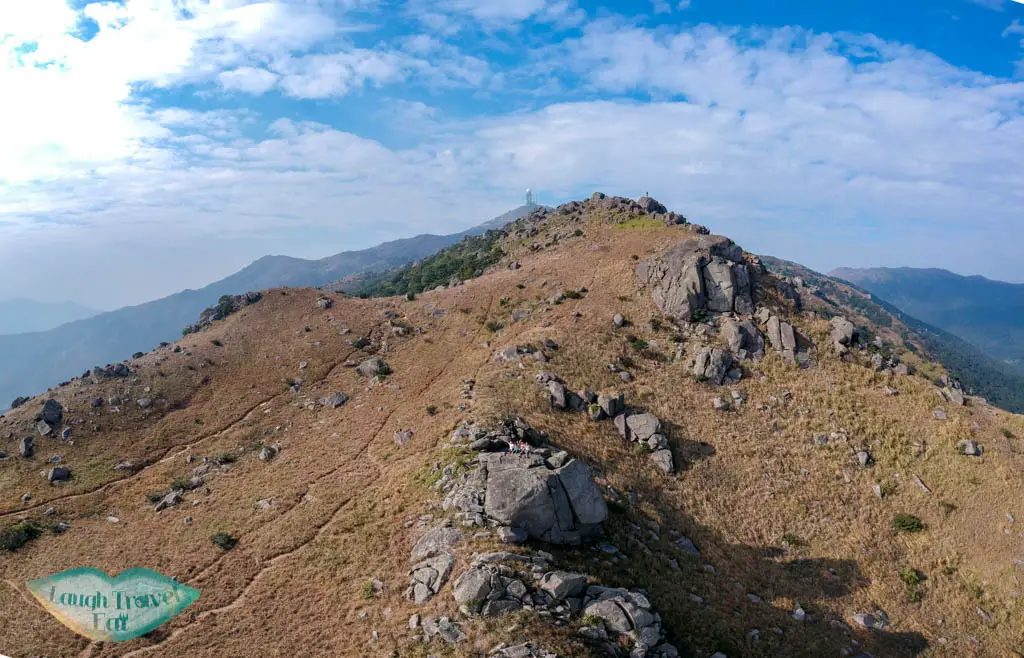
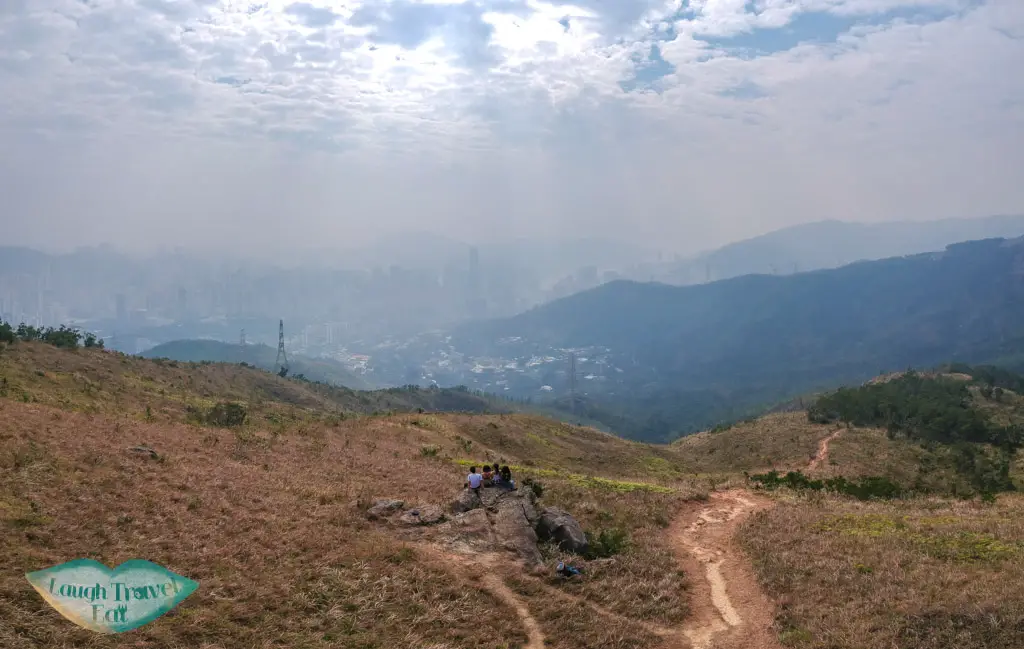
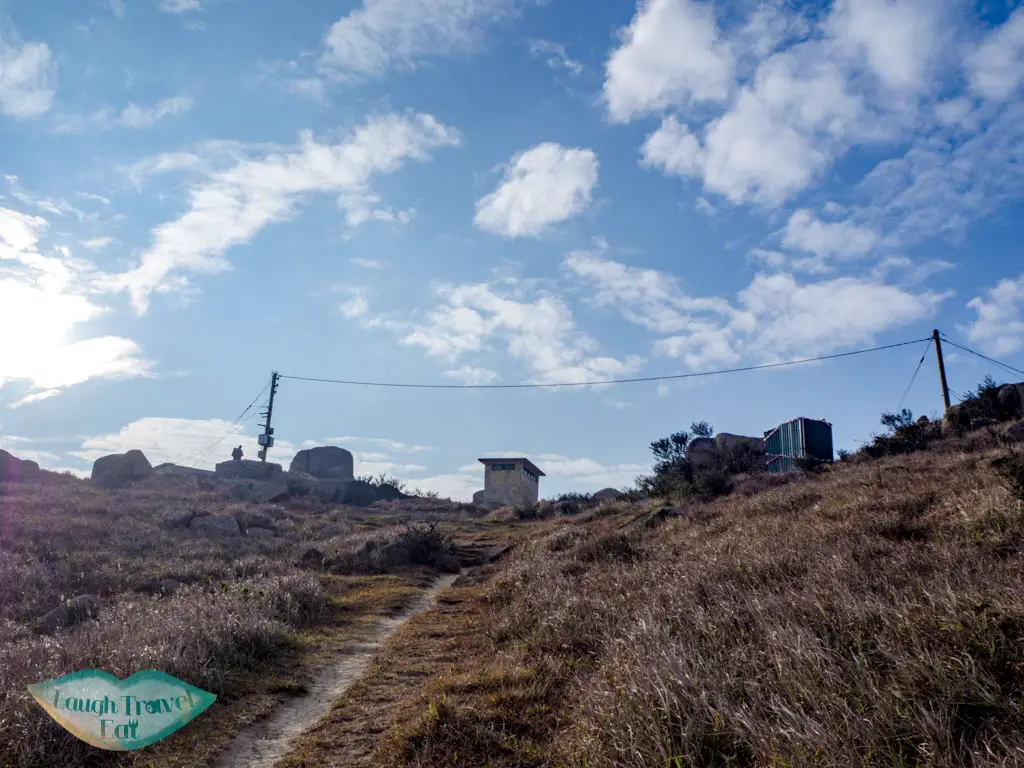
Wo Yang Shan viewpoint
If you have a drone, this is a good place to take it out for a spin, but do be careful of the transformers a little distance in front which could potentially disrupt the signal.
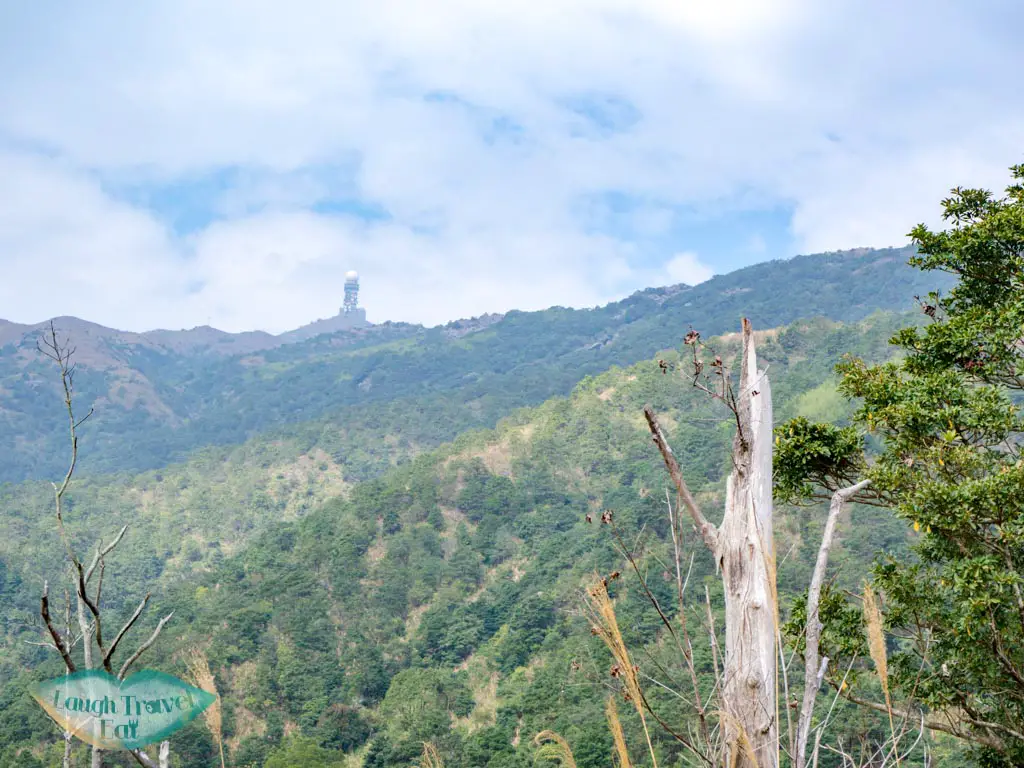
Here, you can also see the radar towers at Tai Mo Shan, too, which we will be heading towards but won’t be actually be going pass.
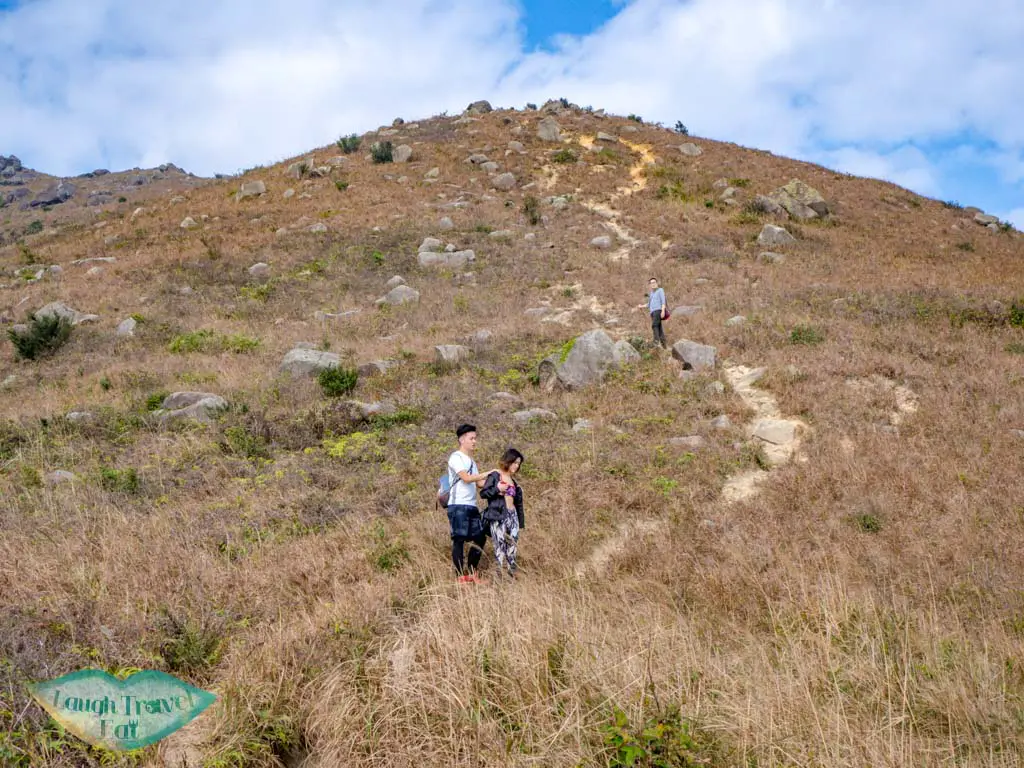
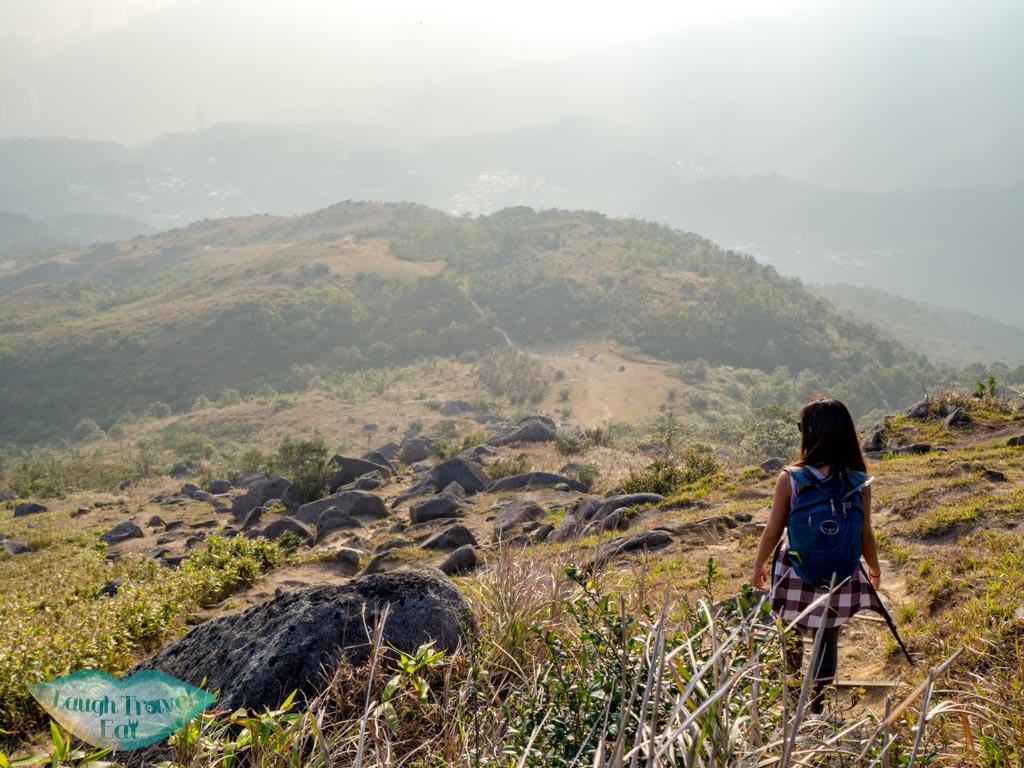
To get to Wo Yang Shan, we carry on up to the mountains we see at the back. When you get up, head towards the sign that says danger, do not past to the front left and don’t turn right. This part of the trail is also very slippery, which is why it’s easier to go up than to go down.
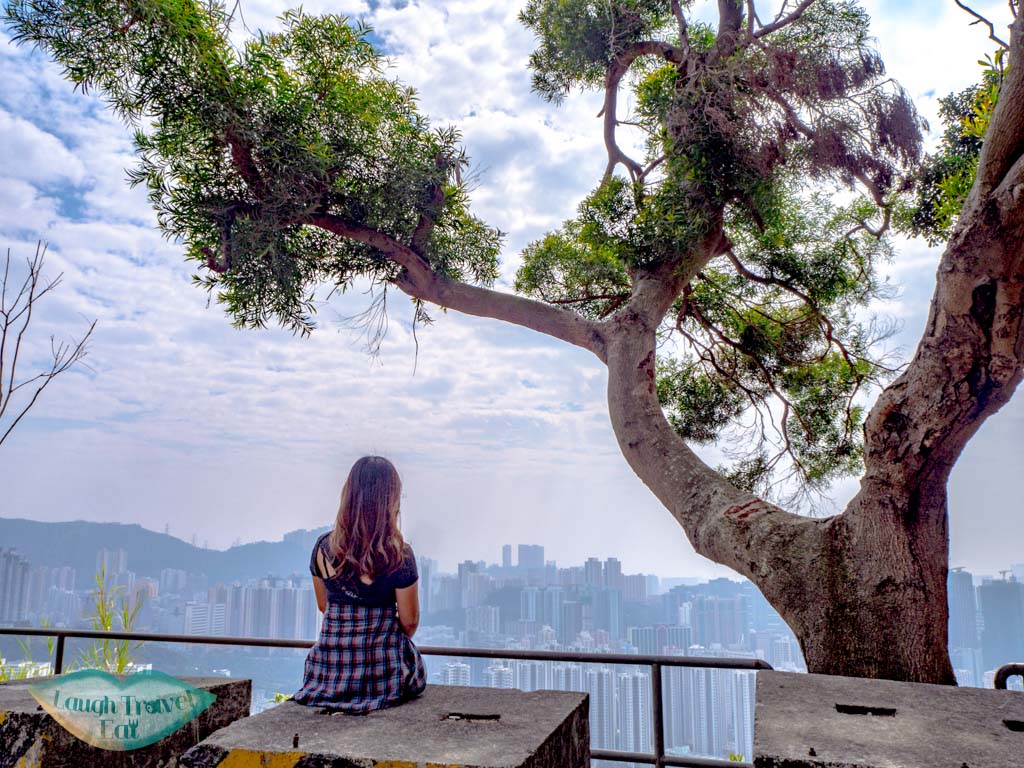
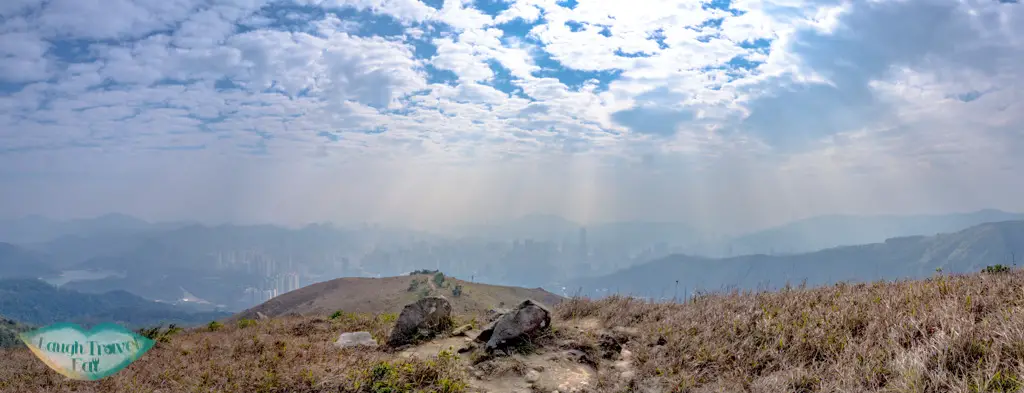
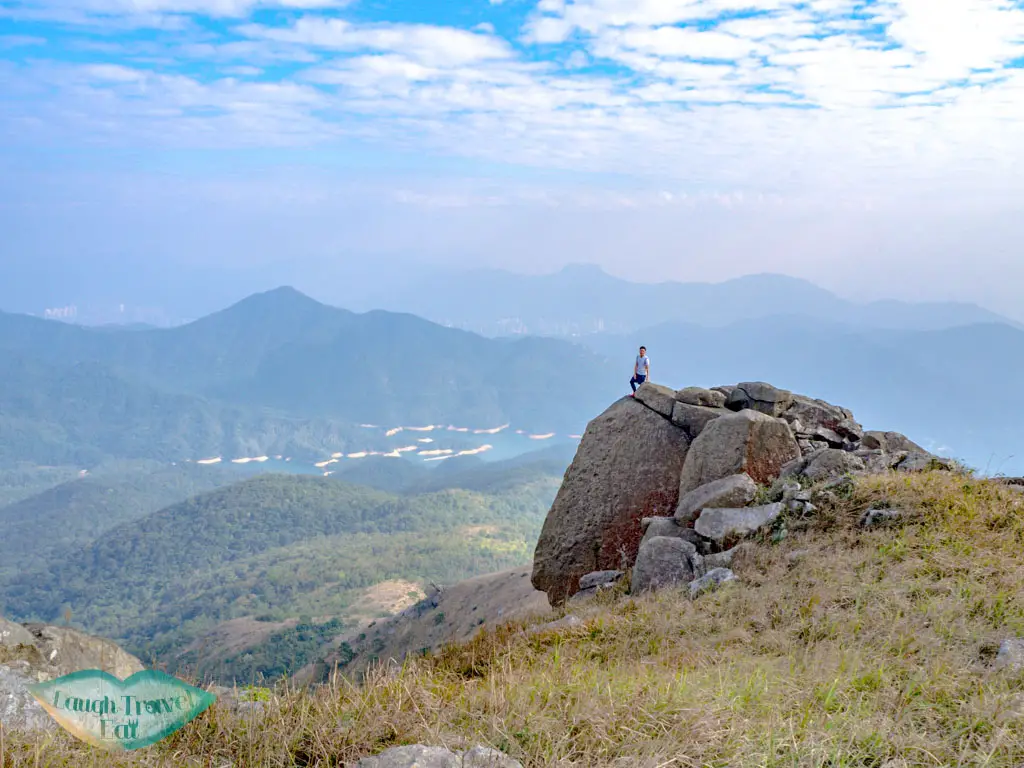
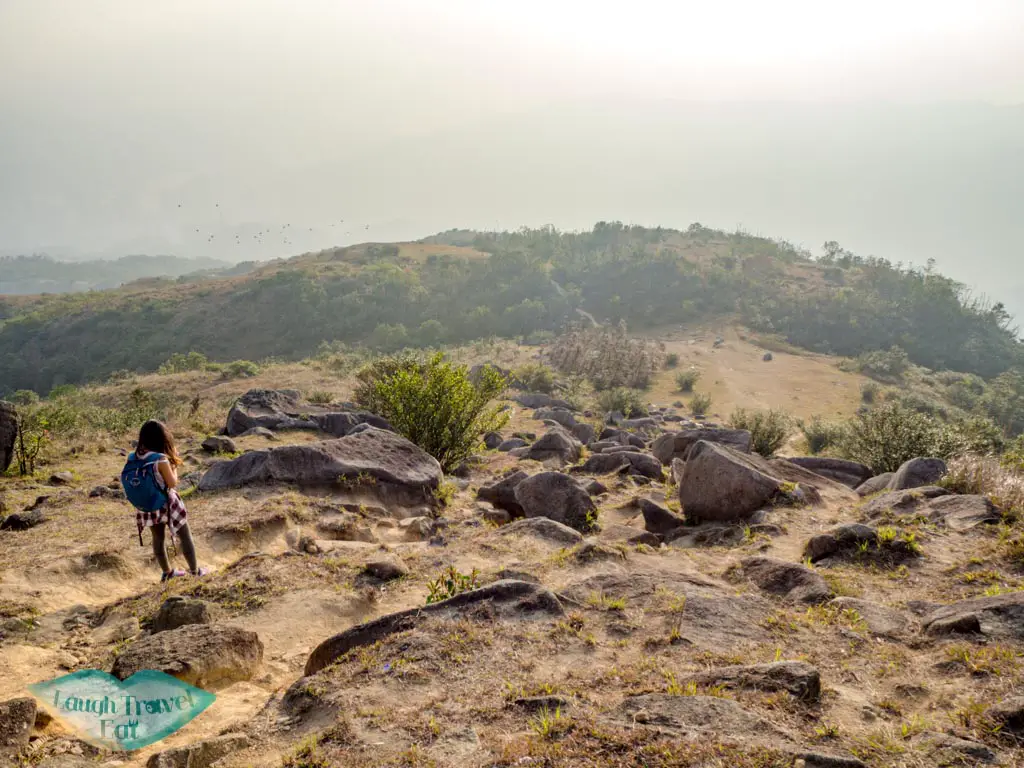
The top shares a similar view to the first view point, so if you want to take photos and or fly your drone here, it’s good, too.
As you carry on up, there are several more giant rock outcrop that’s great for photos with the city and Shing Mun Reservoir in the background. On a good day, the Lion Rock Mountain is visible too.Do look at the time as you take photos as it’s easy to get carried away with all the photo opportunity here.
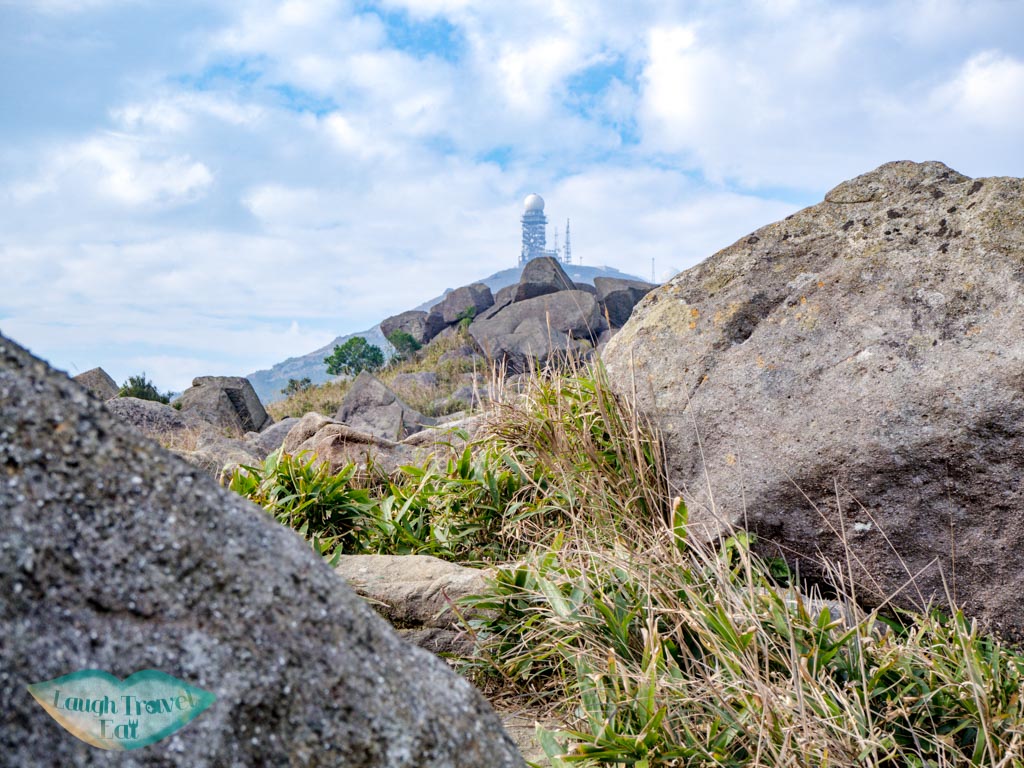
Continue the path up and meander your way through the giant boulders, with the Tai Mo Shan Weather Radar directly in front.
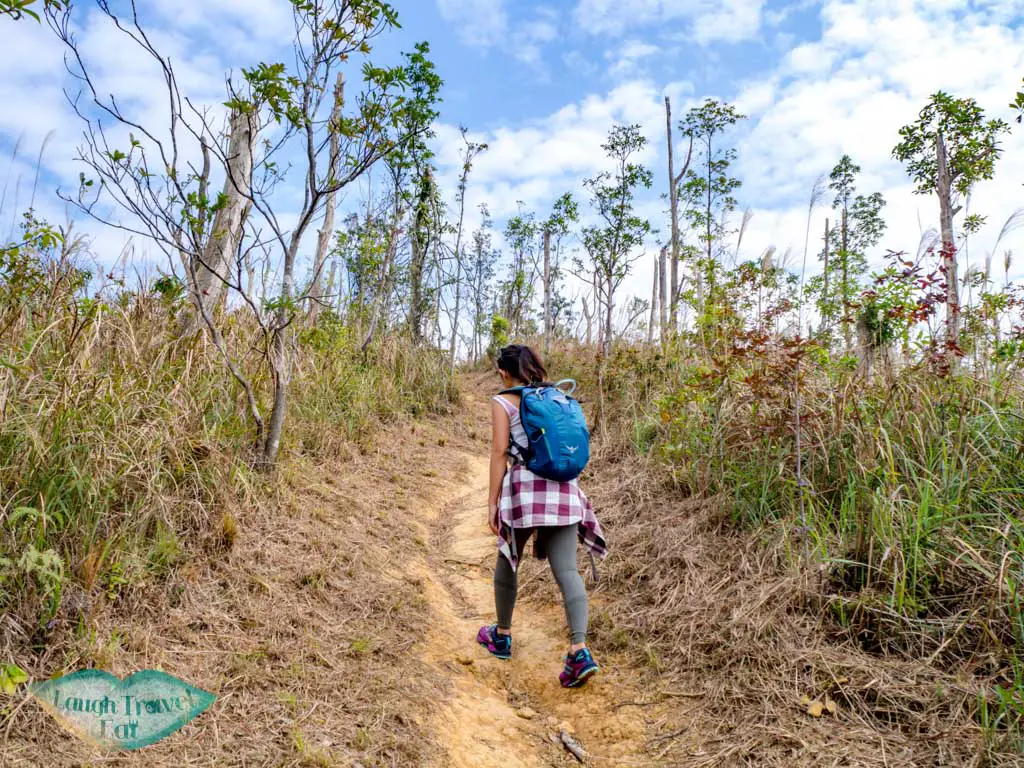
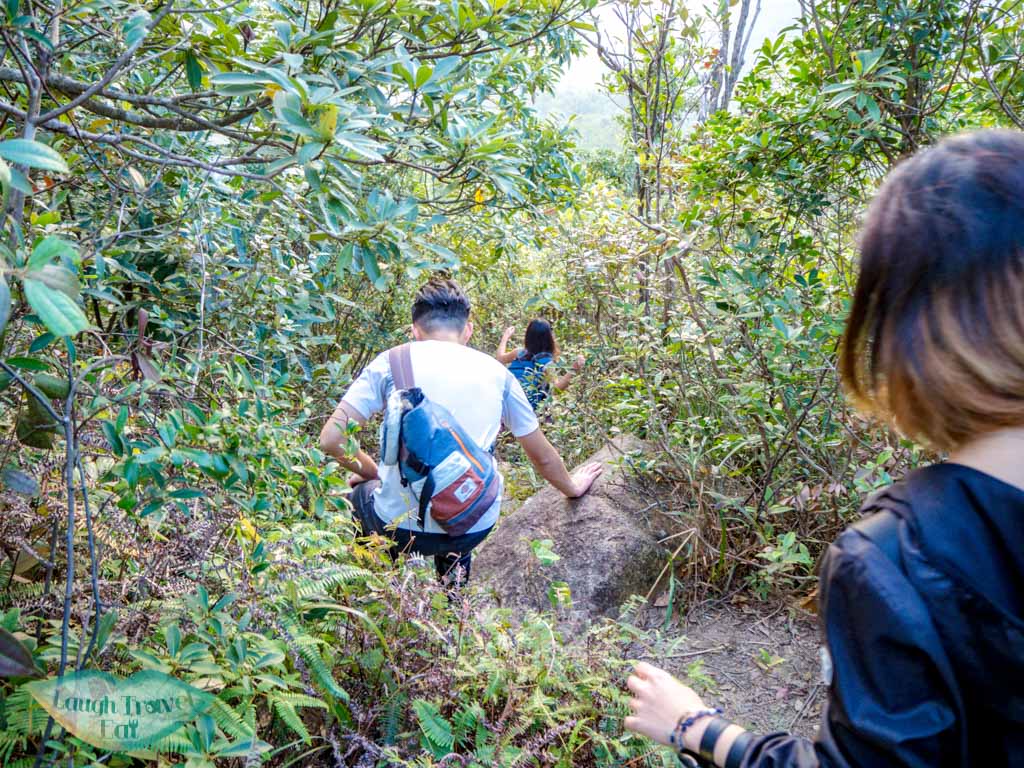
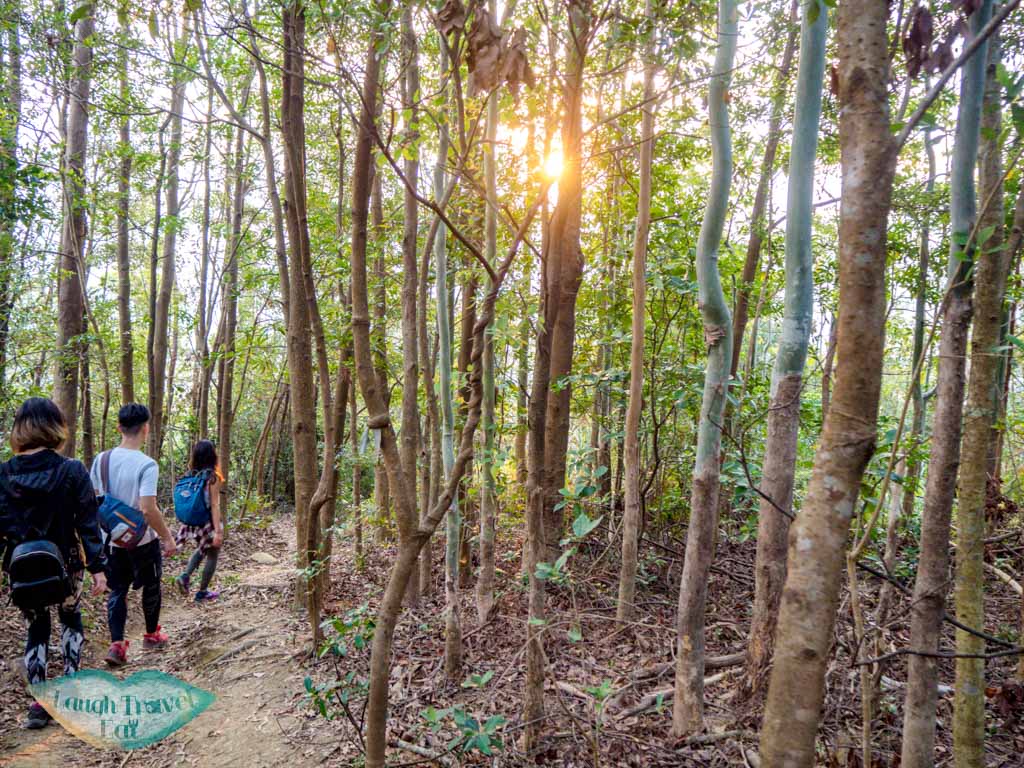
The rocks slowly become replaced by ankle high grass then by hedges that are taller than me.
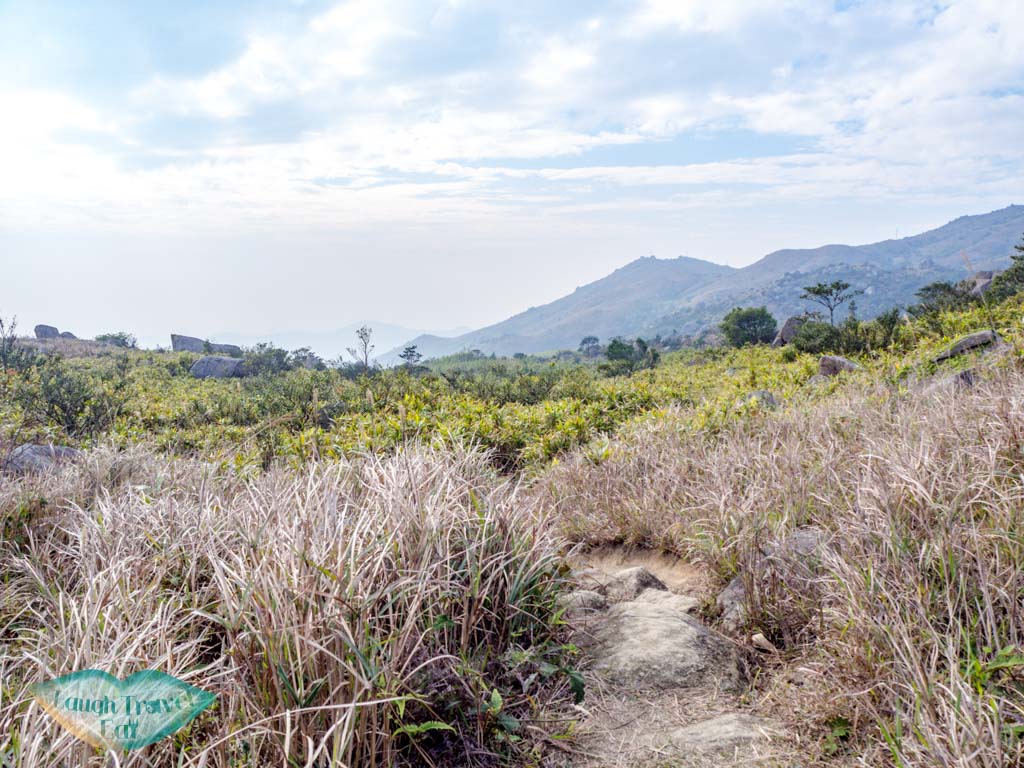
Keep an eye out here and make sure you stay parallel to the Tai Mo Shan Radar towers and not head south too early. It’s a longish hike through the hedges and paths, crossing two streams.
The path then becomes grassy again towards the Tai Mo Shan Fire Lookout at Miu Ko Toi.
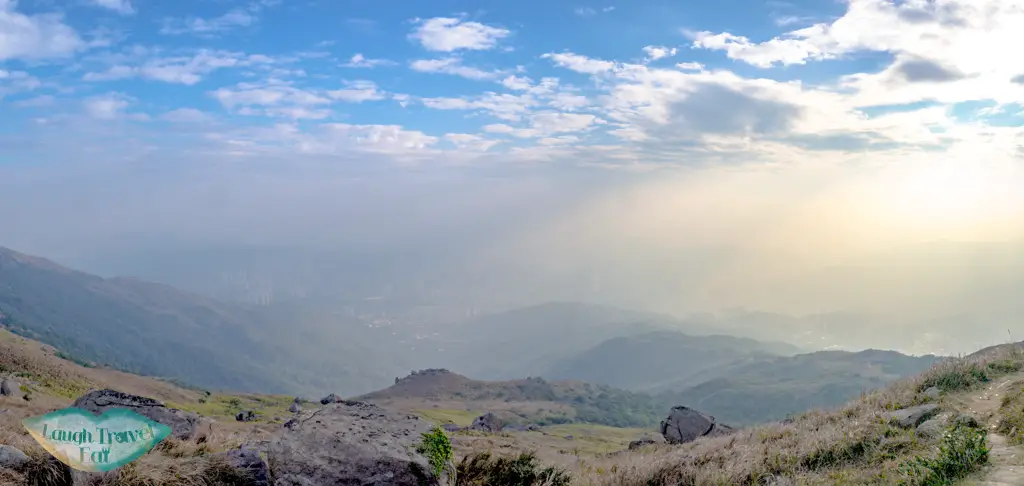
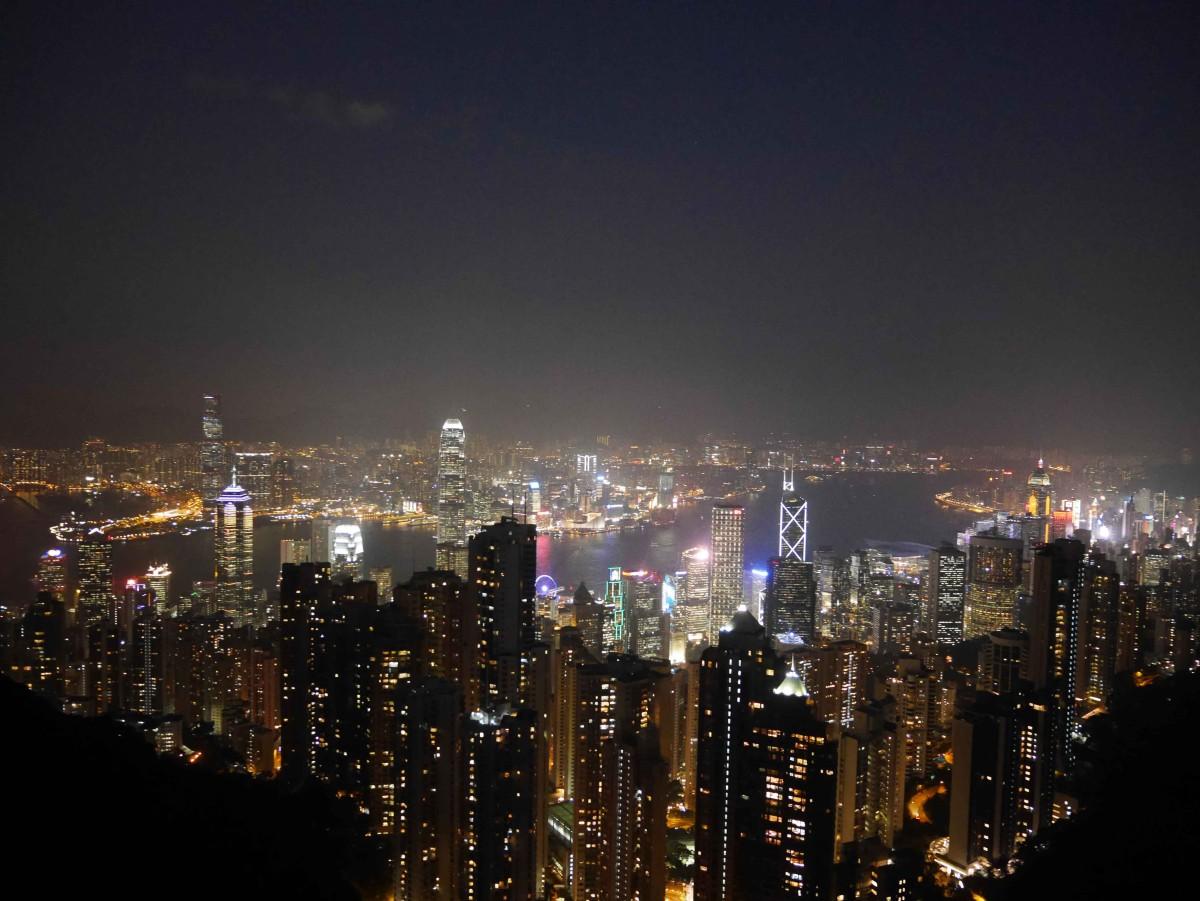
Here, the path drop down quite steeply but also offer a stunning panorama.
I needed a knee brace to help with the descent but overall it’s not as slippery as I thought.
We started going down just before sunset and the view was spectacular:
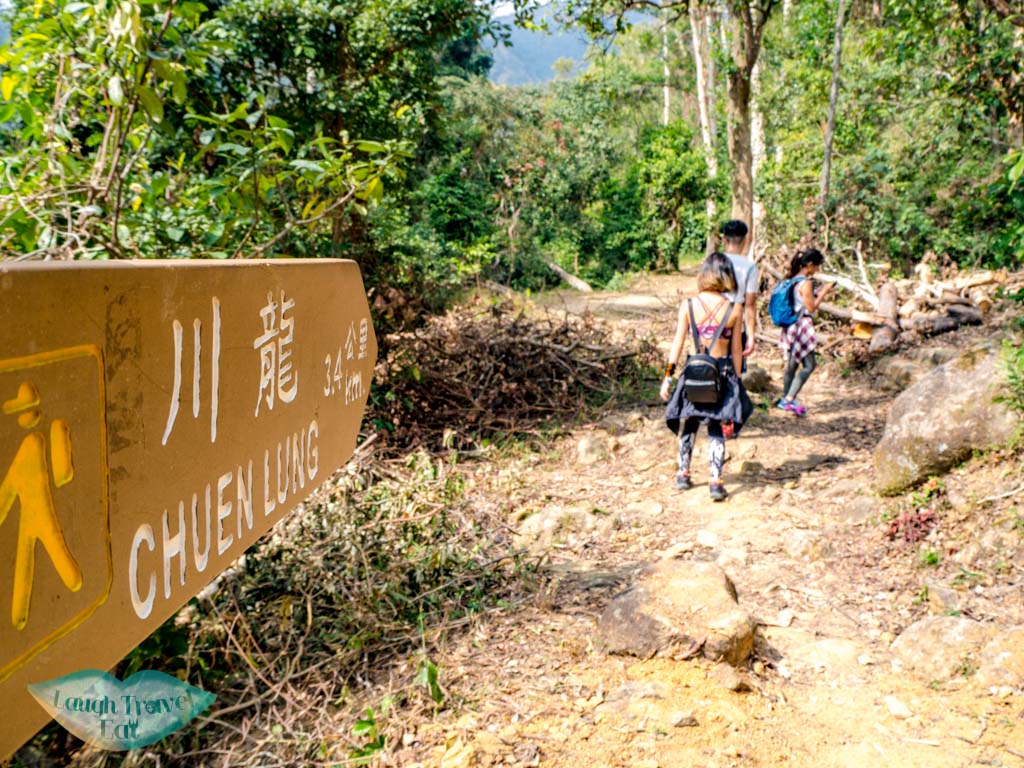
Once you go down two big slopes, watch out for a path to the right that will take you to Chuen Lung, marked by white ribbons hung on tree branch.
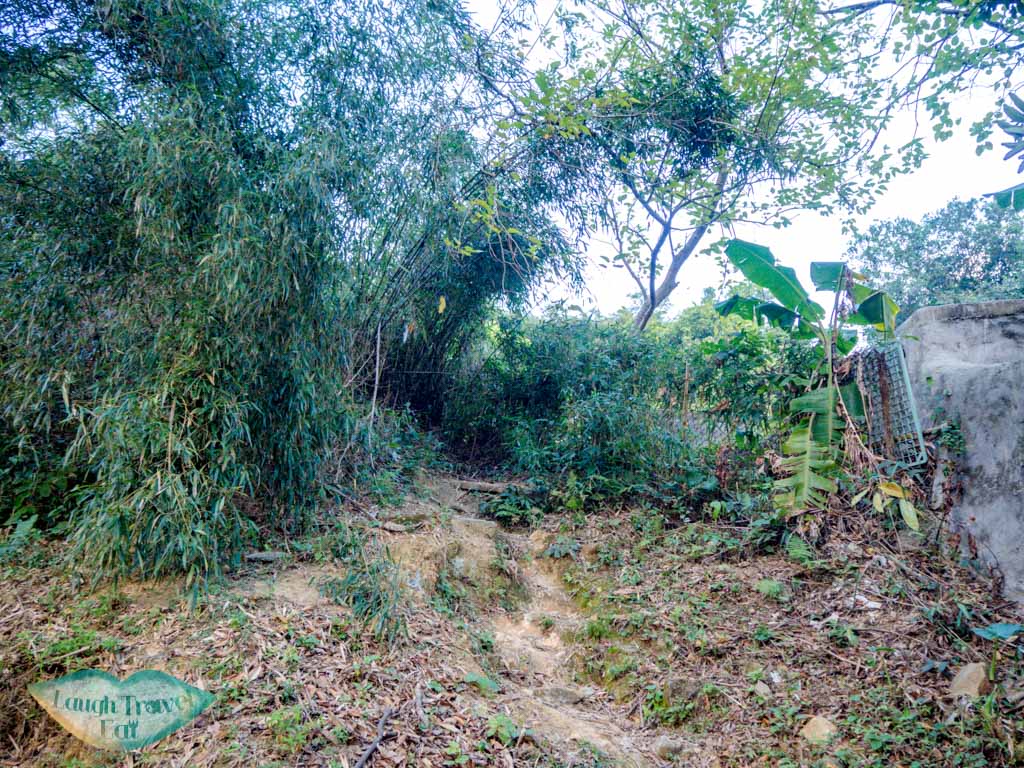
Here, it’s best to have a map (I use OSMAnd which is free) to make sure you are in the right place. The direct route is steeper, so look out for one that’s hidden in the vegetation:
The route goes almost straight to Chuen Lung, so just stay on the track as it go steeply down.
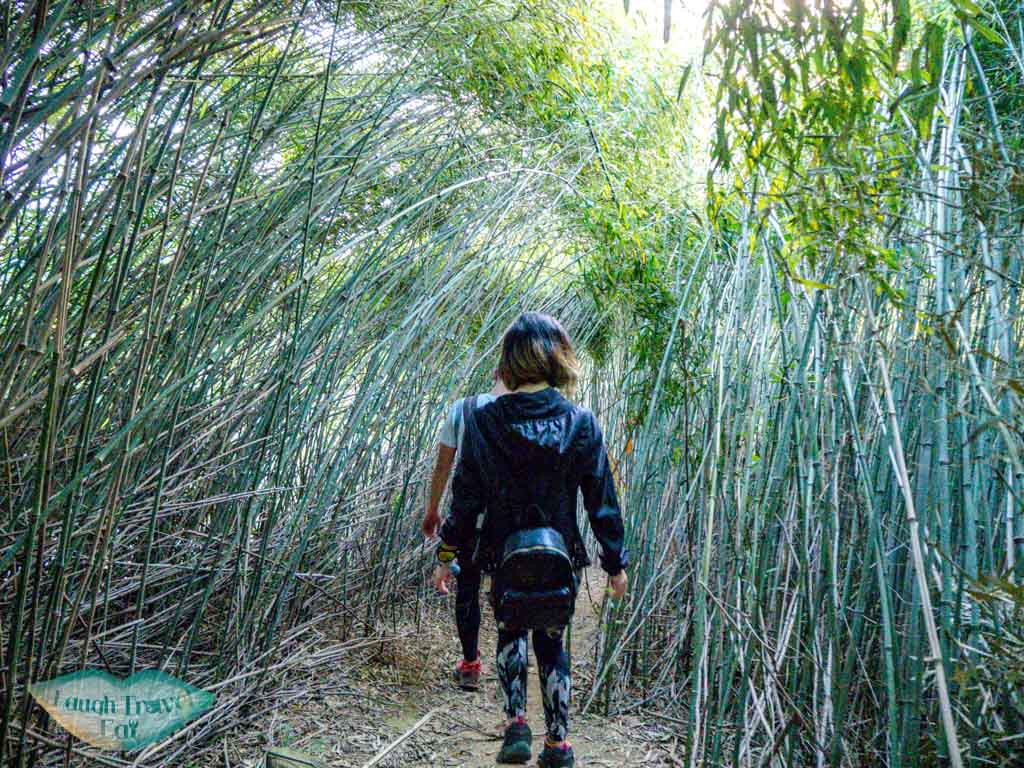
It briefly intersects with a big path but carry on straight down. The last stretch sees a small bamboo forest before we emerge next to someone’s house.
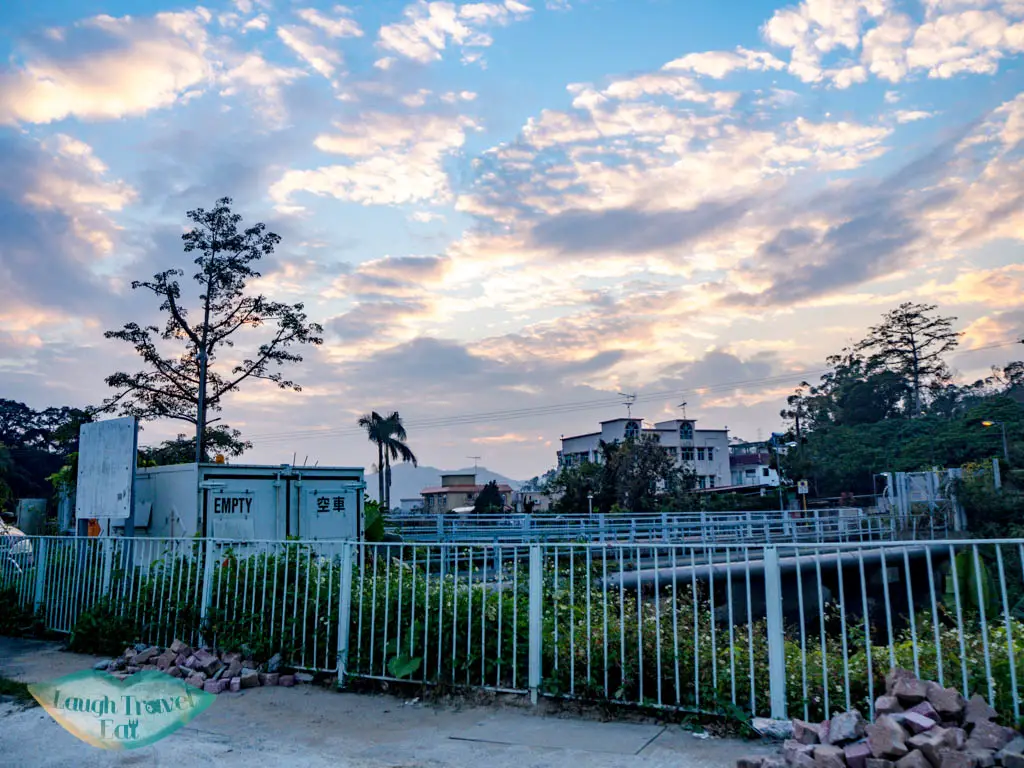
How to get out
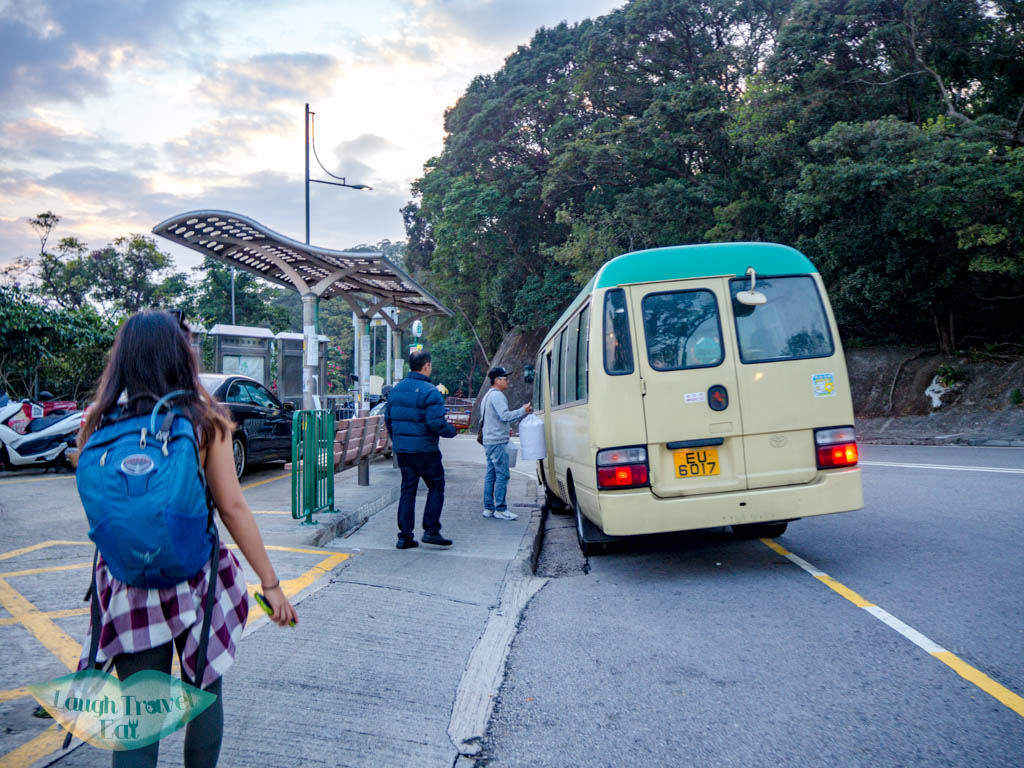
We ended the hike at Cheun Lung and got the minibus at the end of the village back to Tsuen Wan. There is only one minibus number 80 and we took it to the end stop to go back to the MTR.
Once you get off, head towards the small lane by the 7-11 and then take a right and go up the escalator. Just carry on straight from the pedestrian bridge and you’ll reach the MTR station quickly.
Pin me!
Nam Cheah
Hi, my name is Nam. I am 24 and spent half my life in Hong Kong and the other half in UK. I believe there's endless experience and beauty in the world and this is me chronicling how to experience the best at the best price.